DIY Christmas Cards

Gather the kids or your girlfriends, it’s time to make DIY Christmas Cards. With just a handful of supplies, you can make these one-of-a-kind Christmas cards to send in the mail or attach to presents.

Welcome to Day 4 of the 100 Days of Homemade Holiday Inspiration! Each day we will be inspiring you with recipes, decorating ideas, crafts, homemade gift ideas and much more!
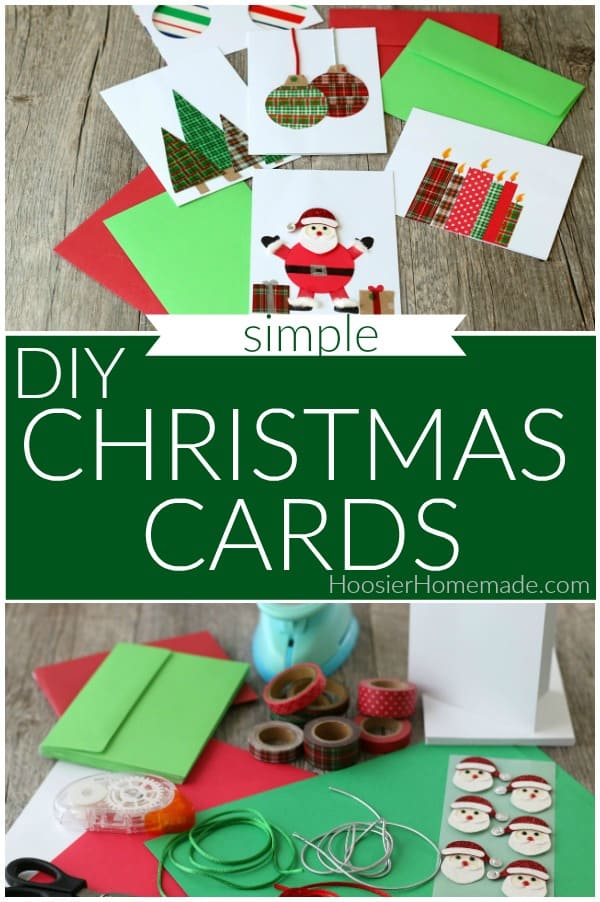
The ideas are endless for these Homemade Christmas Cards. Once you get started making them, you may not be able to stop.

Why not start a new tradition this year and send all your friends and family members handmade Christmas cards. There is something so special about receiving a card that was made with love.
If you love crafting, you may also like these fun Christmas crafts
DIY Christmas Cards
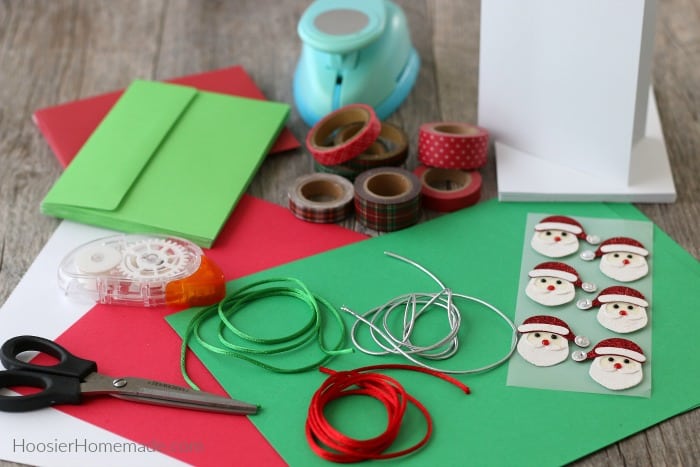
Supplies
- Cards – I found packs of cards and envelopes at Hobby Lobby in lots of different colors
- Envelopes
- Washi Tape
- Stickers – these are optional, but the Santa faces are really fun (found these at Hobby Lobby)
- Ribbon for the ornaments
- Wrapping Paper or Scrapbook Paper
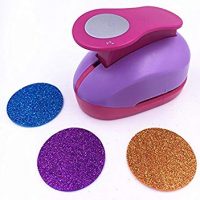
- Hole Punch – 2 inch works great, but any size will work. You can also cut the circles out by hand, but the hole punch is super easy. Then you have it for all the fun Cupcake Toppers too!
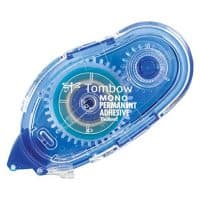
- Adhesive – I like Tape Runner because it’s super easy to use and it’s messy. It’s great for little hands too!
- Scissors
- Fine Tip Markers – Tombow are my favorite for crafting
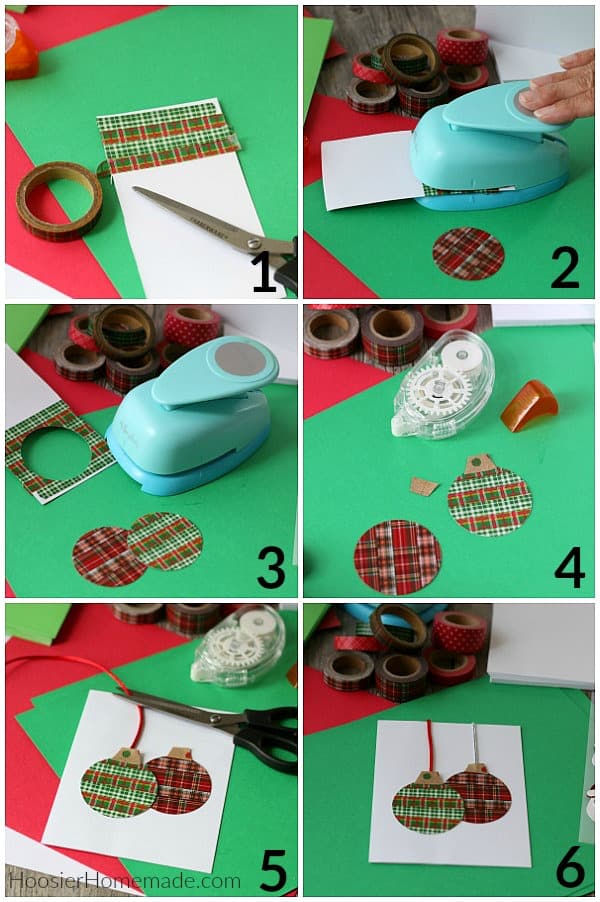
These instructions are for the Christmas cards with ornaments, however the same instructions can be used on the cards with trees and candles, just change the shape you cut out.
DIY Christmas Cards
- Place the Washi Tape on a piece of card stock paper, making sure that you fit the strips together closely
- Using the hole punch, cut out a circle
- Continue with another set of tape
- Cut out a topper for the ornament from scrapbook paper or wrapping paper
- Attach a piece of ribbon with adhesive
- Repeat with the ribbon for the second ornament
Santa Christmas Card
- Cut circle with hole punch for the body, secure to card with adhesive
- Attach the Santa head sticker
- Cut arms and legs from red scrapbook paper, and attach them with adhesive
- Cut mittens and boots from black scrapbook paper, and attach them with adhesive
- Using a very small amount of fluff from a Qtip, add “fur” around Santa’s feet and hands
- Cut presents from Washi Tape or wrapping paper
- Add ribbon and bows with marker
- Add Santa’s belt with marker
Ornament Card
- Attach a piece of wrapping paper to the inside of the card
- Using the hole punch, cut out circles for ornaments
- Add ornament topper and ribbon on with a marker
Follow along with the 100 Days of Homemade Holiday Inspiration for more simple recipes, easy crafts, homemade gift ideas, decorating tips and much more!


DIY Christmas Cards
Gather the kids it’s time to make DIY Christmas Cards. With just a handful of supplies, you can make these one-of-a-kind Christmas cards to send in the mail or attach to presents.
Materials
- Cards
- Envelopes
- Washi Tape
- Stickers – these are optional, but the Santa faces are really fun
- Ribbon for the ornaments
- Wrapping Paper or Scrapbook Paper
- Hole Punch – 2 inch works great, but any size will work
- Adhesive
- Scissors
- Fine Tip Markers
Instructions
Place the Washi Tape on a piece of card stock paper, making sure that you fit them together closely
Using the hole punch, cut out a circle
Continue with another set of tape
Cut out a topper for the ornament from scrapbook paper or wrapping paper
Attach a piece of ribbon with adhesive
Repeat with the ribbon for the second ornament
Santa Christmas Card
Cut circle with hole punch for the body, secure to card with adhesive
Attach the Santa head sticker
Cut arms and legs from red scrapbook paper
Cut mittens and boots from black scrapbook paper
Using a very small amount of fluff from a Qtip, add “fur” around Santa’s feet and hands
Cut presents from Washi Tape or wrapping paper
Add ribbon and bows with marker
Add Santa’s belt on with marker
Ornament Card
Attach a piece of wrapping paper to the inside of the card
Using the hole punch, cut out circles for ornaments
Add ornament topper and ribbon on with a marker
Recommended Products
As an Amazon Associate and member of other affiliate programs, I earn from qualifying purchases.
-
 Tombow 56185 Dual Brush Pen Art Markers, Bright, 10-Pack. Blendable, Brush and Fine Tip Markers
 -
Tombow MONO Permanent Adhesive Applicator, 1/3-Inch by 472-Inch (62106)
-
TECH-P Creative Life 50mm Hand Press Album Cards Paper Craft Punch,Card Scrapbooking Engraving Kid Cut DIY Paper Craft Punch. (Circle)
One Comment