She Shed: Farmhouse Reveal
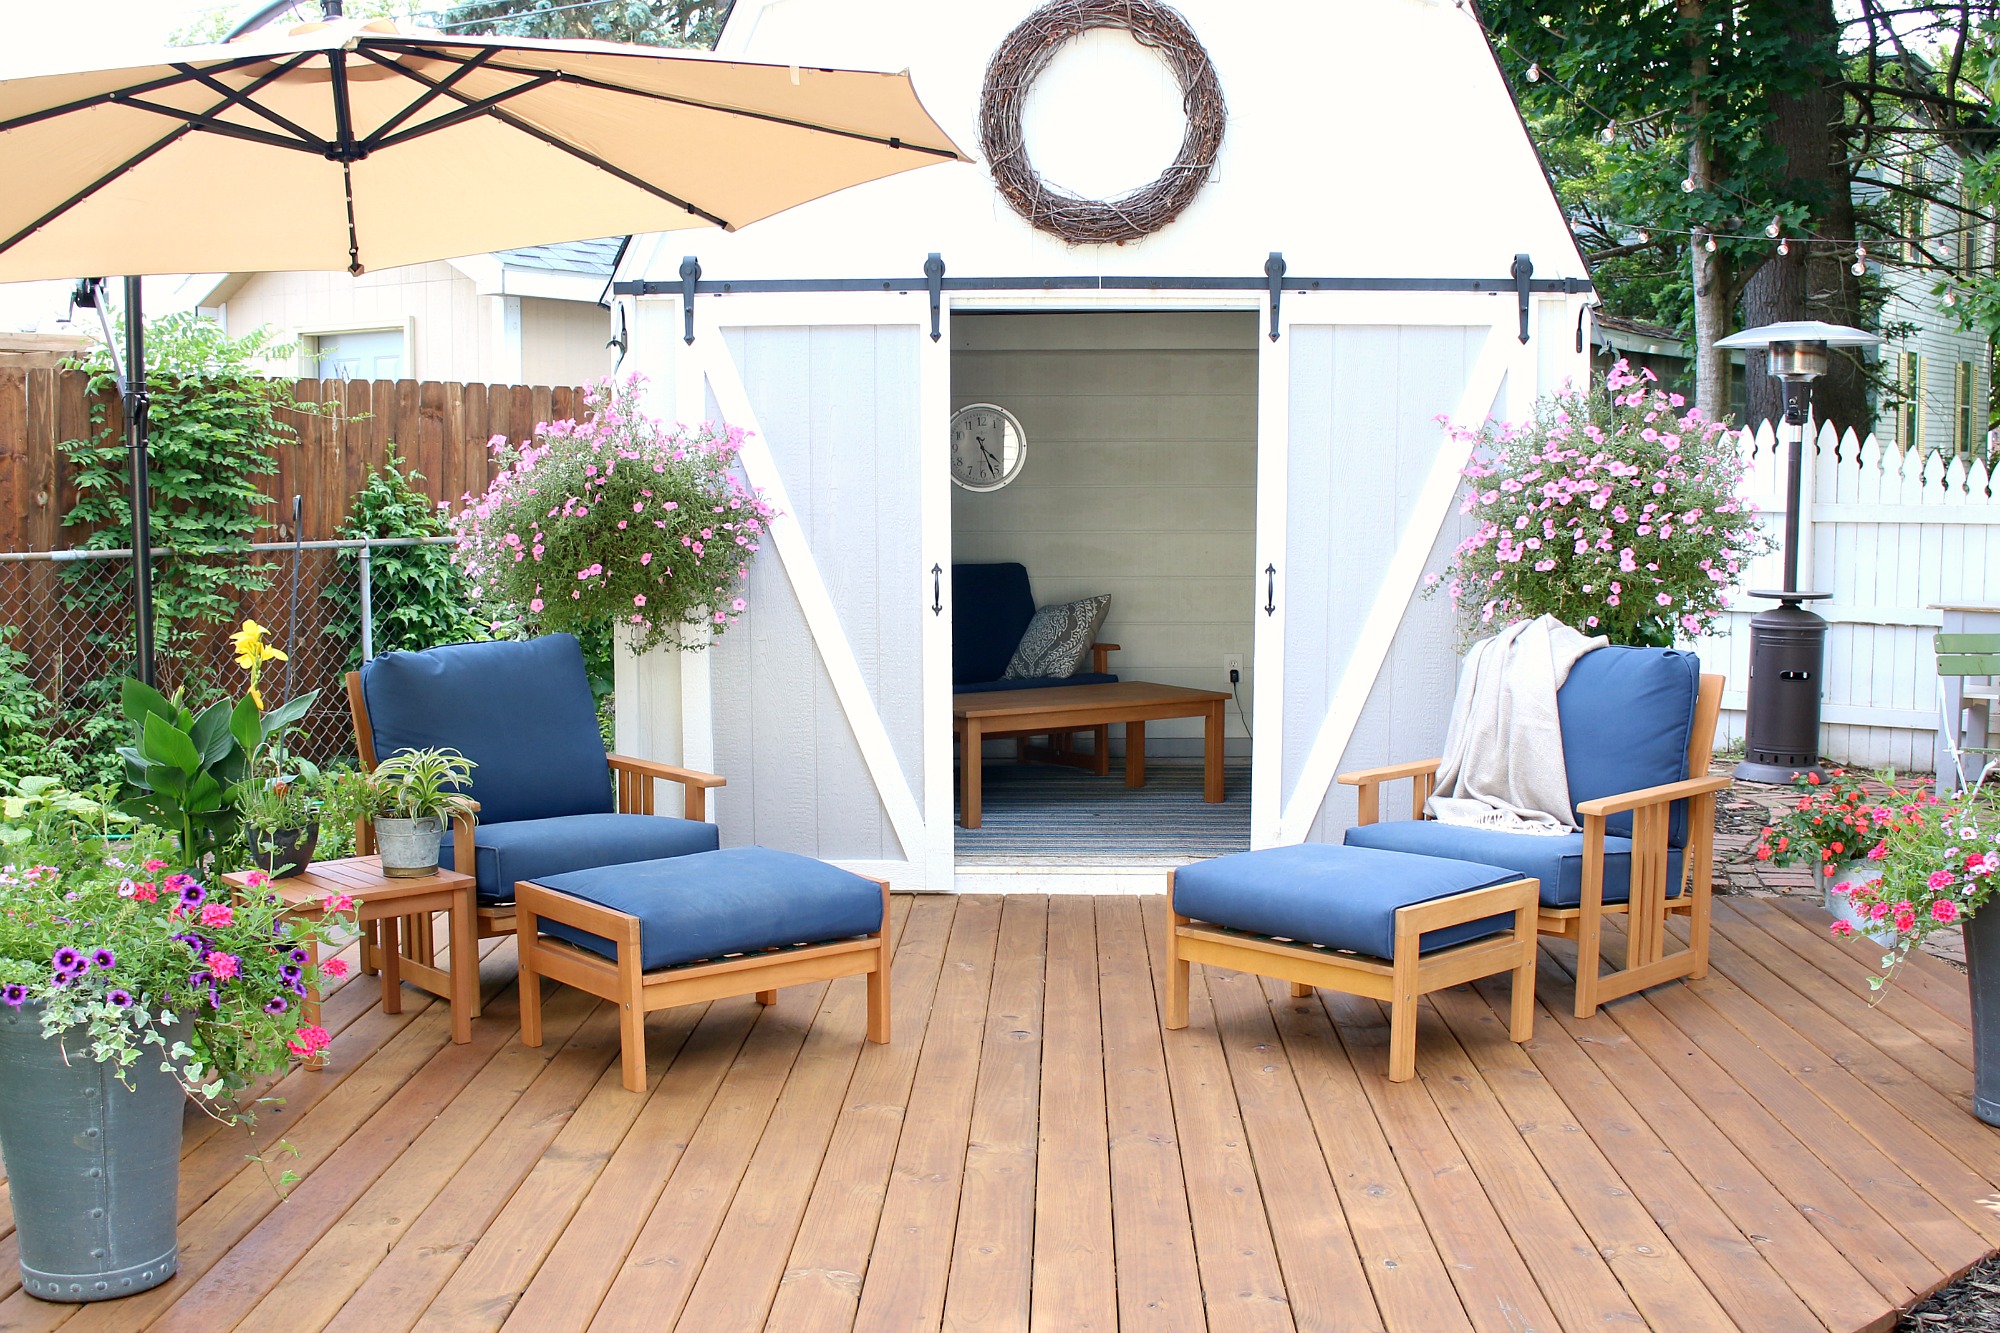
Well, it’s finally here- the She Shed Farmhouse Reveal! I am so excited with how the project turned out and hope the transformation inspires you! We started the backyard makeover a couple months back, and have transformed our space into a bit of paradise complete with a vision of a she shed.
Welcome to the She Shed! We can’t even begin to tell you how excited we are to share the Farmhouse She Shed with you! When I was a little girl, my Dad built a playhouse for me, this shed takes me back to that time – when playing with paper dolls, and reading all afternoon tucked away in the playhouse was the only thing on my mind.
There is lots to show you, so let’s get started right away.
First, let’s chat about the outside. You can see all of the work that went into building the She Shed.
Starting with the Wood Pallet Deck. First, we moved the deck we had on the side of the house to in front of the shed. We plan on building a regular deck in front and on the side of the shed next spring, but for now, the Wood Pallet Deck worked out great.
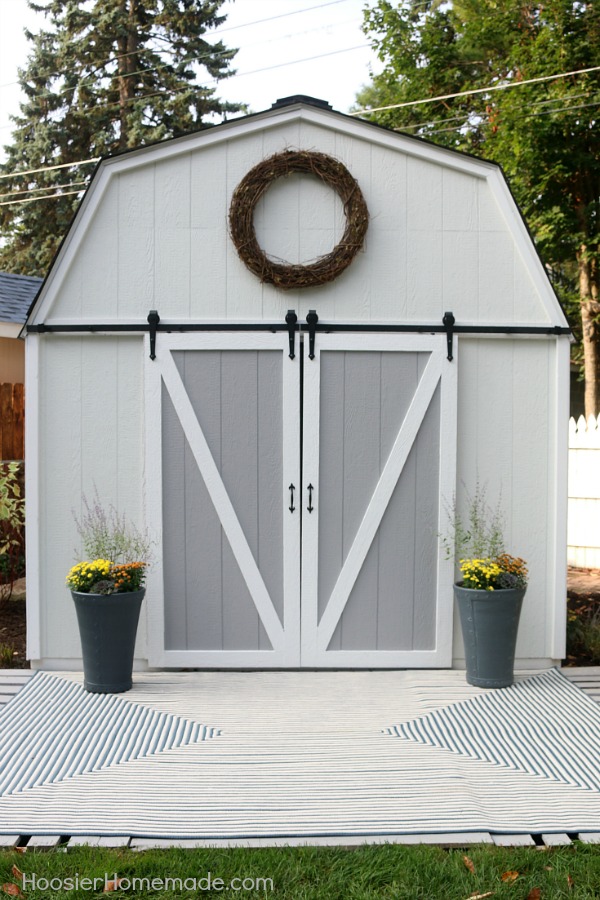
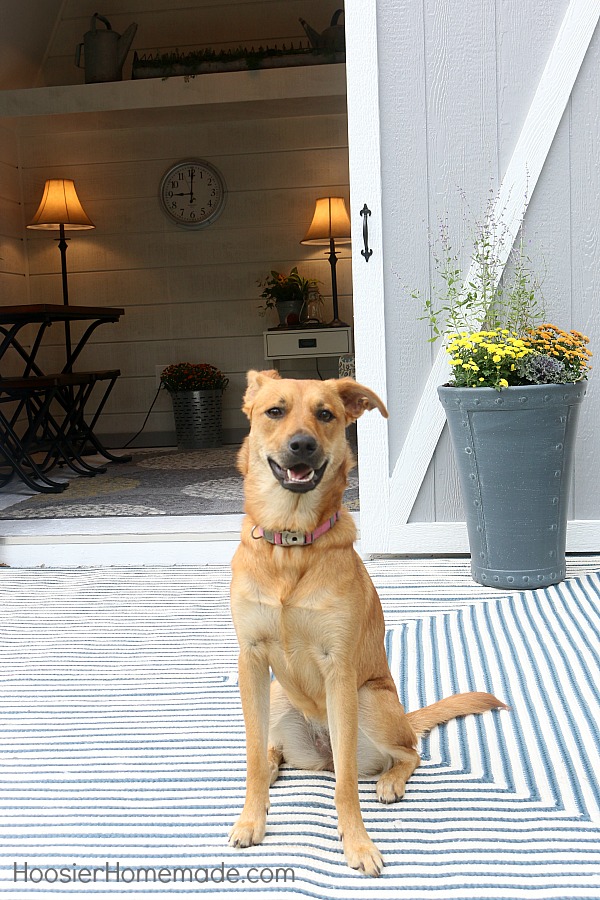
Then to protect the puppies paws from slipping in between the gaps on the deck, we laid down an outdoor rug, from RugExpedition.com. Finally, Doug planted the containers with fall mums, kale and Russian Sage.
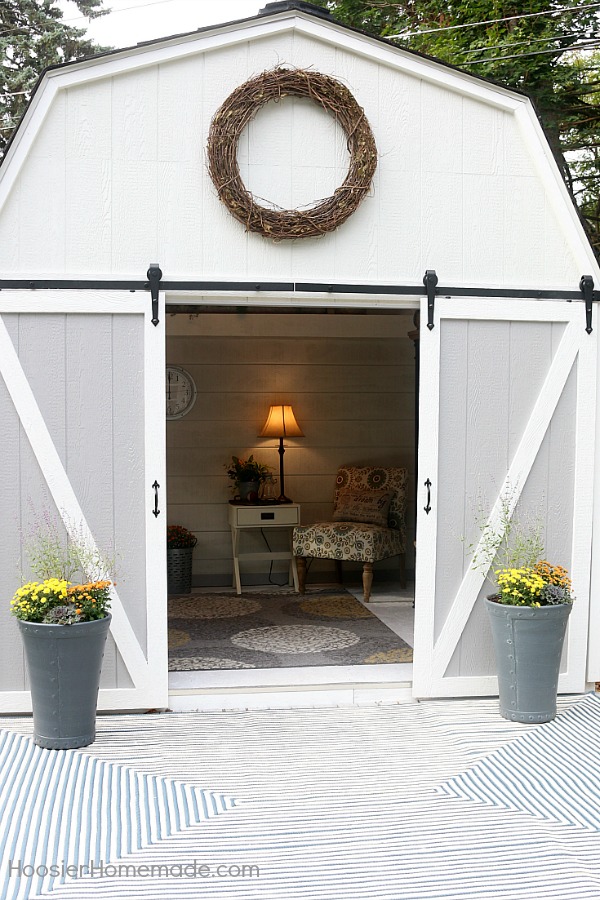
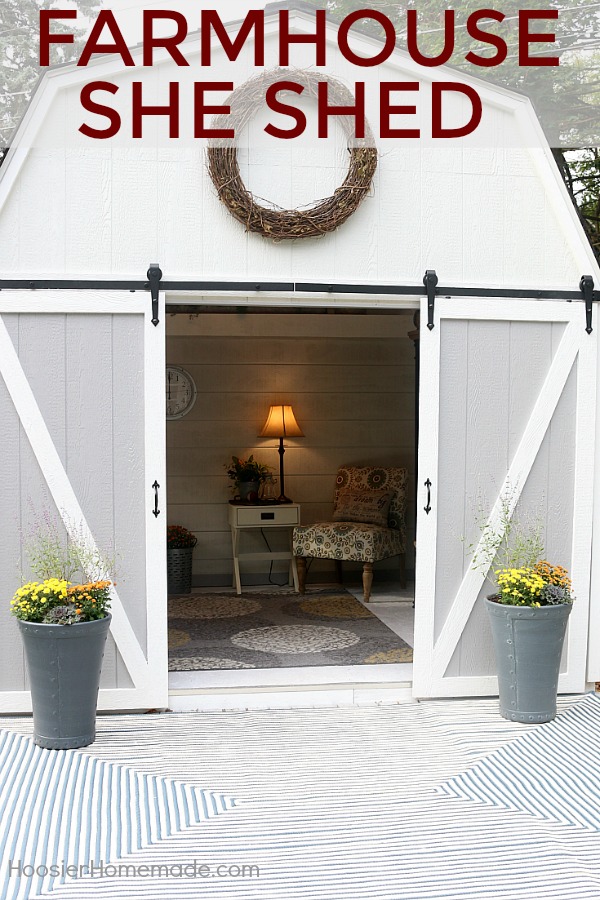
And my favorite – the farm doors. Doug will put together a tutorial soon for you on how to make them. I am absolutely thrilled with them. The doors started out as regular doors with hinges and he added the wood down the center to make them look like farm doors, and of course the hardware on top. They function beautifully and make the outside of the shed so cute!
The grapevine wreath fills in the spot at the top nicely too.
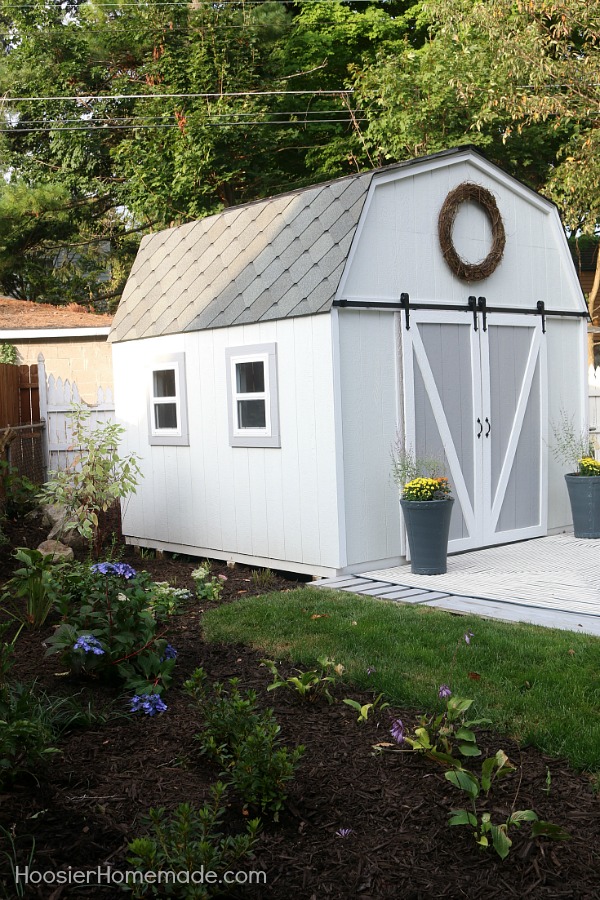
The backyard received new landscaping and sod. Check out where we began with this backyard makeover – you will never believe how far it’s come.
The outside of the shed turned out just how I envisioned it! The GAF Sienna® Harbor Mist shingles (that you all voted for- thank you!) are the perfect crisp gray accent to the white shed. The colors are both classic and trendy- giving our shed a Farmhouse feel. You can read all about how Doug put the roof and shingles on the shed. We didn’t have much experience with roofing and the Home Depot ProDesk was so helpful in answering all of our questions. We really felt confident about the project when we left after purchasing our shingles and the supplies we needed.
We had many discussions on how we wanted the inside of the shed to look. We originally wanted it to be a space for the family to gather, relax, play games, and enjoy time together. Then I thought it would be great as an office, then we thought of turning it into a video studio. But in the end, we came back to our original plan, and I’m super excited we did.
Let’s take a tour –
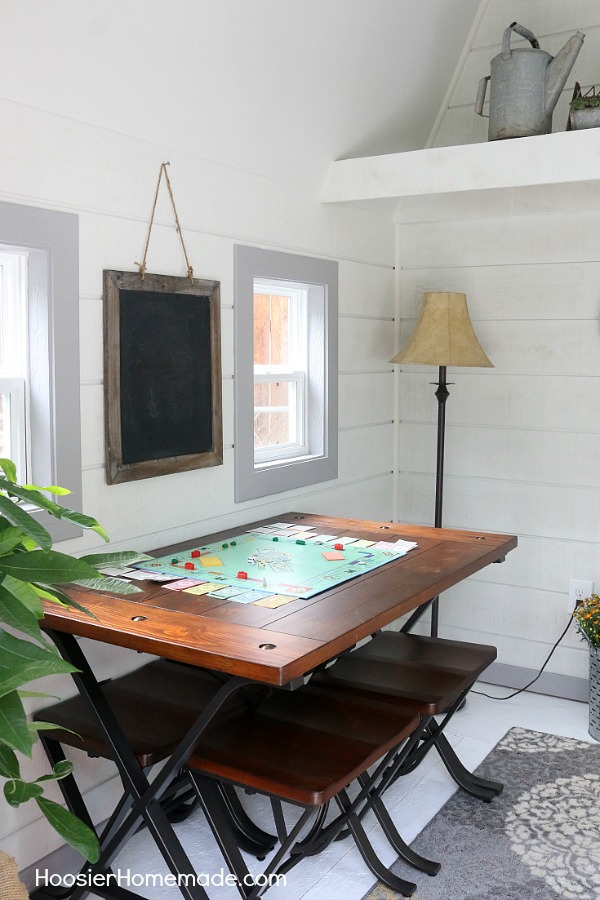
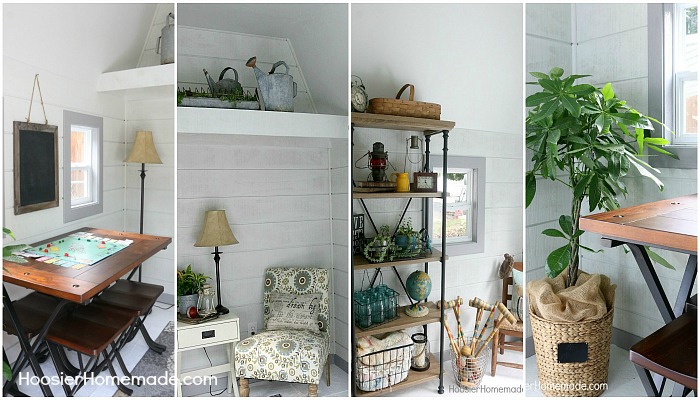
At first, I wanted a chair in this space. We searched in 3 different towns for just the right chair to add but in the end, we decided the table would be better. It gives us a space to eat and play games, and it also has space for 4 people to sit instead of a single chair. My tip for when you are looking for a piece of furniture, be sure to measure your space first. When we saw the table in the store, we thought it was much larger than it is. The stools go nicely under the table to save space as well. On the wall, I hung a fun chalkboard to write notes or maybe keep score of the games.
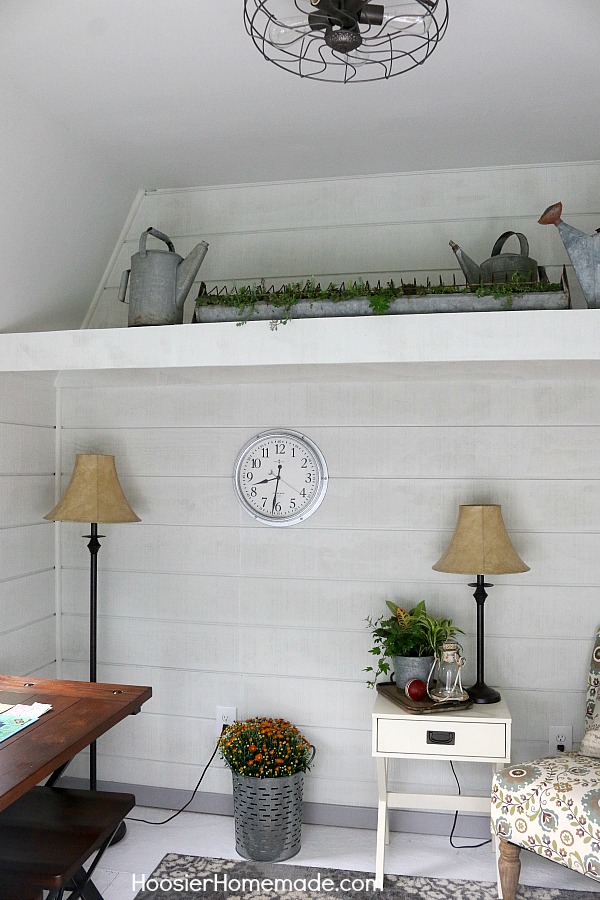
Going around the shed, we hung a Farmhouse Clock on the wall (you may recognize it from the front foyer), a bucket with a fresh mum plant, and the small white table holds a lamp, and tray with green plants and an antique lantern.
And the shelf above – oh this shelf – I’m SO in love with this shelf. I have been collecting galvanized watering cans for at least 10 years now, and they fit perfectly on the shelf. The galvanized chicken feeder is filled with succulent plants – more on that in a minute. The shelf makes me so happy!
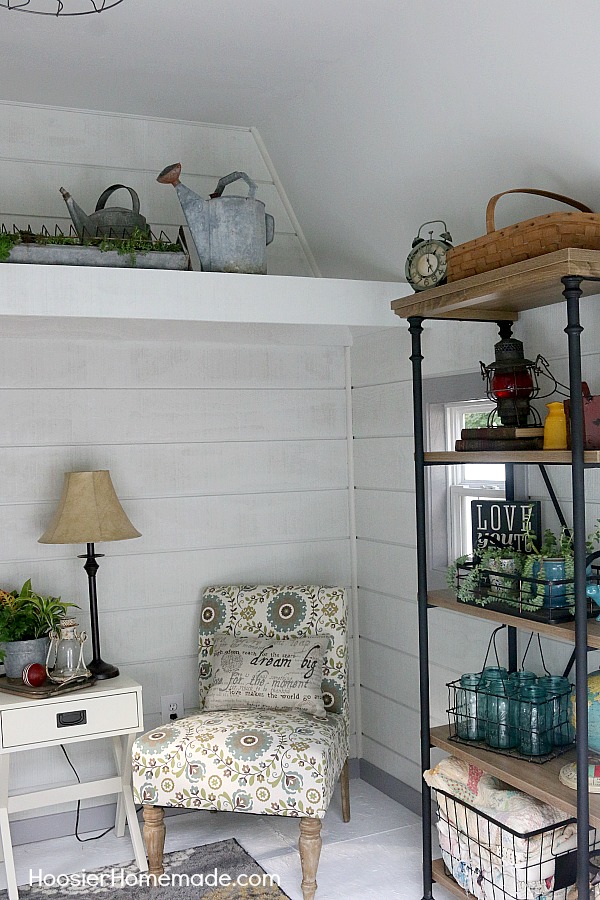
Next, the chair that was in the Farmhouse Bedroom found a new home. I guess I need to order another one for the bedroom now- whoops! On the side are the Farmhouse Industrial Shelves.
I liked the shelves we put in the Dining Room (did you see the easy decor makeover?) so we decided to put some out in the shed as well. Some of the decorations from the Dining Room came out here, since I will be decorating for fall soon indoors (and here in the shed too).
Next to the shelf, I filled a metal basket with a vintage croquet set that I had. A small wooden chair fills the corner nicely.
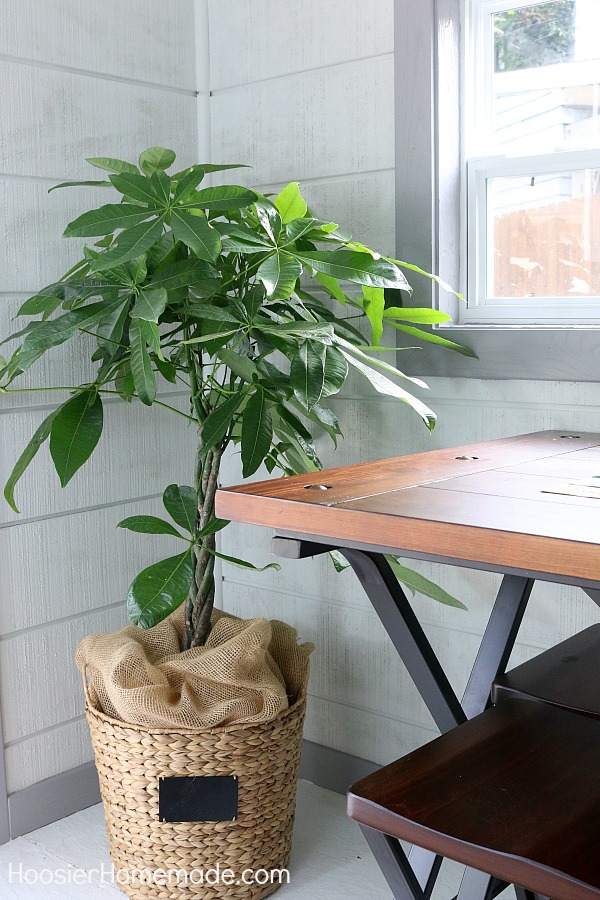
In the opposite front corner, we added a money plant. Do you think we will be able to pick $10 bills from it? Wouldn’t that be nice?
Here is a peak at all of the decorations.
Now let’s chat about this shelf. The shelf itself was one that came with the shed. Doug was actually going to leave it off, but I knew I wanted to be able to decorate it, so we left it in the plans.
Doug filled the galvanized chicken feeder with – you guessed it – hens and chicks – and other succulent plants. They don’t need much water at all, so they are perfect up on the shelf.
And the galvanized watering cans work perfectly too.
Tiki is loving the new Farmhouse She Shed too!
We have teamed up with GAF Roofing Products to share the She Shed with you! GAF has earned the Women’s Choice Award consecutively since 2012 because they’re highly recommended by 9 out of 10 contractors and their female customers. When choosing what roofing products to use, they were a no-brainer for this project.
See how the She Shed came together –





Hubby is just beginning my new she shed !!! Like today! We are modifying an existing structure. The primary use for it is a potting shed. We live in North Central Indiana. I love that you put hens and chicks on the shelf. Did you have to bring them in during the winter? I will probably have a space heater and some installation, but it won’t be heated all winter. Thoughts?
Hi Brenda, how exciting! I’m sure you will love your She Shed.
Yes, I brought the hens and chicks in for the winter.
ps I’m just north of Indy. Go Hoosiers!
-Liz