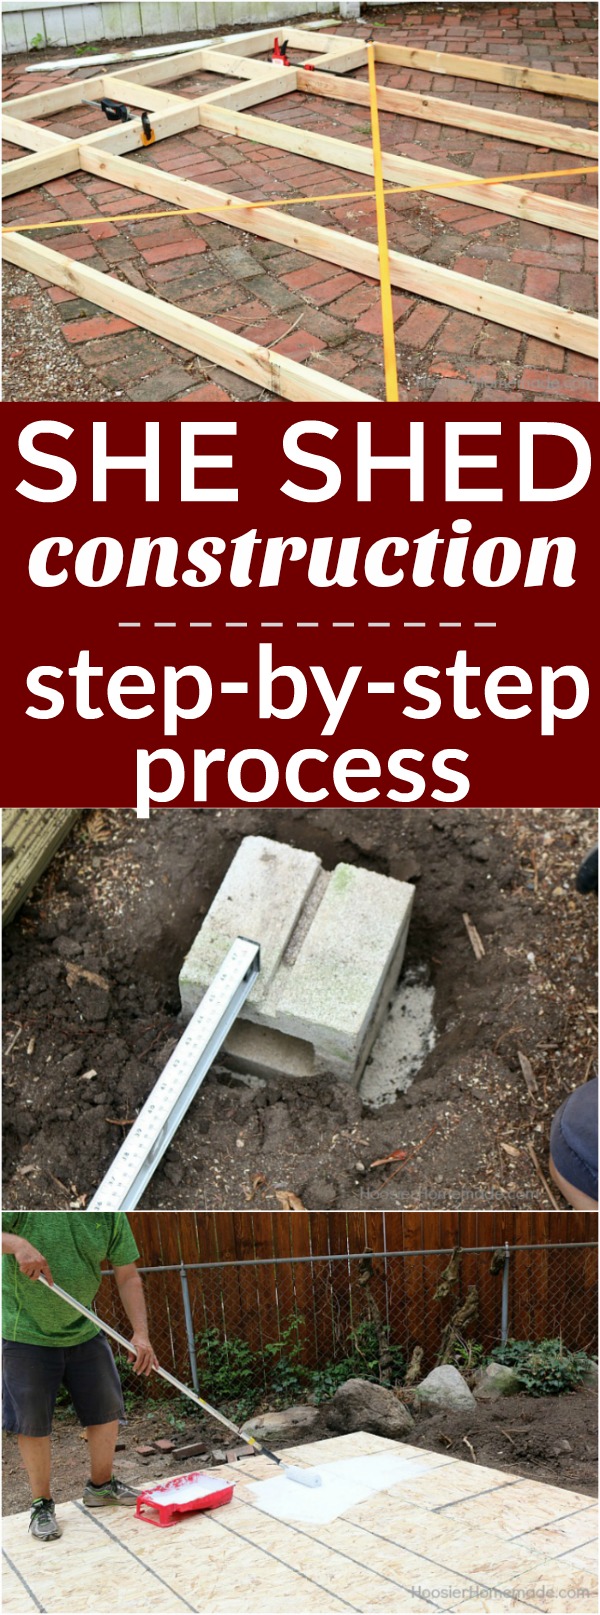
She Shed: Part 2 of the Backyard Makeover
The building of the She Shed has begun. Have you dreamed of a space of your own? A space to read, relax or even entertain? We are sharing with you the step-by-step process of our She Shed and Backyard Makeover.
Whew! The past few days have been hectic around here. But I wanted to take the opportunity to thank everyone for helping us out and voting for the GAF shingles we are going to be using to finish off my She Shed. I’m so excited that we are finally moving forward with the backyard makeover that I want to show you the progress we have made.
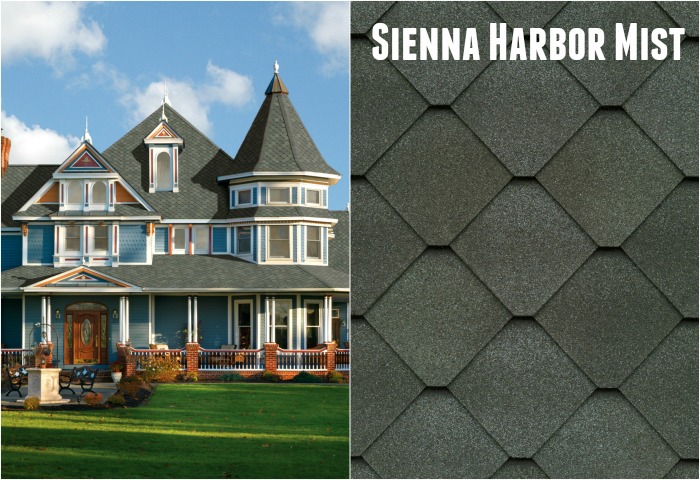
Just a quick note on the gorgeous Sienna® Shingles you picked out for us. The shingles feature uncompromising performance and timeless beauty at a fraction of the cost of expensive slate or wood shakes.
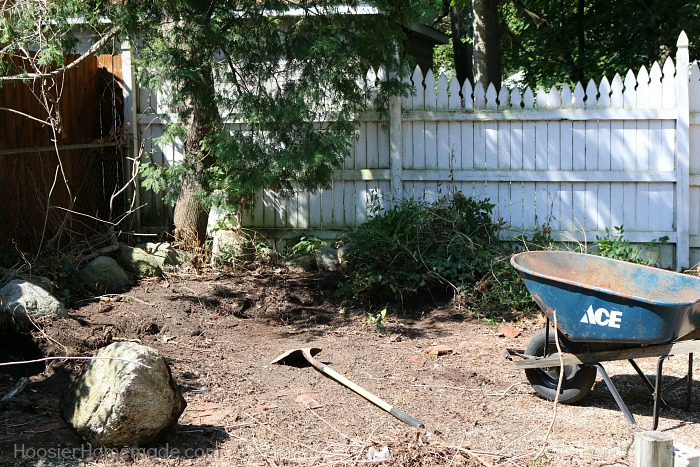
Nick was home for the weekend to celebrate Casey’s birthday so we took advantage of the extra help to really clean up the backyard. As you can see there was plenty of work to be done.
Doug and Nick removed the evergreen tree in the corner that had severe winter damage, cleared the fence line and removed most of the stones. Some were just too big to move by hand so we decided that they would make a great backdrop for the landscaping that we will add after the shed is built.

And talk about perfect timing, as we were doing the cleanup the shed was delivered.
So I thought I’d go through the steps we have taken so far.
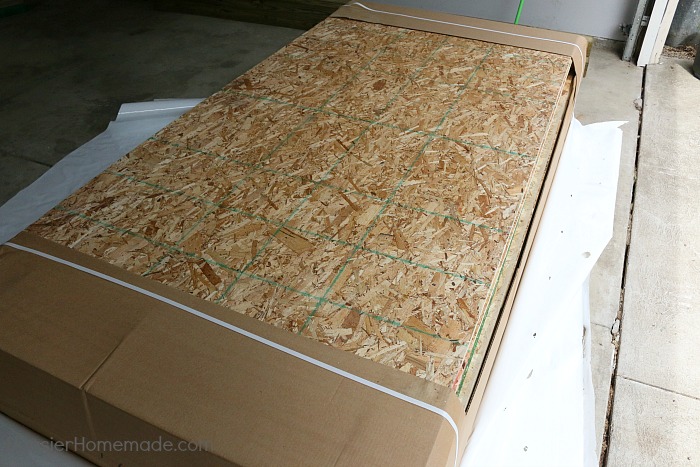
Step 1: Unpacking the Shed
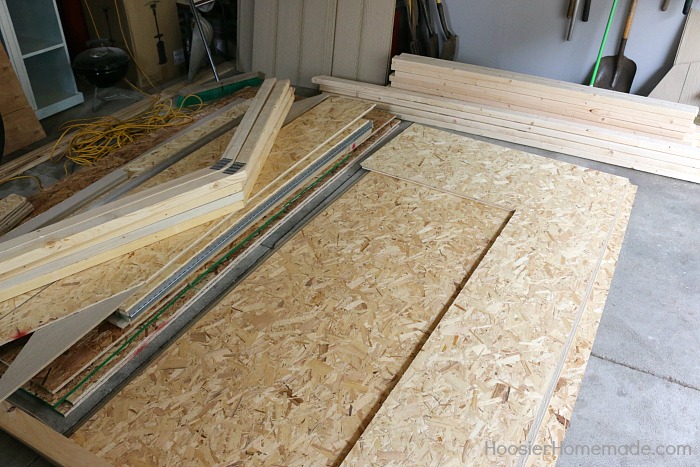
First we unpacked the shed parts. The directions with our shed recommended taking inventory of the pieces as you unpacked them.YES, do this. Not only will you be sure you have all the pieces but it will speed up the build process later on. And the first boards needed are on the bottom anyway, hmmm, I wonder if they do that for a reason.
So the first thing we did was build the framework for the floor. Doug built it on our driveway since it was the nearest level place to where we are going to situate the She Shed.
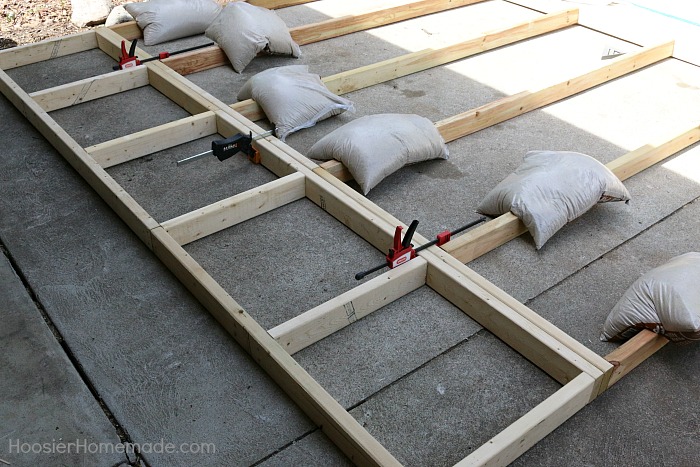
Step 2: Building the Floor Frame
Next we moved onto preparing the foundation of the She Shed. We discussed several options for building the foundation and finally decided we would use the same style of foundation as we had constructed a few years ago when we built our pallet deck.
A simple block and beam foundation is not only easy and inexpensive to install, it’s the type of foundation recommended for these types of buildings.
Let’s see how it’s done…
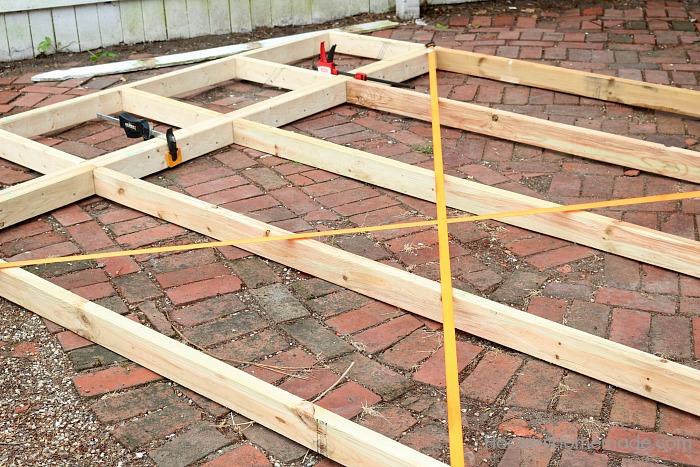
Step 3: Setting the Floor Framework in place
Next we carried the floor framework over and placed it where we wanted the she shed to be, then we marked the outside of the corners with spray paint. And then marked the locations of the cross members (4″x 4″x 10′) according to the directions for our shed.
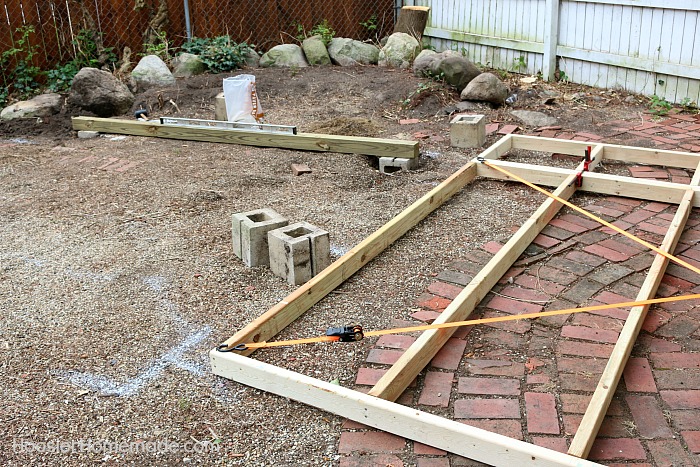
Step 4: Setting the Footers for the Shed
Then we marked the locations of our footers. We are using half concrete blocks for the footers, they are 8″x 8″x 8″ and when placed no more than 48 inches apart, they provide the necessary support along with the 4″x 4″ treated timbers.
Next determine the level that you want the floor of your shed to set. This may be anywhere from ground level to 12 inches above ground level. Any higher than that and you will need to have a whole different foundation.
Once you have determined at what level your floor will be, add together the thickness of your floor along with the thickness of the rest of your foundation pieces, (timbers and blocks).
To place the half concrete blocks dig a hole at each of the locations marked, dig deep enough to allow you to add 2 inches of either stone paver base and your concrete blocks and timbers.
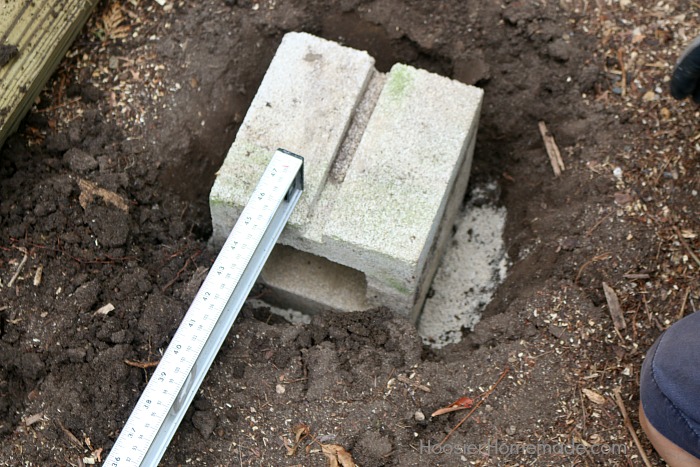
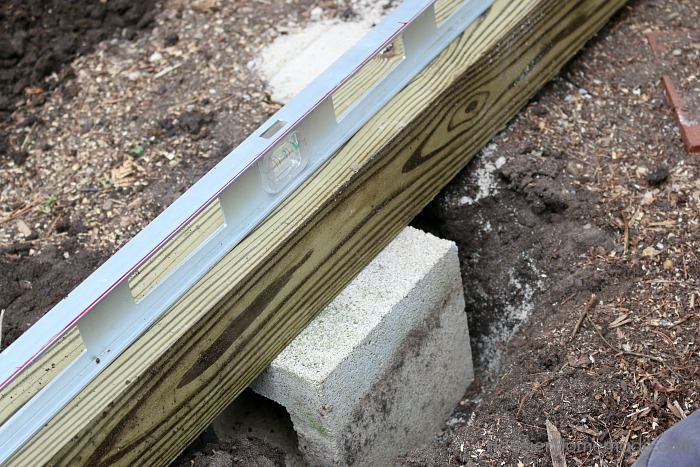
Step 5: Set the blocks
Select a corner and start leveling your 4″x 4″x 10 foot treated timbers using a 4 foot level. You’ll add or remove paver base to level. Then work your way around and level all the treated timbers.
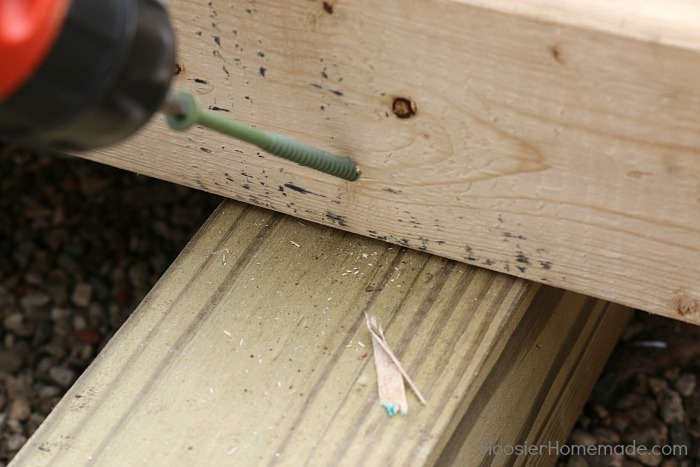
Step 6: Attach Floor Framework to Base
Then we attached the floor framework to the treated timbers with 3 inch screws.
Step 7: Attach the decking to the Floor Framework
Next we laid the 3/4 inch OSB decking and secured with 2 inch nails and screws.
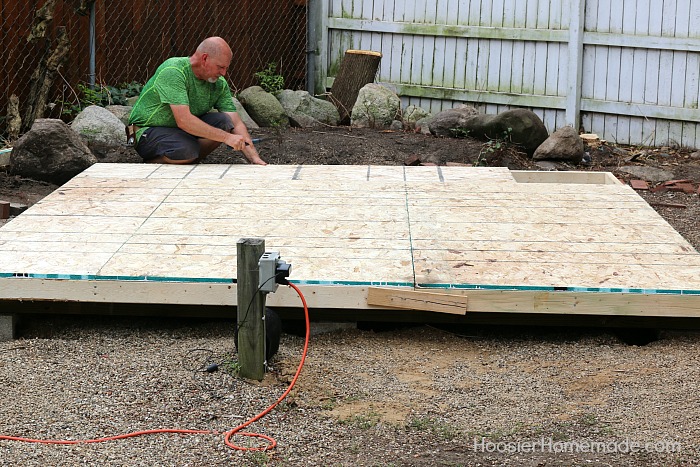
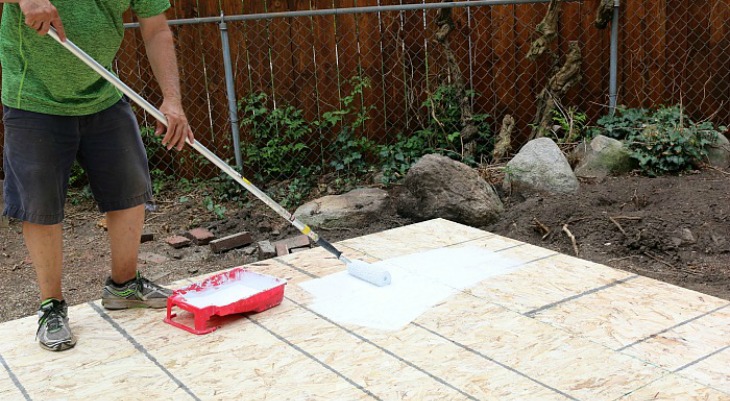
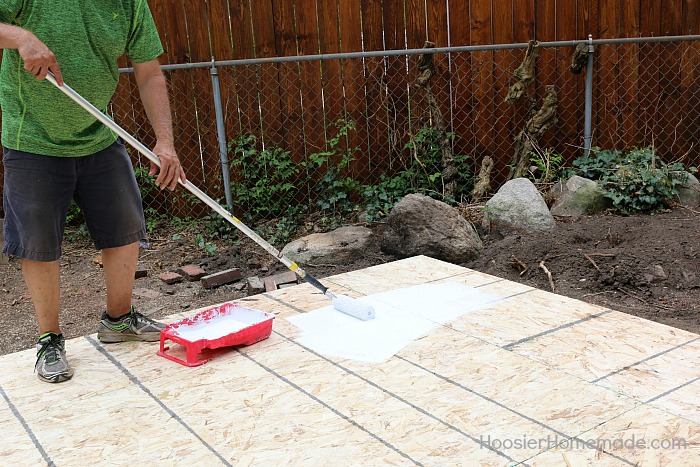
Step 8: Paint the decking with Primer
Since we knew that it was going to take us a couple of weeks to build the She Shed, Doug decided to paint the top and underside of the OSB with a primer/sealer to protect it from the weather. Just in case we got delayed because of rain.
Keep up to date —
Well that brings us up to date on our progress for the She Shed build. Now we are off to get the gorgeous Sienna® Shingles you picked out for us.
Over the course of the next 6 weeks we’ll be building a She Shed complete with GAF Roofing Products. GAF has earned the Women’s Choice Award consecutively since 2012 because they’re highly recommended by 9 out of 10 contractors and their female customers. When choosing what roofing products to use, they were a no-brainer for this project.
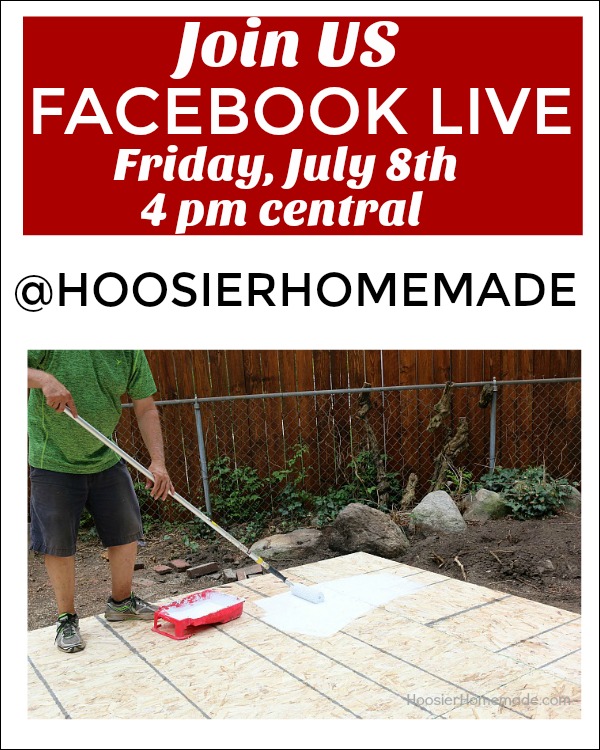
Stay connected with us as we keep you updated on our progress. We’ll keep you updated with occasional posts here and across all of our social media. We will also be sharing the process on Facebook live chats so you can get in on all the action. Follow along with #HHSheShed

You never said where you bought the shed from, only that it arrived
Hi Jessica, we bought the shed from The Home Depot.
-Liz
you have way too many ads on your blog. It’s too distracting.
I’m sorry you had trouble Dave. We have been working with our ad agency to clean up the ads.
Thank you for your comment.