How to make Light Balls
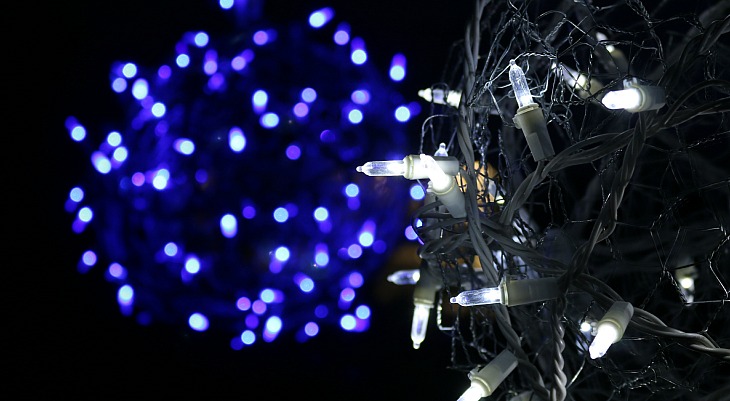
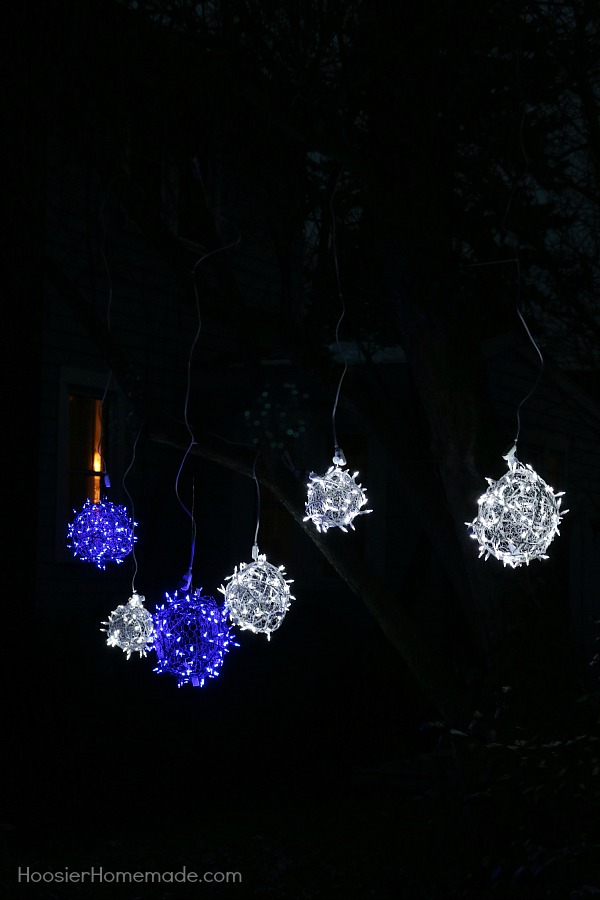
These Light Balls are sure to WOW your neighbors! They are easy to make with only a couple supplies. You can hang them in your tree, decorate your front yard and more! Let us show you how to make light balls for your holiday decorating.
When I spotted the Christmas Light Balls before sharing them in our 100 Days of Homemade Holiday Inspiration, I knew right away that we needed to make some to hang outside for our Christmas decorations.
I think these Light Balls would also be great for weddings, outdoor parties or even birthdays.
Decorating our home, especially for the holidays is my absolute favorite thing to do. We always have fun decorating the front of our home too. We live on a fairy busy street, although it’s cold now and there is snow on the ground, we still have quite a few neighbors that walk by.
Over the years, we have always decorated outdoors for Christmas. A few years back we had a Winter wonderland theme and used white ornaments, ice skates and sleds to decorate the front porch. And last year we decorated with fresh garland ropes and white lights.
After looking over the original directions for the Christmas Light Balls, Doug decided to show you step by step how to make the light balls.
Christmas Light Balls Supplies
These Christmas Light Balls require only a few easy to find supplies and you can put a dozen together in an afternoon by yourself and each decoration costs only a few dollars so it won’t ruin your holiday budget.
Here are the supplies you’ll need:
- 24 inch wide chicken wire
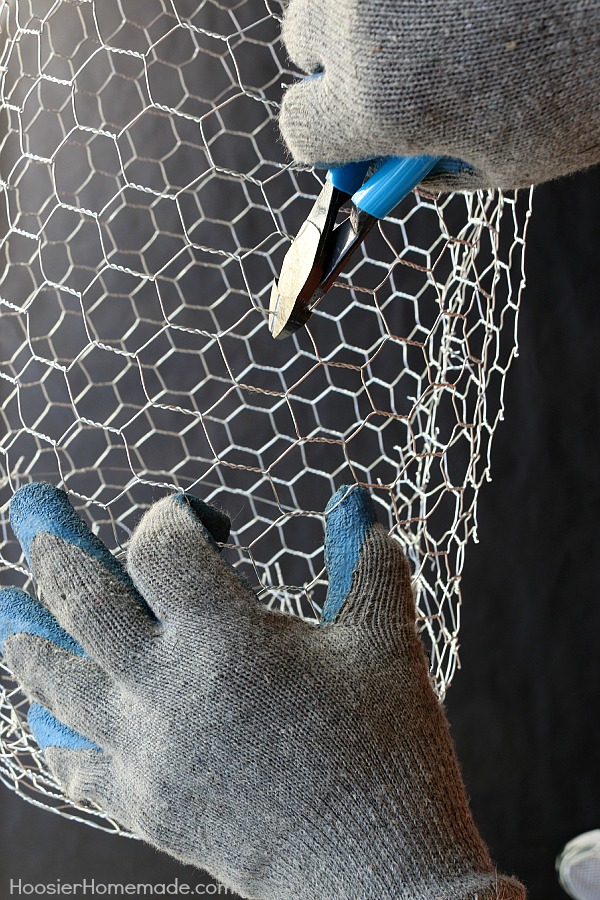
- a pair of Channellock Cutting Pliers to cut the chicken wire
- a yard stick
- a pair of heavy gloves to protect your hands
- 2-50 light or 1-100 light strands of Christmas lights in whatever color you choose
- a package of 4 inch zip ties
- a package of 8 inch zip ties
Step 1
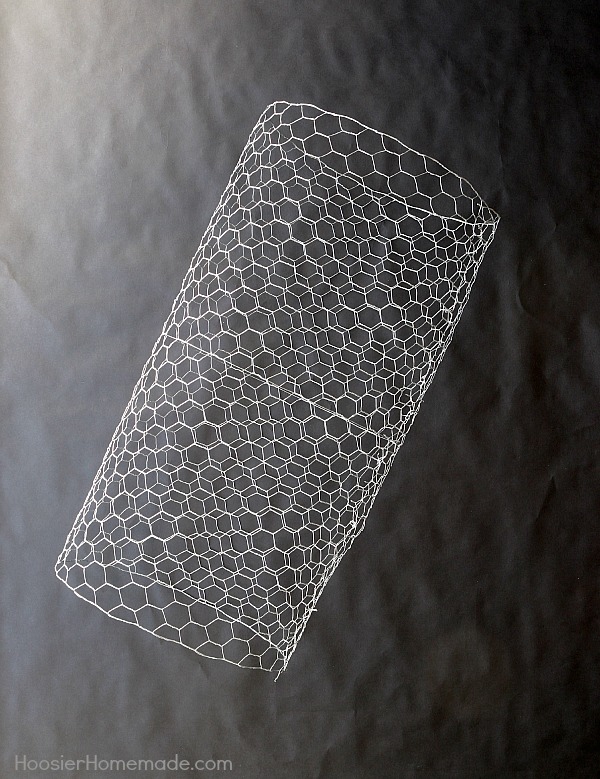
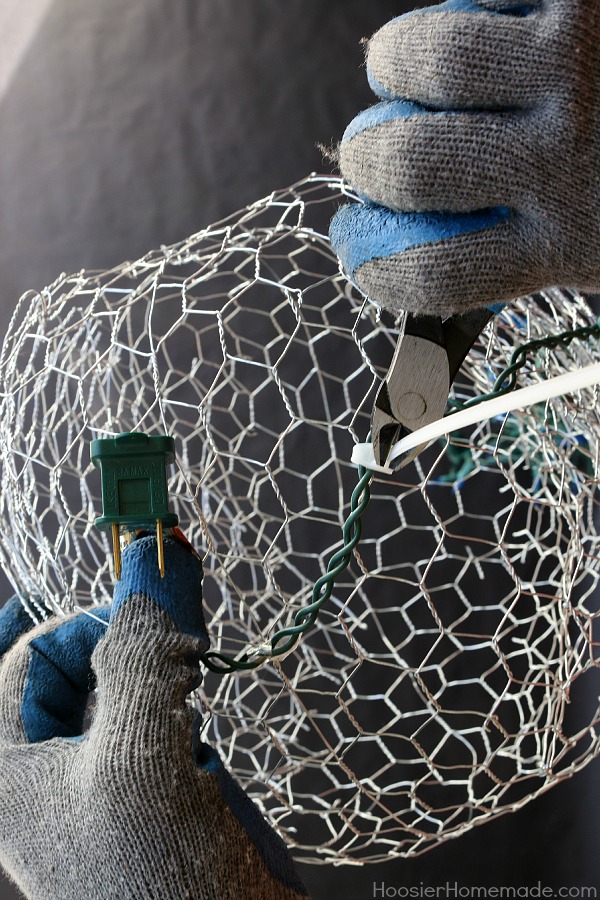
Measure and cut off a 3 foot length of 2 foot wide chicken wire, then secure the cut ends together by twisting the ends together to form a two foot long cylinder.
CAUTION: Make sure to wear your heavy gloves when working with chicken wire.
Step 2
After the cylinder is formed, you will need to cut the wire to form the sphere. The cylinder will have a main wire running down the center, you can see that wire in the photo in step 1.
Start on one side, and cut the wire down to the center main wire. Then count over 6 sections – each hexagon shape counts as 1 section, then cut down to the center main wire. Repeat around cylinder. Doing this created 6 inch wide panels.
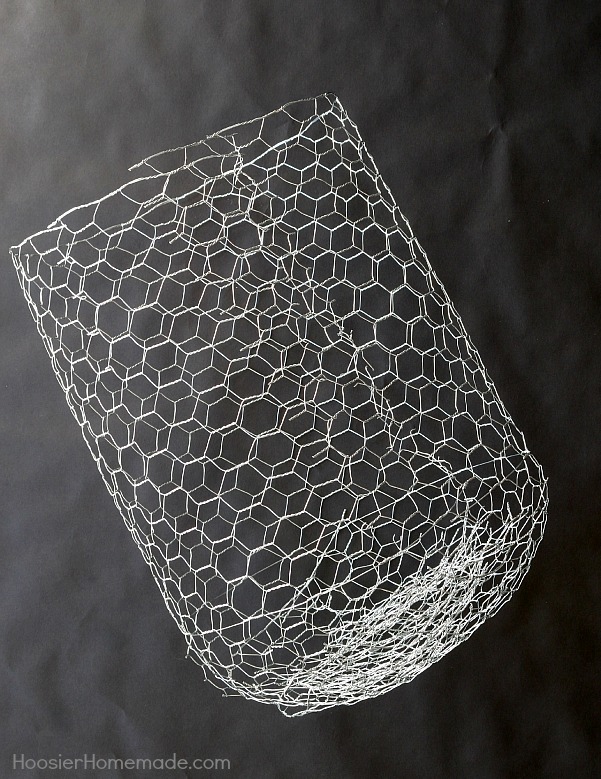
Then fold each of the panels over one at a time to create each side of the ball. Doug found this to be easier than trying to fold or roll the chicken wire onto itself.
Step 3
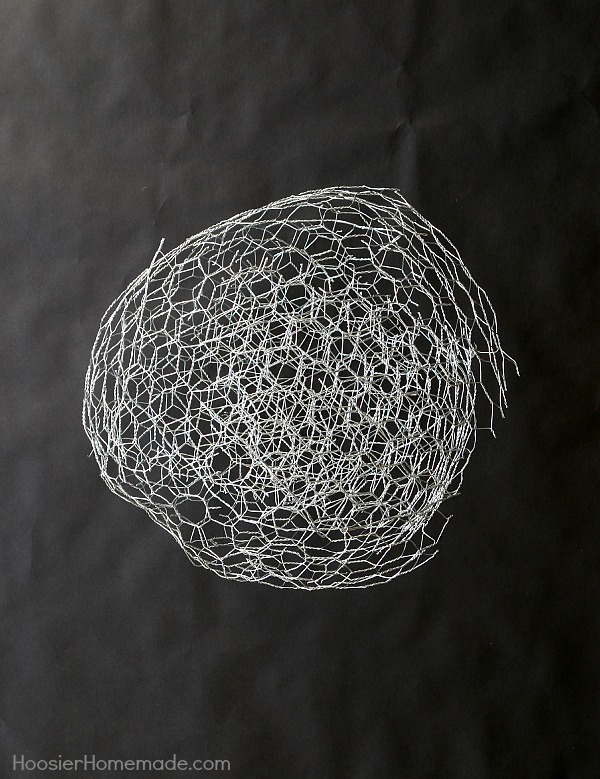
Once you have the end formed to your liking secure the end by simply twisting some of the loose wires together. Then repeat Steps 2 and 3 for the other side.
Step 4
Now you can do any additional molding or bending to fine tune the shape of the chicken wire frame to your light balls.
Step 5
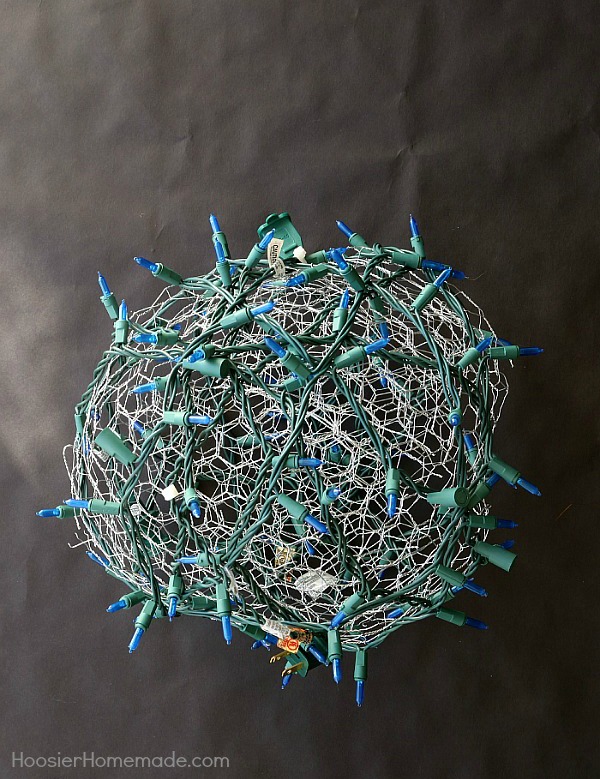
Next attach the plug end of your Christmas lights with a single 4 inch zip tie and then proceed to wrap the entire length of lights around the chicken wire frame. We found that a 100 light strand covered well.
Step 6
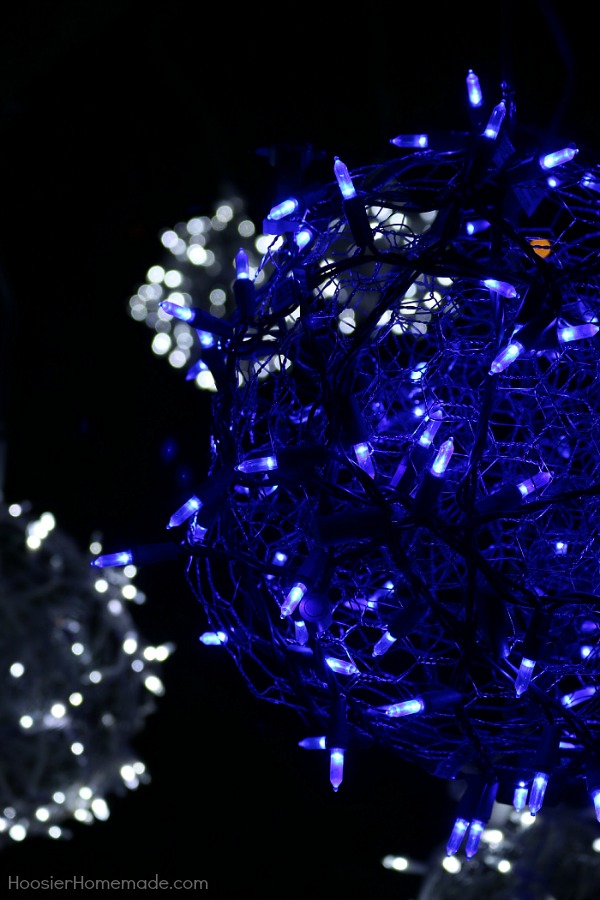
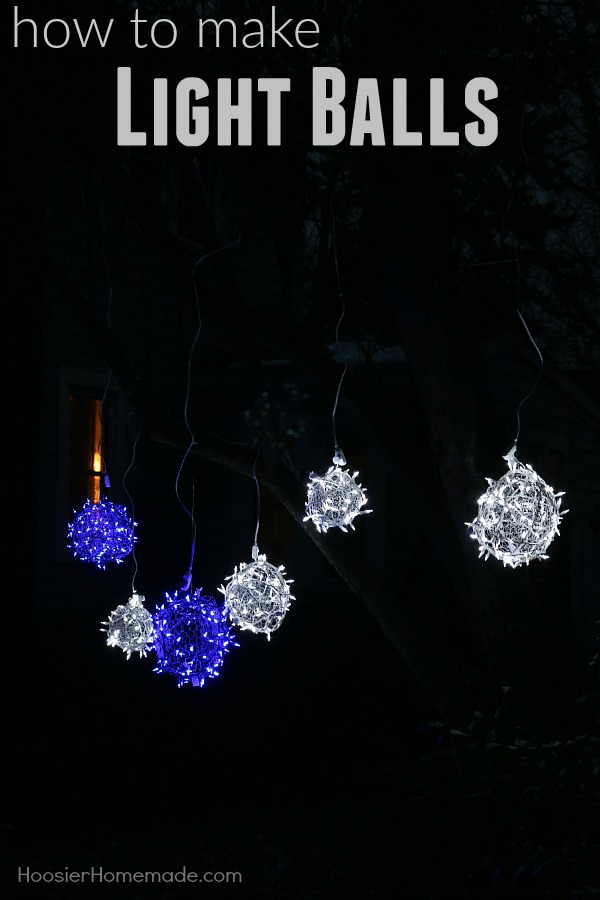
Here is the finished Christmas light ball. Ready to be added to any of your outdoor yard decorations.
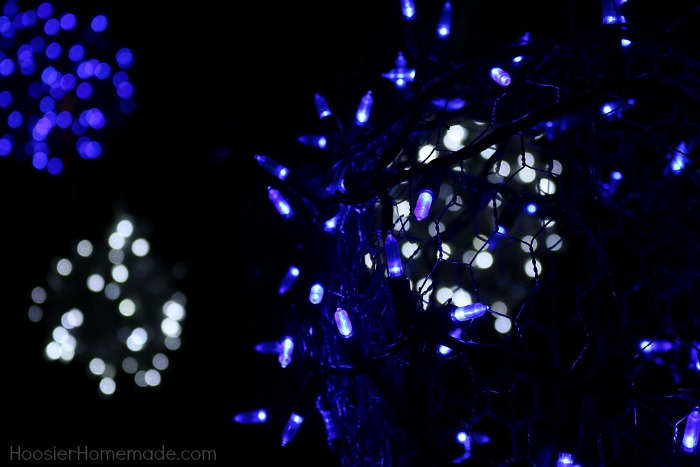
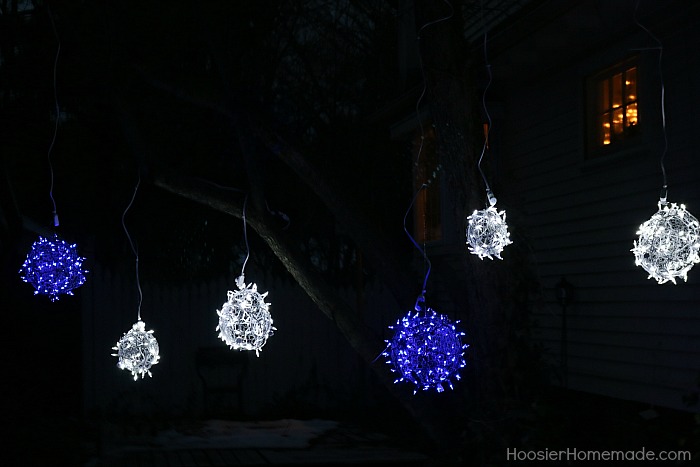
To hang the Christmas Light Balls in a tree, use 18 gauge aluminum wire to hang them from the limbs. Then run extension cords to each light ball and secure the cord around the wire and along the tree limbs with zip ties.

unfortunately have no trees in my yard. so putting my thinking cap on, I came up with the idea of flower pot hangers or some kind of poles. will need to think on that one. I love the balls.
I love those ideas Dianne! Thanks for sharing!
-Liz
I love these ball lights. I have been wanting to make some. Thanks for the great tutorial.
Bev
Oh, how pretty!! I would love to have you share at my new craft link party: https://craftymomsshare.blogspot.com/2015/12/adult-coloring-book-review-craft-crafty.html
These are so gorgeous and a unique idea. I never saw anything like this in my neighborhood. I might have to be the first one to try this. Thanks for sharing!
Great Idea!!!
I made these a couple of years ago they look great in the yard and hung from trees