St. Patrick’s Day Craft: How to make Paper Shamrocks
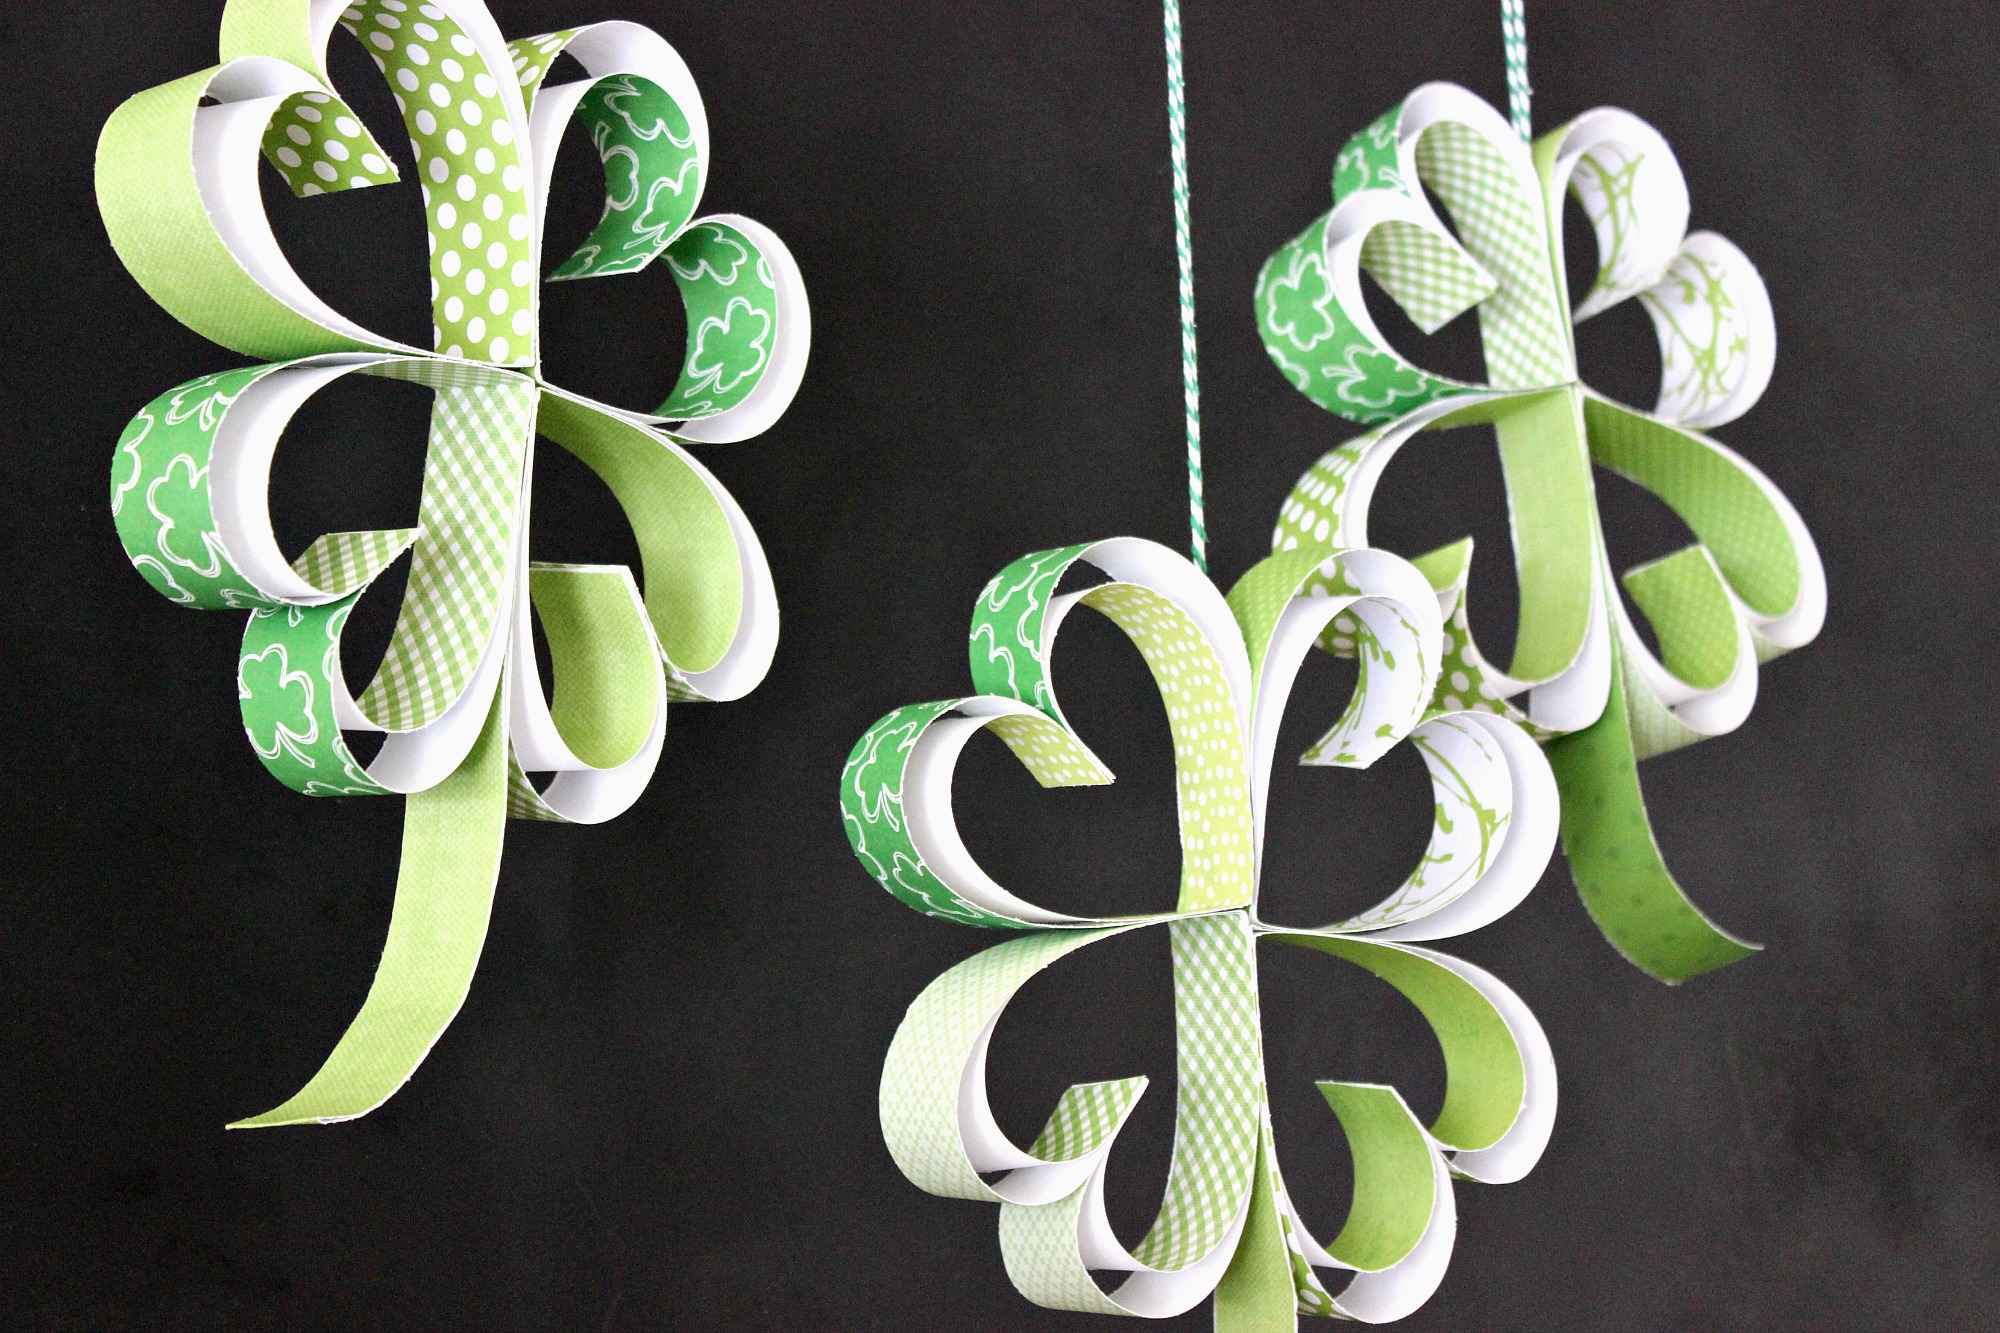
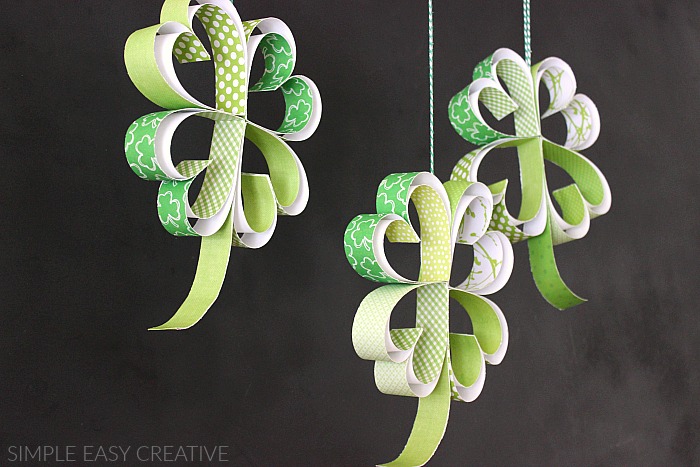
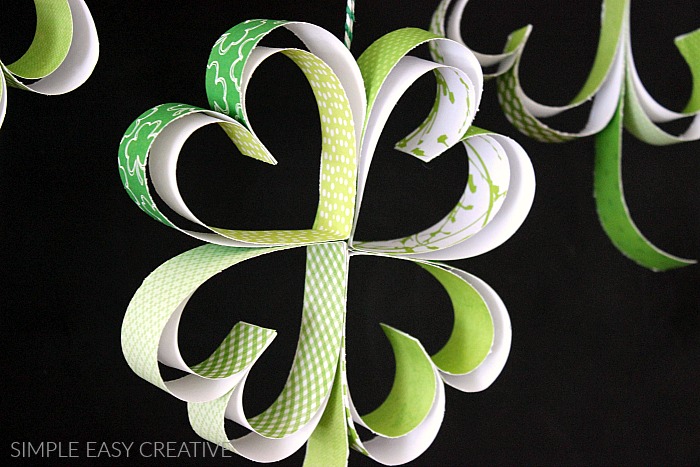
Learn how to make these adorable Paper Shamrocks. They are a fun St. Patrick’s Day Craft that the kids can help with too. Just a few simple supplies is all you need.
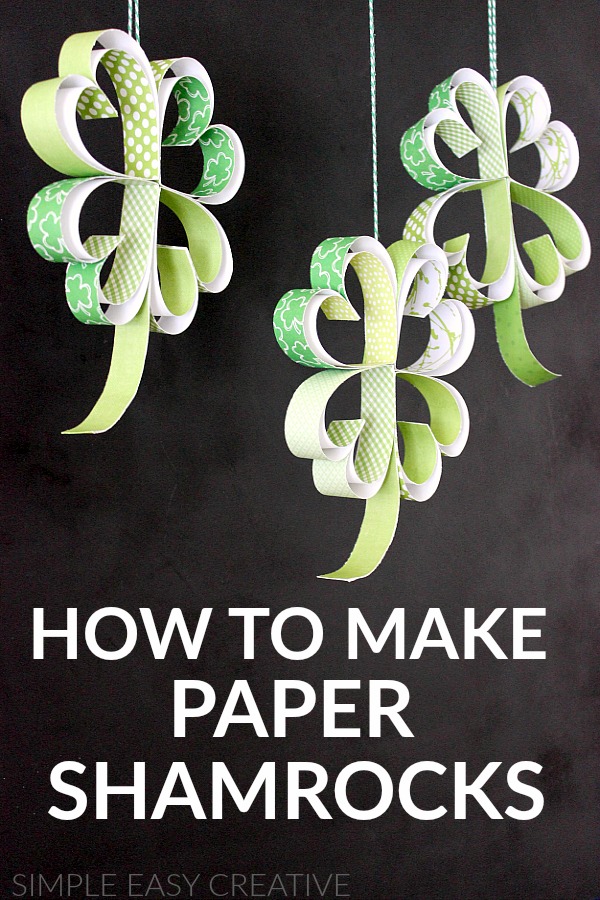
These Paper Shamrocks are easy enough for the kiddos to help with too! While they are similar to the Valentine’s Day Paper Hearts, they are also different, so I have put together a lot of step-by-step photos and instructions for you!, let me show you how to make Paper Shamrocks!
Note – I do realize that shamrocks are traditionally 3 heart shapes and these are 4 leaf clovers. We did try to make them with only 3 hearts, and they weren’t balanced enough to hang. You can certainly make them with just 3 using the same steps below. Either way I think they are adorable and make a fun, easy St. Patrick’s Day Craft to brighten your home or office.
Let’s gather our supplies…
How to make Paper Shamrocks
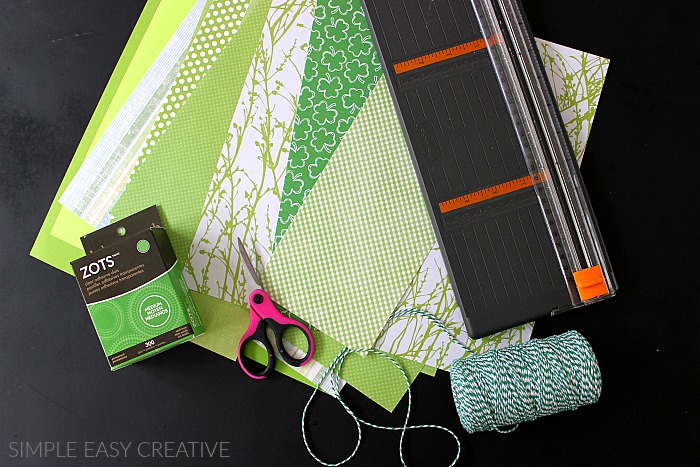
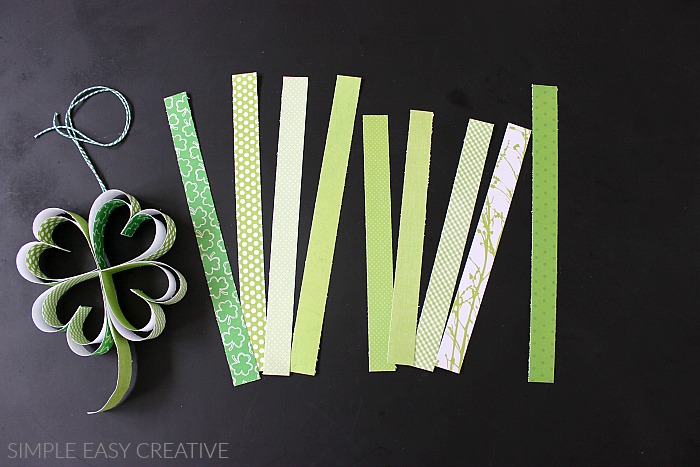
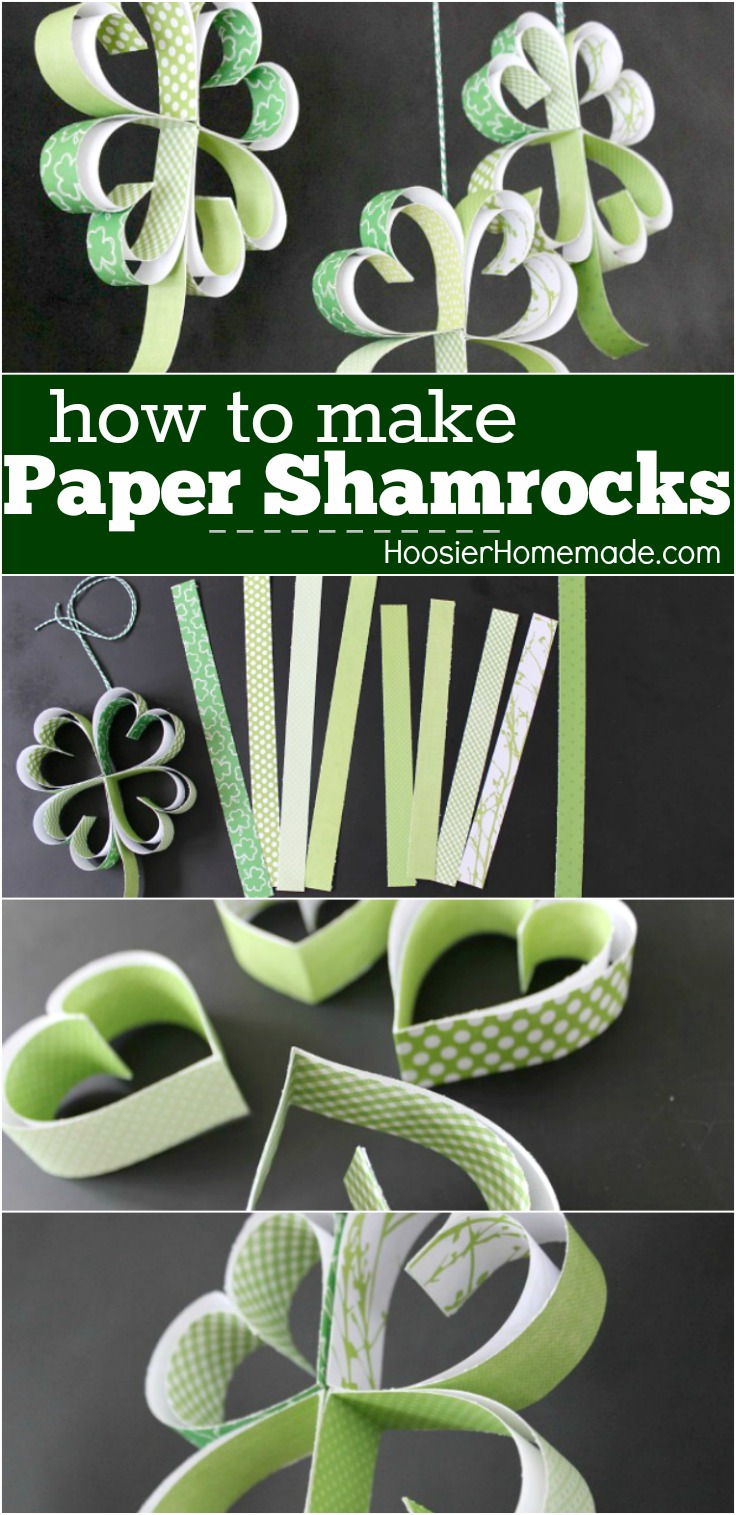
Supplies
- Scrapbook Paper – 12 x 12 inch works best
- Paper cutter
- Scissors
- Adhesive – either glue dots or tape runner or both
- Twine or ribbon to hang the shamrocks
Step 1
For each Shamrock you will need…
- 4 strips of paper – 1 inch wide by 12 inches long
- 4 strips of paper – 1 inch wide by 10 inches long
- Stem – 1 strip of paper – 1 inch wide by 12 inches long

Step 2
- Fold the 12 inch pieces in half, wrong sides together
- Fold the 10 inch pieces in half, right sides together
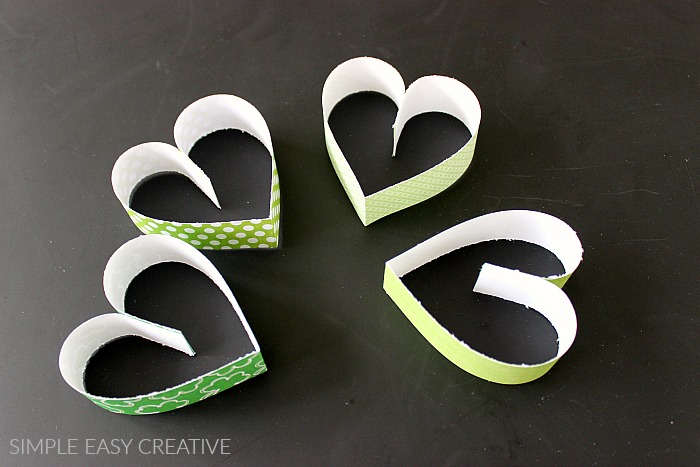
Step 3
- Start with the 12 inch strips and glue the ends together, right sides together to form a heart shape
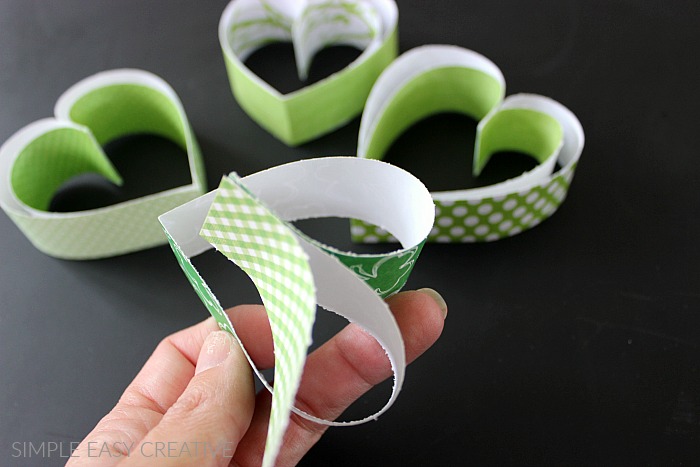
Step 4
- Now take the 10 inch strip of paper and glue one end to the inside of the larger heart, wrong sides together
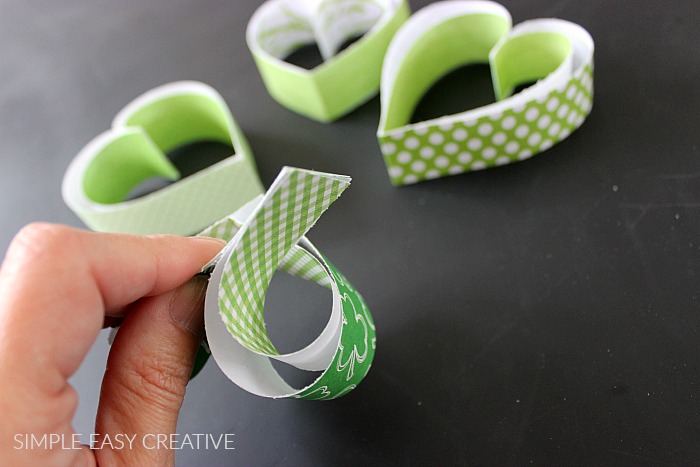
Step 5
- Now glue the other side, wrong sides together
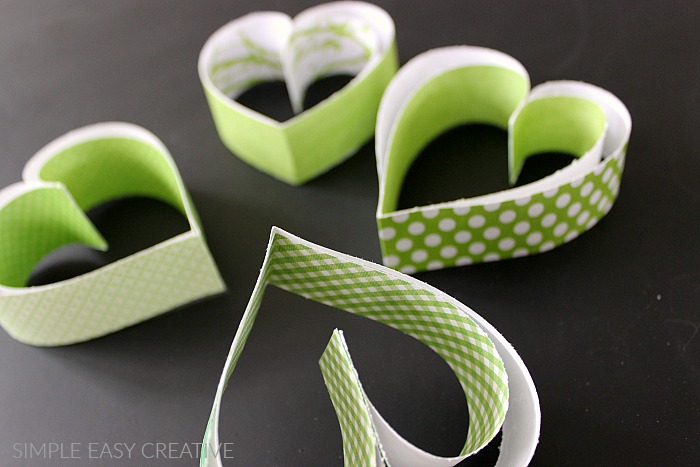
Step 6
- Secure the 2 hearts together at the bottom point with a glue dot
Step 7
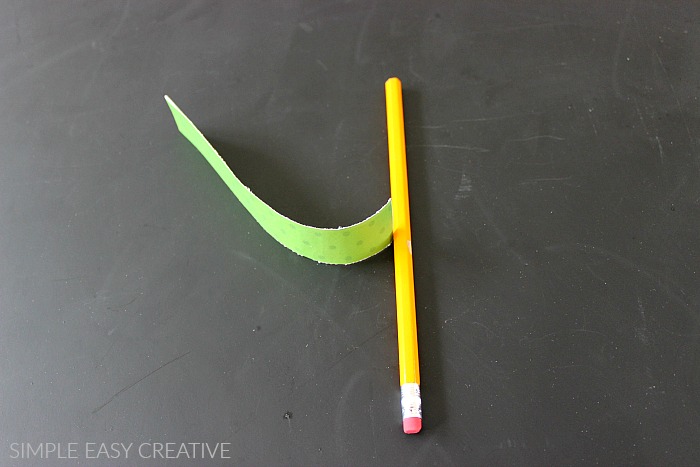
- For the stem, fold a 12 inch strip of paper in half and secure with glue
- Using a pencil, slightly curl the stem, if desired
Step 8
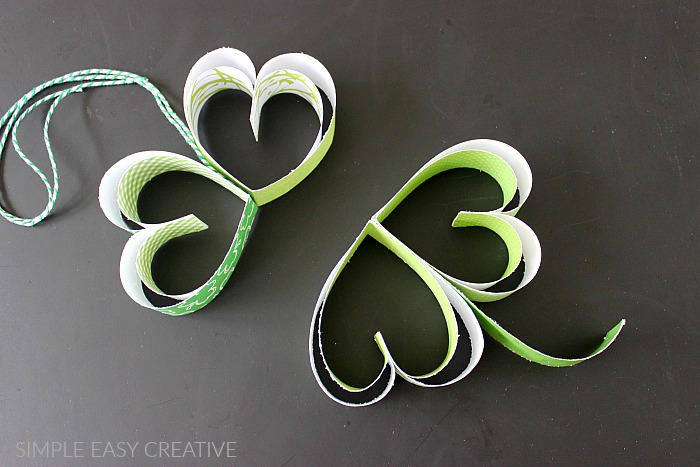
Now it’s time to assemble all the pieces.
- First, cut a piece of twine and attach it between 2 of the hearts with a glue dot and then attach the 2 hearts together
- Then for the bottom, attach the stem with a glue dot and then attach the 2 hearts together
Step 9
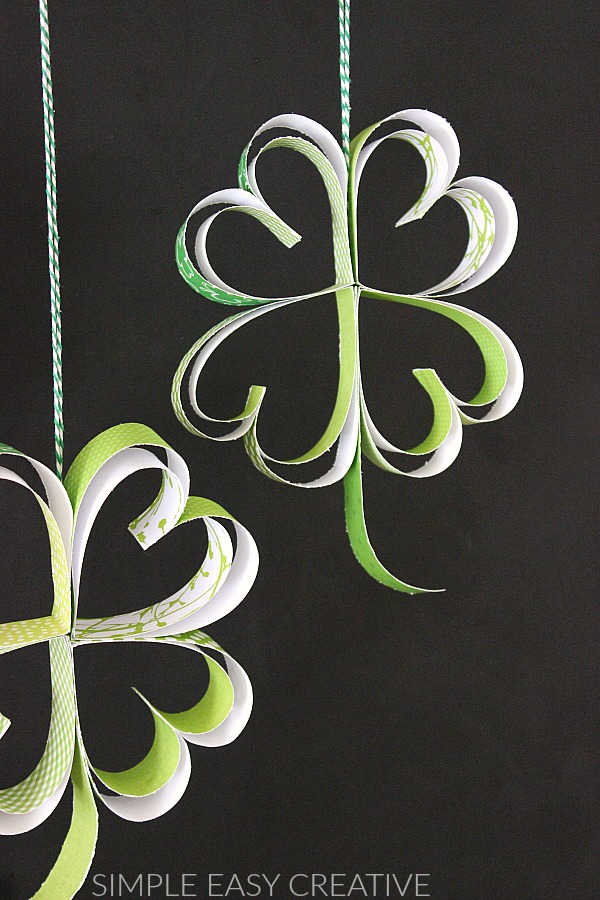
- Attach the 2 sets together with glue and hang

Fun and easy…wouldn’t you say? You may also like the 3D Paper Shamrocks…
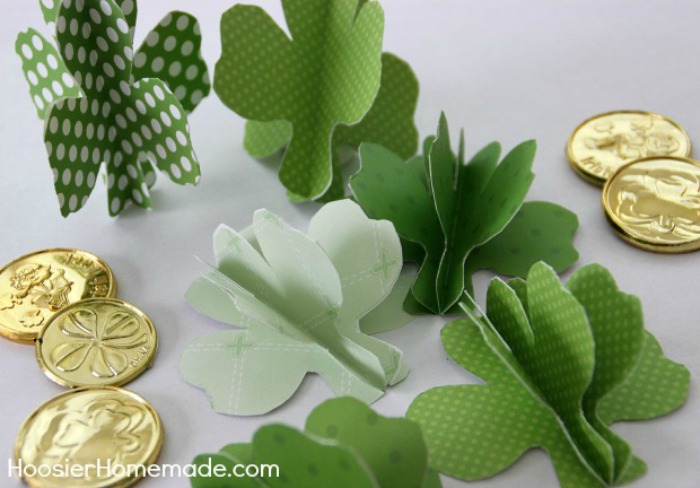
How to Make 3D Paper Shamrocks
c’est vraiment joli j’adore et on utilise nos masking tape !!
I tried to download the instructions for the Paper Strip Shamrocks and could not get it to download printable instuctions. I love the idea and the look of the Shamrocks and the Hearts also.
Thanks so much for letting me know Joyce! We recently had a new design added and some of the links didn’t transfer. I fixed the post. You can print the instructions here >> http://hoosierhomemade.com/wp-content/uploads/HowtoMakePaperShamrocks1.pdf
Happy Crafting!
~Liz
They are cute, but they are not shamrocks.
Shamrocks have 3 leaves.
Four-leaved clovers are a different plant and nothing to do with St Patrick. Sorry.
Hi Azarna, so glad you like them! Yes I’m aware they are not really shamrocks, I did make a note of that in the post.
Yes you did Liz, and those who enjoy decorating for this season love them! My scouts made them last night and you’re right, they balanced perfect with their 4 lucky clover leaves!
Not nce. This craft is adorable and my kids loved it! PS…..if you don’t have something nice to say, then don’t say anything…Life Lesson
Thanks so much for blogging a craft that’s kid friendly but not too kiddy. Always looking for crafts for my scouts to do that they can bring home and have the parents actually happy to decorate their house with….there can only be so much glitter in the house!
I’m so excited you liked them Kylene and that your scout troop can have fun making them too.
~Liz
We love your blog and will be featuring one of your posts on this week’s social media campaign through our facebook, pinterest, twitter, and google + pages. Thank you for your helpful tips and we want you to know that with your creativity we are able to share fun ideas with our clients as well as get you more followers. Keep up the good work.
These are too cute!!! Little Buddy and I may have to make some of these and decorate our school room and get in the Shamrock spirit a bit!
Love them!
Robyn xo
Love it … Pinned it!
Thanks Brenda! So excited you like the Paper Shamrocks!