Rustic Office Desk: Pottery Barn Style
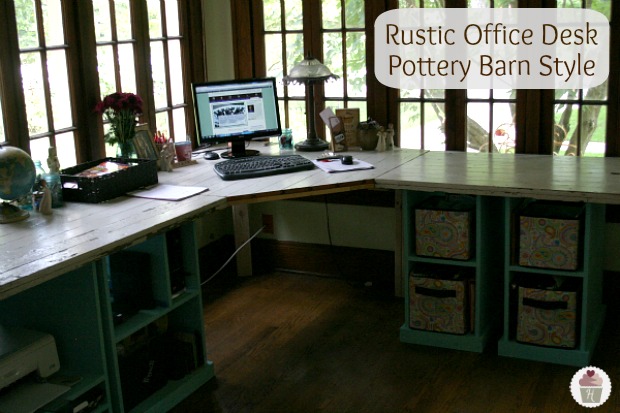
Sometimes it really pays to wait…gather your ideas…wait a little more…buy the wood {and let it set for a few months}…wait some more…and then…take a trip to the store and along the way spot barn doors along side of the road with a free sign on them! This is the project that has been 3 years in the making. Now, we haven’t worked on it for that long, but I have been dreaming, planning and yes…waiting for this desk since I started blogging over 3 years ago!
After spotting my inspiration and checking out the Pottery Barn Style Desks, we started planning, measuring, cutting and building the Rustic Office Desk! And my 3 year dreams of having a cool, beautiful, rustic, vintage and yes functional Office Desk…came true!
Did you see the sneak peak? Or have you been following me on Instagram? It all started with the cabinets…
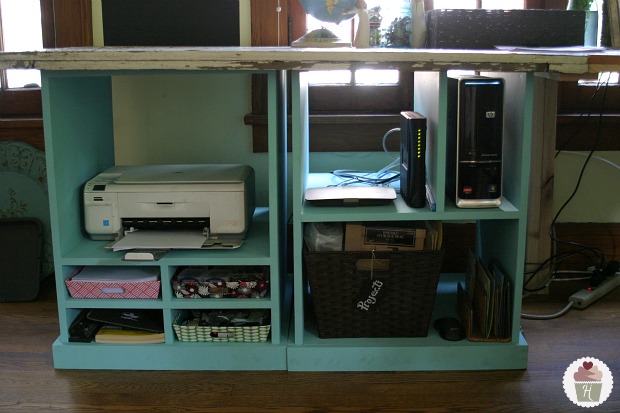
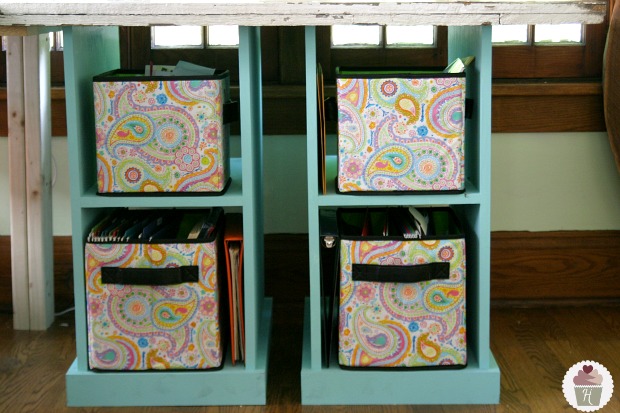
Doug measured the computer and printer, and built the cabinets to fit. The cabinet on the left, has the printer with enough room to open the lid for scanning, and below it has a space of the boxes that I found in the dollar section at Target. The cabinet on the right, has the computer tower, router and a space on the bottom to hold a basket with our current small projects.
The cabinets were painted with Bermuda Bay, it was a Glidden color, but we bought an interior Walmart Color Place gallon of paint and had them color match it.
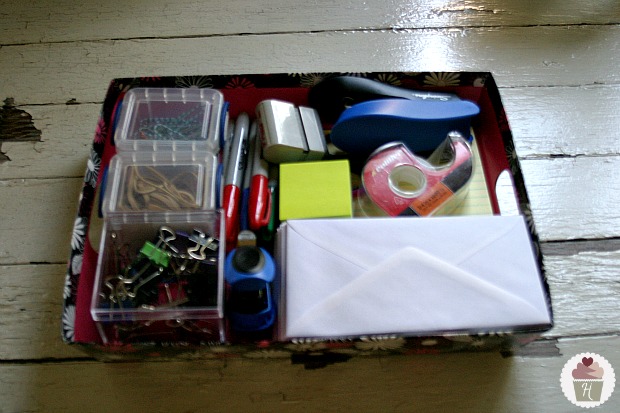
I’m a bit nerdy when it comes to office supplies. I get simply giddy when everything is organized and in it’s place!
And on the other end, are the file boxes that came from Scout by Bungalow. I don’t have all the files organized yet, but all in due time.
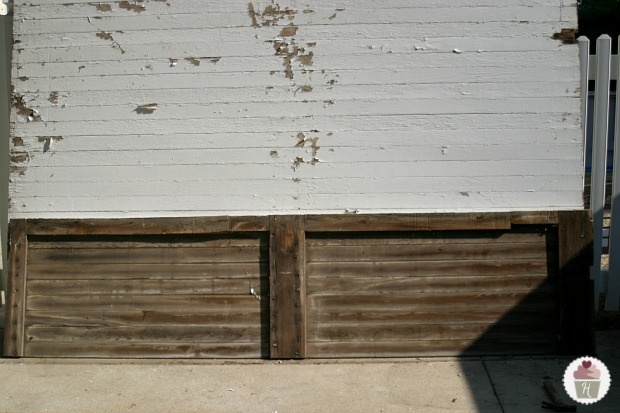
After the cabinets were all done, then it was time to start on the top. Like I mentioned earlier, the 10 foot Barn Doors were found along the road. You can look for barn doors at garage or estate sales, but if you can’t find them, you can use 3/4 inch plywood and finish it with paint or stain.
There were 2 huge, very heavy, Barn Doors, the one in front has already been cut for the desk.
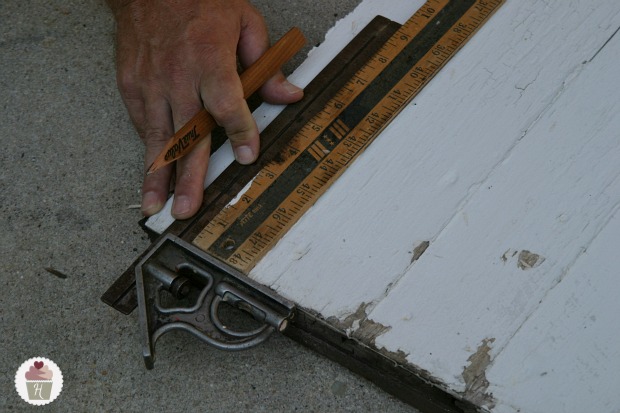
Doug used a square and straight edge to mark the dimensions of the corner section.
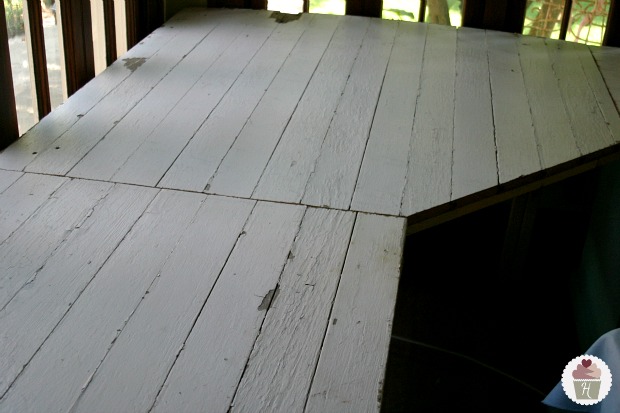
After all 3 pieces were cut, it was time to bring them into the Office and get the Desk set up. Doug put 1 by 4 inch pine board, attached with 1 3/4 inch wood screws to brace the area where the desk comes together. And legs were made from two 2 by 4’s, glued and screwed together.
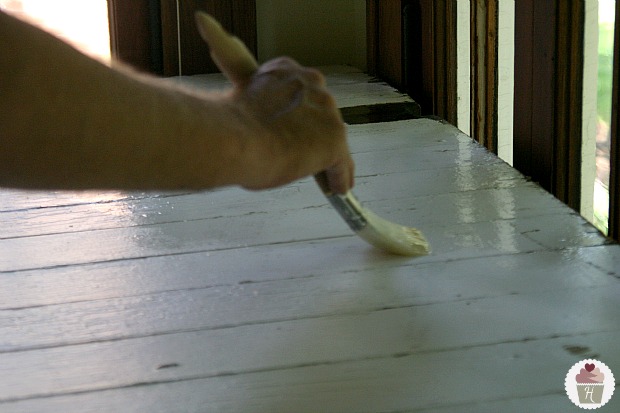
Even though I love the look of the chipped paint, we needed to add a sealer for a few reasons…a) since the Barn Doors are old, there might be lead in the paint, b) I didn’t want to get splinters from the wood and c) I wanted to preserve the look it has right now and hopefully prevent any more chipping. Doug used Watco Wood Lacquer to seal the top of the desk. We chose the lacquer because every sealer Doug found cautioned it may give a yellow tint to white paint.
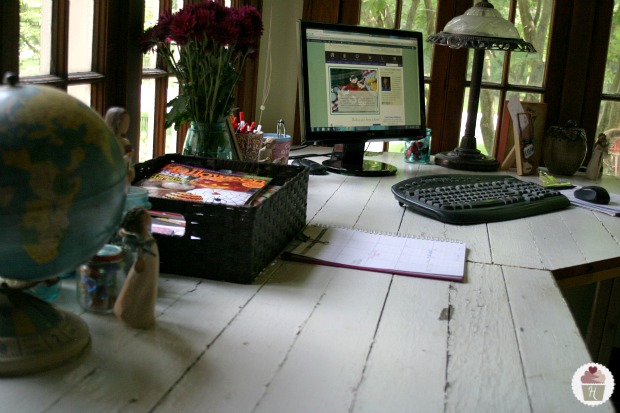
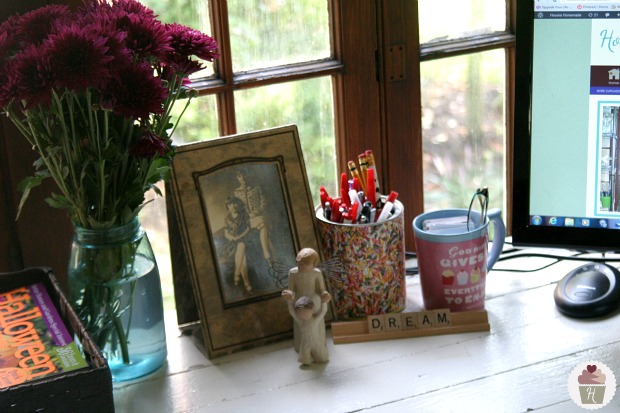
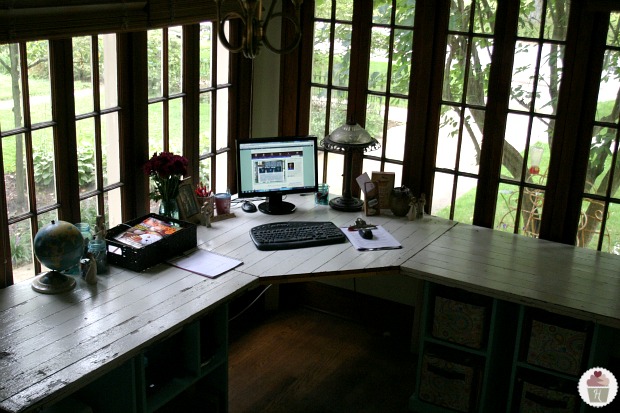
After the Sealer dried for 24 hours, it was time to move the computer back and start decorating and surrounding my area with things that I love. The old photo is my absolute favorite, it’s my Mom and Aunt when they were young girls. Dream…because you should never stop dreaming. The mug from Dayspring came from my friend and assistant, Ashley. Pencil container with sprinkles…you can never have enough sprinkles. And one of my Willow Tree Angels.
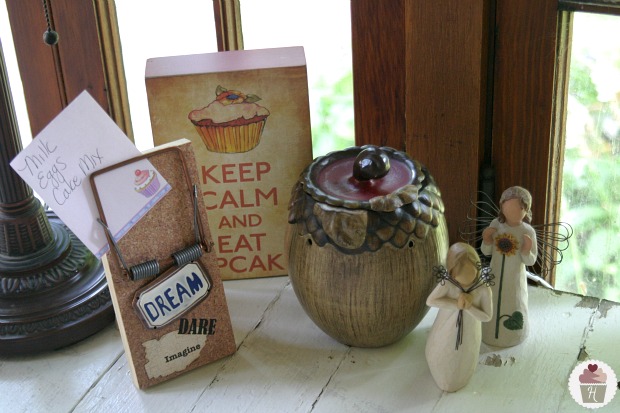
We made the note holder, just like the Mouse Traps, but this is a Rat Trap. Keep Calm and Eat More Cupcakes came from my very good friend, Dawn. A candle warmer and more angels.
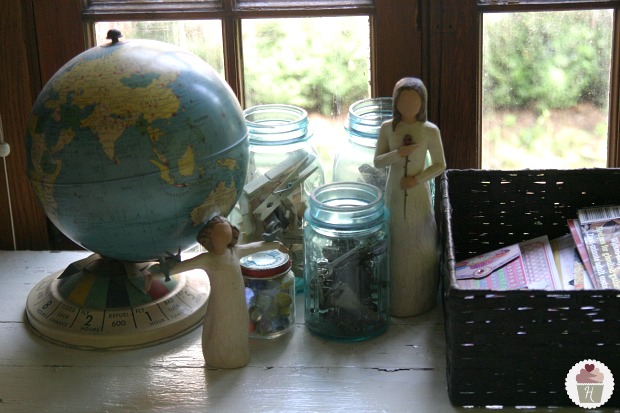
Blue Mason Jars hold clothespins and old keys, and a small jar filled with glass marbles. A couple more angels and a Vintage Globe. The basket holds current project ideas and magazines.
Even though we dreamed, planned and built the desk ourselves, I never imagined how awesome it would be! I’m absolutely thrilled with it!! My days in my office, just got a little longer! I think Doug did an amazing job building it, don’t you?
Office Makeover Journey
We have a couple more things to finish up in the office…DIY Chalkboard and the Chandelier. I’m looking for ideas for lighting, do you have any?
Linking to…Show & Tell Friday, Weekend Wrap Up Party, Saturday Night Special, Made By You Monday, East Coast Creative

Your desk is gorgeous! I have been looking for a custom desk for my new office for the last month and this one is perfect! What are the dimensions???
Hi Bethany, I’m thrilled you like the desk. The overall size is 7 1/2 feet by 8 1/2 feet, but the side pieces are cut at an angle with the middle for the chair. The same concept can be used for any size.
Let us know if you have more specific questions, we are happy to help!
~Liz
What a beautiful desk!!!! Your husband did an amazing job…you’re a great team!
Thanks so much, Monica! I definitely have lots of space on the desk.
~Liz
Wow! I am so jealous! The barn doors are beautiful! Awesome find! I love how the final desk turned out!
This is so great! I would LOVE if you would share this at my Crazy Cute Party happening right now! I’ve got a totally awesome giveaway that you could win just for linking up! Come on over! ;D
Between U & Me
Oh! And I’m your newest follower!
Wow! Not only do I love your desk (100 times more than the pottery barn one)… the windows around your desk are awesome!
Susan