DIY Chalkboard Labels
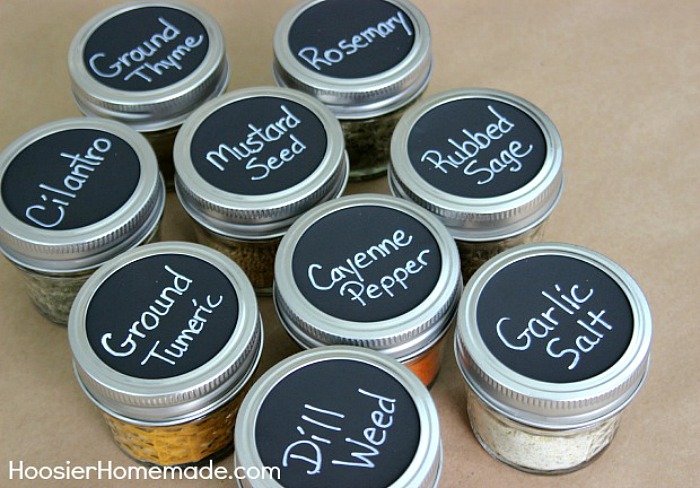
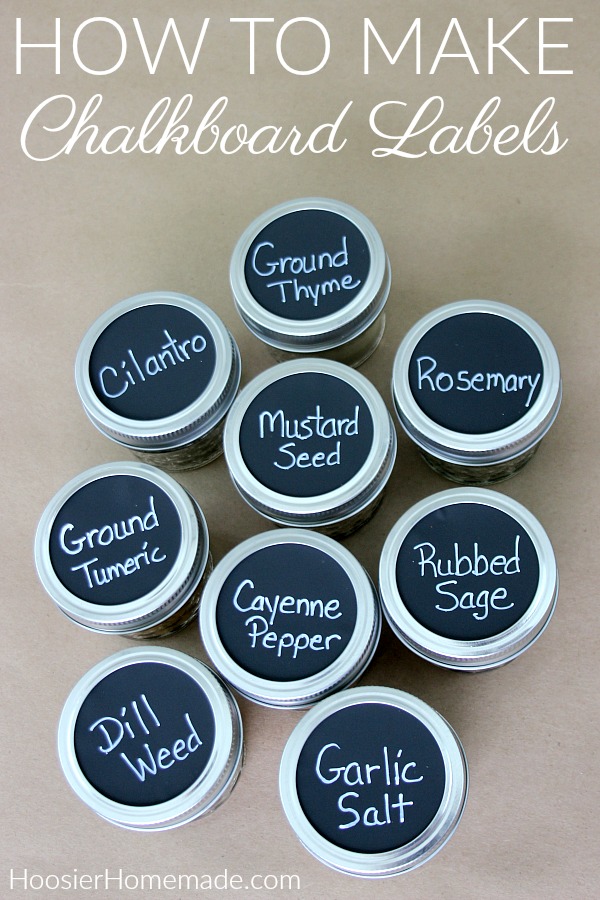
These Chalkboard Stickers are easy to make and can be used in a variety of different ways. Learn how to make Chalkboard Labels with just a few simple supplies.
Chalkboard Signs, stickers and even Chalkboards in general are really popular right now, and rightfully so. There are endless projects that you can create with Chalkboard Paint.
It’s that time of year – you know when we are ready to begin eating healthier, organizing our space and generally just feel better about ourselves. There has been a lot of talk lately about the Konmari Method, and while I totally agree with decluttering and organizing our homes, I also feel strongly about the deeper emotion behind the work.
One of my goals for this year is to create systems for our home and business, making things flow easy and create space in my day and life.
Just like the Sprinkles Cupcakes, the spices were a mess. So I tackled them by adding these Chalkboard stickers.
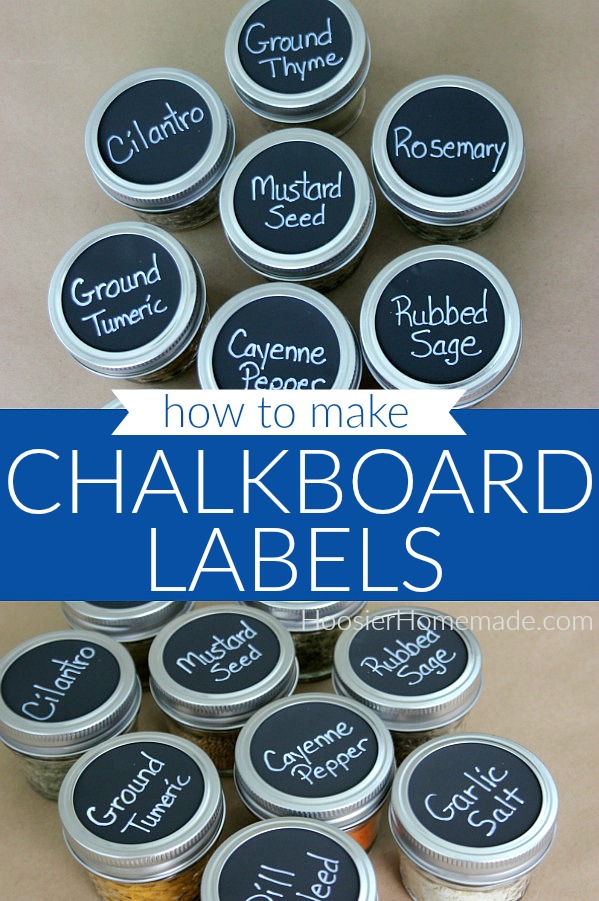
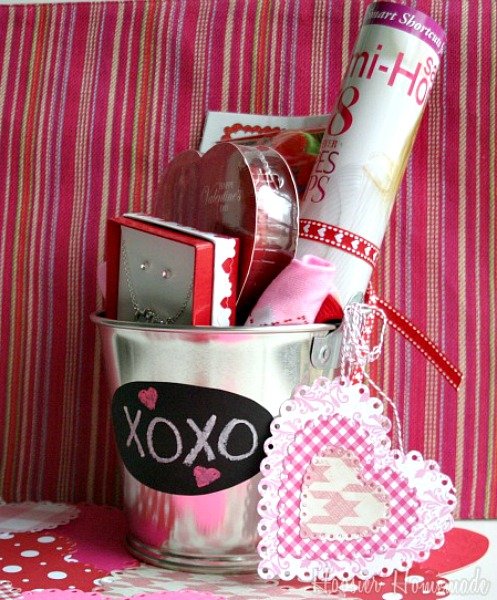
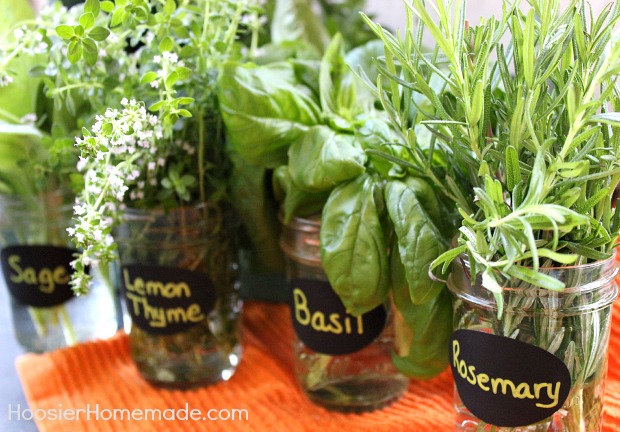
For this project, I am using the Chalkboard Labels on small Mason Jars filled with Spices. I have also used them on Love Buckets for Valentine’s Day and Preserving Fresh Herbs. Creating the Chalkboard Labels is easy and fun!
Let me show you how to make your own Chalkboard Labels…
Chalkboard Stickers
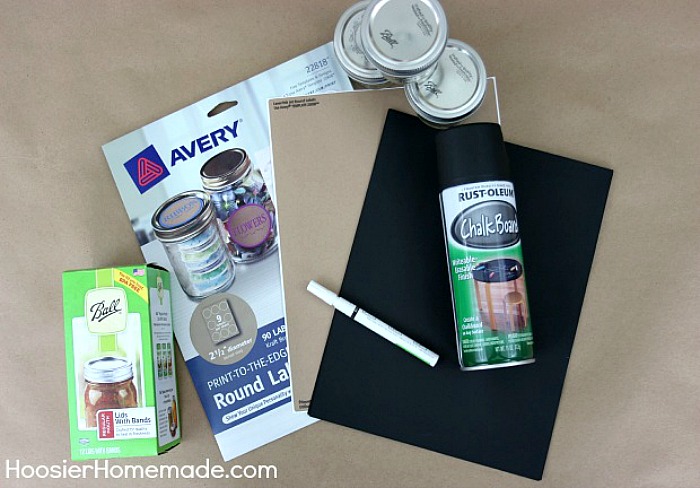
Supplies
- Labels – you can either buy pre-cut labels or a solid sheet, for this project we used Avery 2.5 inch Round Labels, they fit perfectly on the Regular Mouth Ball Lids
- Chalkboard Paint – there are a few different brands available, using the Spray Paint makes it a lot easier.
- Chalk Paint Pen – you can also use a regular paint pen if you don’t plan to erase and re-use the label, or regular chalk as well
If you don’t want to mess with the paint, you can also use Chalkboard Contact Paper. This would also be fun to add to a wall for the kids to draw on, or maybe put it in a frame.
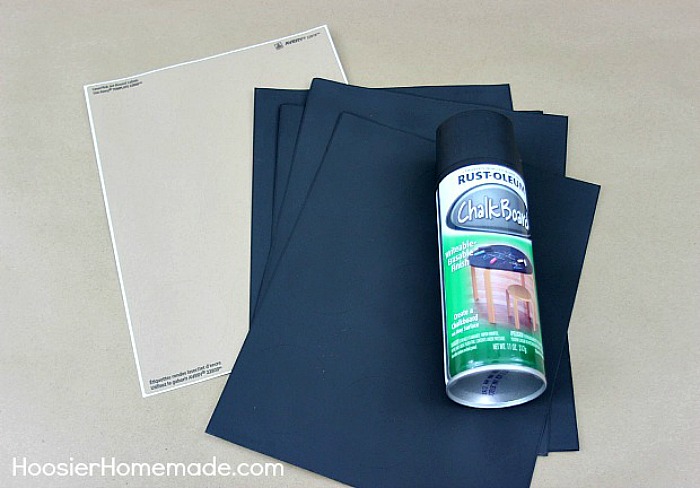
Step 1
- Place labels on covered work surface, and spray with chalkboard paint – be sure you take it outside, just like with any spray paint
- You will need 3-4 coats, letting it dry in between each coat
- Then let the sheet dry overnight
Step 2
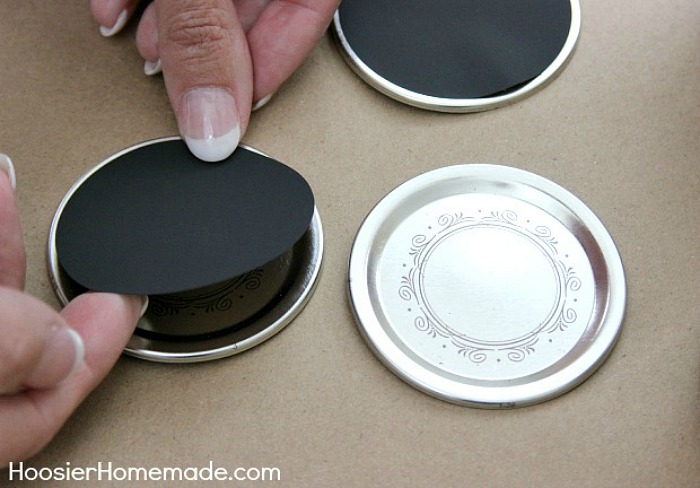
- Peel off the label and attach it to the lid – if you are not using the labels for jars, at this point, depending on what you are labeling, you may want to write on the label before applying it to your project
- And if you are using a solid sheet of labels, you can use a craft punch to cut out the size of label you want
Step 3
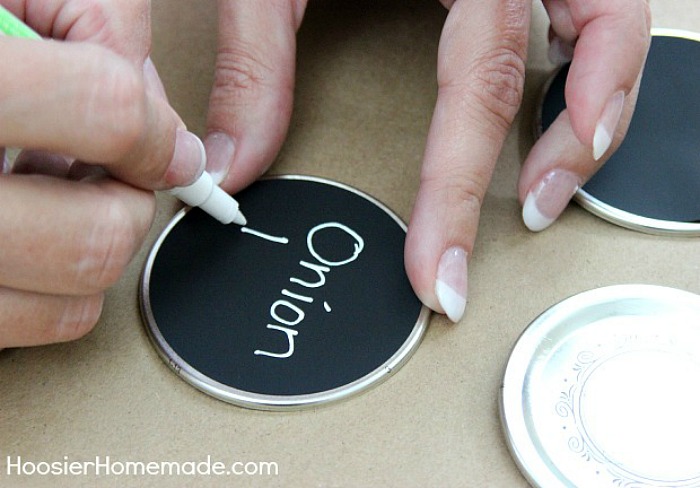
- Write on the label – for this project, I used a regular fine tip paint pen. I did this for a few reasons – 1) I don’t plan on re-using the labels, 2) since the label is small, I wanted the lettering to be fine and 3) chalkboard pens are $10-$12, this pen was only $3.50.
- Let dry a few minutes
Step 4
- Add lid and ring to the jar
Organizing Spices
Now you can add each of your spices to the mason jars, add the lid and you are ready to organize them. It not only looks really nice with the Chalkboard Stickers, it also makes seeing how much of the spice you have left.
You may also like these projects using Chalkboard Labels…
Love Buckets for Valentine’s Day
Fresh Herbs: Preserving and Drying
And these projects with Chalkboards…

I wonder if you could have just painted the jar lids? I wonder how well that would hold up. Hmmm.
Hi Tera, yes I think just painting the jar lids and not using the labels would work.
I wanted to be able to remove them later if I changed my mind.
-Liz
Hello! I am working on these labels right now! My daughter and I are going to put them on mason jars that will be used at her graduation party. I’m wondering – have you ever tried to run the chalkboard-painted labels THROUGH your printer to make custom labels? I’m not sure if yellow or maybe red would show on them. Just curious if anyone has tried this!
Hi Beverly, I have not tried that. I am not sure how the chalk would hold up going through the printer. But it’s worth a try.
~Liz