How to Build a Wood Pallet Deck
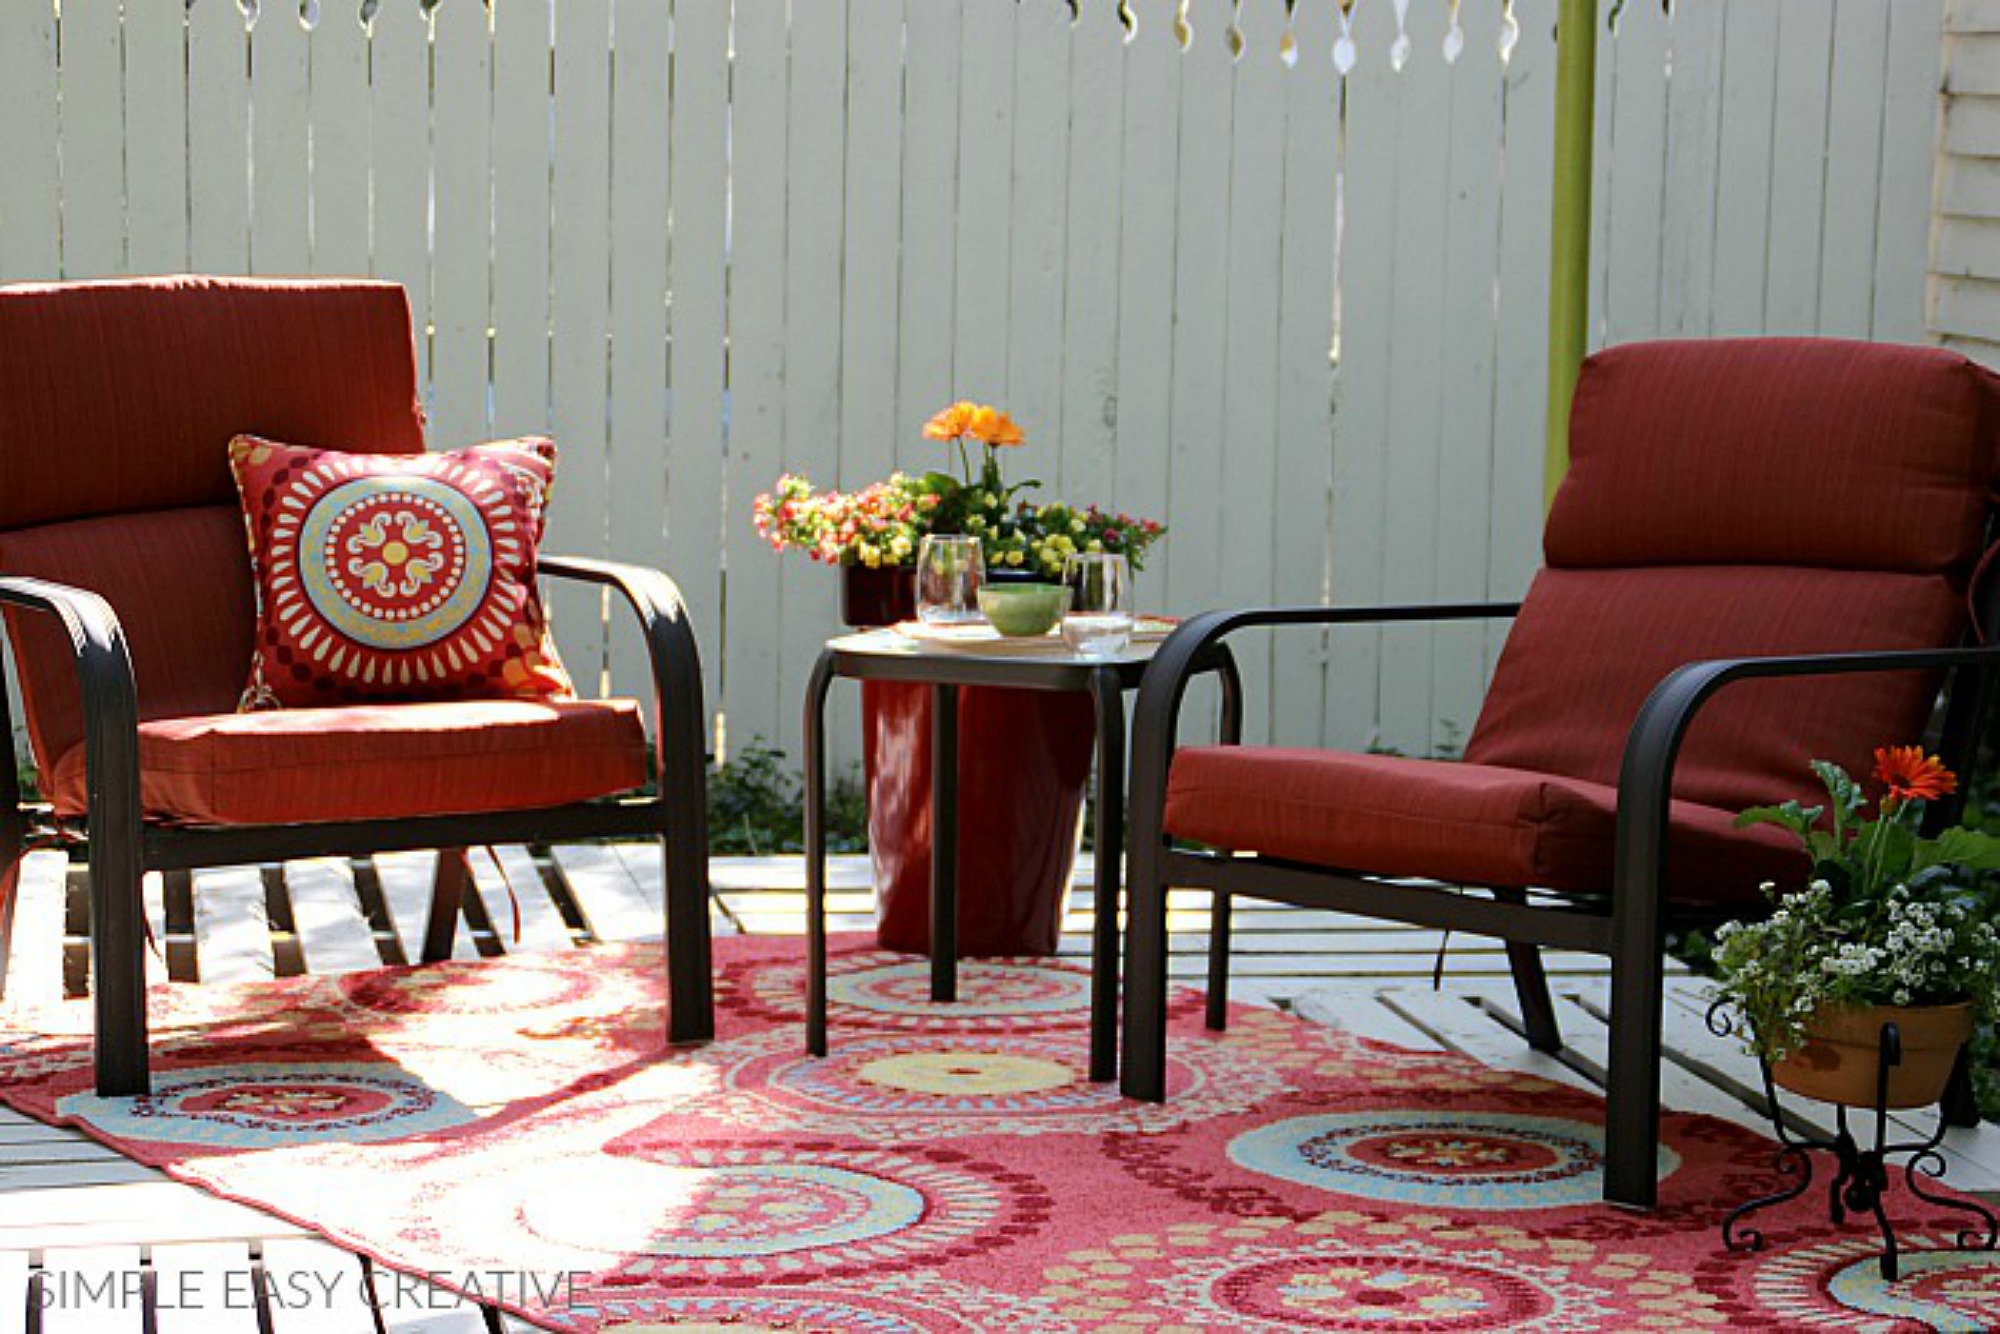
Making our home beautiful not only for others to see, but for ourselves is important. Creating an Outdoor Space where you can relax and enjoy the outdoors is easier than you think. Our side yard was an area that needed attention, so we built a Wood Pallet Deck and added new Outdoor Furniture, Flowers and Decorations, creating an Outdoor Space that is warm and inviting!
When we first began thinking about creating a new Outdoor Space, we knew we wanted a comfortable spot to relax, have a drink and enjoy the weather. We have been wanting to build a deck area for many years, but let’s face it, decks can be expensive to build. So during a brainstorming session, Doug came up with the idea to build a Wood Pallet Deck. And I loved it!
Building with Wood Pallet’s are all the rage, and I love how cool and rustic they are, so I was excited about the idea. One problem though, Wood Pallet’s are often times too rough looking with broken pieces and the slats are too far apart. He assured me that he knew of a place that sold Wood Pallets and they weren’t all built with large openings.
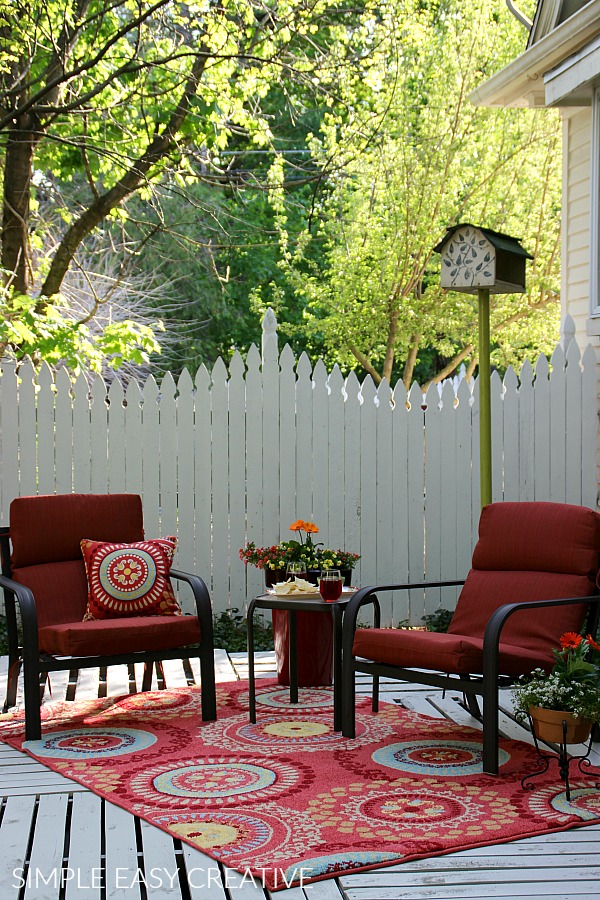
I’m simply thrilled with how the space turned out. It’s warm and inviting, yet it has a pop of color to draw your attention.
Now, let’s build a deck…
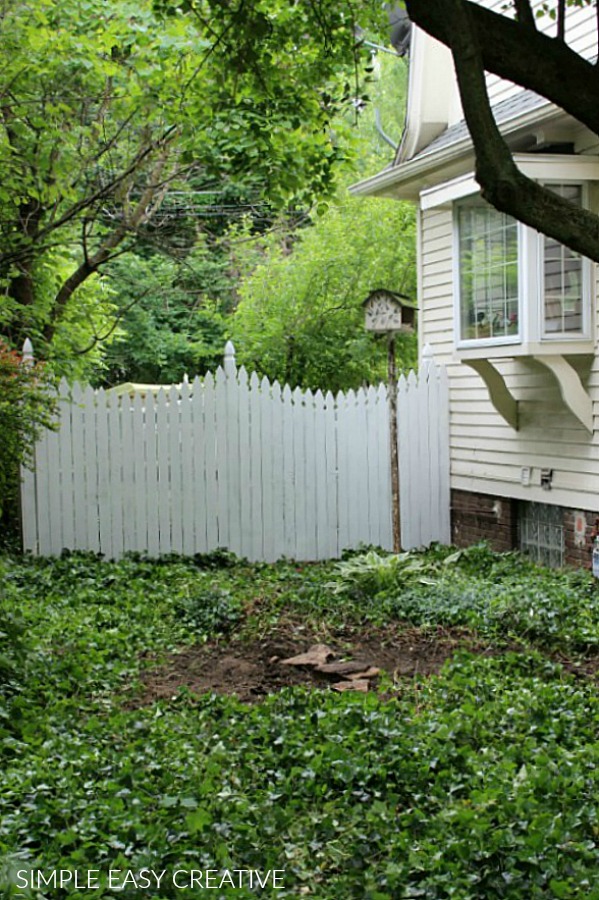
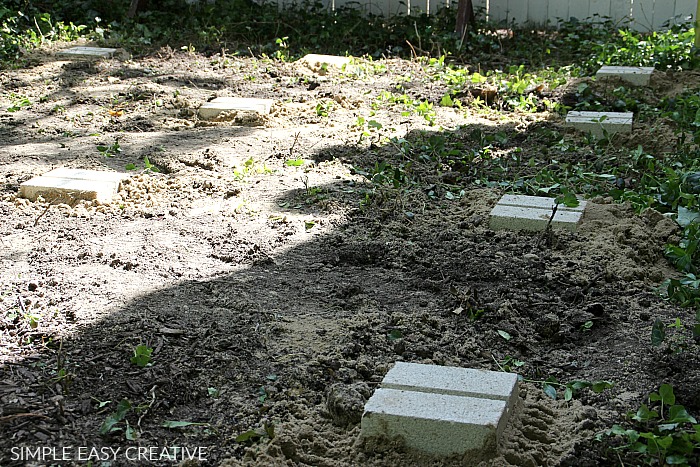
This is where we began, our side yard was overgrown and needed attention.
Wood Pallet Deck Supplies
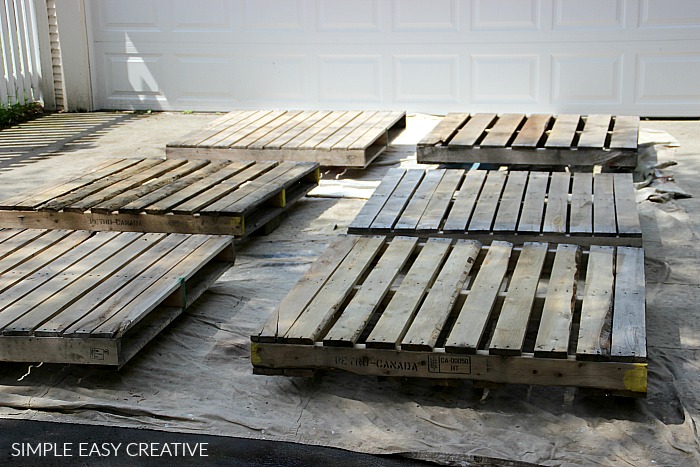
- Pallets – we bought ours at a local pallet manufacturer, they are 48 inches x 48 inches, 2 way barrel pallets NOTE: These Pallets were made to hold 1000-1200 pounds of weight, they were made at a Pallet Manufacturer
- Concrete Half Blocks – 8 inches x 8 inches x 6 inches
- Stain or Paint – we used Stain, because Paint tends to peel off of outdoor wood, we used Olympics Solid Stain in Sandstone color
- Gravel and Sand for leveling
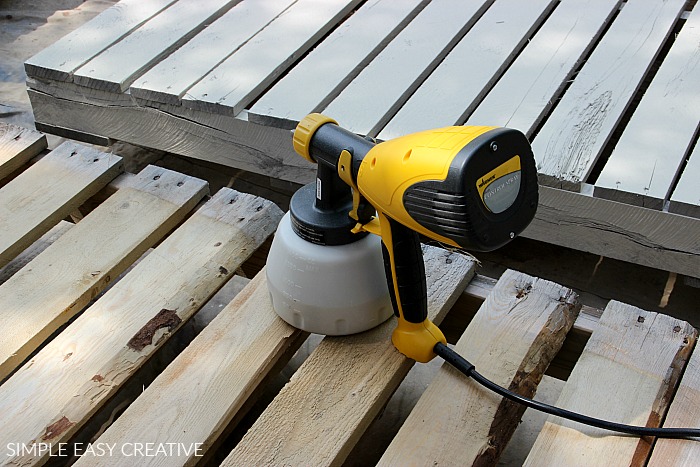
- Paint Sprayer (optional- but one of our favorite purchases!)
Cost:
Depending on the amount of tools you will need to purchase, and how much you purchase the pallets for, will effect your cost. We spent about $120, and had some of the tools already.
The purchased the pallets from a local manufacturer and they were $10 each. I would highly suggest that you purchase the pallets that are made to hold weight, it’s worth the money.
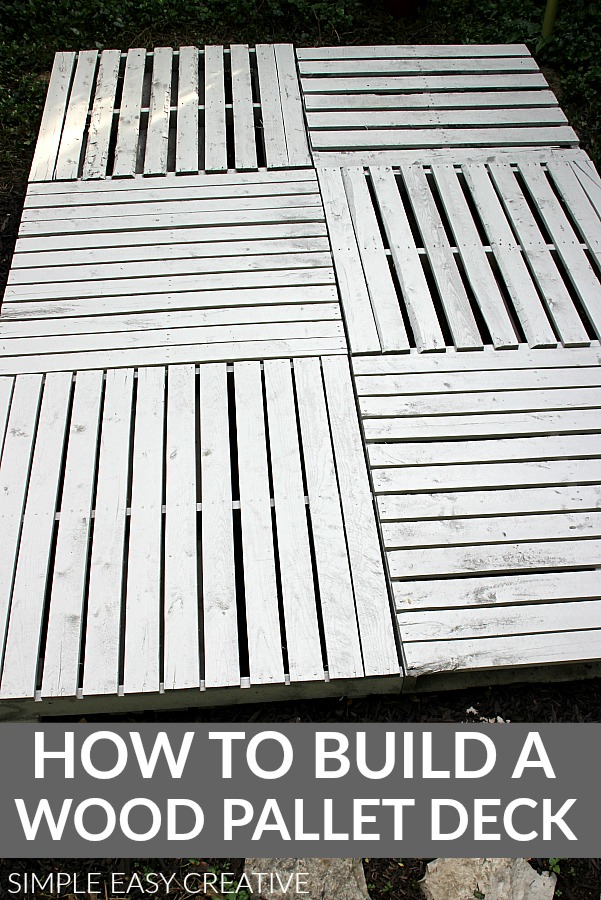
The number of Wood Pallets you will need will depend on the size of deck you want. We decided to start small and see how we liked it. We used 6 Wood Pallets to make an 8 foot x 12 foot deck.
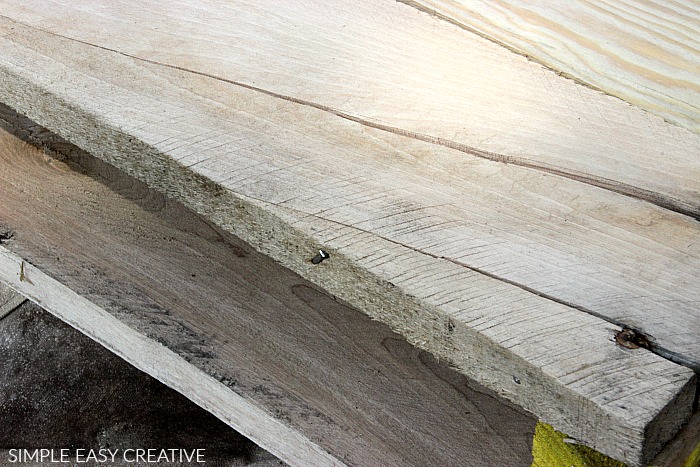
As I mentioned earlier, most of the Wood Pallets that you find are going to be rough. Next you will need to clean them with a deck cleaner, do any repairs to them and remove any stray nails.
Now it’s time to stain the Wood Pallets. We sprayed the stain on, but you could certainly use a roller or brush. But if you have an extra $40-$60 in your budget, purchasing the sprayer is one of the best purchases we have ever made.
Before the Deck is ready to be laid, you need to get the space ready. This is the most important part and the most time consuming.
- Clean out the area first by removing any unwanted weeds or plants.
- Determine the size of the block you will need. We chose to go with a Half Block, simply because of cost. You really don’t need a full block, you just need something to support the corners of the pallets.
- Determine the number of concrete blocks you will need. We used 12 for the 8 x 12 foot deck. You will need 1 block for each corner of each pallet.
- Place your blocks 4 feet apart.
- Dig a hole, at least twice as deep as the block.
- Add gravel and sand to the hole – using the same method as when we laid the Stone Walkway. Tamp it down firmly.
- Add the block to the hole and level.
- Level each block as you go.
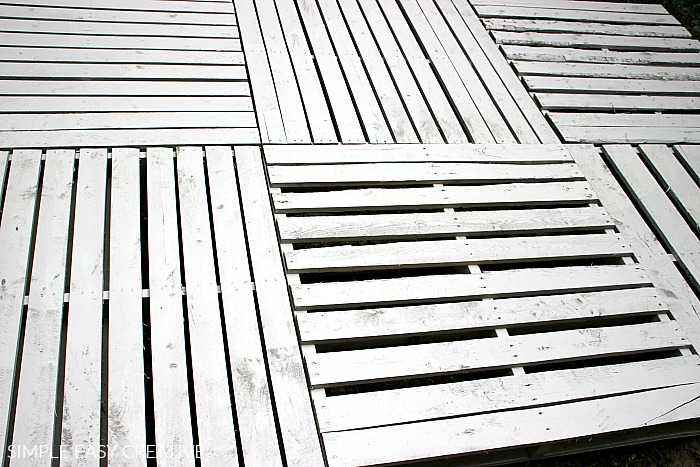
Now it’s time to lay down the Wood Pallets to form the Deck. Lay them on top of the blocks, being sure to lay the corners on top of the concrete blocks. You can lay them out in any direction you like. If you have a Wood Pallet that is not quite as good as the others, like we did, be sure to lay it where it will either be covered with a Rug, less seen or in low traffic areas.
Be sure to let the deck set for at least 24 hours before adding your Outdoor Furniture and Decorations.
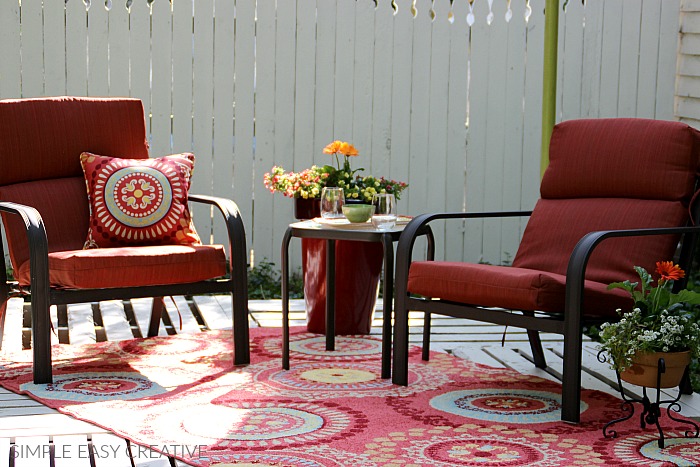
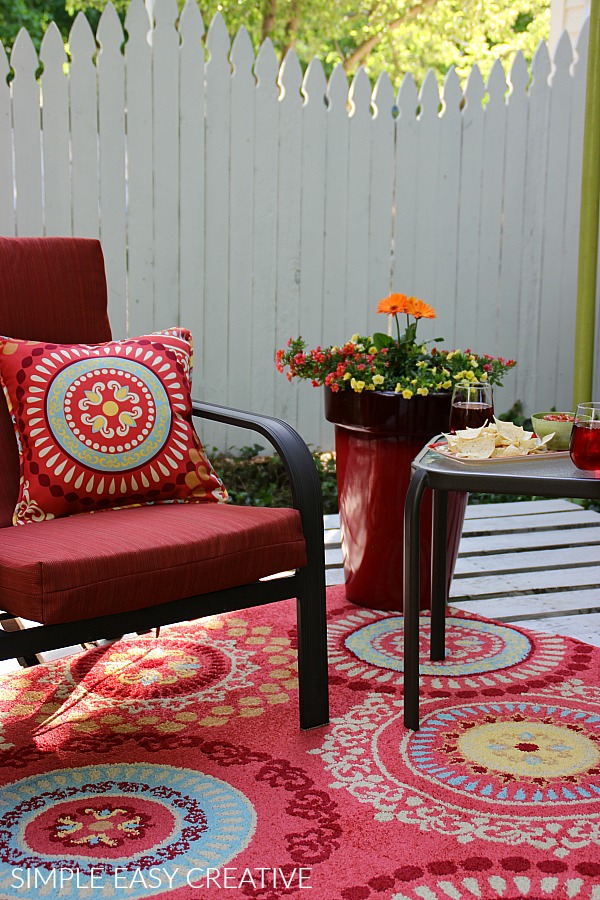
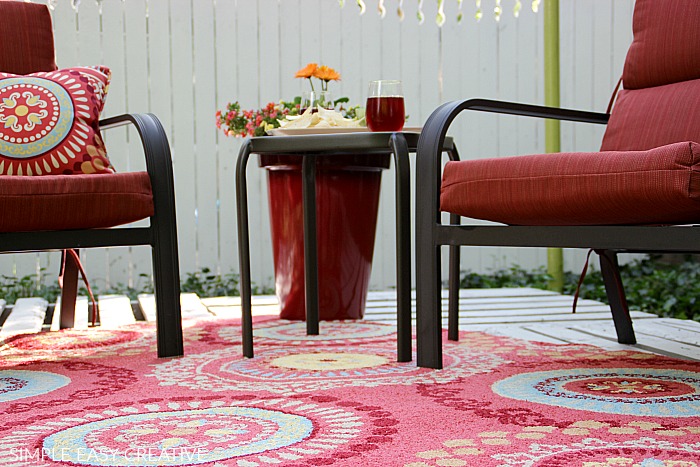
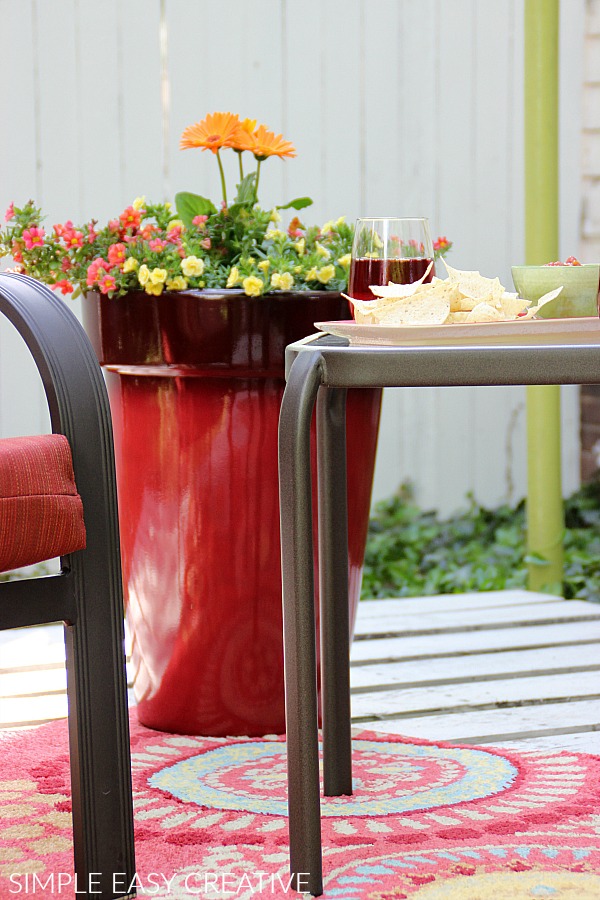
We started with the Outdoor Rug, I love how it pulls everything together. It is 5 x 8 feet, which is perfect for the Deck size. The Dining Chair Cushions match perfectly with the rug.
We had the chairs and side table so didn’t need to purchase those.
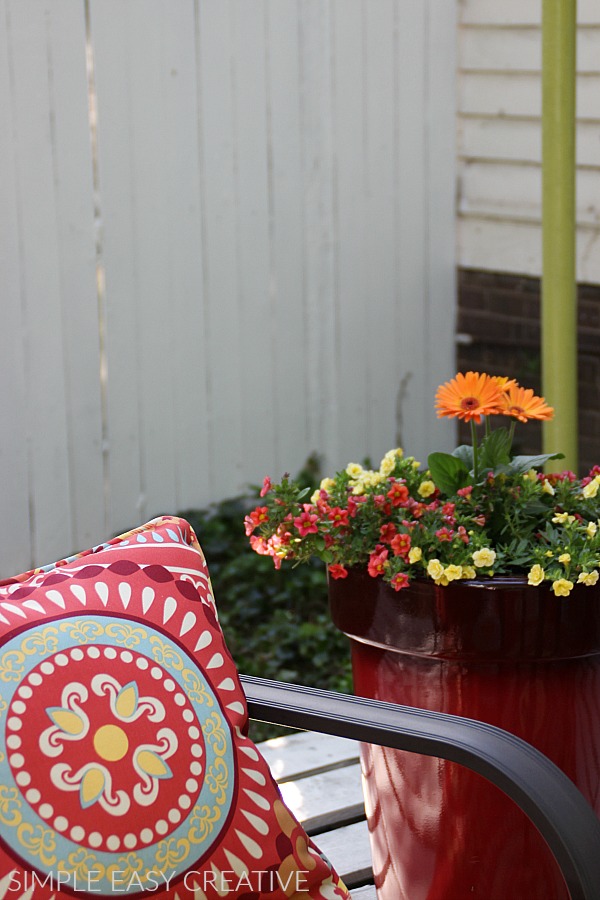
Last year, we used the tall red planter in front of our house and planted Annuals in it, the colors worked perfectly with the new rug, chair cushions and pillow.
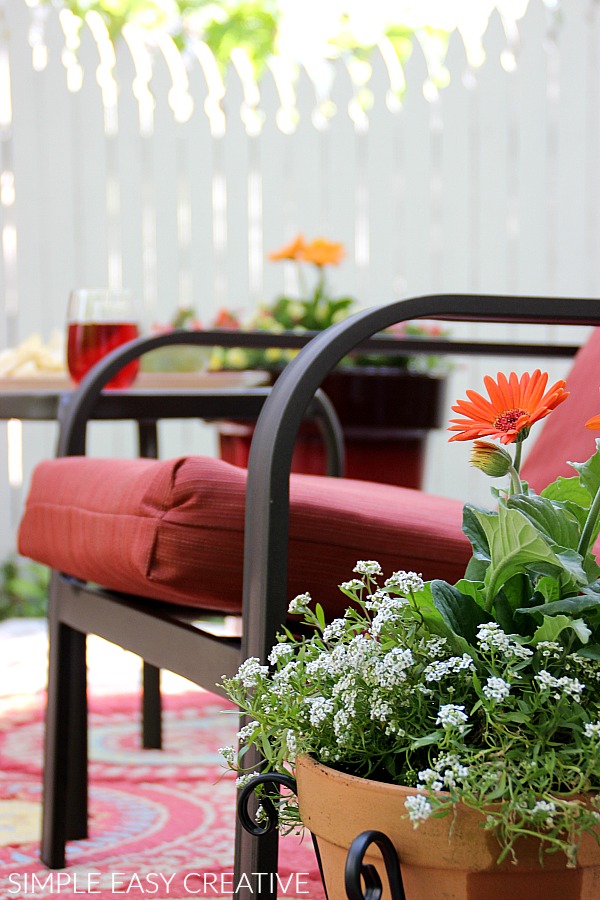
The orange Gerbera Daisy and white Alyssum go perfectly, we placed the terra cotta pot in a Scroll Frame Plant Stand.
And the pillow adds a pop of color to the chairs, and also matches the rug. Then we added the flowers.
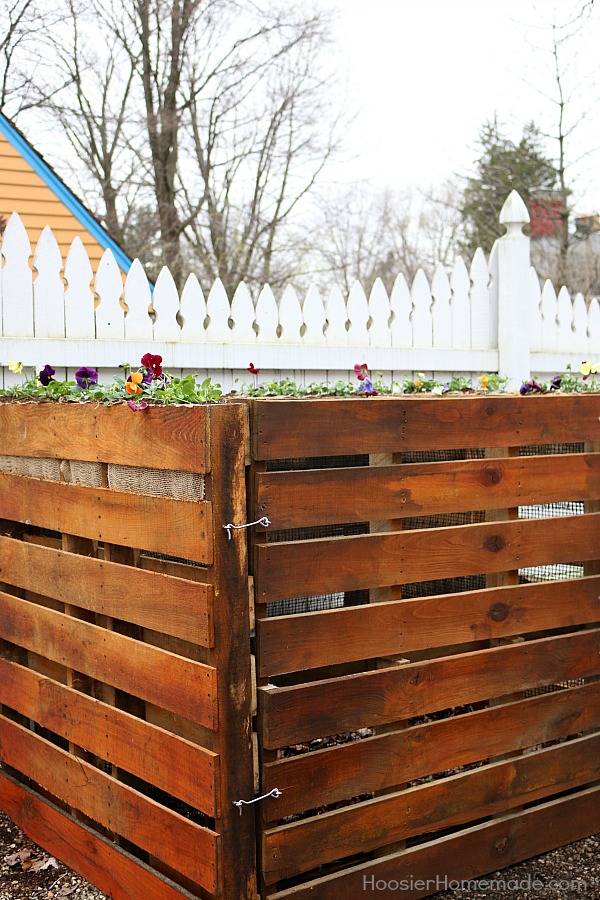
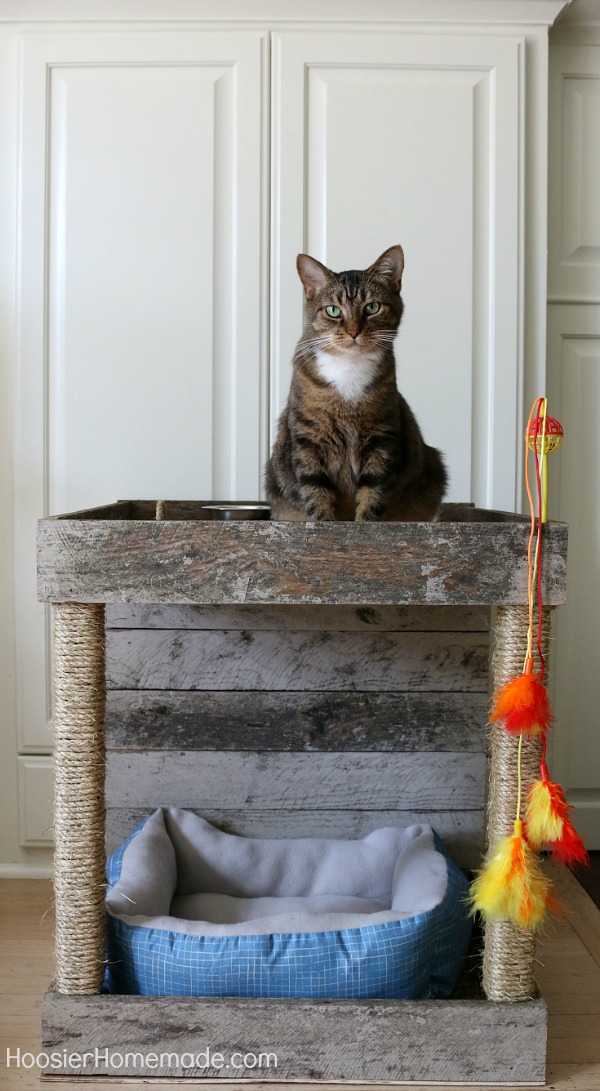
Looking for more ways to use Wood Pallets? Here are our favorites –
Hi, Simple Easy Creative,
I purchased these plans last year and wanted to know if you could resend the link to download & print them?
Thanks in advance,
Hi Vickie, yes I will send them to you via email.
-Liz