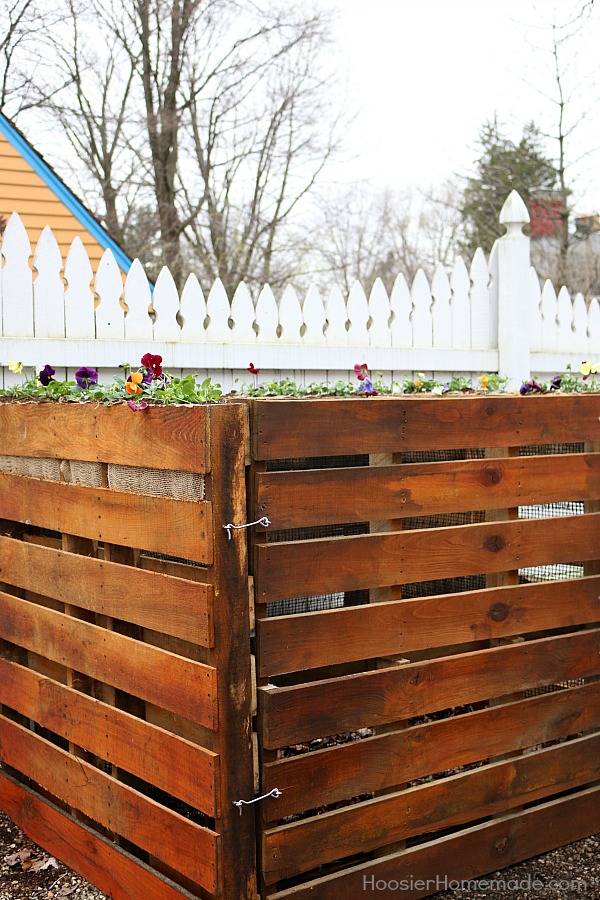
Wooden Pallet Compost Bin
Making a compost bin for your yard is much easier than you think. This Wooden Pallet Compost Bin goes together in a few hours with 6 easy steps and is less than half the cost of lumber.
Click here for your FREE garden and landscape journal- the first step to gardening success!
We’ve been wanting to add a composting bin to our backyard for the last couple of years. Several times we looked at compost bin plans and didn’t really see what we wanted. When we were discussing our plans to landscape the back yard, we didn’t want to wait any longer to have a compost bin. So we decided to make a compost bin using wooden pallets.
After making our wooden pallet deck, we fell in love with how easy and inexpensive it is to use wooden pallets. We have a local pallet manufacture, and we were able to get the pallets we needed for the compost bin for $40, which was less than half the cost of lumber to build it.
Wooden Pallet Compost Bin Directions
Before we get started on putting together our compost bin let’s list out all the supplies and tools we’ll need to complete the project.
Materials
- Four 48 inch by 48 inch untreated wooden pallets
- One bag of EcoScraps Potting Soil
- Exterior Wood Stain (In Color of Choice)
- Four metal angle bracket
- Four 4 inch Strap Hinges
- Two 4 inch Hook & Eye Latch
- 1 1/2 inch screws (quantity 50)
- 2 rolls of 3 foot by 25 foot plastic hardware cloth (half inch mesh)
- 1 roll of garden burlap
- Pansies or another flower of your choice
Tools
- Cordless Drill (Corded drill if you have access to electricity)
- Saw – either a circular power saw or hand saw
- Phillips screw bit
- 1/8 inch drill bit
- Staple gun and staples
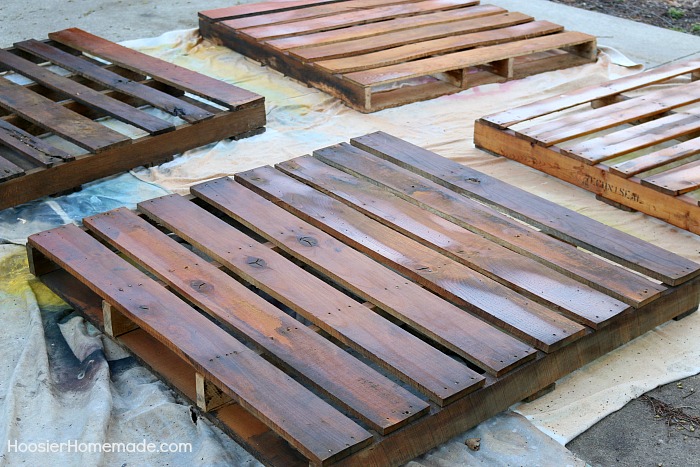
Since we knew this wooden pallet compost bin would be visible from about any area of our backyard we started by applying a couple coats of exterior wood stain. We left one side unstained, the side most likely to come in constant contact with the compost.
After allowing the stain to dry we then started to put the wood pallets together.
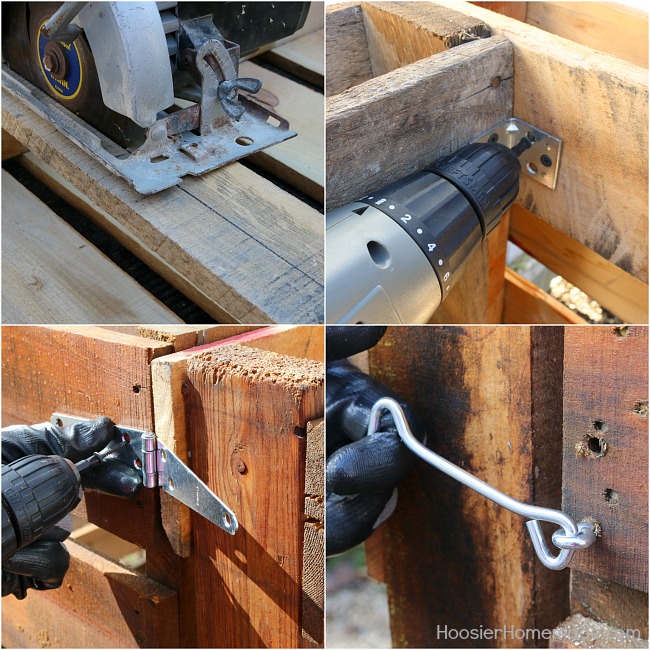
- First you will want to chose the sturdiest pallet of the bunch for the door and then cut it in half using a circular saw making sure we didn’t get into any nails with the saw blade.
- To attach the sides to the back use 1 1/2 inch screws and angle brackets.
- Attached the strap hinges on each of the front sections and screw them to the the side pallet.
- Finishing by attaching the hook and eye latches, use the drill bit to make pilot holes for the latch, it makes installing them a lot easier.
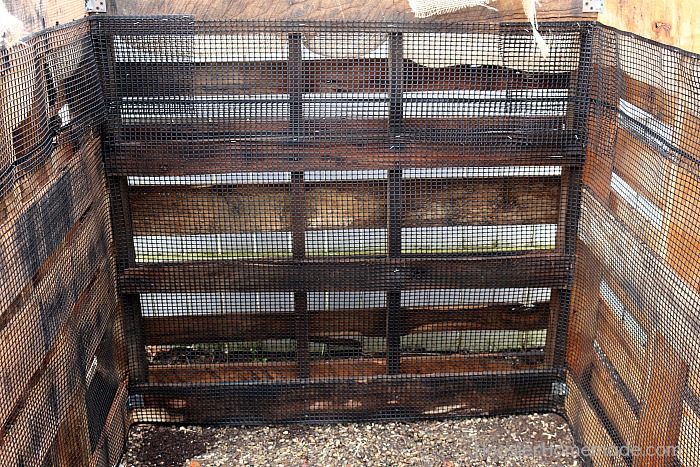
We then finished off the Wooden Pallet Compost Bin by stapling the plastic hardware cloth to the inside of the bin. This will keep all of the yard waste and food scraps inside the compost bin and should make the pallets last longer.
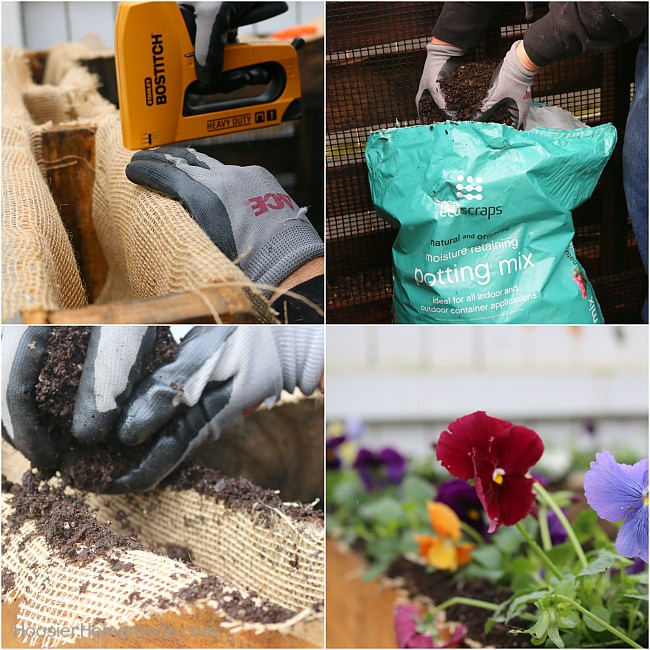
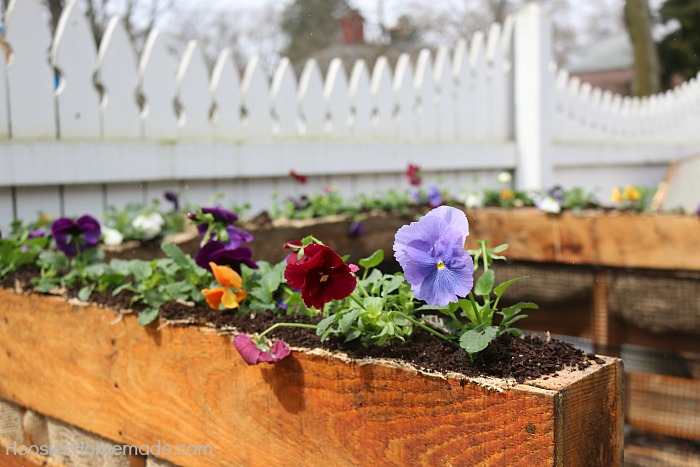
Now let’s talk about how we made it possible to plant flowers in the wooden pallet compost bin. It’s very simple to do.
- Cut your garden burlap into 2 feet lengths, then cut to the width of the openings in the ends of the pallets.
- Stuff the burlap pieces down into the pallet and secure the ends using the staple gun and staples.
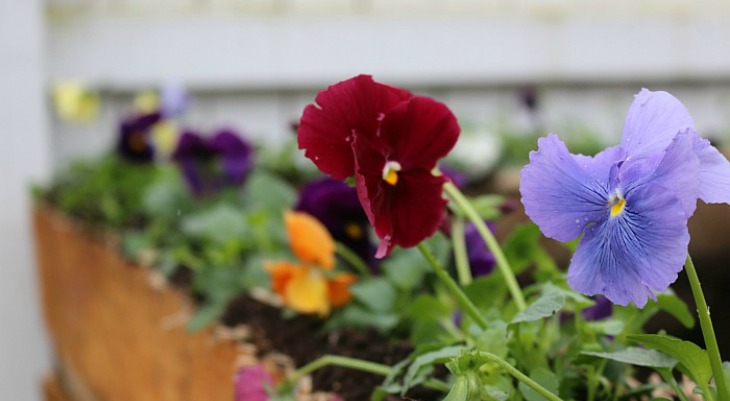
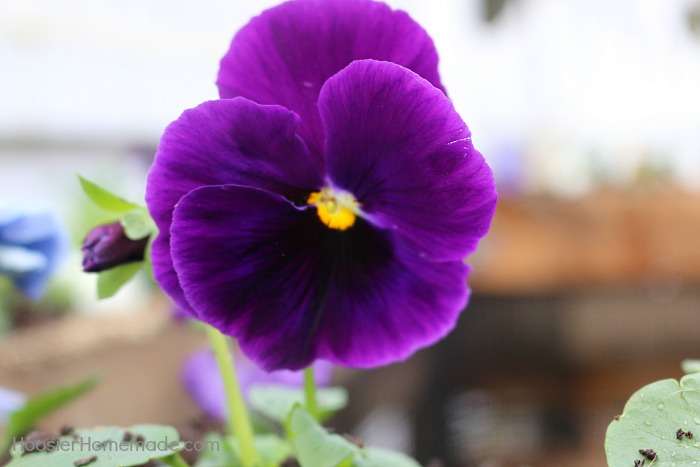
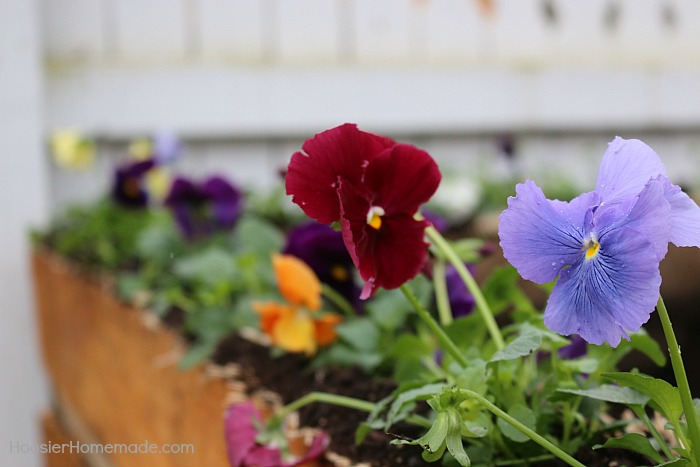
- Fill the spaces with the EcoScraps Potting Mix and plant with your favorite flowers. We used pansies, it’s still too early to plant annuals here in Indiana, and pansies are very hardy.
I love it when I can learn the story behind a product, especially one that takes something that we normally consider trash and turns it into a product that we can use to our advantage.
The EcoScraps story is intriguing, conceived by two college students at an all-you-can-eat buffet. In the United States, we waste 40% of the food produced, and they had the vision to turn the wasted food into EcoScraps. That is enough food waste to fill the Rose Bowl every day, which sits in landfills producing methane, which is 20 times more harmful than CO2.
Since 2010, EcoScraps has been working to be a part of the solution by reusing this waste and keeping it out of the landfills. We want to make sustainability mainstream. You can make a significant difference in the food waste crisis simply by changing shopping habits.
You probably didn’t realize that bagged salad, for instance, is one of the #1 food wasted. I can attest to that, there’s a package of it sitting on our kitchen counter waiting to be added to the compost pile right now. Consider buying bagged salads only on the days you plan to use them. it helps both the environment and your budget.
EcoScraps has gone beyond just making compost, you can also find their other products like Garden Soil, and Fertilizer. All available at your local Walmart.
Now that we are all done it’s time to start our compost pile.
Here’s what you want to include in your compost pile
- grass clippings
- dead leaves
- vegetable kitchen waste
- other yard waste such as twigs and plant trimmings. Just make sure they are chopped into small pieces
Don’t add diseased plants, plant parts that contain thorns, weed seedheads, or meat, fat, or bones from the kitchen.

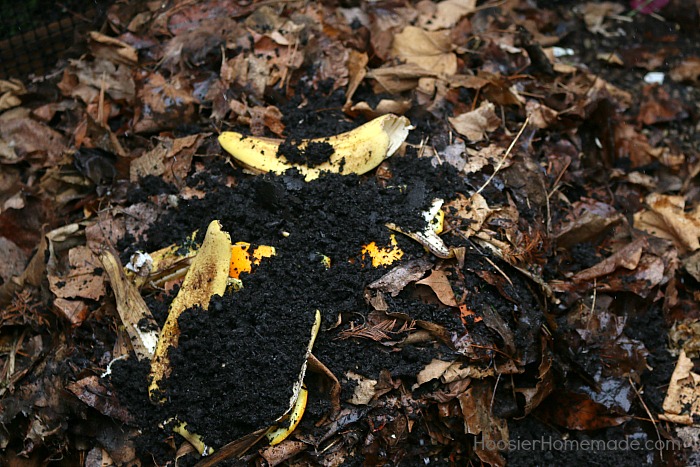
Alternate layers of brown and green matter
Begin your compost by putting down a 3-inch layer of brown matter, such as shredded dead leaves. Then cover it with an equal layer of green matter, like grass clippings yard waste or kitchen scraps.
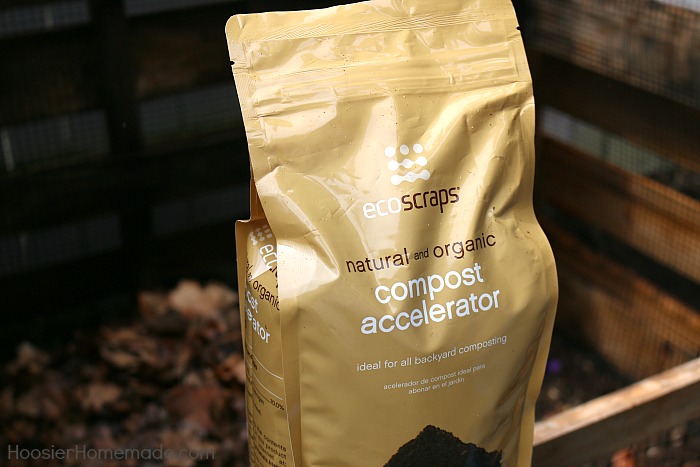
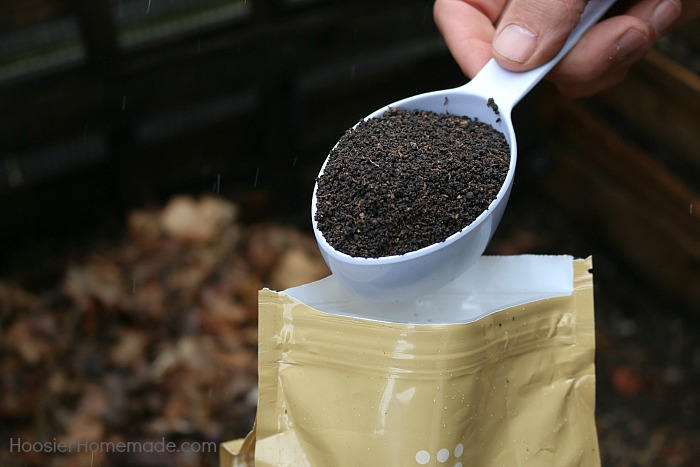
To speed up decomposition in your compost pile, add a half cup to one cup full of EcoScraps Compost accelerator when you first start your pile and then add it every time you turn your pile to feed the bacteria and fungi that make the compost.
The bacteria and fungi that do the work of breaking down your yard waste into compost live in soil and compost.
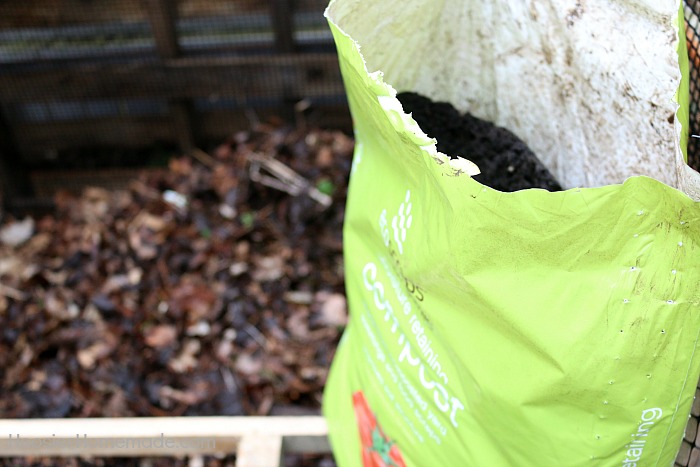
When you start your first compost pile it’s good to have a base, we needed some compost to introduce the organisms that do the work. So we added a bag of the EcoScraps Compost to the pile sprinkling it throughout the layers.
It’s also a good idea to use the compost throughout your yard too. We have used bagged compost for many, many years in our landscaping beds, especially when we transplant perennials.
Keep the pile moist and aerated
Sprinkle the pile with water to keep it about as damp as a wrung-out sponge. Use a spading fork or pitchfork to thoroughly mix the ingredients and aerate the pile. When the compost is ready, its texture will be like that of fine soil.
Here is a fun video showing you how the EcoScraps products are made and tells you about their mission.
Visit EcoScraps for more information, follow them on Facebook, Pinterest and Instagram.
Click here for your FREE garden and landscape journal- the first step to gardening success!
Are you ready to give EcoScraps a try? Head on over and enter to win a $50 Walmart Gift Card!

Great idea! Why do you cut the pallet for the door in half. Do you have more detailed instructions for those of us who are rudimentary carpenters.
Thanks for sharing this. Beautiful and rustic.
I cut the door in half thinking that it would be useful to open so that I could dump a wheelbarrow into the compost bin when I was doing large cleanups or adding clippings from when I trimmed the bushes. Be looking for detailed instructions coming soon.
Does the compost pile smell so we would need to place it far away?
When you start a new compost pile there is a short period of time that it can smell. But once it starts to break down there shouldn’t be any noticeable odors.
This is great and I have materials for this now. But the 4×25 plastic hardware cloth is $30 (for 3×25…all I could find).
Why do you need two rolls of this for just a small square compost bin and as this stuff is very expensive, are there any alternatives you can think of that would have small enough holes to do the trick?
Hey Bob,
You can get by with just one roll for now, you might need to add more later to the top portion is the bin gets full.
Whats a great compost bin, the flowers look so pretty! I love your blog. I get so exited to see anything garden related.
Maria
Functional and attractive. Great job.
Thanks so much Niki!
My husband and I were just talking about trying a compost pile this year. This is brilliant! We event have a few pallets available. Thank you for the very detailed instructions!
This is awesome! I especially love that you added flowers around the top edge – what a nice way to finish it off! I purchased a small tumbling composter last summer that has been working well for us so far, but one day I’d like to have a larger bin like this. Thanks for linking up with Merry Monday this week! I pinned and tweeted your post and will share on FB as well.
I’m always amazed at all the pallet idea, but this one I think might be the best! It would be great if you would share it at the DIY party!
https://www.pleasuresofthenw.com/diy-party-2/
Thanks Helen! We will check it out!
This is great! Could I use weed barrier cloth instead of the hardware cloth? Also instead of burlap? Just have a bunch of it right now, so wanted to use it up!
Yes, using the weed barrier cloth will work.
Perfect timing, I was just thinking about making one of these. And I love the way yours looks, so much better than the other ones I’ve come across recently. Thanks so much for the tutorial!
Thanks Jen! It makes such a statement in the yard!
For those that have never composted before, don’t put tomatoes in there. LOL. My parents did that the first year and ended up with tomato sprouts where they didn’t want them the next year (from the composted soil). They seed in the compost. Also, coffee grounds are an excellent thing to put in the compost to enrich the soil even more.
Thanks so much for the tips Lili!
Love this idea! I’ve always wanted to buy a compost bin, just never did. This is a great alternative. ..especially since there are always Free pallets available in my area!
The flower boxes on top are such a cute touch! I think I would transplant many of my succulents and Vinca Vine.
I do have a question since I’ve never composted…how does the door work? If the bin is, say, half full, what happens when I open the door? Or is the door cut in half to open top or bottom as needed. Thanks for the clarification! !
Cherie you are absolutely correct, cutting the door in half serves two purposes. Opening the bottom allows you to pull compost out when it’s ready to use and opening the top makes it easier to load when you are first starting your compost pile. Love the idea of the succulents and vinca vine.
That’s an amazing project!Wow impressive and so well done. It’s a stylish way to put compost away.
Thanks, Rania! We wanted it to be a pretty part of our yard!
Love this idea! Thank you for the detailed instructions and especially the ‘shopping list’.
The pansies on top are a great idea, and absolutely gorgeous.
Happy Spring!!
Thanks so much Tricia! We wanted to make the bin both beautiful and functional!
Nice. Now I need to put this on my vegetable garden…