DIY Wooden Firecrackers: Summer Front Porch Decorating

Many moons ago, we purchased a set of wooden firecrackers that I have been using for my 4th of July Decorating ever since. Even though the original set of Wooden Firecrackers had been repainted, it was time to give me a fresh look again.
But this time, we decided it would be fun to share the instructions with you so you can make your own. And since it was time to do a little Summer Front Porch Decorating, it was perfect timing.
The construction on the Wooden Firecrackers is not difficult, and with a few standard tools you can make your own, but they did take some time.
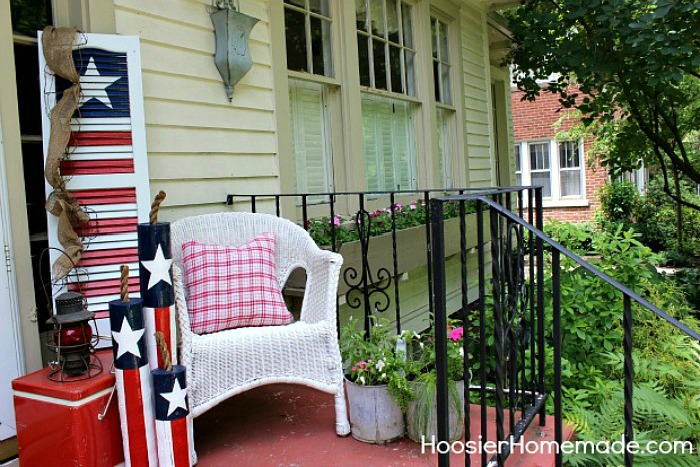
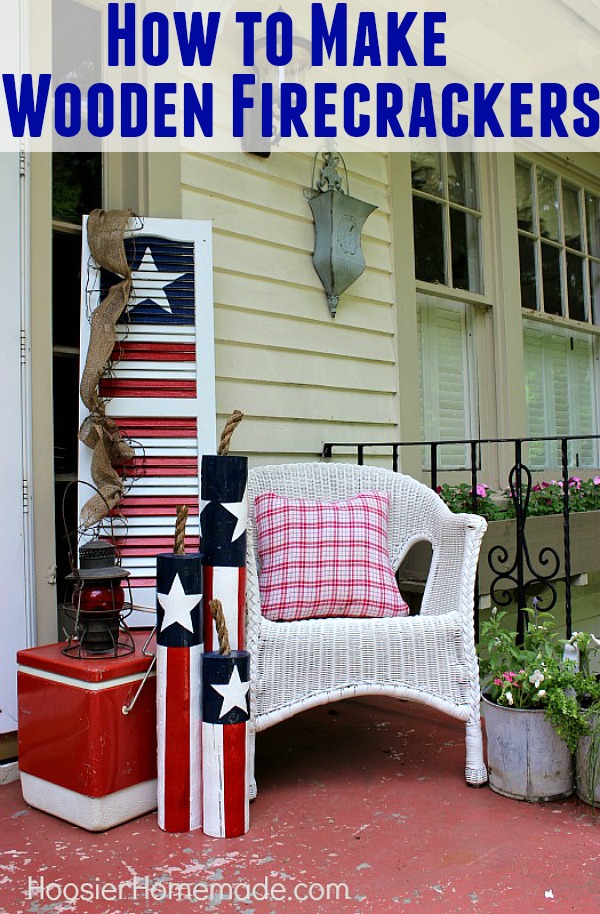
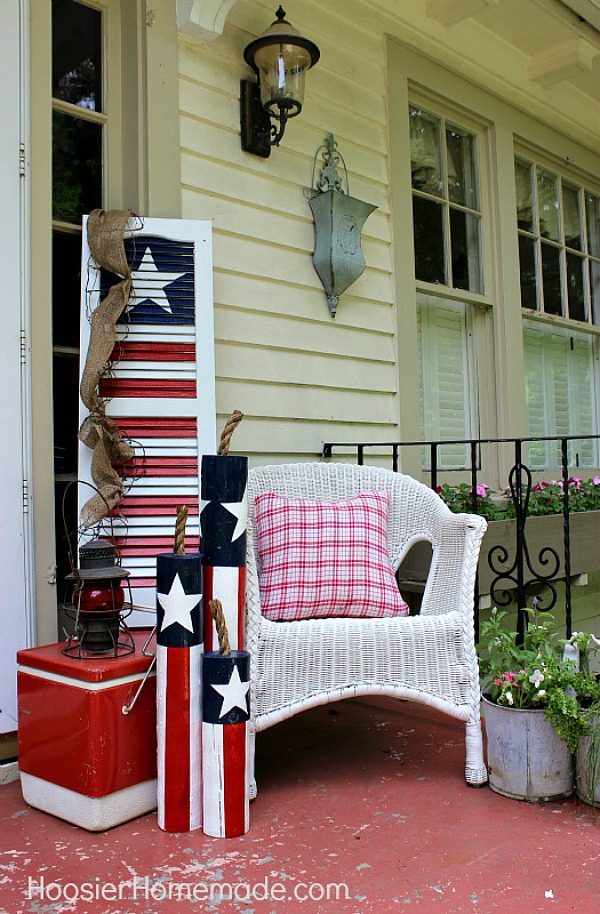
I love how the Front Porch looks with the pop of Red, White & Blue. We used the Patriotic Shutter that Doug painted, the pillow on the chair received a little update with a red and white checkered napkin for the cover. The Vintage Red Coleman Cooler is fun too, and screams Summertime to me. And the galvanized double bucket is full of annual flowers.
I added some grapevine and wide burlap ribbon to the Patriotic Shutter that was left over from the Spring Mantel to break up the edges of the shutter a bit.
So let’s get busy making some Wooden Firecrackers…
First you will need to get a 6 1/2 foot by 3 1/2 inch wooden fence post, they can be found at most farm supply stores or stores that sell lumber. Cut it into 3 lengths using a miter saw – 30 inch, 22 inch and 14 inches
Then using a 1 inch wood boring bit, drill out a hole about 1 1/4″ deep.
Then give them a good coat of white primer. We did not sand the wood, because we wanted the Firecrackers to look rustic.
Tip – set the poles on top of large nails to raise them off the surface a bit so the paint brush can reach the bottom easily.
After the primer dries, it’s time to paint. After painting the Garden Art Shutters, Doug has fallen in love with Krylon ColorMaster, so he bought some for this project as well. He used Bright White Satin, Navy Blue Gloss and Cherry Red Gloss. Spray the poles completely white with the Krylon ColorMaster.
Then using Frog Tape he covered the entire pole.
Then mark each of the areas that will be painted, the stars and the stripes. The largest Firecracker is marked 9 inches from the top, the middle size 7 inches and the shortest one is 5 inches from the top. The stripes are each 2 inches wide and the pattern for the star was printed from an internet search. Trace around a star template
Trace around a star template.
Then cut and remove the Frog Tape from the areas for the red stripes, spray the edges with white paint to seal them down.
Then spray paint each of the poles with red, you may need several coats, let dry in between and then over night. Recover the red stripes with tape.
Cut out around the star where the blue paint will go, leaving the star covered with tape.
Spray with blue paint, you may need several coats, let it dry in between coats.
After the paint is completely dry, peel away all the tape.
Touch up using a small foam brush. Doug used the same spray paint, and just spray it into a container and then touched up around the edges, that way the color of the paint is the same.
Then cut pieces of rope and push into the holes for the wick. Glue in place if necessary.


I seem to be late to the party, here. But I want to thank you for sharing the diy for the fire crackers. I’ll have to give a try for this year.
i,m trying to make your firecrackers. However when I layout the stripes at 2 inches I end up with 5 stripes. That doesen’t work out as you end up with either 2 red stripes or to white stripes back to back .Should not they be laid out for an even number of stripes?
It really doesn’t make a difference Harry, since they are round posts only you will know there are 5 stripes.
I tried this but my fence posts that I painted were very uneven looking with piney knots of wood & tons of splinters. I wonder if I need to use double the tape? Thank you!
You can try doubling the tape. Also you can use a small brush to touch-up. If you are using spray paint just spray some paint into a small metal can and dip your brush in the paint.