DIY Fall Wreath
It’s that time of year again – time to break out the Fall decorations! Time to warm up your home with pumpkins, apples, leaves, warm blankets and all things cozy for the cooler weather. If you are anything like me, this season also brings a time to start fresh again with projects, schedules, organizing, decorating and more.
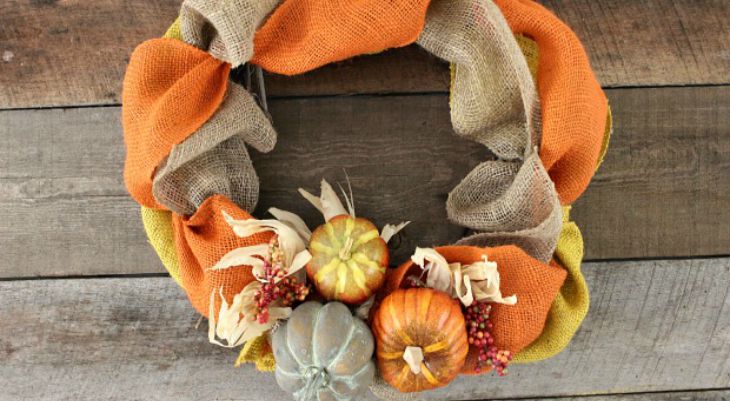
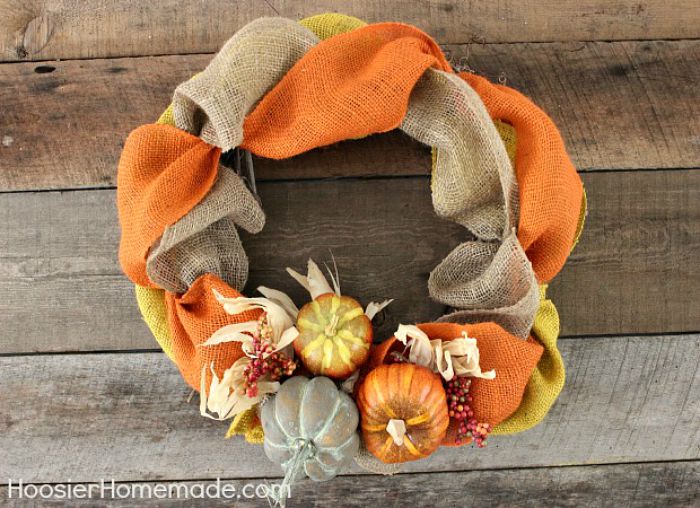
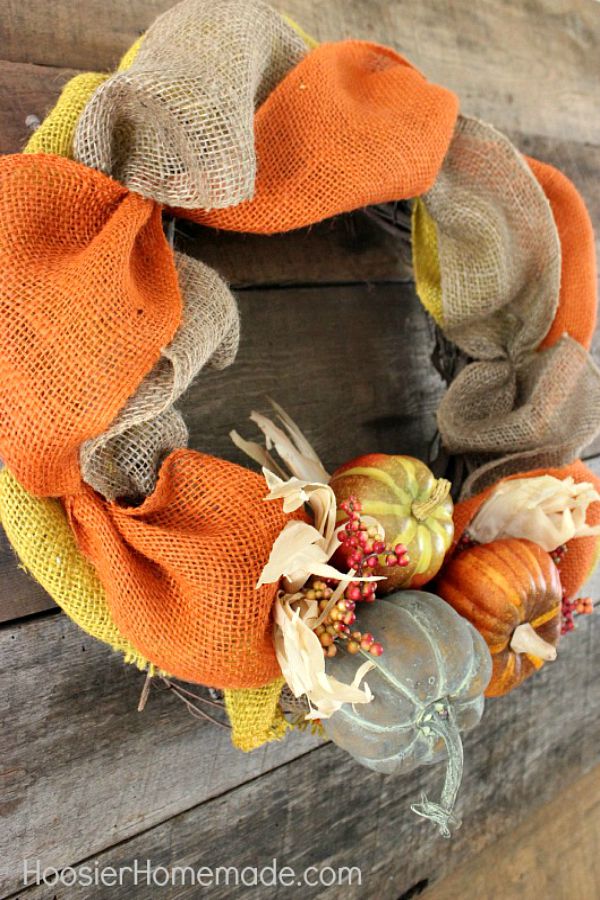
This easy to make Fall Wreath takes just a few supplies that are a snap to find and less than 30 minutes of your time. It starts with the ever popular and my favorite burlap, then just a few decorations are added.
Decorating with the gorgeous colors of Fall is so inspiring! The Rustic Fall Mantel is one of my favorites.
Let me show you how to create this Fall Wreath for your home, whether you put it on your Mantel or hang in on your front door.
Let’s get started…
Fall Wreath Supplies
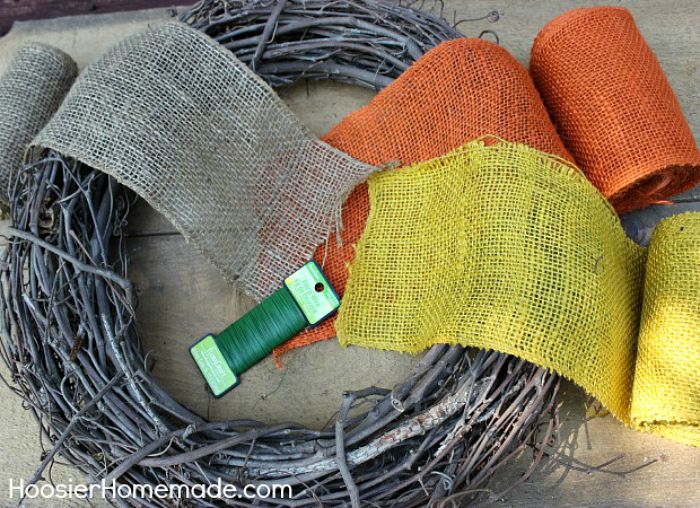
- Wreath form – I used a grapevine wreath that I already had
- Burlap ribbon – this comes in many different colors at Hobby Lobby
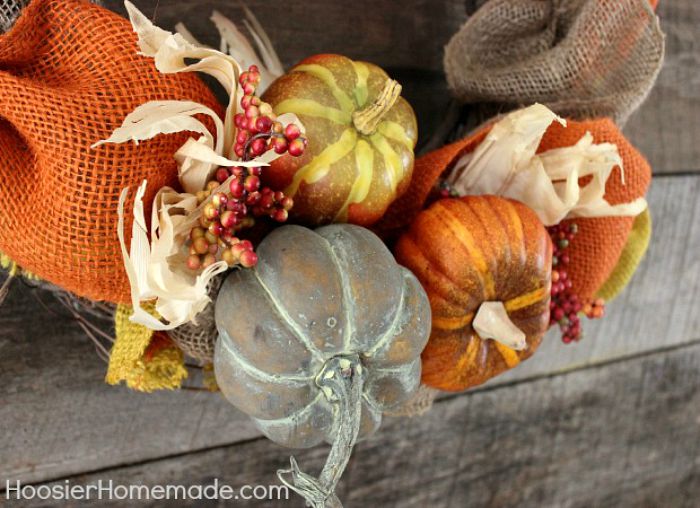
- Pumpkins or other decorations you like – I used 3 different pumpkins, some corn husks and berries
- Wire and wire cutters
- Hot glue gun
- Scissors
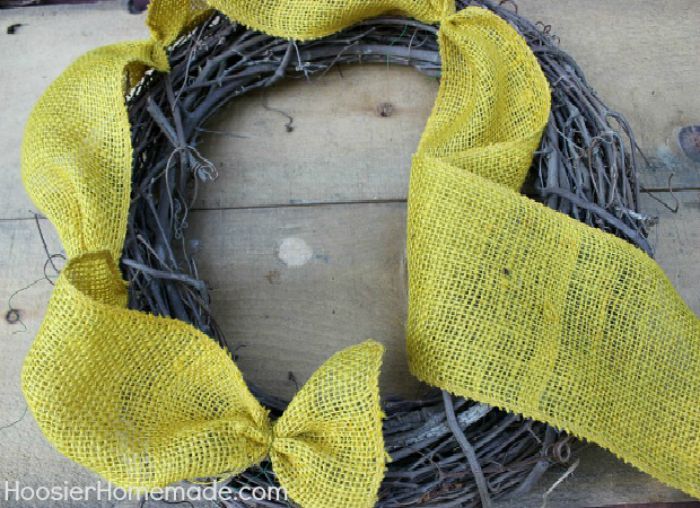
Step 1
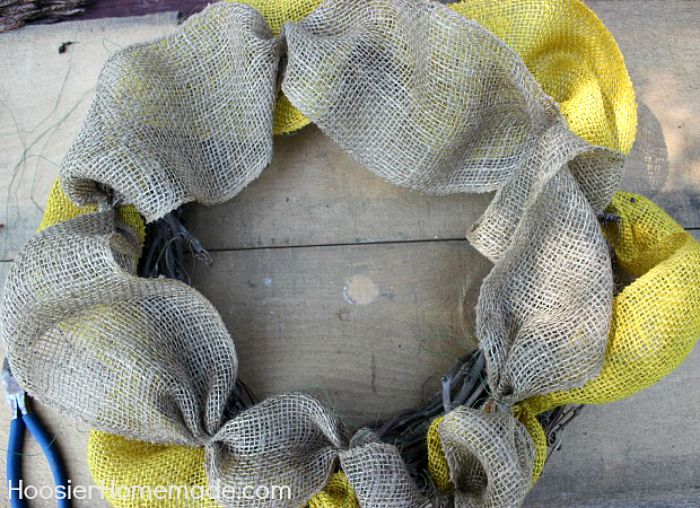
- Attach the first color of burlap to the wreath.
- It’s easiest to lay out the burlap around the wreath, and then pinch and gather randomly and secure with a piece of wire.
Step 2
- Add the next color of burlap using the same method as before.
- Just attach the wire at different spots to create the flowing look. You can also twist the burlap before attaching it.
Step 3
- After the third color of burlap is attached, now it’s time to attach the decorations.
- Using the hot glue gun, place the items that you want.
A couple tips –
- It’s best to group items in 3’s
- Adding different textures also creates a good visual
If you are ready to get started decorating your home for Fall, check out our Tips for Fall Decorating!


Love it! Perfect fall wreath!
It’s beautiful!!! The perfect wreath for Fall! I need to get my butt in gear and make one!
Thanks Angie! I’ve been seeing the wreaths you made and they are gorgeous!
~Liz