Thanksgiving Kiddie Table
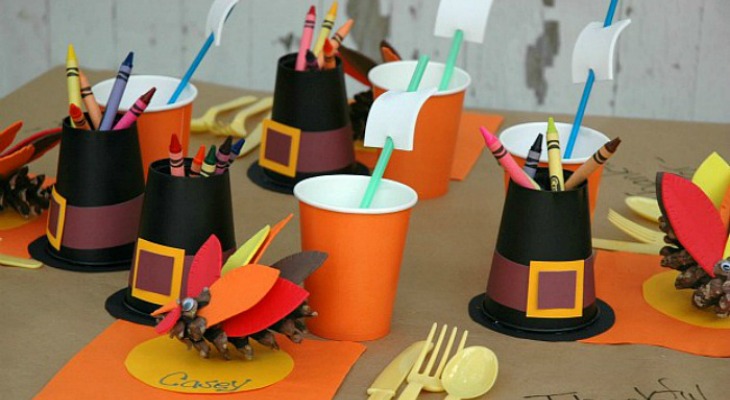
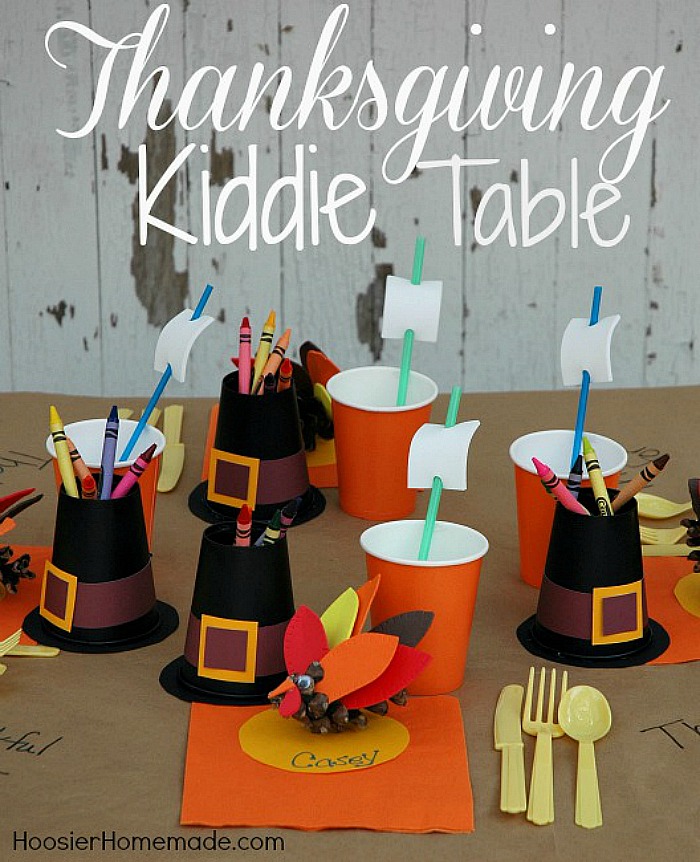
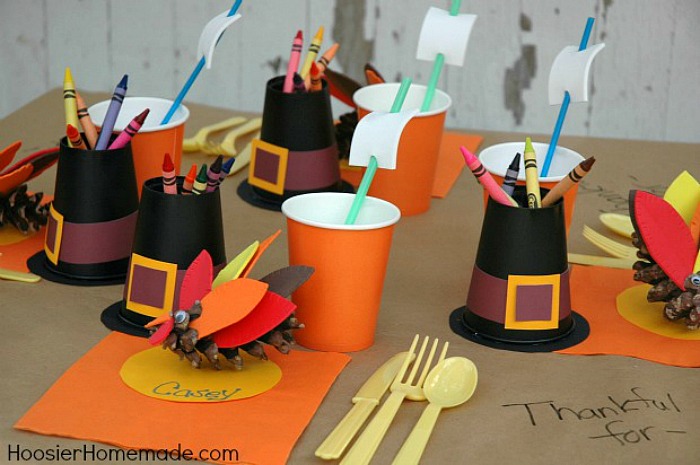
It’s time to gather around the table and be thankful for all the blessing we have. Why not celebrate with the kids too? This fun Thanksgiving Kiddie Table is easy to create and the kids will love helping you too!
I remember at family dinners when all the kids would sit at a special table, they would laugh, have fun (and sometimes get into trouble) and simply enjoy the holiday. This Thanksgiving Kids Table is sure to bring joy and laughter!
First I lined the table with craft paper, making it easy for the children to draw or write what they are thankful for. All of the crafts on the table are easy and kid friendly. I used X-ACTO products for the cutting, be cautious when using them around children.
Let’s gather our supplies and get started…
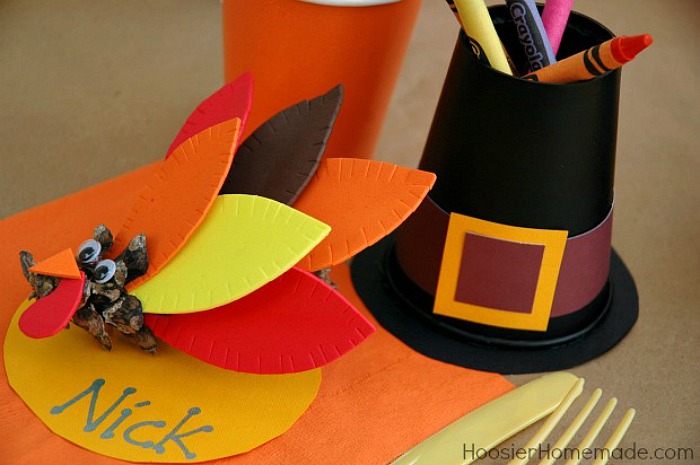
Pilgrim Hat Crayon Cup Supplies
- Black cups
- Black cardstock paper
- Brown scrapbook paper for the belt
- Gold scrapbook paper for the buckle
- Glass or mug to use for a circle template
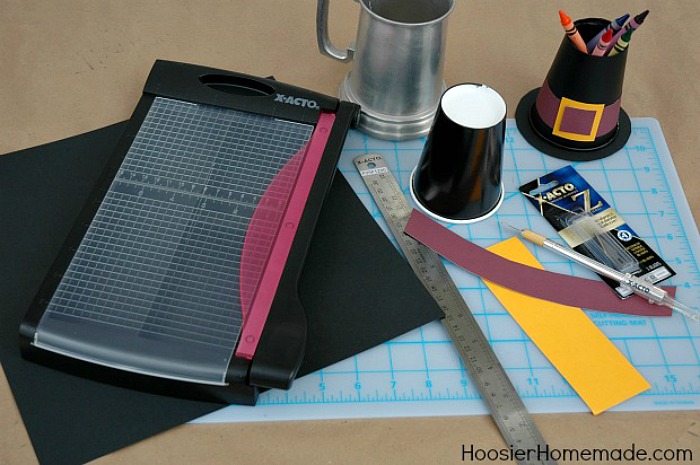
Tools I used…
- X-ACTO Hobby Knife
- X-ACTO Designer Series 9” Trimmer
- Elmer’s Craft Permanent Dot Runner or other adhesive
Instructions:
- Cut out a circle a little larger than the bottom of the cup from the black paper
- Cut the bottom out of the cup with the X-ACTO knife
- Cut a 1 inch strip of brown paper for the belt, if it doesn’t lay flat, you can curve the edges
- Cut a 1 1/2 inch square of gold for the buckle and a 1 inch square of brown for the inside of the buckle
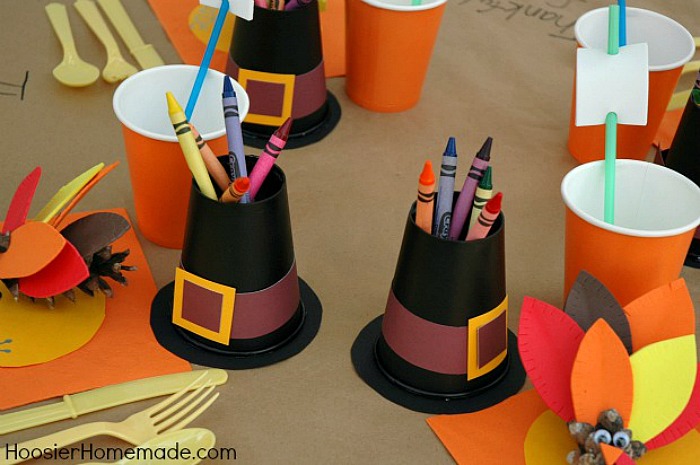
- Using the tape runner or glue, attach the belt and buckle to the cup, attach the bottom
- Fill with crayons
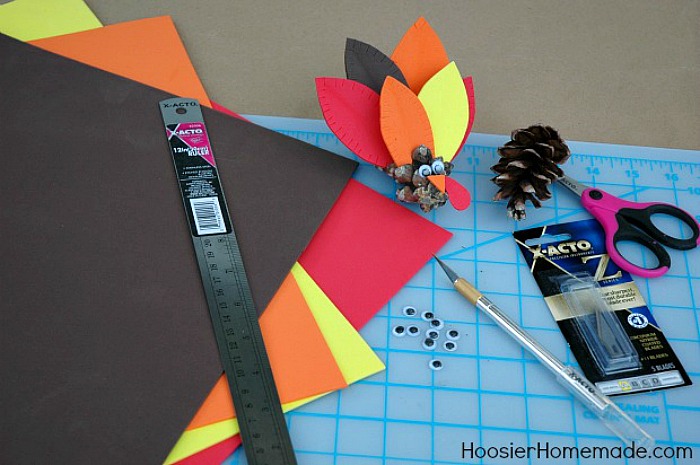
Turkey Place Setting Supplies:
- Pine cones
- Various colors of foam sheets {available at Hobby Lobby or other craft stores}
- Eyes
- X-ACTO Hobby Knife
- Ruler
- Hot glue gun
- Small scissors
- Cut a 2 x 3 inch rectangle for each feather
- Using the White Translucent Self Healing Mat as a grid, on the 2 inch end, start cutting a curve beginning at the 1 inch mark, repeat on other side to form the feather. Cut very small slits in the edges
- Fold each feather in half, lengthwise, and ruffle the slits a bit to give the feather some depth
- Cut waddle and beak from foam using small scissors
- Glue on eyes, waddle and beak using hot glue gun or other glue
- Poke feathers into pinecone
- Cut a circle for the place setting and write the names on with Paint Pen
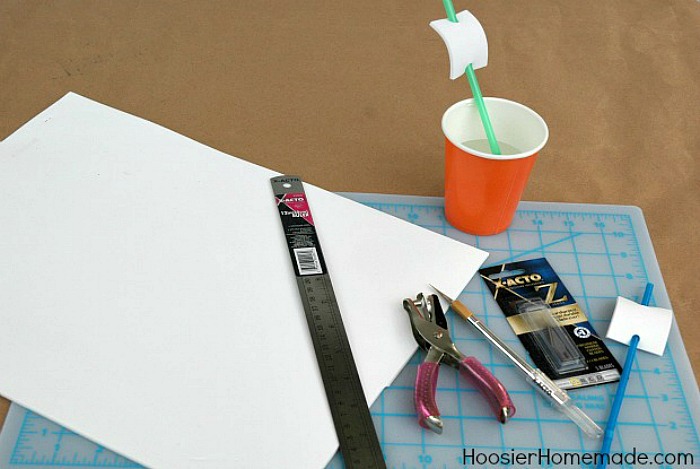
Mayflower Straw Supplies
- White foam sheet {available at Hobby Lobby or other craft stores}
- Straws
Tools I used…
- X-ACTO Hobby Knife
- Ruler
- Hole Punch
- Paint Pens
Instructions:
- Cut a 2 x 1 1/2 inch rectangle of white foam using the X-ACTO knife
- Punch a hole in each end
- Feed the straw through the holes
What are you thankful for?
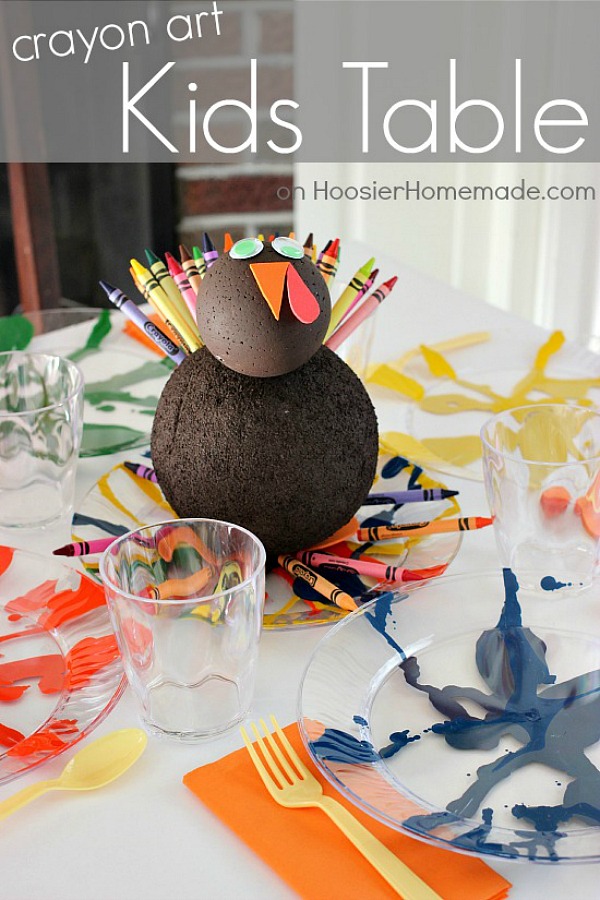
You may also like the Crayon Art Kids Table with Tom the Turkey that holds crayons

Love the pilgrim hat idea but needing a little help. Could you explain what curbing means? I cannot get the brown paper to fit around the cup without the top of the brown paper sticking out. Thank you.
Hi Michaela, can you explain more what trouble you are having? I don’t understand “curbing”. I don’t have that anywhere in the post.
Thanks!
-Liz
What an adorable set up!