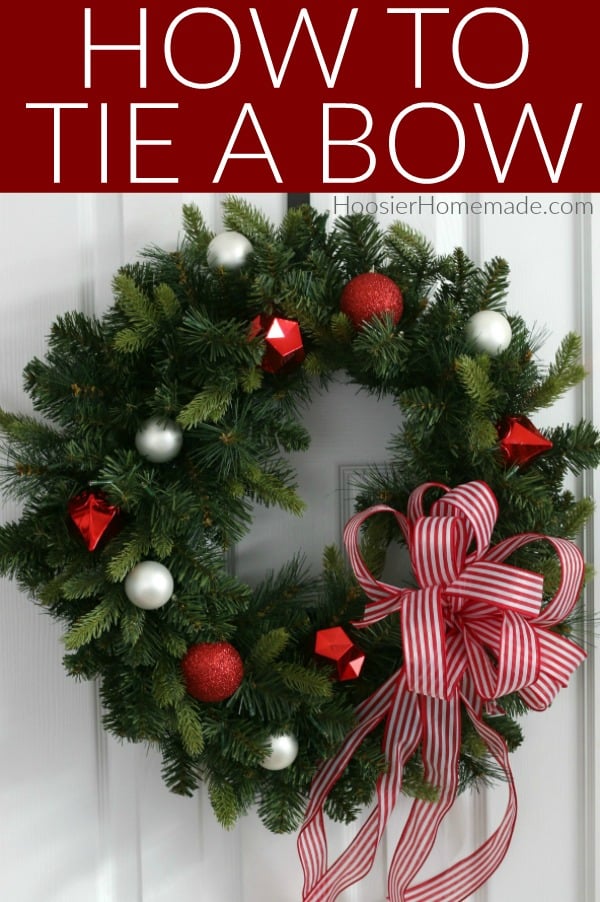
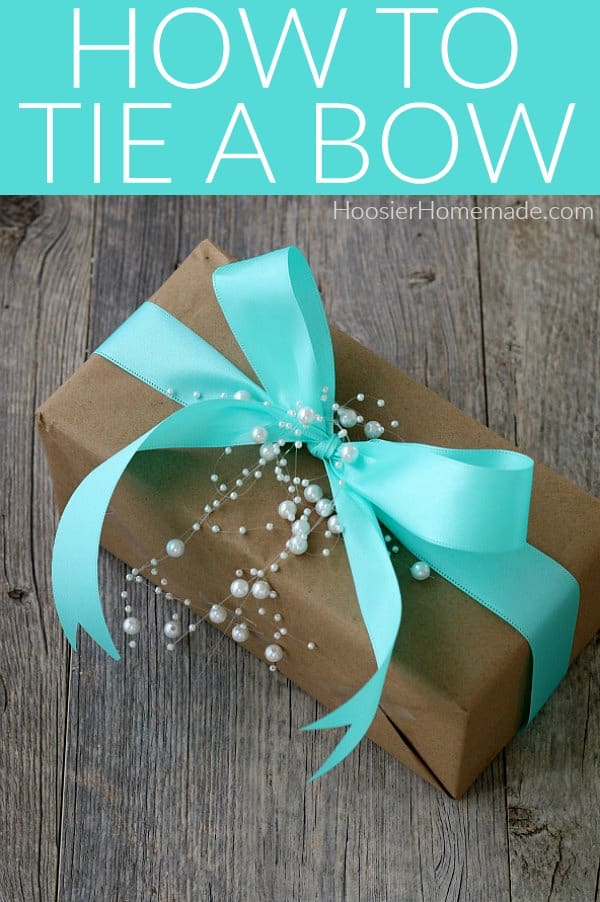
How to Tie a Bow

Have you seen beautiful bows tied on wreaths and gifts and wondered how it’s done? Today you will learn how to tie a bow. It’s not as difficult as it looks, and will save you money too.
Welcome to Day 41 of the 100 Days of Homemade Holiday Inspiration! Each day we will be inspiring you with recipes, decorating ideas, crafts, homemade gift ideas and much more!

Receiving a beautifully wrapped gift is always special, but giving a beautifully wrapped gift is even more special. Whether it’s a gift under the Christmas tree, for a birthday or just because, everyone loves receiving gifts.
How to Tie a Bow – for a gift
Supplies
- Ribbon – two sided satin ribbon is easiest to use, but any kind will work
- Scissors
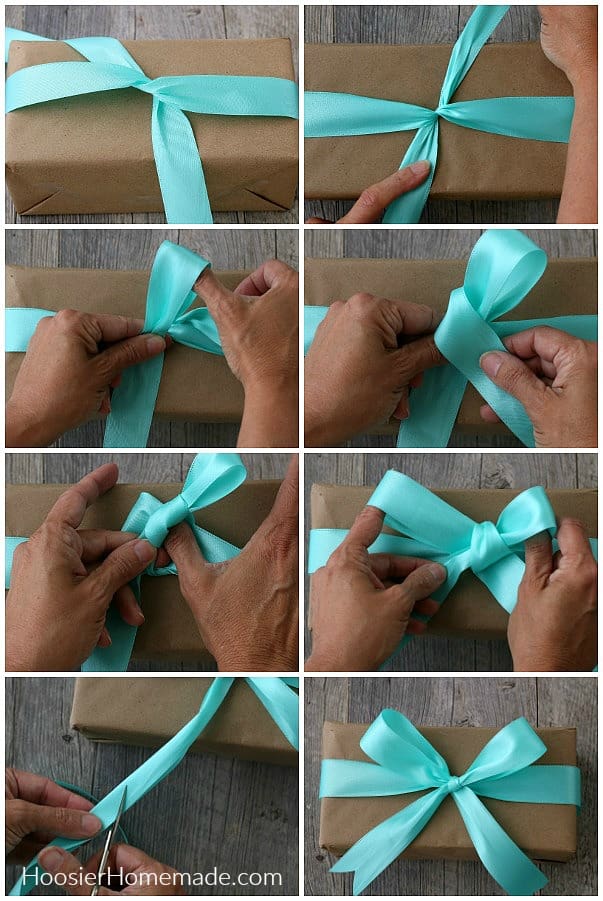
Instructions
Steps 4 and 5 are the most important to get the bow to look right
- Cut a long length of ribbon and set the gift on top of the ribbon. Then loop the ends together – RIGHT over LEFT – so that there is one piece hanging down on the left.
- Pull the pieces tightly. It’s helpful to have another person place their finger in the center to hold it, but it’s not absolutely necessary.
- Make a loop with the piece of ribbon hanging down on the LEFT
- Take the piece of ribbon on the RIGHT and place it OVER the loop
- Push the piece of ribbon that you just placed over top through the BACK of the loop
- Then using both hands, pull the loops out
- Trim the edges. To create an upside down “V”, gently fold the ribbon in half but do NOT crease it, then cut a diagonal toward the fold. You can also simply cut the ribbon on a diagonal.
- Pull the bow tight and fluff the loops if necessary
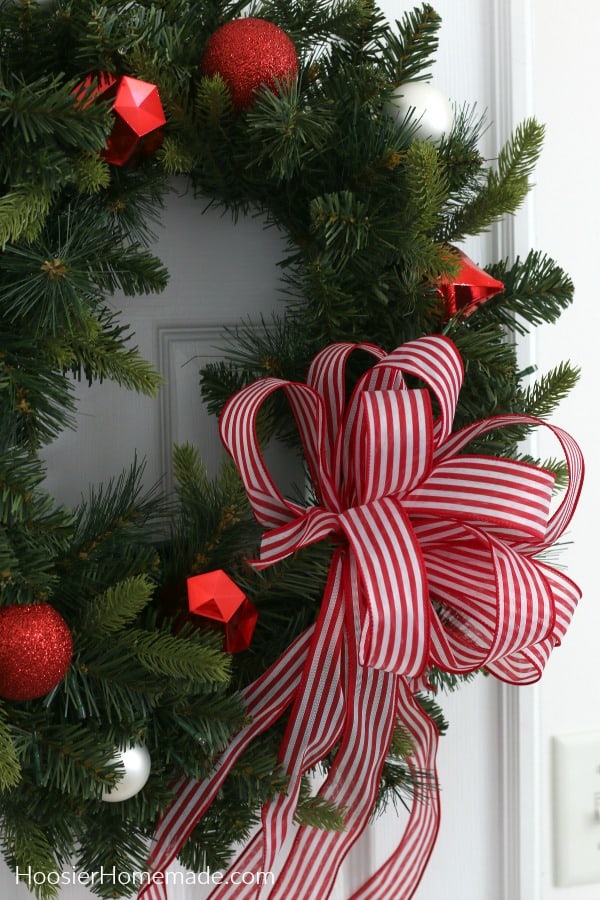
Have you seen all the gorgeous wreaths at the craft store or florist? Some of them are pretty expensive, and trust me, they are super easy to create.
My Mom was a florist for over 40 years, and one of the very first things she taught me was how to tie a bow. Whether you add this type of bow to a wreath, gift, flowers or crafts, it’s a good thing to learn.
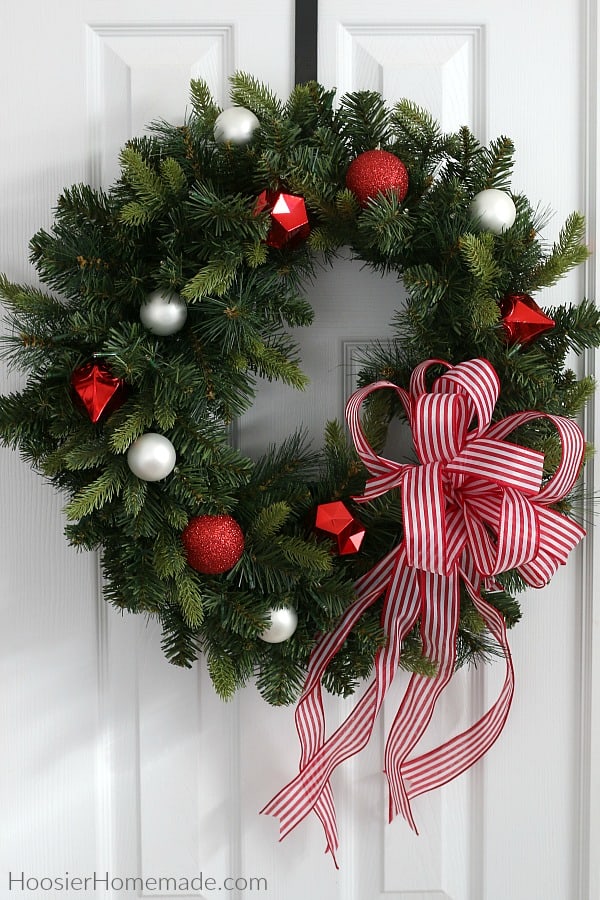
How to Tie a Bow – for a wreath
Supplies
Remember, if you are going to hang your wreath outside, be sure to buy ribbon that will hold up to the weather.
- Ribbon – it’s best to use ribbon that has wire edges, a lot of ribbon has this. The craft stores like Michaels and Hobby Lobby have a great selection. You can also purchase ribbon online.
- Scissors
- Floral Wire
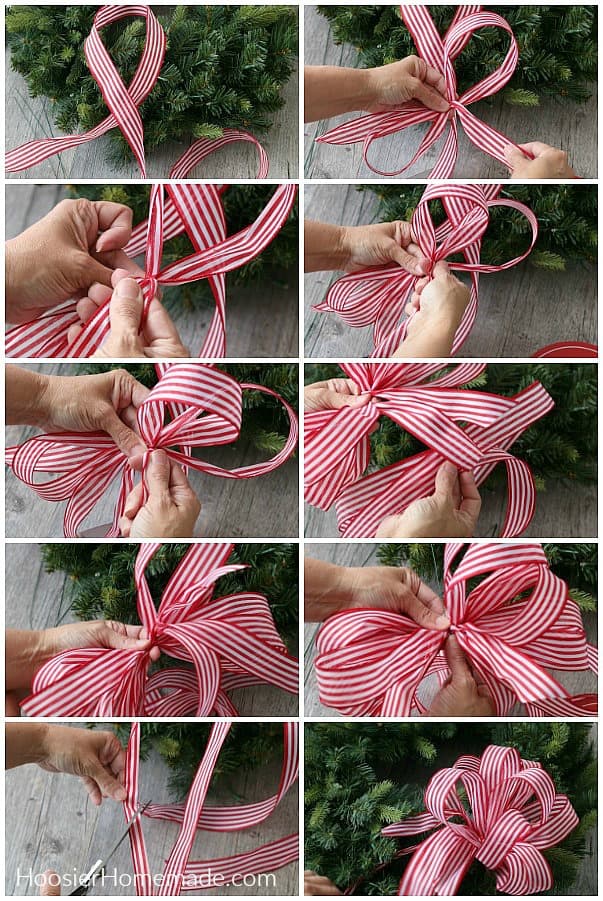
Instructions
- Begin by cutting the tails of the ribbon and setting them aside. You can cut as many as you like and as long as you like, anything is fine.
- To make the bow, begin my creating the loops, again any size will work depending on what you are putting it on. Tip: the larger the loops the floppier the bow will be
- After creating 2 loops, BEFORE adding the third loop, twist the ribbon at the base where you are holding the bow. this will allow the ribbon to be right side out
- Then continue adding the loops
- Add as many loops as you like. I like to use odd numbers, this bow has 5 loops on each side.
- Now it’s time to add the tails.
- Pinch them together in the center and place them in the middle of the bow, where you are holding it.
- Using a piece of wire, secure the center of the bow tightly
- Trim the tails to the desired length. To create an upside down “V”, gently fold the ribbon in half but do NOT crease it, then cut a diagonal toward the fold. You can also simply cut the ribbon on a diagonal.
- Add the bow to the wreath using the wire.
Now you can add a few ornaments to the wreath if you like and you are ready to hang it on your door, wall or outside.
Follow along with the 100 Days of Homemade Holiday Inspiration for more simple recipes, easy crafts, homemade gift ideas, decorating tips and much more!