How to Make a Wooden Apple
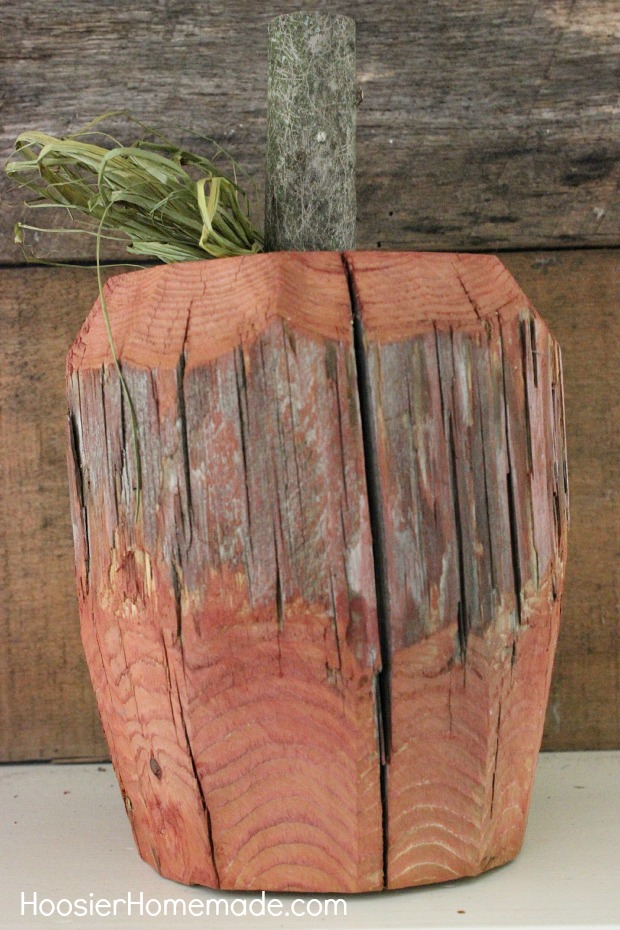
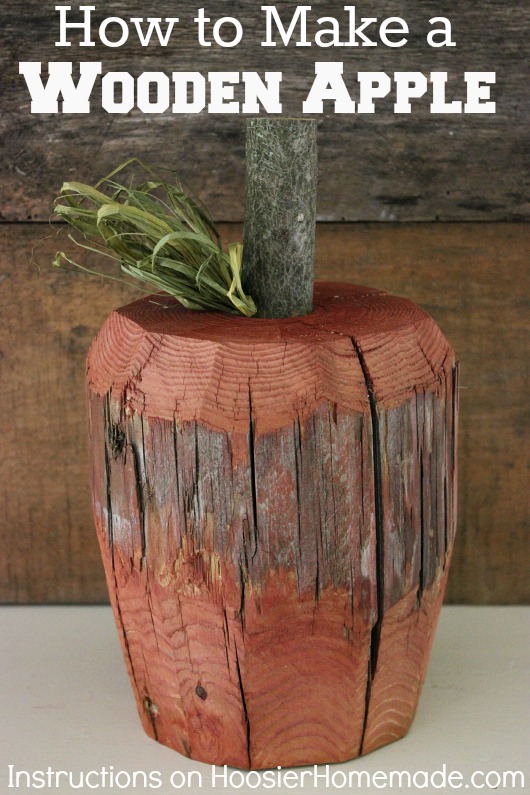
Making decorations for your home doesn’t need to be difficult, take up a lot of your time or money. Many times the best decorations are the ones you find right under your nose, or behind the garage. That’s where this Wooden Apple started.
While we were organizing the massive amount of old lumber we gathered when we picked up the barn doors we used to make the top of my office desk, we discovered an old telephone pole that was in the pile.
The large white pumpkin that we bought several years ago was the inspiration for this Wooden Apple and the poles are perfect to make it look really rustic.
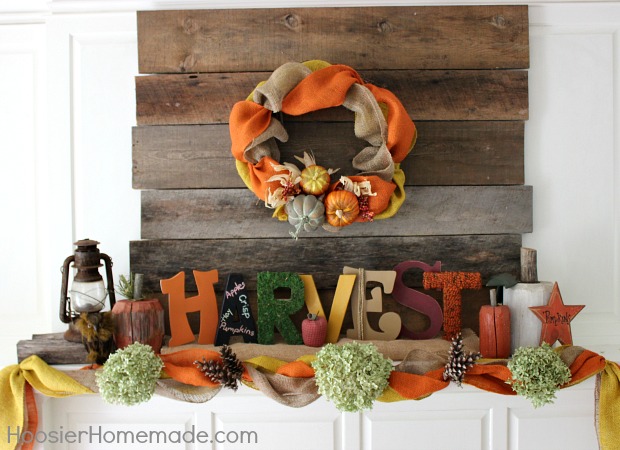
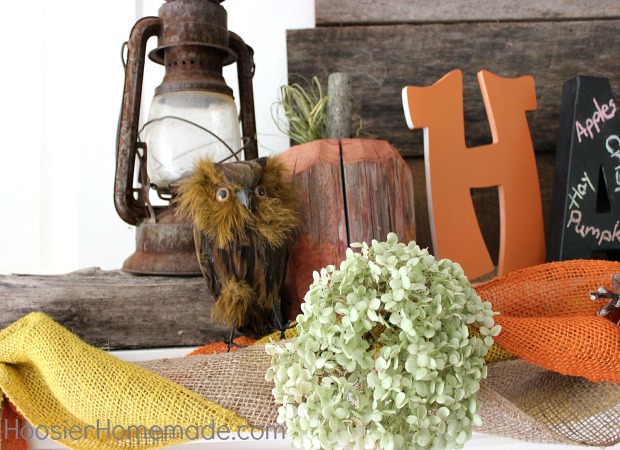
The Wooden Apple found it’s place on our Rustic Fall Mantel along with the Harvest Wooden Letters and the white pumpkin that was the inspiration for the Wooden Apple, among other decorations.
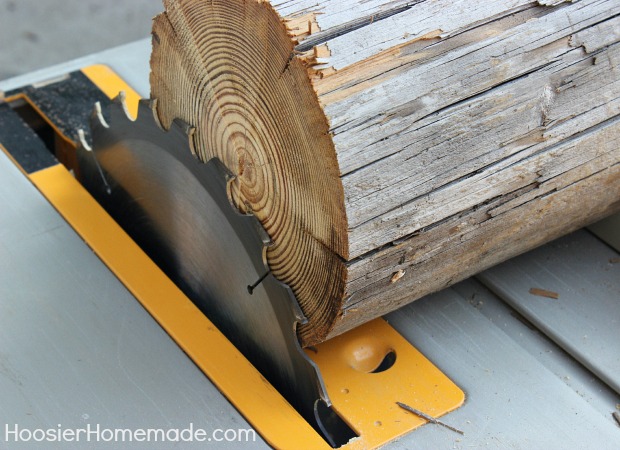
There are several ways to cut the wood depending on how you want the apple to look. The first is a table saw, although this is not the safest option. The second is a radial arm saw and the third is a handheld hatchet. Oh, don’t forget your safety glasses!
The piece we decided to use was a section of the pole that was 6 inches in diameter, just large enough that we were able to cut through the pole with the saw blade raised to its’ highest position. To get the dimensions right we cut it slightly longer than the diameter of the pole, 7 inches looked good.
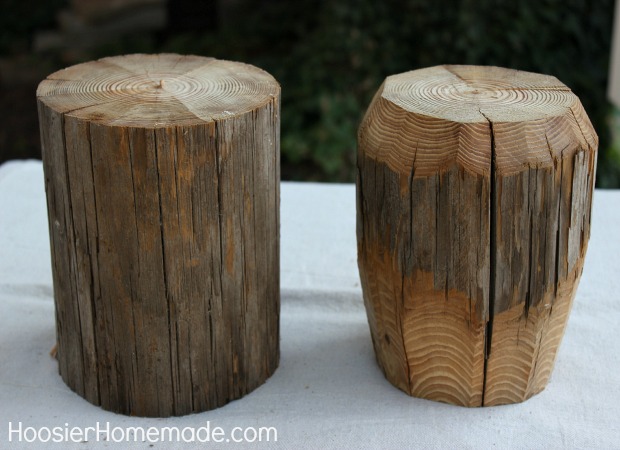
Here’s a before and after shot to give you a good idea of what your piece will look like. We did need to use a wood chisel to clean up some of the bottom cuts but you may not need to do this. It will depend ultimately on the size of pole you decide to use.
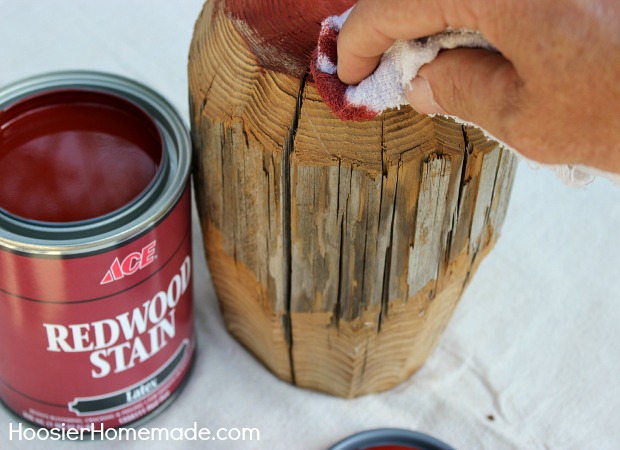
Now to add a little color to this apple with some redwood stain. To keep this looking as rustic as possible we decided to use a very basic stain with no sealer applied. This will let the different grains of the wood really pop. Apply it with a rag, heavier in some spots to give it some character.
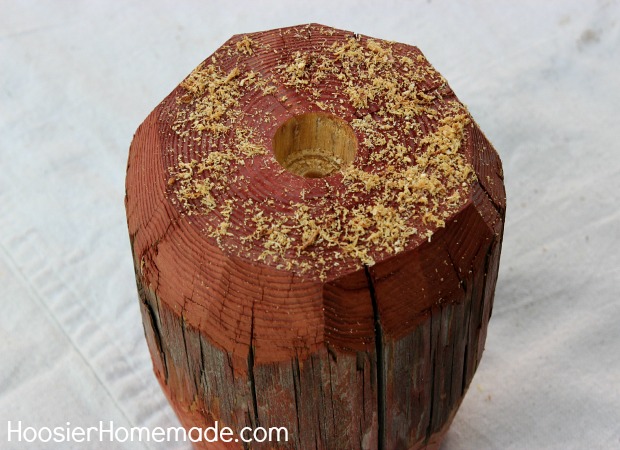
Give the stain an hour or two to dry, then drill a hole in the center of the top large enough to fit the diameter of the limb to make the apple stem. We ended up using a 1 1/4 inch wood boring bit but you’ll need to use what ever size works for you.
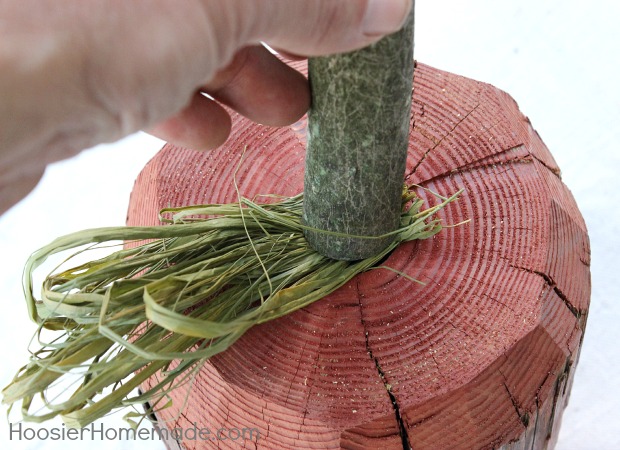
To finish and give it the look of an apple we added a bunch of green raffia and inserted the wood for the stem.
