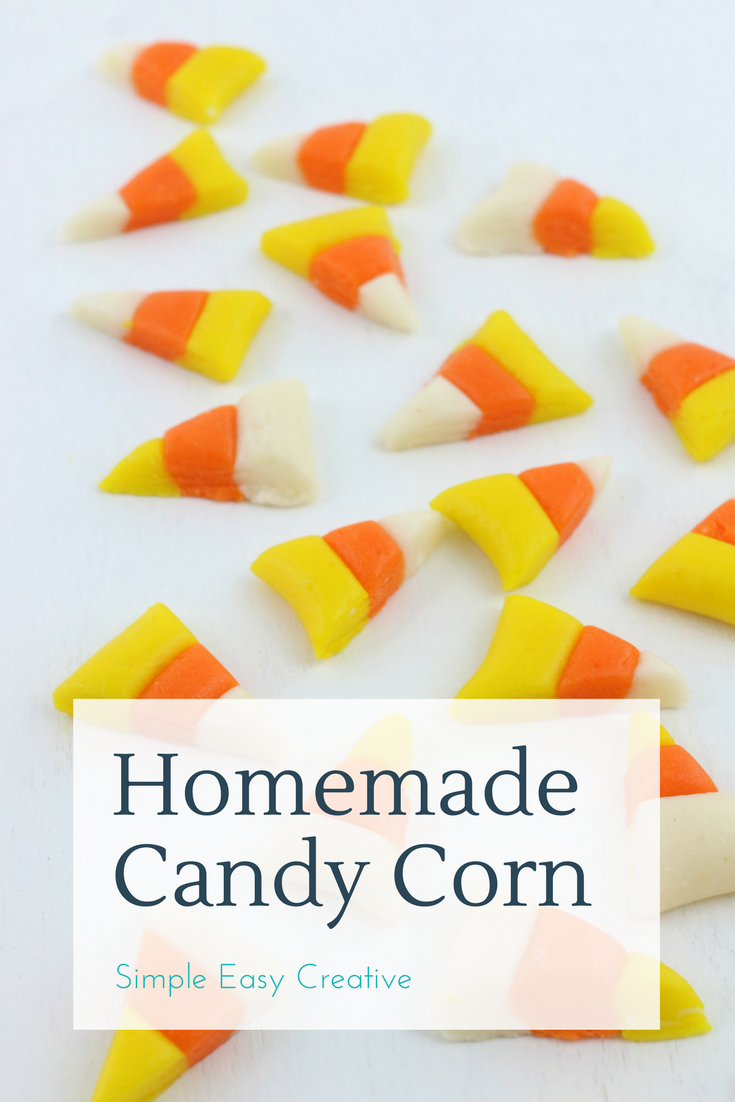
Homemade Candy Corn Recipe
Quite possibly the most popular candy for Fall and Halloween is Candy Corn. There is just something about those little marshmallow bites of yellow, orange and white pieces of candy that we all love. They are of course available at most every store you could imagine. But have you ever thought about making your own?
Yes – with this Homemade Candy Corn Recipe, it’s possible and pretty easy too! All you need are some basic ingredients, a strong arm and a little time.
I saw something interesting on Facebook last week. The question was – “when I can buy a box of oatmeal pie cookie sandwiches for under $2, why would I want to bake them myself?”
Now, I have to admit I have thought about this more times than I like to admit, however, the answer is – because you know what ingredients are in them. Which also goes for this Homemade Candy Corn, can you buy it already made for not a lot of money – sure – but if you make your own you definitely know what candy corn ingredients you are using and that there aren’t a bunch of preservatives in it or other ingredients that we can’t even pronounce.
And besides – it’s fun to make your own. The kids love helping roll out the long ropes and putting it together to form the unmistakable candy.
How to make Candy Corn
So how do we make this favorite Halloween Candy? Let’s get started…
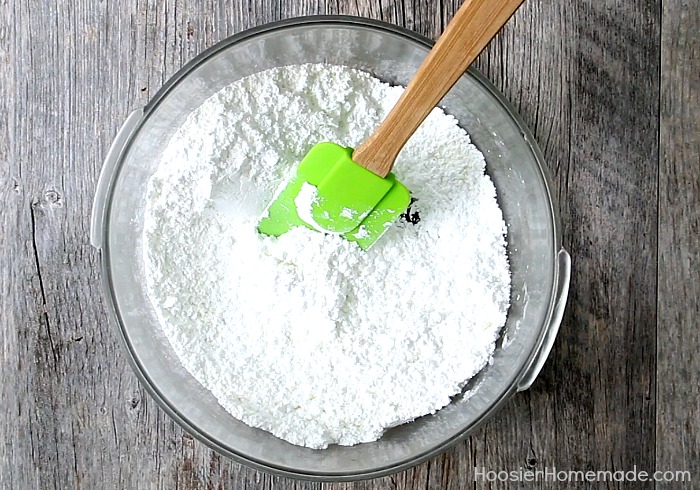
First, you will combine the powdered sugar, powdered milk, and salt in a large bowl and stir to combine.
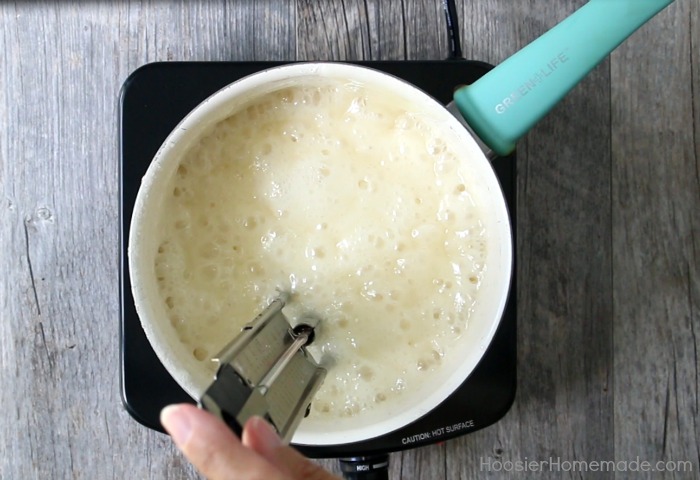
On the stovetop, combine the butter, corn syrup and sugar and boil for about 3-4 minutes. It’s best to use a candy thermometer, cook until it reaches 230 degrees or the soft ball stage. Remove from heat and stir in the vanilla.

Carefully pour the mixture into the powdered sugar mixture.
This is where the strong arm comes in. Grab your hubby if you need help and stir the mixture until well combined.
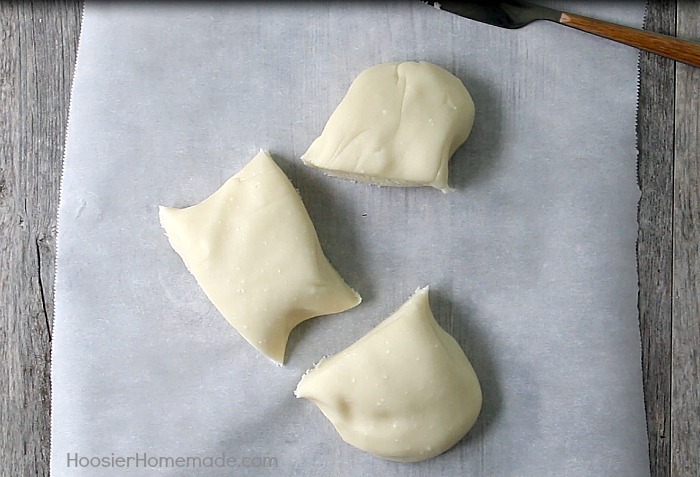
Turn the mixture out onto a piece of wax paper and let cool until you can easily handle it, about 10-15 minutes.
Divide the mixture into thirds and color two of pieces with yellow and orange, kneading until well combined.
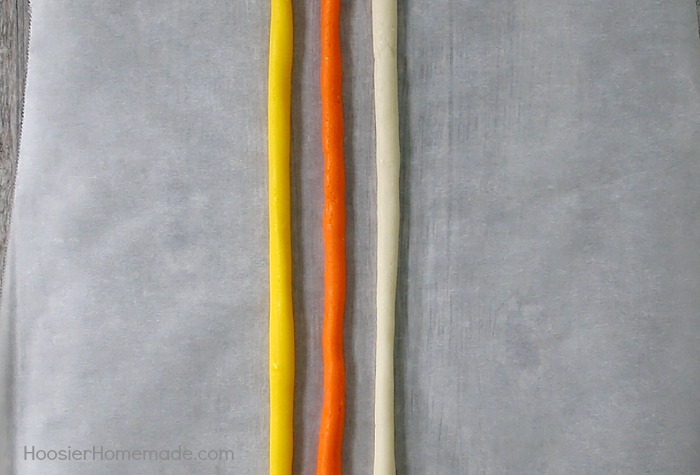
Then roll each piece into ropes, place the ropes together and pinch them slightly until they stick together.
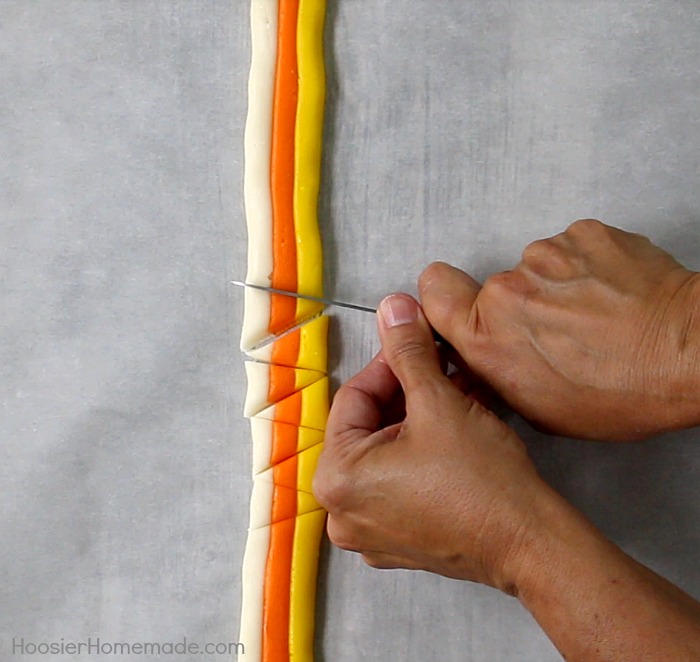
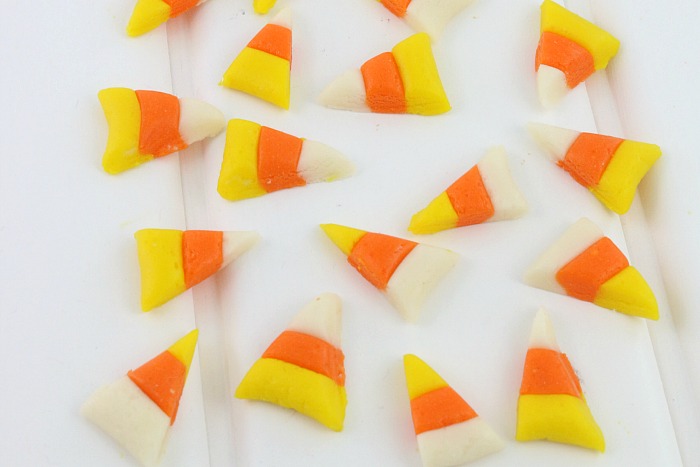
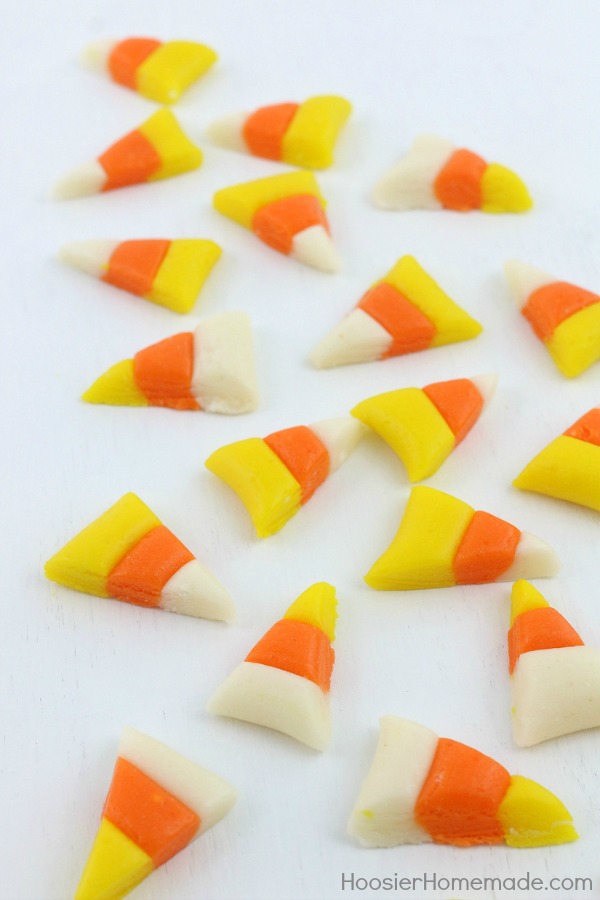
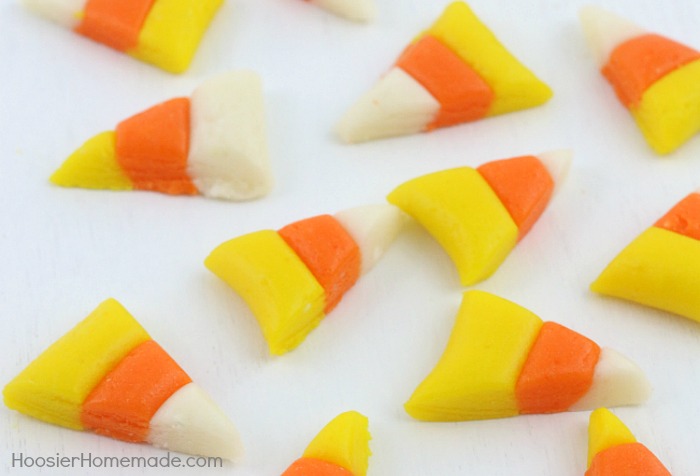
Flatten the ropes and cut into triangles.
Here’s a short video we created for you —
Follow along with my Candy Corn Pinterest Board!

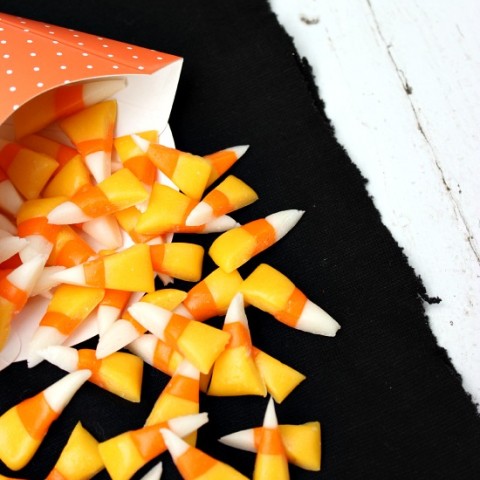
Homemade Candy Corn
Homemade Candy Corn isn't as hard as you think, and taste lots better than store bought. Recipe from HoosierHomemade.com
Ingredients
- 1 cup sugar, granulated (white)
- 2/3 cup light corn syrup
- 1/3 cup butter
- 1 teaspoon vanilla
- 2 1/2 cups powdered sugar
- 1/3 cup powdered milk
- 1/4 teaspoon salt
- Orange and Yellow Wilton coloring
Instructions
- In a large bowl, combine powdered sugar, salt and powdered milk.
- In a medium saucepan, combine sugar, butter and corn syrup.
- Bring to a gentle boil, constantly stirring, turn down heat and continue boiling for about 3-4 minutes. Mixture should read 230 degrees on a candy thermometer.
- Remove from heat and stir in vanilla.
- Add to liquid mixture to the powdered sugar mixture, with a heavy wooden spoon or other sturdy spoon, stir together,
- Place candy on wax paper, and allow to cool until you are able to handle it. Knead until all incorporated.
- Divide into 3 equal parts and color with Wilton orange and yellow coloring. I used my hands to mix the coloring in, you can put gloves on if you want, but I didn't have any trouble washing off the coloring.
- Roll each piece into long ropes, trying to keep the thickness close to the same size.
- Place ropes together, with orange in the middle
- Gently press ropes together, and flatten with your hands
- With a sharp knife cut triangles, not every piece will have a white point (those are good for snacking)
- Cut into several pieces, this recipe made a TON of candy corn
- Store in airtight container.
Notes
Be sure not to boil the mixture too long or the candy corn will be grainy. Adding a little more corn syrup to the mixture when boiling will make the candy corn a little softer.

Made your candy corn receive last night, with my husbands help:) I did follow your recipe and your notes and they came out perfect! It was VERY time consuming but so worth it! Thanks for sharing.
That’s great Chelsea! Thanks so much for letting me know!
I made this for my husband for Valentine’s Day. I colored the candy red, pink, and white. Candy corn is his favorite candy. I used a diffrent less clear recipe first and over cooked the mixture. Thanks to your recipe the second batch came out perfect! Thanks so much!!! Your tips and notes were prefect and really helped! thanks for the third time!
You’ve definitely intrigued me. I think my girls would really like to try this. You mentioned how hard the stirring was. Do you think using a Kitchen Aid mixer would work? I never really liked candy corn either until I tried some from the Jelly Belly company. Yum!
Hi Shari, a kitchen aid would definitely help. But the mixture is very sticky, so I’m not sure how it would react, since I don’t have one.
Let me know if you give it a try…it’s well worth the effort!
~Liz
Love this! Just featured it on our Fun Finds Friday…stop by and take a look!
I added your button to my blog. I am new to this so please forgive a newbie question…how would I tell my readers about this posting? I am doing a series on Halloween decorating this month and adding a few interesting side projects. This looks so cool.
Hi Catherine, It’s perfectly fine to ask, we were all newbies at some point 🙂
The best way to share another bloggers post is to first ask, which you did, and then just share a picture and a link back to the post. If you need help linking back or posting the picture, just email me, I’m happy to help. hoosierhomemade (at) gmail (dot) com
~Liz
That’s amazing!!! And way better for you at least less processed than the kind they sell you!!! Check out my blog post on “What’s In It?” about candy corn!! https://www.middleagedjock.com/?p=621
Your candy corn is much prettier too!!!
that looks so good, your whole display! love it!
WOW – that is amazing, so impressive!!
Love candy corn, this will be fun to try.
Mimi
No way – homemade candy corn? That is amazing! My kids would think I hung the moon if I made this for them!
Wow, you’re so ambitious! These look fantastic!
Wow. My daughter has never had candy corn because she is allergic to egg. We will try this very soon!
I love candy corn, so I’m sure I would LOVE these. I think this is the first time I’ve seen anyone make them from scratch. I’m inspired.
🙂
ButterYum
These look so good – beautiful pictures and cupcakes. If my husband finds this post on my computer I can tell you that we’ll be making this here soon. I appreciate your helpful tips because I’ll definitely make sure that I have hubby’s help if we attempt these.
These look so fun and easy (except for stirring. I bet they taste fantstic compared to candy corn. Beautiful with the cupcakes and wrappers too.