Halloween DIY Decorations
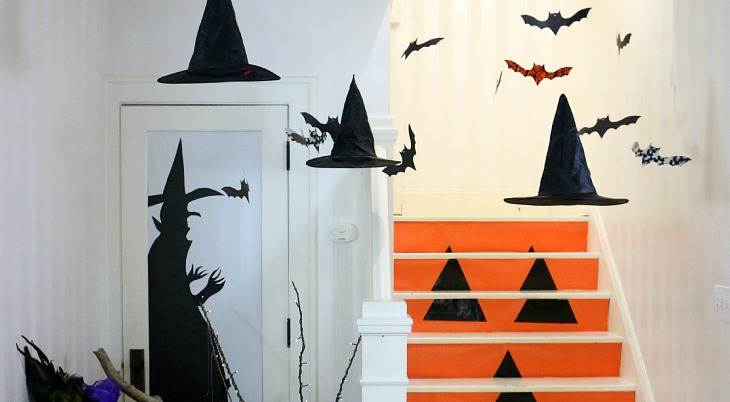
Ghosts – Goblins – Bats – and Witches Brew – Greet your guests and trick-or-treaters with these easy to make Halloween DIY Decorations with only a few supplies! Grab the kids! It’s time to decorate for Halloween!
When my boys were young, we used to decorate our home for every holiday, and Halloween was no exception. We would spend hours carving and decorating pumpkins, hanging Halloween decorations up around the house and outdoors. As the boys have gotten older, and our lives are busy with work schedules and school, we haven’t been decorating the house as much.
All that changed recently when we decided to bring back those days, dig deep into our creativity and have fun with these Halloween DIY Decorations. Let me show you what we did…
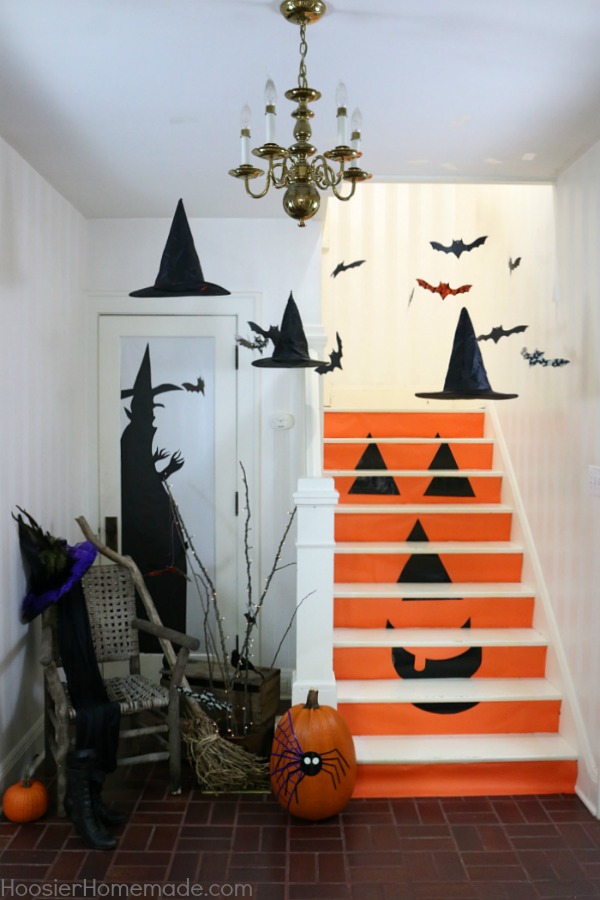
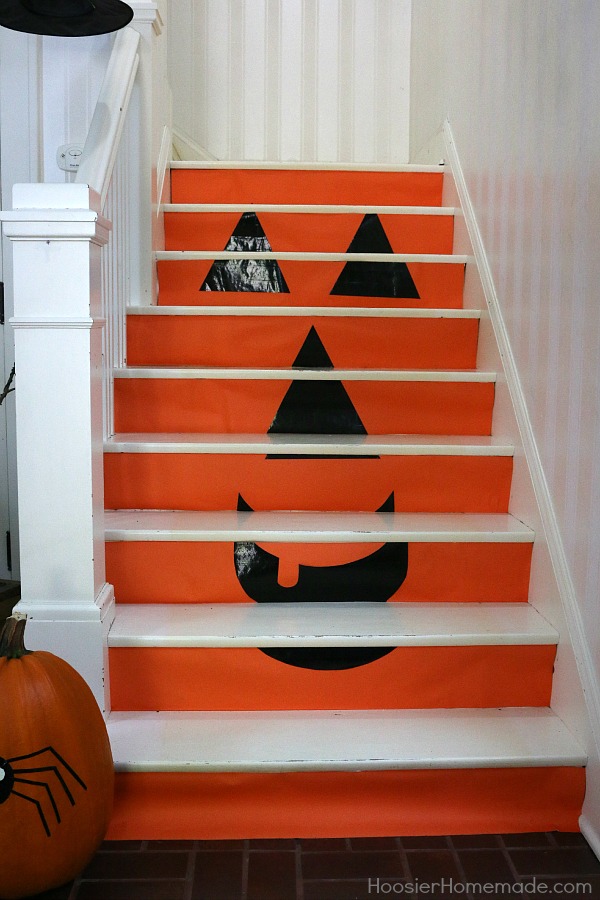
The Jack o’ Lantern steps are the focal point of the Halloween Decorations. After we sketched out and measured, they were easy to create.
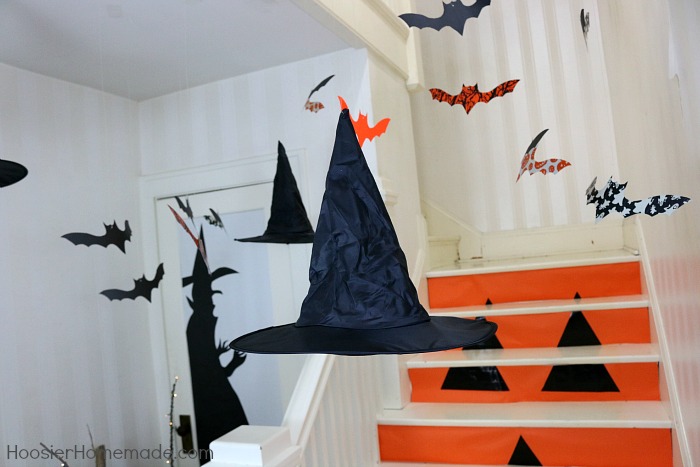
The bats and witches hats hung from the ceiling added a bit of spookiness to the Halloween Decorations. We punched a small hole in the top of the hat and used fishing line to hang the hats as well.
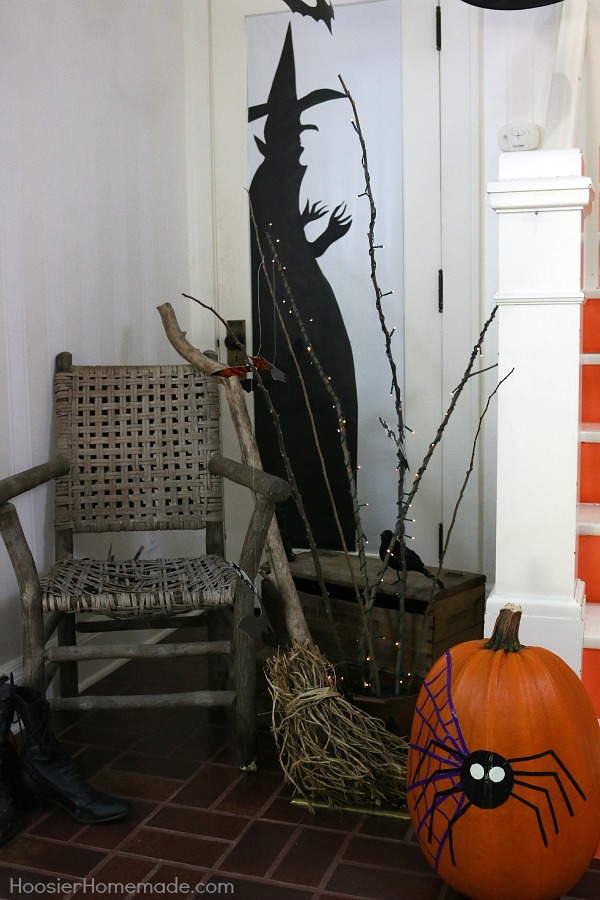
The witch silhouette, her broom, boots and a decorated pumpkin finish out the area. Now – let me show you how to make them yourself.
The first step is to create the bats.
Hanging Bats Supplies
- Black Paper – 12×12 inch cardstock or scrapbook paper
- Duck Tape – we used all the new Halloween prints
- Bat Template – fold a piece of paper in half, and draw out the bat, unfold and cut out the bat
- Fishing Line
- Scissors
- Hole Punch
Step 1
- Cover the black paper with Duck Tape, and trim the edges
Step 2
- Trace the bats onto the paper
Step 3
- Cut them out
Step 4
- Punch a hole in the top of the bat and string the fishing line through
After the bats were done, it was time to begin creating the Jack o’ Lantern steps. Figuring out the measurements and tracing it all out took a little time, but it wasn’t hard. And if you want to use our instructions, it will be really easy.
Halloween Stairs Supplies
- Paper – we bought a roll at Hobby Lobby
- Black Duck Tape
- Craft Paper or other large paper for templates
- Measuring Tape
- Yard Stick or Level to mark the cutting lines
- Pencil
- Scissors
- X-Acto knife
Step 1
- Measure the rise of your stairs
Step 2
- Multiply that number by the number of stairs you have, and add a few inches. We started with a 60 inch piece using the full width of the paper
Step 3
- Measure the width of each step. Ours are different because of the railing.
Step 4
- Mark the paper for each rise in the stair. Ours are 6 1/4 inch.
Step 5
- Measure and mark each stair on the paper.
Then we decided on the face and drew templates using craft paper. For the mouth, we used a very large platter to get the circle on the bottom. And then laid them out on the paper to be sure the size was what we wanted.
Next, each template was covered in black Duck Tape and the excess was cut off with an X-Acto knife, using a ruler for the straight edge.
Then we laid the face back onto the paper to be sure is was positioned right and attached it to the paper with adhesive roller.
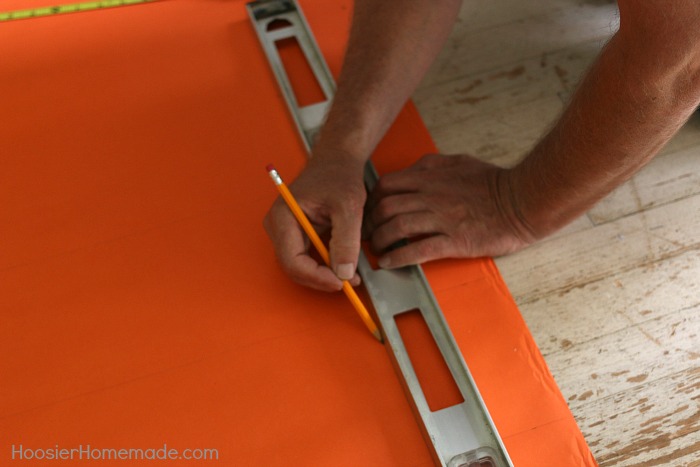
Doug used a long piece of wood underneath the paper for stability, and the level for a straight edge. Then cut each of the pieces for the steps.
To attach the pieces of paper to the stairs, we used double sided tape.
The bats and hats were hung by the fishing line and simply taped to the ceiling.
Halloween wouldn’t be complete without a decorated pumpkin. We used Duck Tape to add the spider and his web onto the pumpkin. His eyes are made with Duck Tape Glow-in-the-Dark Tape.
Finishing out the rest of the Halloween DIY Decorations, are the silhouette of the witch. We covered the door with white paper, and then cut out the witches silhouette from black paper. I drew her free hand after a little measuring, but I bet you could find one at a craft or department store.
The chair is one that we had outside. And the sticks we cut from the yard and added tiny battery operated light sets that we found at Hobby Lobby in the Christmas area.
The broom is one that we made years ago for our Halloween Porch Decorations.
And of course it wouldn’t be Halloween without some goodies for the trick-or-treaters. The DIY Decorated Witches Hat makes another appearance.
I couldn’t be more excited with how our Halloween DIY Decorations came together. What do you think?
- Duck® Brand Tape – black, purple, Glow-in-the-Dark, Halloween prints
- Paper – orange, black, white, brown (or something for templates)
- Pumpkins
- Fishing Line
- Props – chair, broom, sticks with lights, witch hat, cape, boots
- Tools – scissors, ruler, level, pencil, X-Acto knife
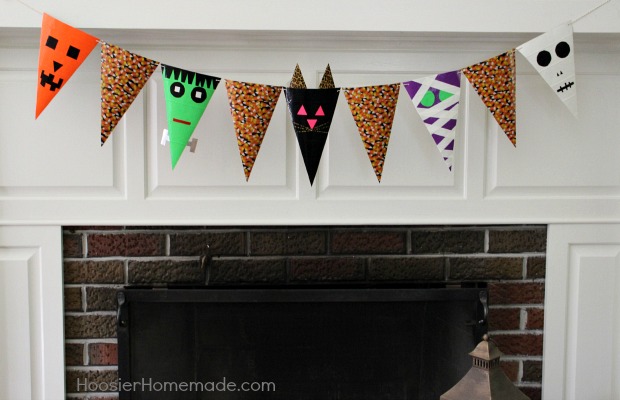
You may also like the Halloween Banner we made using Duck Tape.
Follow Duck® Brand Tape on Pinterest, Facebook, Instagram and Twitter for more inspiration!






Hello, this is my first time here, and WOWSERS I luv this entry!!!!! I am following you now through Bloglovin. Would be honored if you came and checked out my Halloween porch !!!
CHristine from Little Brags
https://littlebrags.blogspot.com/2015/10/halloween-front-porch.html
I love your style! Those jack -o-lantern stairs are adorable! Thank you so much for sharing with us at Dream. Create. Inspire. Link! I’m pinning your idea for next year!
Cat