Easy Last Minute Halloween Ideas
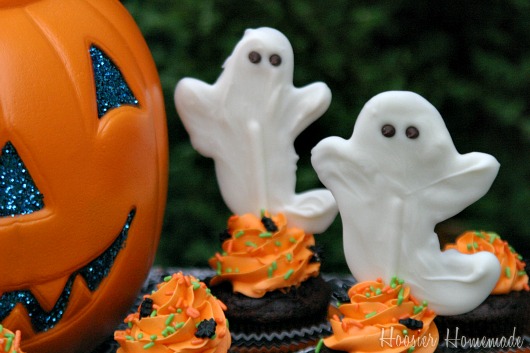
Happy Halloween! It’s here! We have cooked, baked, decorated and of course, we enjoyed LOTS of Halloween Cupcakes this month!
But just in case, Halloween totally snuck up on you {the month went WAY too fast!} and you are in need of an easy last minute Halloween idea or two…never fear…I have you covered!
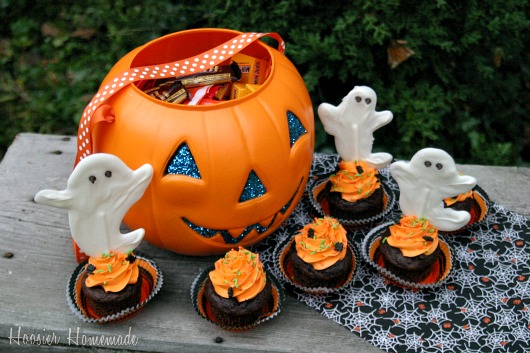
These friendly little chocolate ghosts are super quick and take only 3 ingredients…white chocolate Almond Bark, lollipop sticks and mini chocolate chips.
Halloween Cupcakes with Chocolate Ghosts Supplies:
- Cupcakes {your favorite flavor, but I think the chocolate look festive}
- Halloween Cupcake Liners
- Orange Decorator Icing
- Tip #1M
- Wilton Spider Sprinkles
- White Almond Bark
- Lollipop Sticks
- Mini Chocolate Chips
Instructions:
- Bake and cool cupcakes
- Cover a cookie sheet with wax paper
- Melt the almond bark in the microwave about 20-30 seconds {add a very small amount of cooking oil if the chocolate needs to be thinned}
- Add a couple teaspoons melted chocolate to wax paper, with the back of the spoon, gently push the chocolate into place to resemble a ghost
- Add the stick, turning it to coat with chocolate
- Add the mini chocolate chips for the eyes
- Place in freezer to set
- Meanwhile, add orange coloring to icing, fit a decorator bag with Tip #1M and fill with orange icing
- Pipe on icing, add sprinkles
- Remove ghosts from the freezer, carefully remove them from the wax paper and stick into the cupcake
So cute!! I just LOVE cute…and easy!
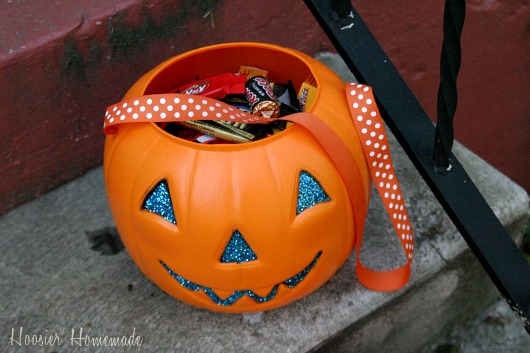
Now let’s talk about these adorable Glittered Pumpkin Pails! I first spotted the idea on Eddie Ross {love his work}, so I grabbed 3 pumpkin pails at Walmart, they are only $1, and some glitter. I had the ribbon in my stash and of course the glue on hand.
Glittered Pumpkin Pails Supplies:
- Pumpkin Pails
- Glue
- Glitter
- Small paintbrush
Instructions:
- Pour glue onto a paper plate or piece of paper
- Using the paintbrush, add the glue to the eyes, nose and mouth
- Sprinkle on the glitter
- Shake and wipe off the excess
- Cut the handle off and tie on a ribbon
The Glittered Pumpkin Pails took me about 15 minutes for all 3 of them. Doug and I were working on Christmas Trees for the Splendidly Homemade Magazine, watch for it in mid November, and I think he thought I was nuts for starting another project, but I knew it would go super quick…and I was right. And now how about a few more Pumpkin Pails as Luminaries?
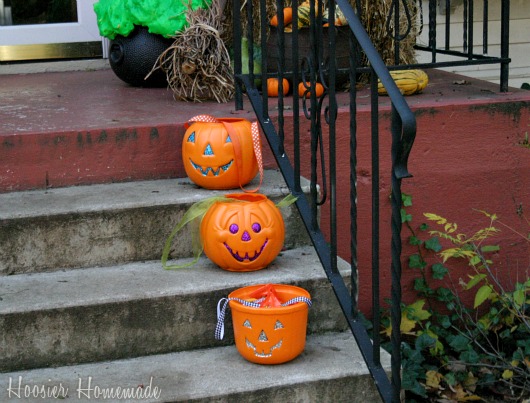
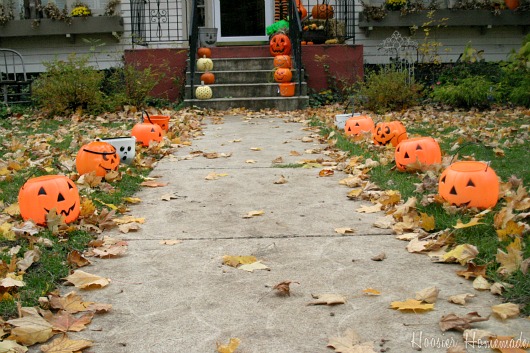
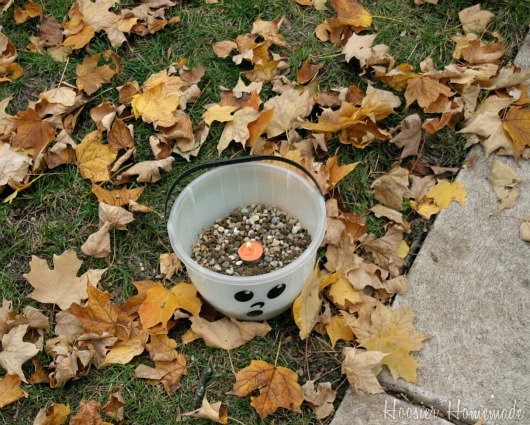
Our sidewalk is lined with Pumpkin Pail Luminaries, the candy is ready…now we just need some Trick-or-Treaters! I’ve been adding to the Pumpkin Pail collection for a couple years, most of these I found at Goodwill for less than a $1, but you can find them pretty easily at Walmart or other department stores.
Just fill the Pumpkin Pail with small stones and add the candle {always be careful around a candle flame}, line your sidewalk or porch for a spooky look on Halloween Night!
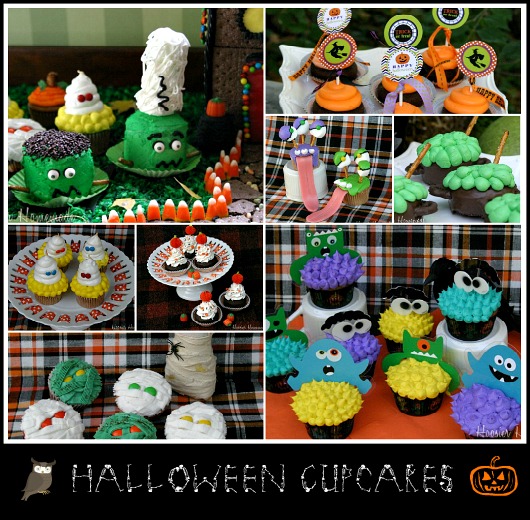
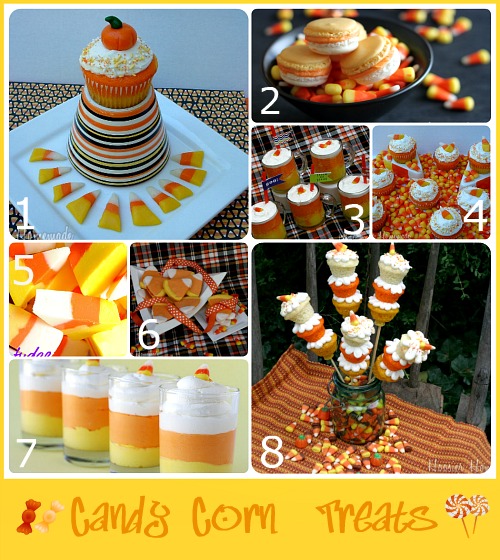
And in case you missed the Halloween Round-up…I shared Halloween Food, Cupcakes, Treats, Decorating, Party Ideas and more! And let’s not forget about the Candy Corn Treats…some of my favorites!
Cute ideas! Love the ghosts and how easy they are. the glitter pumpkins…what a fun way to update some old buckets!! thanks for sharing and those cupcakes are beautiful!!;)
*please not pleaded ..lol..
These are all Sooo amazing..I found ya while browsing Made by you Mons and would LOVE for you to pleaded share this goodie at my 6Wicked Days of Halloween party today pweeease… https://theartsygirlconnection.blogspot.com/2011/10/flash-back-halloween-6-wicked-days-of.html ..wishing u a spootacular day :))