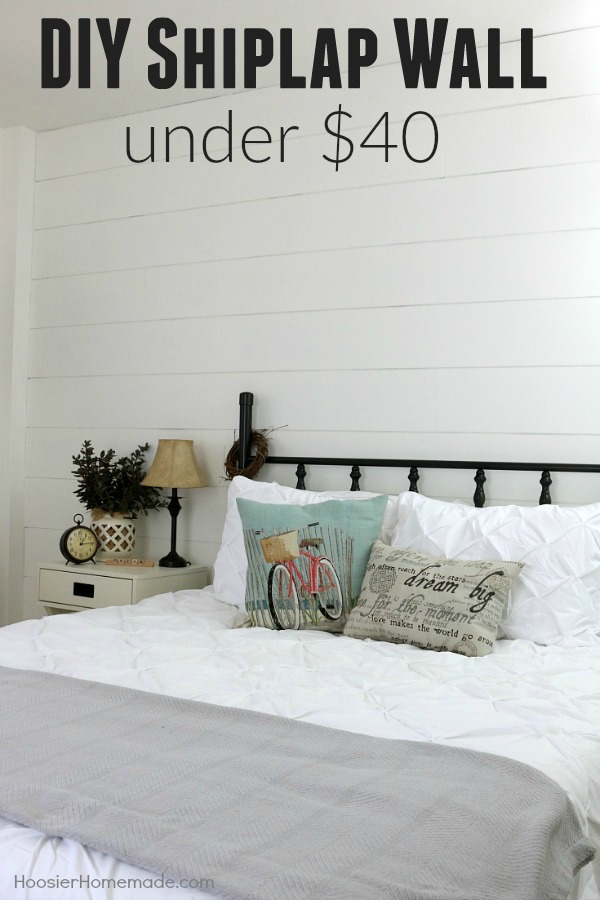
DIY Shiplap Wall for under $40
Are you in love with the show Fixer Upper? Do you love Shiplap Walls? Wish you could have one? Well, now you can! Follow these easy instructions and transform your own space for UNDER $40 with this DIY Shiplap Wall!
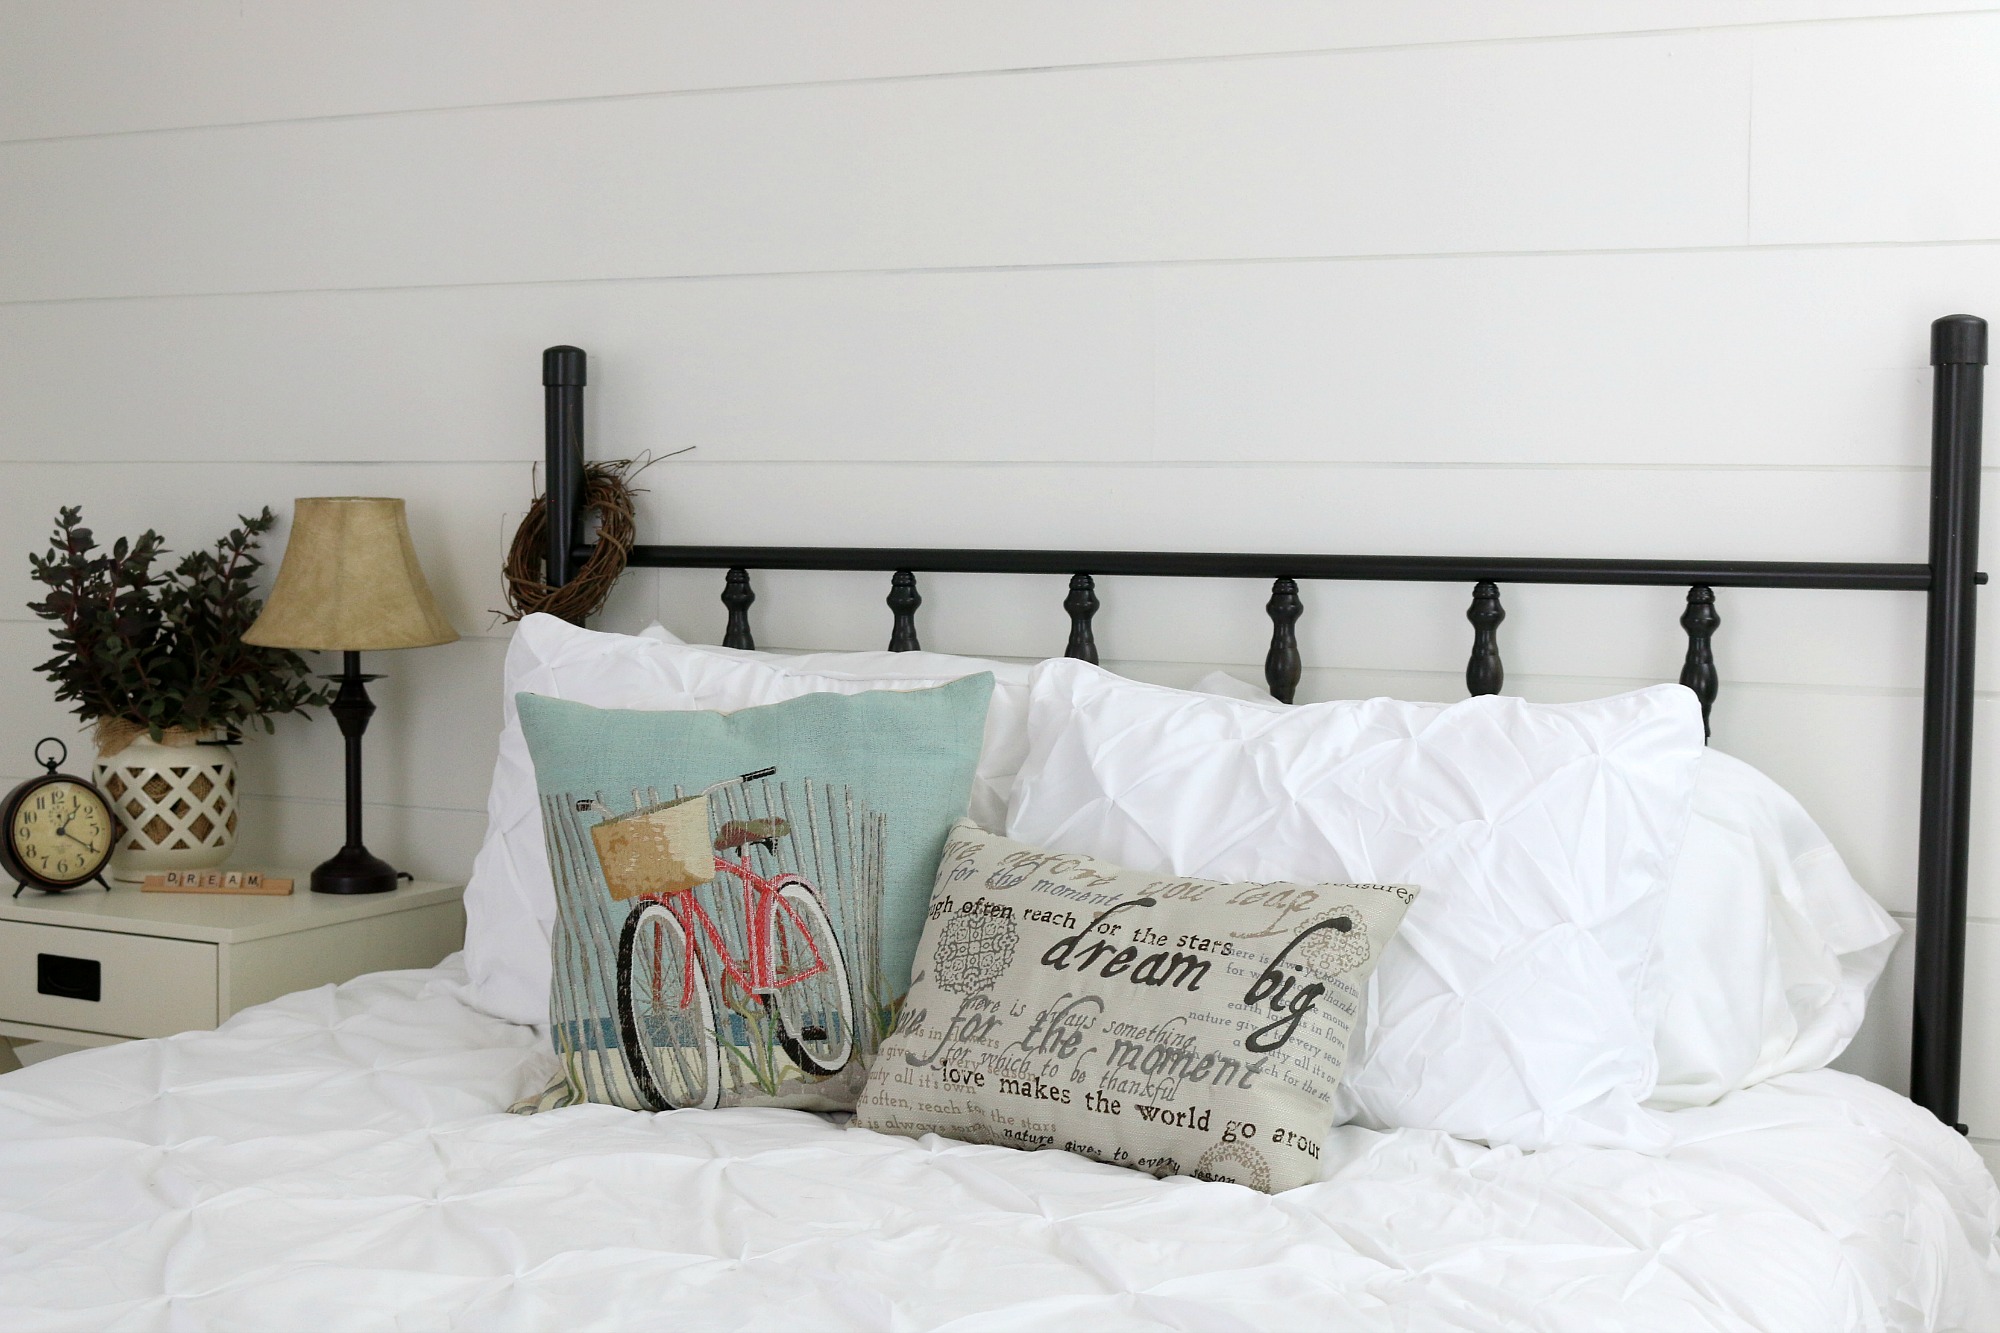
Last week we shared our new Farmhouse Decor in the Bedroom, including the Shiplap Wall that we created for under $40. I was so excited to see that you all were just as excited about the new space as we are. We are planning to remodel the whole house, next up is our dining room, so stay tuned for that in July. And of course, we are also building the She Shed which will have Farmhouse Decor as well. I guess I just can’t get enough of this style of decorating.
Are you ready to create a special Shiplap Wall in your own space? Let’s get started —
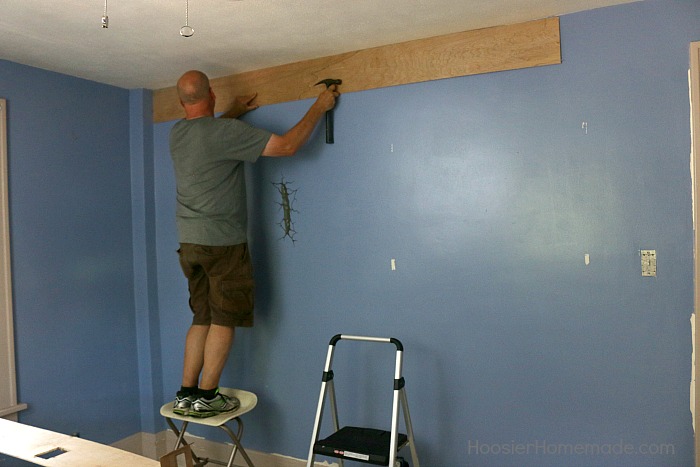
This is where we started. This bedroom was painted a bright blue with tan trim, and we were ready for a change. Even though we were painting the whole room white (including the shiplap), we did not paint the wall prior to hanging the wood. I’m glad we didn’t waste time and materials, because it turned out just fine.
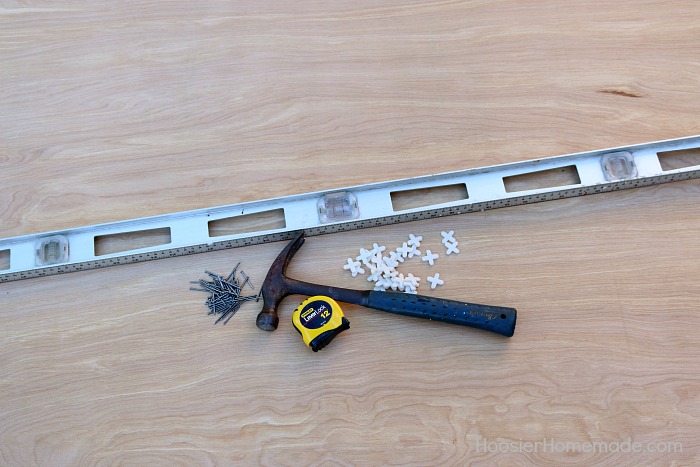
The first step is to gather all your materials and tools.
Shiplap Wall Supplies
- Wood – we used 1/4 inch Luan Plywood from The Home Depot (cost $11.97 each)
- Nails – 1+1/4 inch finishing or paneling nails
- Tile Spacers – 1/4 inch
Tools Needed
- Table Saw
- 4 foot Level
- Hammer
- Tape Measure
- Pencil
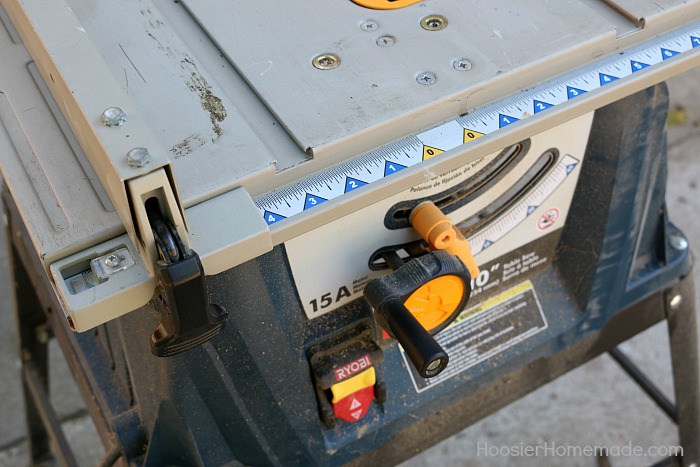
Step 1: Getting the Table Saw ready
Set the table saw to cut 8-inch width strips
Note – you can also have the wood cut at your local lumber store. The prices vary from store to store, but most are under $1 per cut.
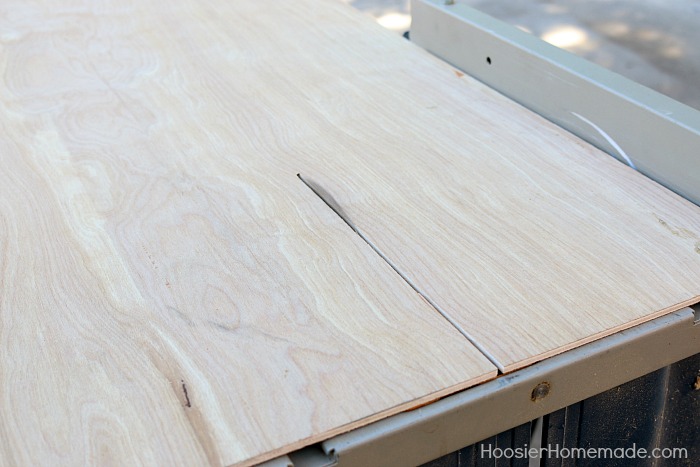
Step 2: Cutting the wood
To keep the cost down, we used Luan Plywood. We cut the plywood into 8 inch wide pieces. You can also use 6 or 10 inches if you like the look better. We found that the 8-inch width made the room appear a lot bigger.
The only thing we had trouble with while cutting was that the Luan Plywood was a little flimsy because it was thin. We learned we needed to have 2 people – one to do the cutting and one to stabilize the wood. I think next time, even though Doug has a saw, it might be worth the extra $1.50 (or so) per piece of wood to have it cut at the store.
To stagger the seams, we cut the plywood into different lengths – 8 feet, 6 feet, 4 feet and 2 feet.
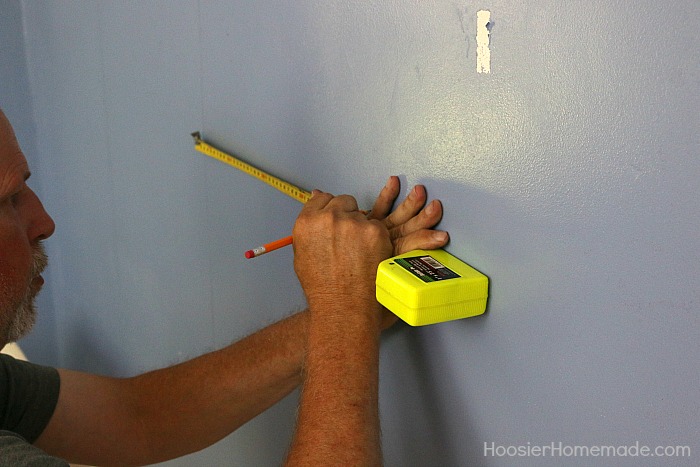
Step 3: Finding the Studs
The next step is to find and mark the studs. Our home is very old (1926). When we hammer into the wall, we often can hear the plaster falling down, so it was really important to find the studs. And because it’s so old, the new tools that are on the market to find studs in a wall have not worked for us. So Doug measured and marked all of the studs- our studs are approximately 18 inches apart.
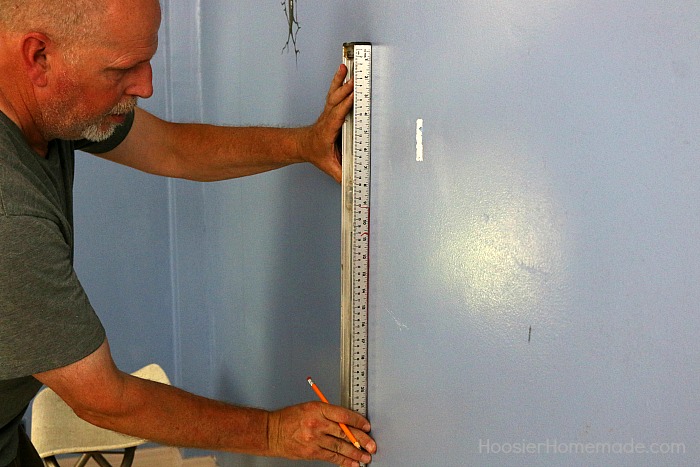
Step 4: Marking the Studs
After the studs are found, use your level to mark vertical lines on the wall where the studs are.
Step 5: Nailing the boards
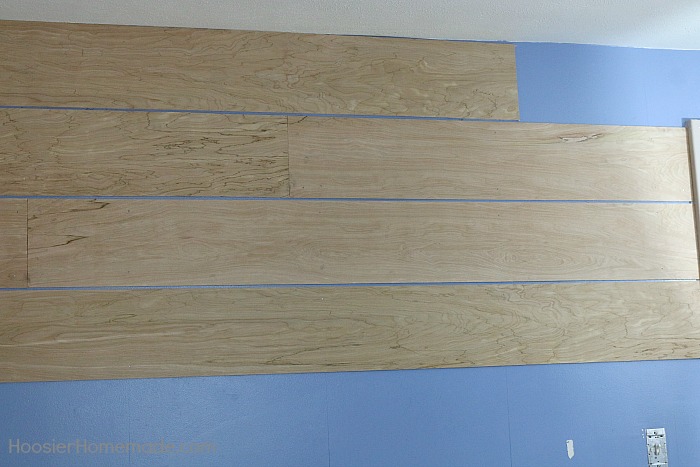
Now it’s time to add the boards. We started at the top, so there was a full piece of a board showing and staggered the seams. The bottom won’t show much because of the bed covering it.
Note – you can also glue the wood to the wall, we chose not to and have not had any issues. There were a couple spots that we needed to add an extra nail.
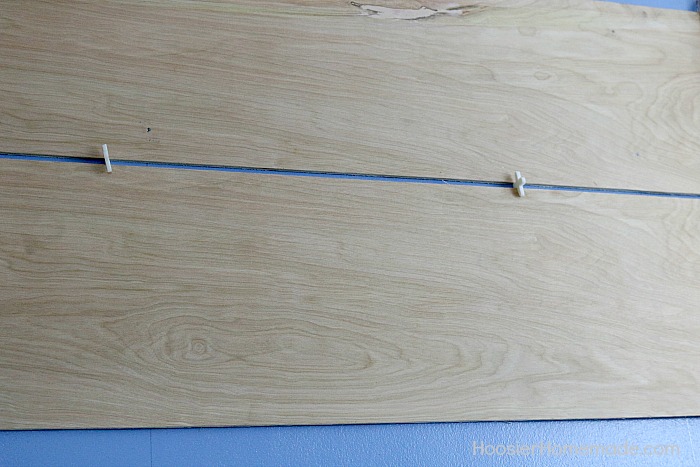
We used tile spacers to make the spacing in between the boards all the same.
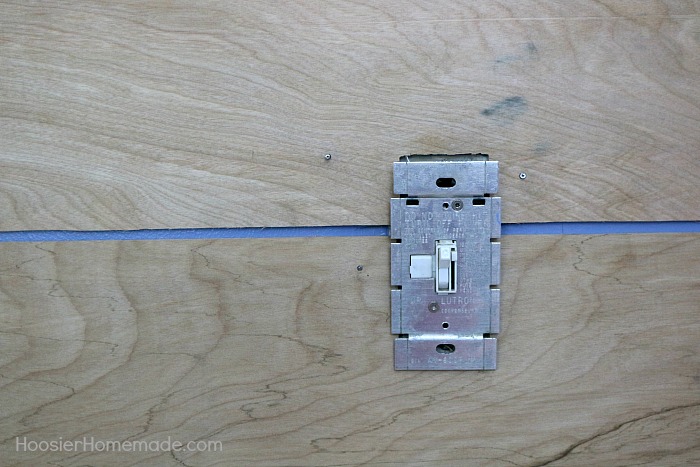
Step 6: Making cutouts for light switches
More than likely, you will have some type of cut out that will need to be done, like a light switch and electrical outlet. Depending on your wall, the outlet made need to be moved out a bit so that the outlet can set on top of the wood.
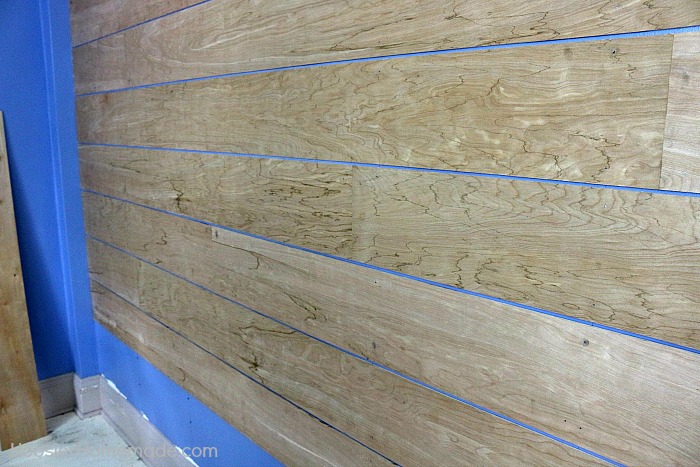
Step 7: Finishing the wall
To finish the wall at the bottom, you will need to measure the space and cut the width and length of the boards accordingly.
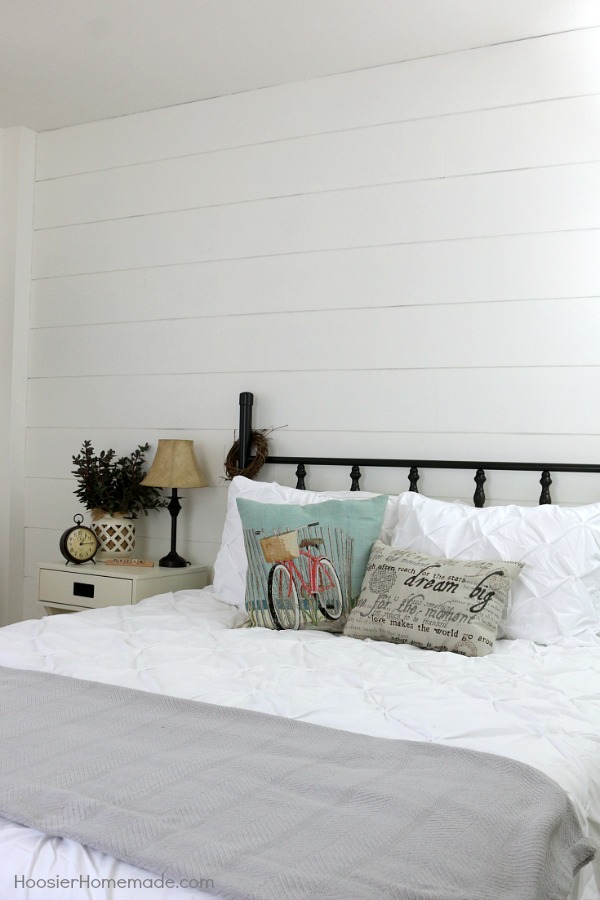
After the wall is complete, it’s time for paint. We used a primer on it first, then painted with an off white color. I’m absolutely thrilled with the way it turned out, and can’t wait to work on the other rooms in the house!
Shiplap Wall Final Cost
Luan Plywood – 3 sheets @11.97 = $35.91 (12 x 8 foot wall)
Nails – .50 cents – we used less than 1/4 of the box of nails which was $2.68
Spacers – only used a few that we already had – you can also make your own spacers with pieces of wood, coins or other items
Paint – $3.00 – 1 gallon of paint divided between the 4 walls
Note – these are the prices that we found here in the Midwest, prices will vary across the country

Very Beautiful, love this!! did you need to sand down each plank of luan after it was cut ? I guess this would be to thin to try on a floor ? If taking down a drop ceiling how would I install this if the ceiling has no sheet rock? Thx
A light sanding of the edges is required. Yes, it won’t stand up to floor traffic and you would have to give it a strong backer board if you are going to try installing on the ceiling.
do you know if you can use the luna in a bathroom?
You need to take precautions when using Luan in any high moisture area like a bathroom. Make sure that all sides and ends of the luan are painted with at least a primer coat before you install. This will help reduce swelling of the luan plywood. Never use it any place that will come in direct contact with water, like in a shower. But I could see using it as a focal point wall away from the shower/sink area.
Could I paint my boards before I put them up and just touch them up after hanging. I don’t want to paint my whole room.
Also I have drywall over old plaster would that work ok?
Thanks Terry
Yes Terry I don’t see a problem with placing the shiplap over the drywall covered plaster. And yes you can paint the boards prior to hanging them, I would recommend wearing gloves when you attach the boards to the wall especially if you are painting them white. It’s amazing how much dirt you can transfer to freshly painted surfaces even when you think your hands are clean.
I just tried doing this but the Luann boards are warping! It looks like a very wavy wall. Any way to prevent this?
Hi Sharon, If the warping is occurring after you have painted the Luann, this is not uncommon and the warping should correct itself after a few days as the paint cures. But just in case you still have problems here are a few suggestions. You can use addition nails to tack down the edges that are warped. The most effective, but time consuming thing I would suggest is removing the boards and re-attaching them using construction adhesive and nails.
Hi. How many of each cut did you get? How many 8 foot, 6 foot and 2 foot cuts? That’s the only thing I’m unsure of. I want to tackle this project this weekend, but we don’t own a table saw so I will have to get all my cuts done at Home Depot and want to know what I’m asking for before going to the store.
Hi Ellie, it would depend on the size of your wall. You will need a hand saw or jigsaw to cut out the light and electrical outlets and around any door frame or window.
I would suggest that you draw a plan on a piece of paper and figure out how many pieces you would need. The worker at the store should be able to help with that.
-Liz
When I installed my plywood floors I had home depot cut them length wise 6″ then I shot a plumb line BC walls are not perfectly straight and began with the first full board in the middle of the room (@ the plumb line). Glued and nail gunned and 3 years later they’re still perfect! The stagger technique I used naturally happened when I measured the 2nd board, cut to fit the remainder of the room then used the cut off piece to start the next row and continued from there always starting on the right. A jigsaw worked fine for this.
OMG! I love this I want to try to do this myself and surprise my husband. I might do more then surprise him, lol! I’m wanting to put this in my bathroom. Will the humidity affect it once it’s painted?
Hi Vicki, for the luan board, the bathroom has too much humidity. You might be able to use a heavier board.
-Liz
What about hollow tile walls? How would you attach them to the cement walls? I absolutely love the look!
Ann Marie I would suggest using adhesive caulk. You would need to clean any loose paint if the walls were previously painted. I would go to a local hardware or paint store and ask them for the best adhesive caulk they have to use.
I am looking at shiplap wall idea so I can do one of my own. My question for your particular shiplap is…why did you use one-quarter inch spacers? Reason I want to know is have you had any problems with house dust settling in the spaces? If so, do you use a vacuum to keep the spaces free of dust? I love your shiplap wall, and I especially love that you used luann boards. The reason I haven’t actually done my own wall yet is I dreaded using thick wood. I see your luann is very attractive.
Thank you in advance.
the quarter inch spacers gave us the look we desired. We have not had any problems with dust accumulating on the edges.
Hi I have a question. I love this idea and I want to do this shiplap look in my bedroom. My house is also old. I have a plaster wall that is cracking and the plaster is coming loose off the boards. Will the luan hold the plaster up?
Hi Cheryl, The short answer is no.
I would not recommend you do this over loose plaster. Since you will be nailing the luan to the wall it will be difficult to keep straight and the plaster will continue to crack and loosen off the lath. Your best option would be to remove the plaster and lath and replace with drywall.
Hi, Trying to ship lap a wall in an old house of course the ceiling is not level but are having a hard time with the luan plywood looking waves. Any suggestions?
Hi Lisa, first thing to figure out is whether the wall itself is wavy. If not, I would get some paneling adhesive and glue as well as nail the luan to the wall.
-Doug
How many coats of paint did you use? Can you tell me exactly what brand and shade of paint you used? Also – did you end up having to fill in the nail holes at all? Thanks!
Hi Katie,
The color we chose for the wall is from BEHR brand paint. It’s called Winds Breath, the color number is GR-W06 and we chose an eggshell sheen. We applied 2 coats and did not have to fill the nail holes.
Wouldn’t a house of that age likely have shiplap beneath the plaster? I owned a 20s house once, and beneath, the sheetrock was shiplap.