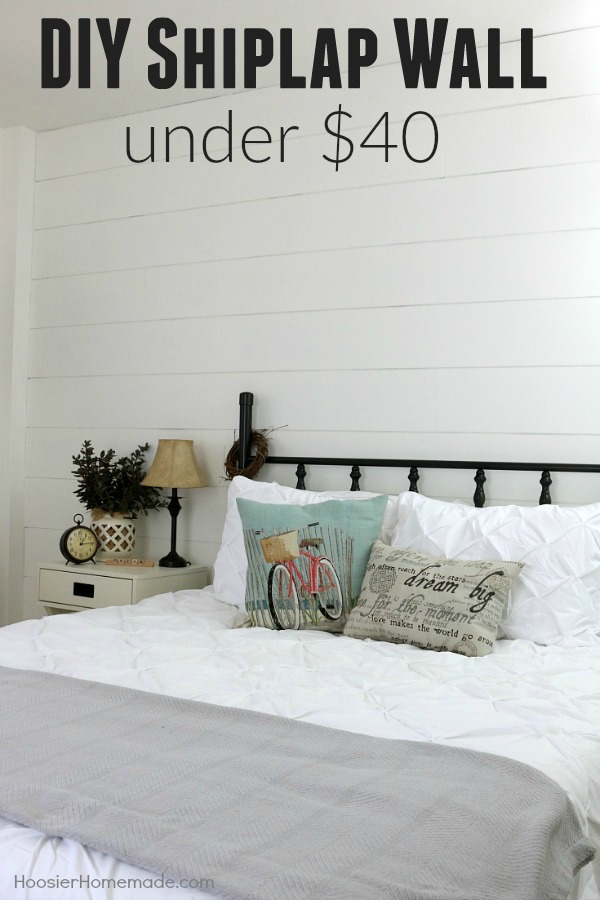
DIY Shiplap Wall for under $40
Are you in love with the show Fixer Upper? Do you love Shiplap Walls? Wish you could have one? Well, now you can! Follow these easy instructions and transform your own space for UNDER $40 with this DIY Shiplap Wall!
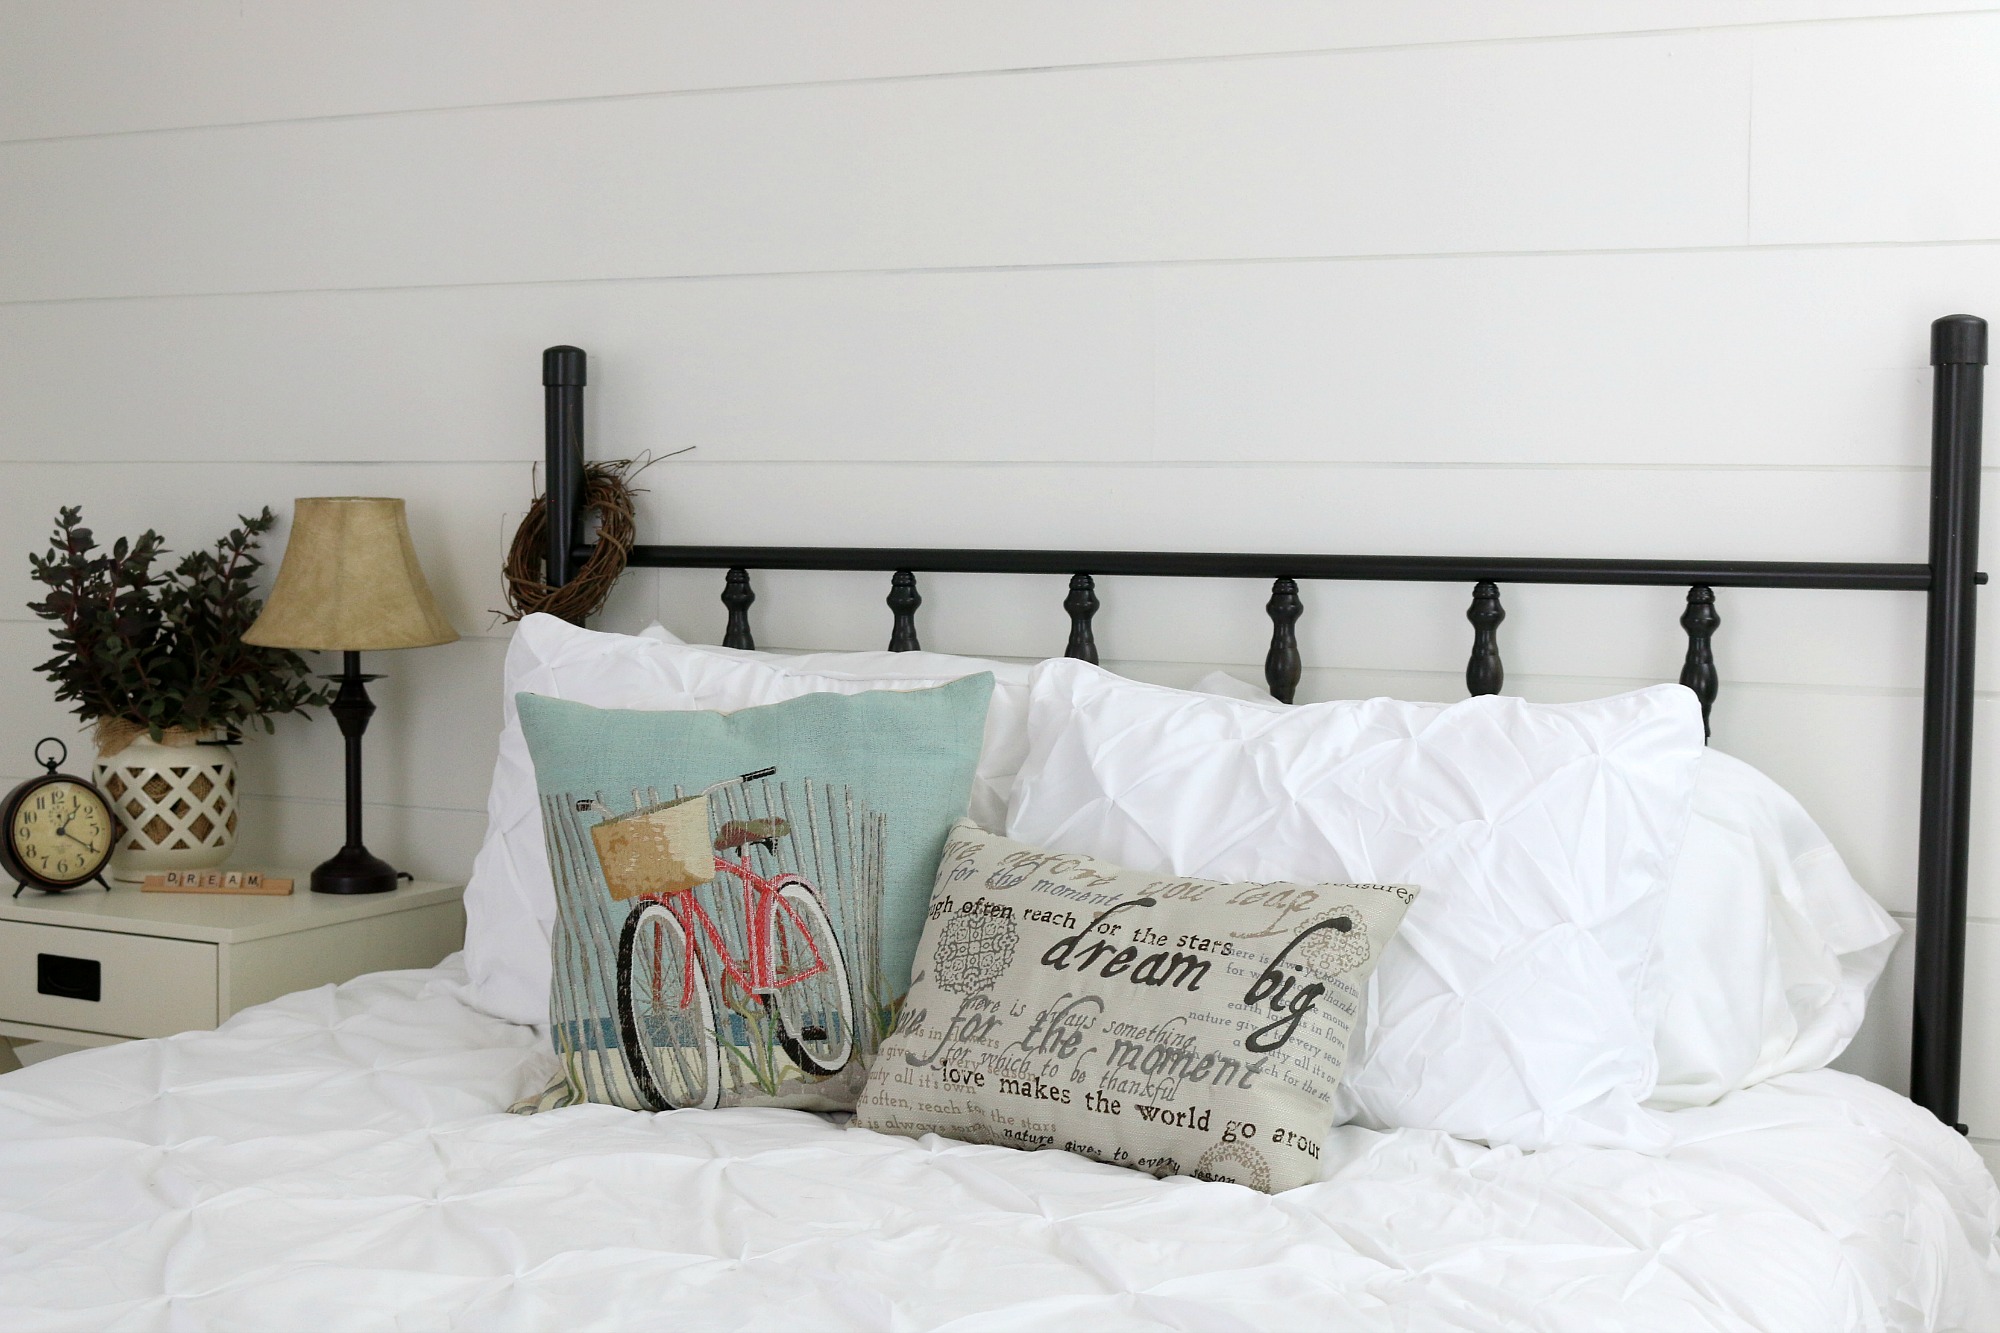
Last week we shared our new Farmhouse Decor in the Bedroom, including the Shiplap Wall that we created for under $40. I was so excited to see that you all were just as excited about the new space as we are. We are planning to remodel the whole house, next up is our dining room, so stay tuned for that in July. And of course, we are also building the She Shed which will have Farmhouse Decor as well. I guess I just can’t get enough of this style of decorating.
Are you ready to create a special Shiplap Wall in your own space? Let’s get started —
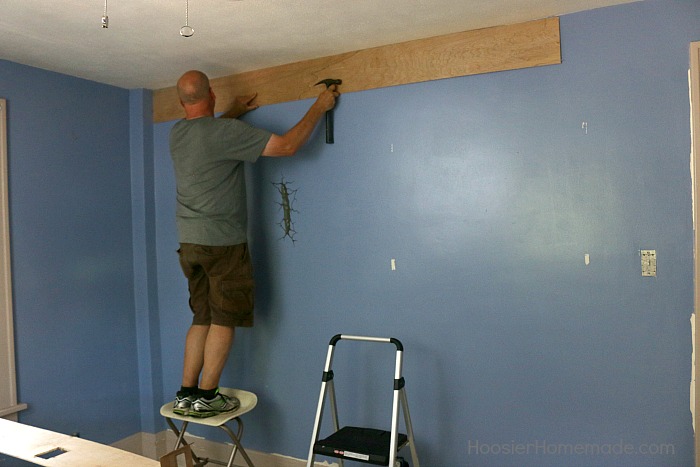
This is where we started. This bedroom was painted a bright blue with tan trim, and we were ready for a change. Even though we were painting the whole room white (including the shiplap), we did not paint the wall prior to hanging the wood. I’m glad we didn’t waste time and materials, because it turned out just fine.
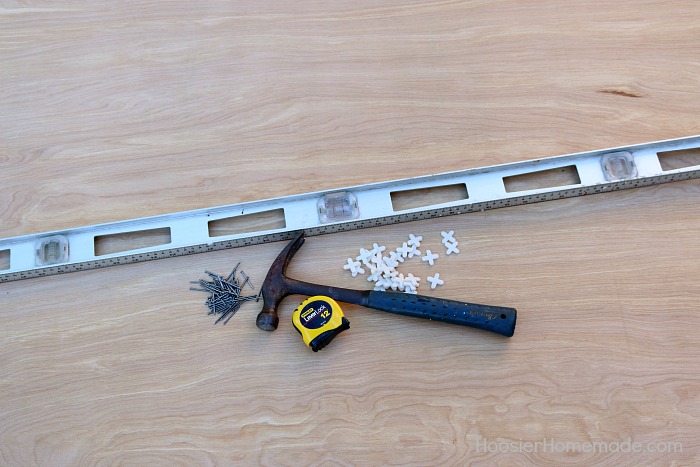
The first step is to gather all your materials and tools.
Shiplap Wall Supplies
- Wood – we used 1/4 inch Luan Plywood from The Home Depot (cost $11.97 each)
- Nails – 1+1/4 inch finishing or paneling nails
- Tile Spacers – 1/4 inch
Tools Needed
- Table Saw
- 4 foot Level
- Hammer
- Tape Measure
- Pencil
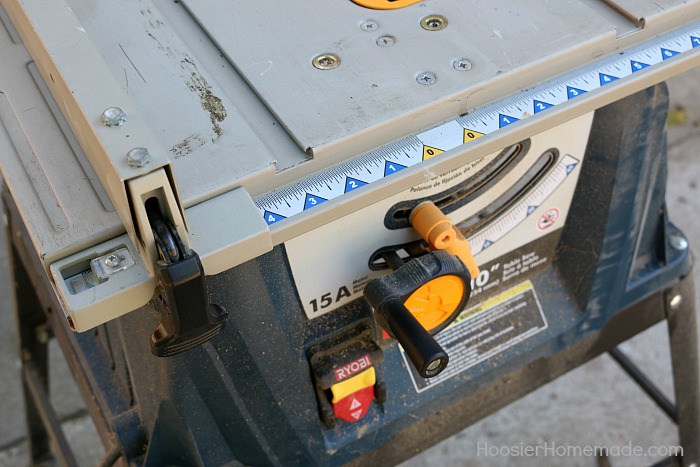
Step 1: Getting the Table Saw ready
Set the table saw to cut 8-inch width strips
Note – you can also have the wood cut at your local lumber store. The prices vary from store to store, but most are under $1 per cut.
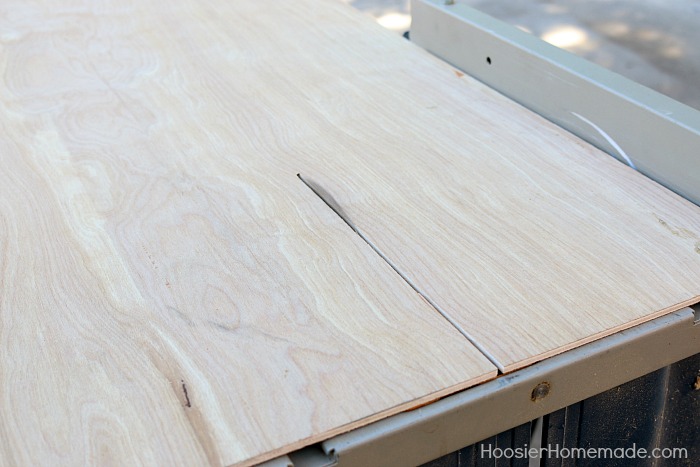
Step 2: Cutting the wood
To keep the cost down, we used Luan Plywood. We cut the plywood into 8 inch wide pieces. You can also use 6 or 10 inches if you like the look better. We found that the 8-inch width made the room appear a lot bigger.
The only thing we had trouble with while cutting was that the Luan Plywood was a little flimsy because it was thin. We learned we needed to have 2 people – one to do the cutting and one to stabilize the wood. I think next time, even though Doug has a saw, it might be worth the extra $1.50 (or so) per piece of wood to have it cut at the store.
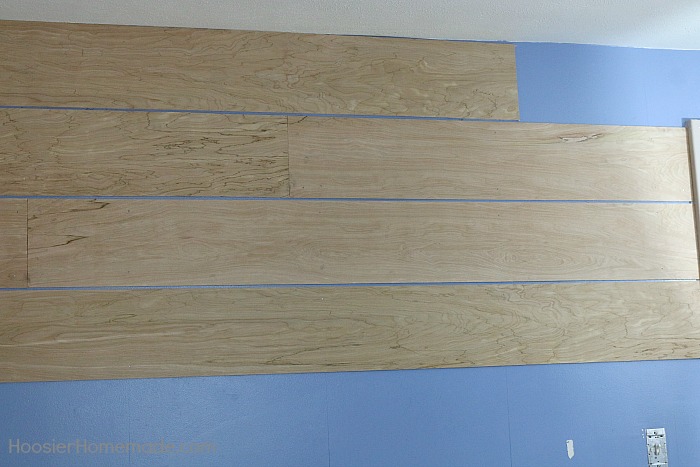
To stagger the seams, we cut the plywood into different lengths – 8 feet, 6 feet, 4 feet and 2 feet.
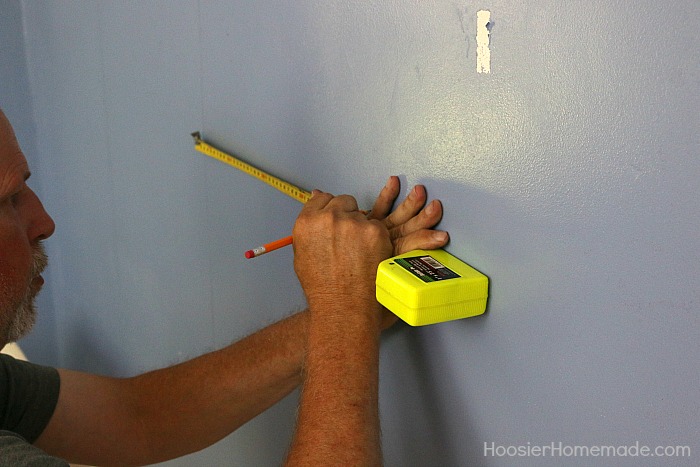
Step 3: Finding the Studs
The next step is to find and mark the studs. Our home is very old (1926). When we hammer into the wall, we often can hear the plaster falling down, so it was really important to find the studs. And because it’s so old, the new tools that are on the market to find studs in a wall have not worked for us. So Doug measured and marked all of the studs- our studs are approximately 18 inches apart.
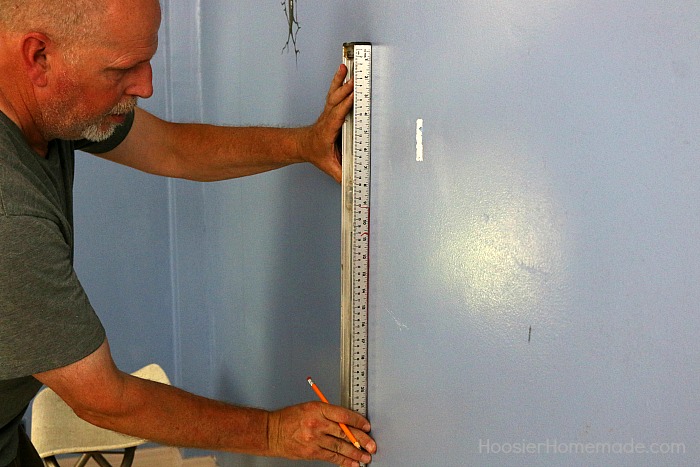
Step 4: Marking the Studs
After the studs are found, use your level to mark vertical lines on the wall where the studs are.
Step 5: Nailing the boards
Now it’s time to add the boards. We started at the top, so there was a full piece of a board showing and staggered the seams. The bottom won’t show much because of the bed covering it.
Note – you can also glue the wood to the wall, we chose not to and have not had any issues. There were a couple spots that we needed to add an extra nail.
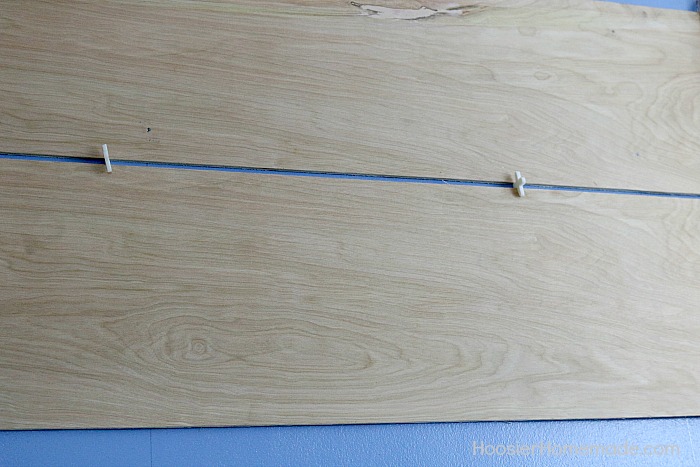
We used tile spacers to make the spacing in between the boards all the same.
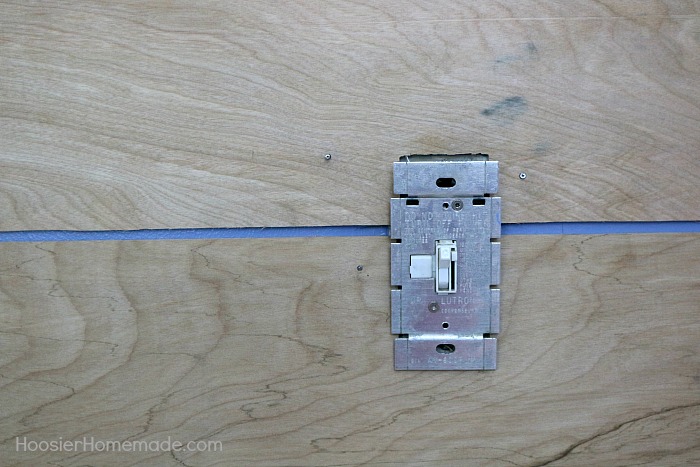
Step 6: Making cutouts for light switches
More than likely, you will have some type of cut out that will need to be done, like a light switch and electrical outlet. Depending on your wall, the outlet made need to be moved out a bit so that the outlet can set on top of the wood.
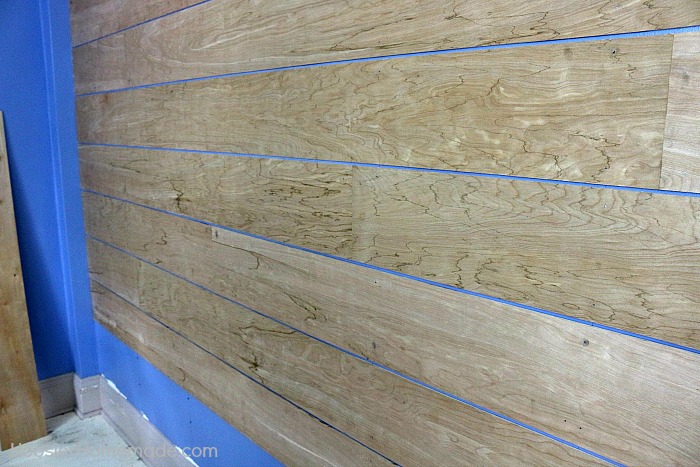
Step 7: Finishing the wall
To finish the wall at the bottom, you will need to measure the space and cut the width and length of the boards accordingly.
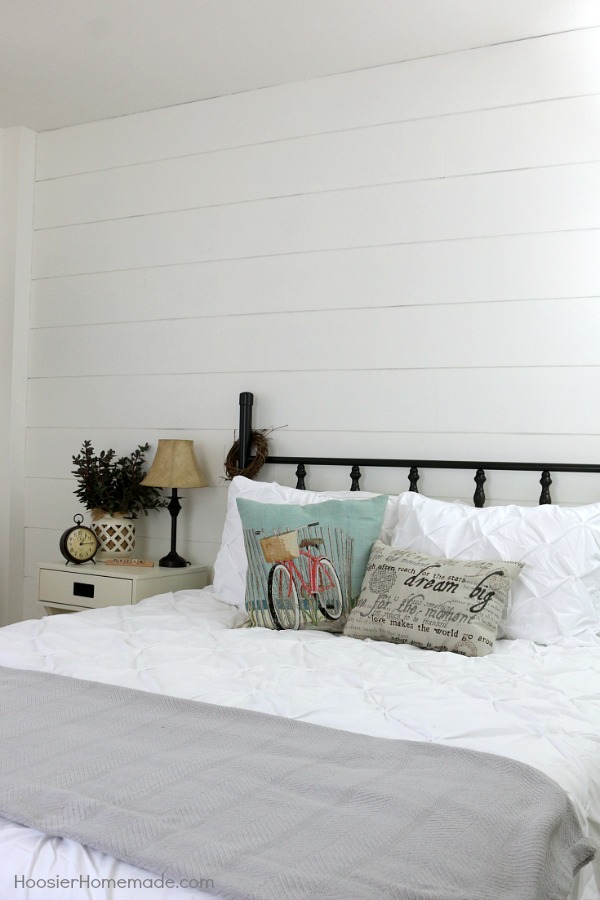
After the wall is complete, it’s time for paint. We used a primer on it first, then painted with an off white color. I’m absolutely thrilled with the way it turned out, and can’t wait to work on the other rooms in the house!
Shiplap Wall Final Cost
Luan Plywood – 3 sheets @11.97 = $35.91 (12 x 8 foot wall)
Nails – .50 cents – we used less than 1/4 of the box of nails which was $2.68
Spacers – only used a few that we already had – you can also make your own spacers with pieces of wood, coins or other items
Paint – $3.00 – 1 gallon of paint divided between the 4 walls
Note – these are the prices that we found here in the Midwest, prices will vary across the country

Love this! Can you nail the boards over paneling thats already in place?
Hi Heather, I would not recommend that because there are valleys in the paneling that may show, and if the paneling buckles and comes away from the wall it would cause the shiplap wood to buckle as well.
~Liz
If I do adjoining walls how should the boards come together I need a corner?
The easiest way is to butt them together in the corner. Just make sure to use a level to keep the lines consistent on both walls.
Beautifully done. What size spacers did you use?
I used 1/4 inch tile spacers
How did you determine where to begin your boards?
Hi Cheri,
I determined the starting point after making a few measurements of the wall and answering a couple of questions.
I measured the width and height of the wall to determine if I would need to cut the last run of board a different width than the rest. The vast majority of time you will need to do this.
Then I asked myself these questions…
1). Where the focal point of the room and in this case the wall in general was going to be.
2). Where was the best place to hide any imperfections that might show with the final piece.
After I had answered these questions I decided that I would need to custom fit the last board. So I decided to start at the top left side of the wall with a full width board. This enabled me to finish the wall at the bottom where I find it easier to hide imperfections.
Hope this helps.
Doug
if we were to glue the panels, what kind of glue would you recommend?
Lauren I would recommend you use paneling adhesive as it is designed specifically for this type of material and application. Here’s what I recommend, https://amzn.to/2exza2l and you will need a caulking gun if you don’t already have one, https://amzn.to/2eXqzEO
I really love the look of this! Did you cover only one wall? You’ve really inspired me to tackle this!
Hi Christy, Yes we only did 1 wall. I like how the accent wall looks, although I am thinking of doing another room with all the walls covered.
~Liz
What size was the wall you ship-lapped?
I read so quickly I don’t know that I saw the size – but that would make a difference on materials.
Love the tutorial. Want to try this soon!
Hi Brenda,
The wall size was 8 by 14 feet.
I’m having my cabinets painted and am thinking about this for the sides of the cabinets and around the island. Is this doable? I like this look more than bead board. Cabinets are being done next week! 10/21/16
Hi Pamela, sure you can certainly add the boards to the cabinets and island. I think it would look great!
~Liz
Love this look!!! Do you know if I could paint/stain the board to get a weathered look? Although I love the white, it would not look good where I’d like this wall. I’m looking for a taupe color with lighter/darker highlights. Any suggestions? Thank you!
Hi Sue, I love this idea! You certainly can do this wall in weathered wood look. I don’t have a post I can direct you to yet but here’s a quick How-To. I’d paint the wood with the taupe color of your choosing then dry brush the highlights onto that. I love this idea so much I’m already making room on the calendar to try this out myself!
Awesome! Thanks for the vote of confidence 🙂 Maybe you’ll get yours done first and then you can show ME! 🙂
Oh, forgot a question. Should I paint the wall first with just the taupe color? Thank you!!!
Yes Sue that would be best.
Hi, Doug! We got our wall competed! We absolutely love it! I want to show you a picture but I don’t know how to post it on this site. Suggestions?
Hi Sue, we would love to see your wall. You can email us a picture to – [email protected] or you can share via social media on Facebook or on Instagram.
We are excited to see it!
~Liz
Your project looks great. What kind of paint did you use, eggshell or what?
Yes J, we did use eggshell for the paint finish. We chose it for a couple of reasons, 1) I didn’t want any gloss since I feel like that doesn’t fit into the farmhouse look and 2) I went with the eggshell instead of the flat for scrubbing durability.
Were you able to tell the different cuts on the wall? In your picture it looks like one long piece of wood.
Hi Megan, Where there were any wood joints I use painter’s caulk to fill any gaps. Just smooth it out with your fingers and paint over it once it cures and you can barely tell where the joint was.
Hi,
This looks great and we are planning to do the same.
One question, did you fill up the holes of the nails?
Hi JP, I was going for a rustic look so I did not countersink the nail heads. But if you do I would go ahead and fill the holes.
Hi, this is wonderful….would this plywood be thin enough to put on the ceiling? I am completing projects to sell my home in about a year and one of them is “Popcorn” ceilings…who invented that, and why???? Anyways, I wanted to use the Styrofoam tiles but the tutorial recommends that you remove “unsturdy” popcorn from the ceiling first…nope. Then I wanted to plank them but any wood I look at appears to be too thick…this sounds perfect but will wait to hear back from you. Thanks!!!
P. S. do you have any experience with stenciling linoleum flooring…I saw a blog about painting linoleum but I want to stencil as well in a small bathroom. Thanks again for whatever information you can provide.
Hi Lucy, to answer your first question yes the plywood is thin enough for using on the ceiling. However, I would recommend glueing it to the ceiling to limit the amount of nailing you would need to do. Also you may still need to remove any loose popcorn. Now on to the linoleum question, I do not have any experience with this so I would recommend talking with a professional painter and getting their advice.