DIY Patriotic Shutter

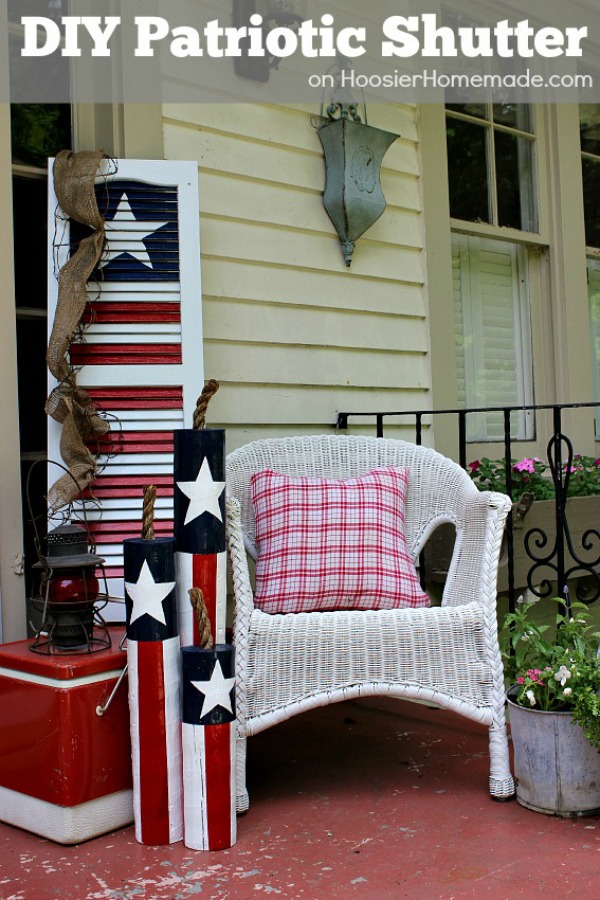
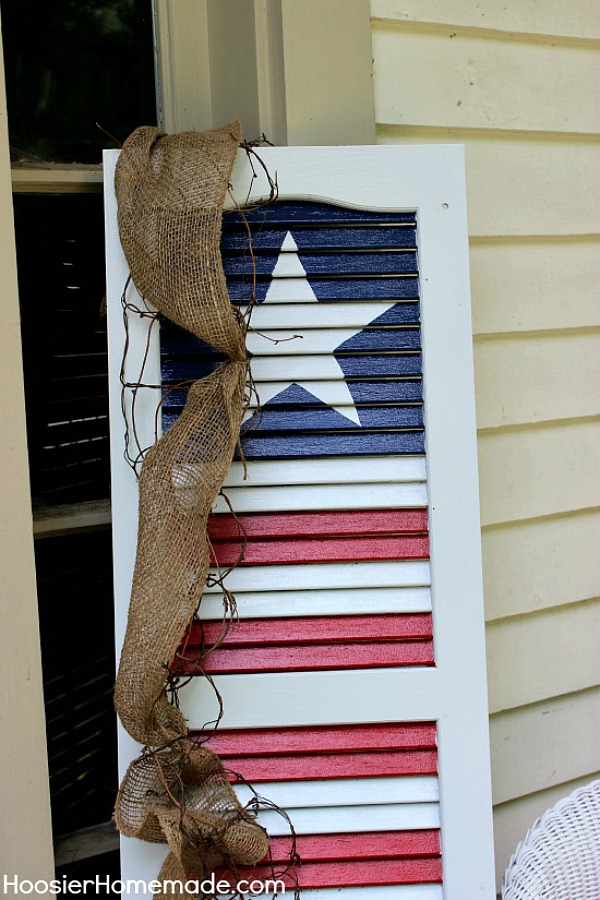
Decorate your Front Porch, Yard or even inside your home with this easy to make Patriotic Shutter. With just a few supplies and an old shutter, you have a cool decoration perfect for Fourth of July and all Summer long.
I picked up an old plastic shutter at a Garage Sale a couple weeks ago, and with some spray paint and a little time…the Patriotic Shutter was done! Isn’t it the coolest ever? I shopped the house and pulled the other items together for the Summer Front Porch Decorations. I’m just so tickled with how it all came together! Let me show you how Doug painted the shutter.
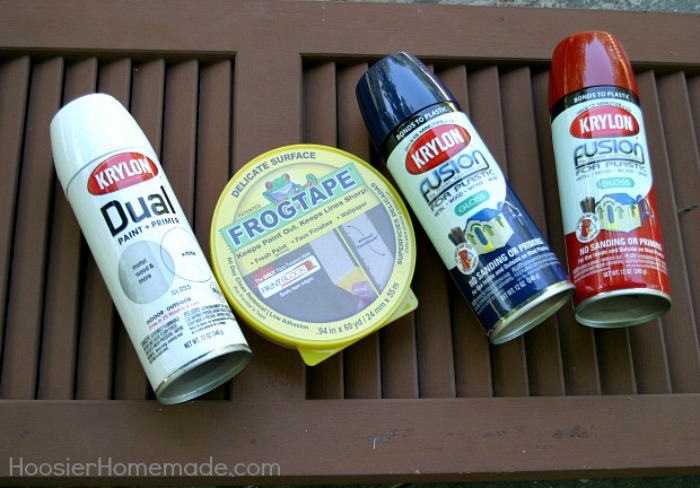
The supplies are simple…
DIY Patriotic Shutter Supplies:
- Shutter – plastic or wood, any color and old is fine
- Primer Paint – we used Krylon Dual Paint and Primer in one
- Paint – we used Krylon Fusion for Plastic in Navy and Red Pepper (the color is on the back of the can, near the bottom)
- Painter’s Tape – Doug is loving this Delicate Surface Frog Tape, it goes on easy and comes off great too, without pulling the paint off
Step 1:
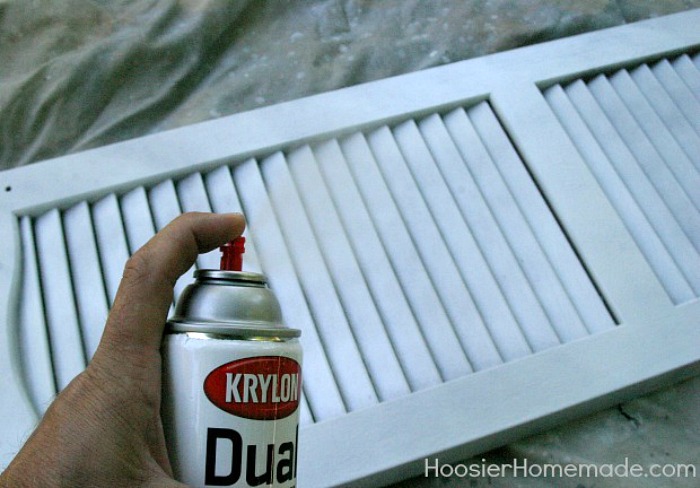
- Give the shutter a good coat of Primer. Be sure if the shutter is plastic, to buy paint that will adhere to it. Let the paint dry at least 24 hours.
Step 2:
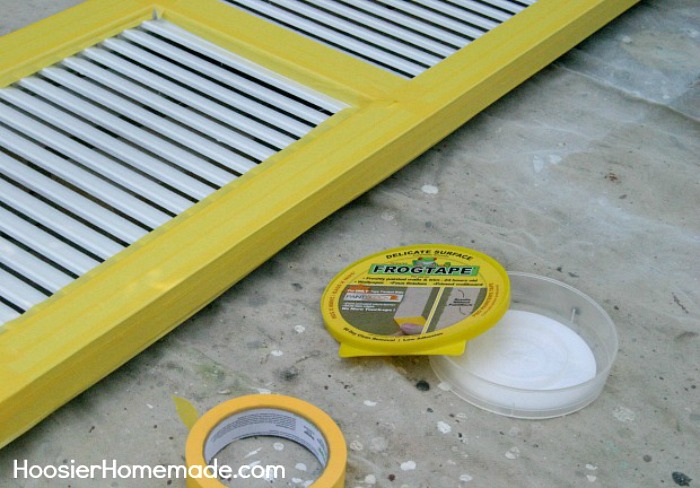
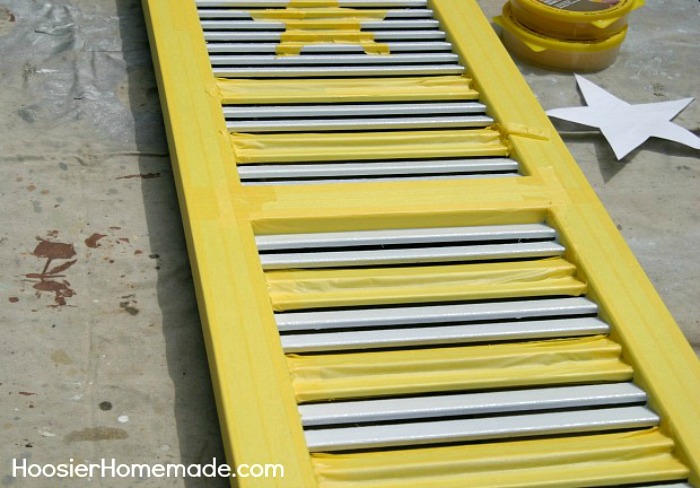
- Cover the sides and top with Frog Tape. Be sure you seal it down well, and get it all the corners.
Step 3:
- Next you will need to tape off the inside of the shutter. This took Doug quite awhile, but after the taping is all done, the painting goes quickly. Cut the star out of paper for a pattern, place it on the shutter and trace around it with a pencil. Tape off the star.
Step 4:
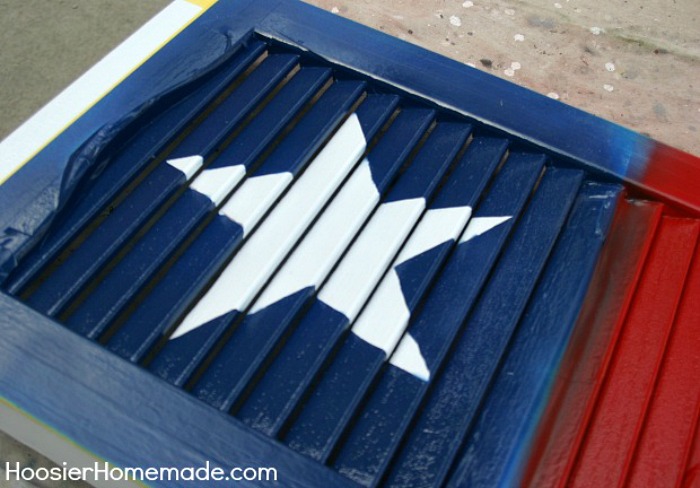
- Now it’s time to spray paint the upper half blue and the bottom red. Use a drop cloth to cover the area if you need to.
Step 5:
- After 2 coats of each color, and drying time in between each coat, it’s time to take the tape off for the big reveal.
Painting Tips:
- Let the primer dry at least 24 hours
- Be sure you let the shutter dry between each addition of paint. Read the directions on the paint, but we let the shutter dry about 30 minutes between coats.
- Use an X-ACTO Knife to push the tape into the corners and also to remove the tape {like we did with the Corn Hole Toss}
- If the star doesn’t turn out perfect on the edges {like ours}, just spray some paint onto a piece of wood or paper plate, and use Q-tips. I like the Precision Tips, just dab the Q-tip in the paint and clean up the edges of the star.
To soften the edges of the Patriotic Shutter, and make it a little more unique and whimsical, I pulled apart a grapevine wreath and just draped it over the edge, tucked in a piece of burlap and added a tied piece of rope.
Learn how we pulled everything together for the Summer Porch Decorating!
Celebrate 4th of July on Hoosier Homemade!



91 Comments