DIY Mobile Laundry Station
Laundry – the never ending task! Seems like no matter how many times we try to get caught up, the pile of laundry just keeps multiplying! What if you had an area that would keep all your laundry and the supplies organized? And even if you had laundry, there would be a spot to keep it all.
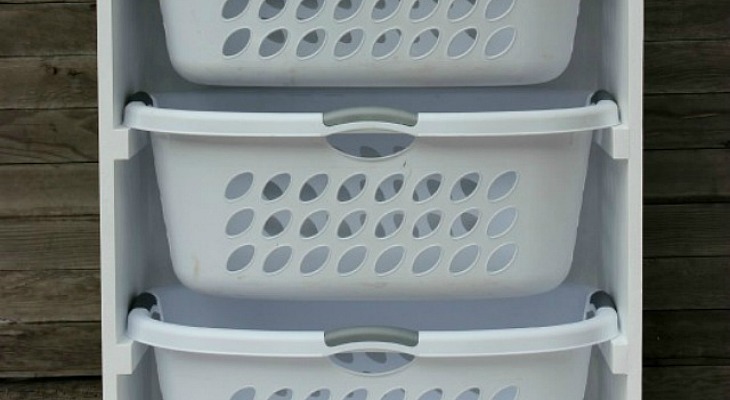
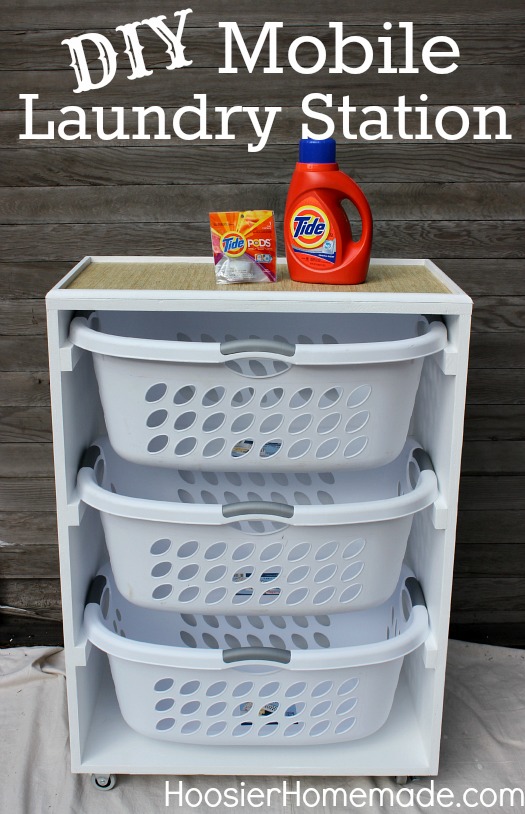
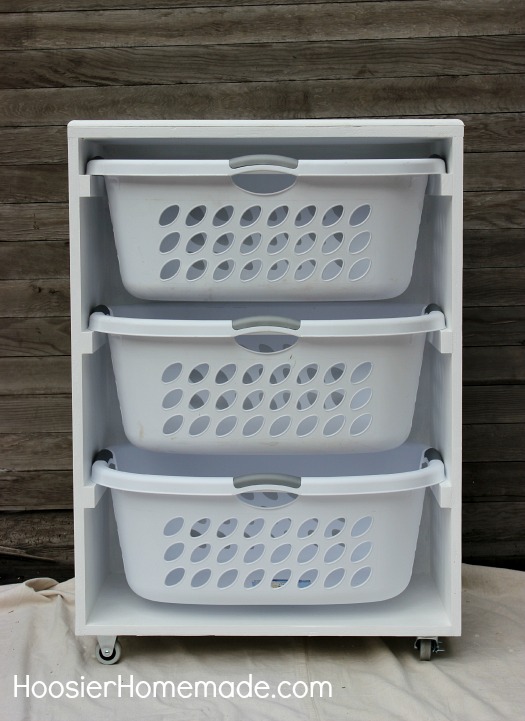
This Mobile Laundry Station keeps your laundry separated, so when you have time, you can tackle the pile that never seems to go away.
Isn’t she a beauty? Doug did a fantastic job on it. But it’s actually not for me – I will have to confess, I don’t do the laundry in our house. Yes, I’m very lucky to have my hubby do our laundry.
We took the rolling laundry butler a step further and created an organizing station that holds laundry baskets and a place on top to hold soap, stain remover and dryer sheets and created a Mobile Laundry Station.
We have lots to show you how to build this Mobile Laundry Station – so let’s get busy…
First let’s gather our supplies –
Mobile Laundry Station Supply List
- 4 x 8 foot sheet – 3/4 inch plywood
- 2 – 6 foot 1 x 2 inch pine boards
- 4 x 4 foot sheet – 1/4 inch plywood
- 8 foot – 1/2 inch x 3/4 inch shoe molding
- 2 – 2 inch medium duty swivel casters with brake
- 2 – 2 inch medium duty rigid casters
- Deck screws – 8 gauge by 1 1/4 inch
- Wood screws – 8 gauge by 3/4 inch
- Wood Glue
- Primer
- Paint
- Shelf Liner
Cut List
The measurements will depend greatly on the size of your laundry basket. We used 1.25 bushel Sterilite brand. It’s best to have the employees at The Home Depot cut the 3/4 inch plywood into 15 1/2 inch width pieces for you.
For the box – 3/4 inch plywood
- 1 – 15 1/2 inch x 26 inch (bottom)
- 1 – 15 1/2 inch x 27 1/2 inch (top)
- 2 – 15 1/2 inch x 36 inch (sides)
The back – 1/4 inch plywood
- 27 3/8 inch x 35 3/4 inch
For the rails – 1×2 inch pine boards – the rails will be attached to each side once the box is built, at 10 inches from the bottom, then 21 inches from the bottom and 32 inches from the bottom measured at the top of the rails. Spacing will depend on the size of your laundry basket.
- 6 – 15 1/2 inch long
For the top – Shoe Molding (ends cut at 45 degree angles)
- 2 – 27 1/2 inch pieces
- 2 – 15 1/2 inch pieces
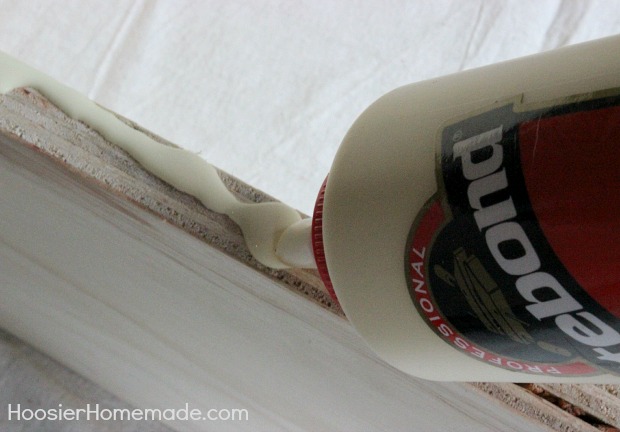
The construction is a simple box, attach the sides to the ends of the 26 inch wide bottom piece then cap the sides with the 27.5 inch wide top piece. The finished inside measurement should be 26 inchs.And finish with 1×2 inch pieces of wood to hold the laundry baskets. After cutting the pieces of wood, it’s best to apply wood glue to the joints before screwing them together.
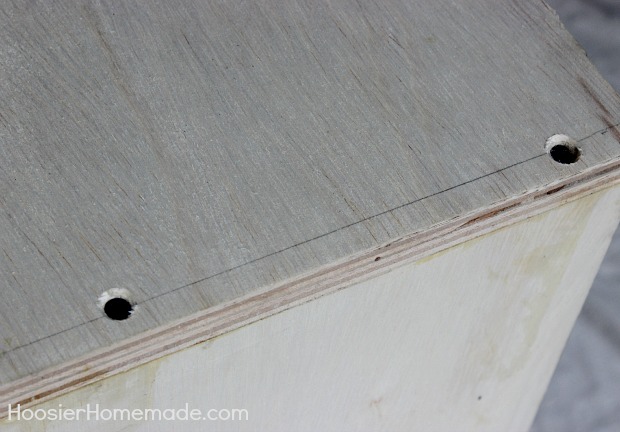
Pre-drill the screw holes with a small drill bit and countersink the holes for a clean finish. After glue is set and prior to painting, cover the screw heads with wood putty.
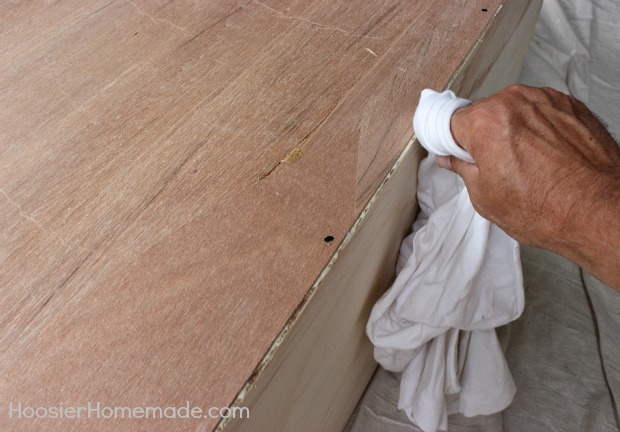
After you have built the sides of the box and attached the back, make sure to clean up any wood glue that has squeezed out of the joints with a clean wet rag.
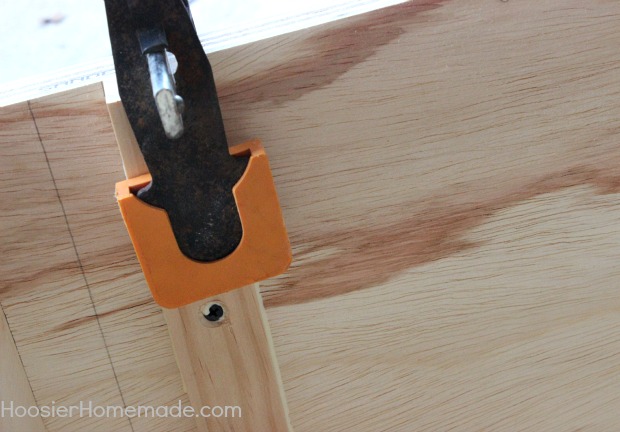
Now it’s time to build the rails that will hold the laundry baskets. Attach the rails to the inside of the box, use the supply list as a guide for spacing the rails. Use a clamp to help hold the rails in place while you glue and screw them to the side. Leave the clamps on until the glue has dried.
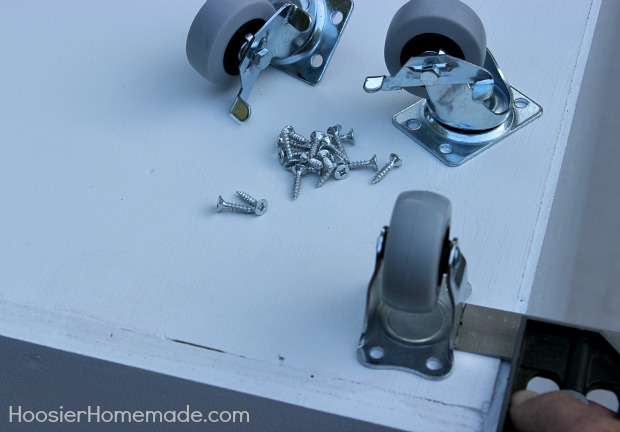
After the laundry station has been primed and painted, you can add wheels to the bottom if you like. Space the wheels 1 inch in from the corners.
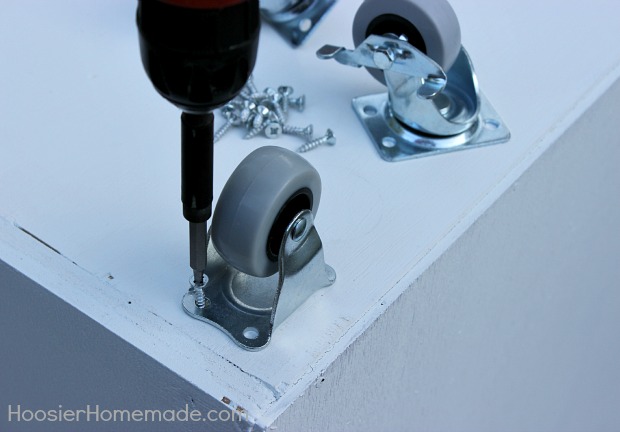
And attach them with the 3/4 inch wood screws.
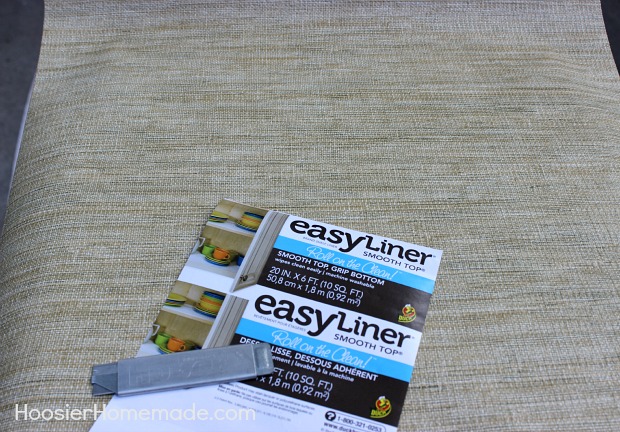
To make clean up easy, we added shelf liner to the top. This Duck Brand easy liner is sold in a roll and can be cut to fit the top. Secure with staples around the outer edge.

To finish the top, attach wood trim around the edge with finishing nails. This trim can also be glued, but we chose to nail it so it could be removed if the liner needed to be replaced.
Time to tackle Mount Washmore!
Hi. I totally love this and am planning on making this. Thank you so much for posting instructions.
I have one question…what type of paint do you use that won’t scrape off when the baskets are pulled in and out?
Hi Erin, we used regular semi-gloss latex enamel, and it has held up for several years.
~Liz
I am loving this laundry station…Target should sell this
Thank you for your kind words, Trudy! So happy to have you following along!
~Liz