DIY Haunted Houses
Grab some boxes, a few rolls of Duck Tape, make them bright, colorful and black along with a few other supplies that are probably laying around the house and you are ready to build these DIY Haunted Houses.
![]()
Whether you are decorating your front entryway or hosting a party, these Haunted Houses are fun to make!
Start saving boxes, shipping boxes work well or you can use milk cartons and juice boxes. I even thought about making a round haunted house from an oats container.
Part of the fun of making these DIY haunted houses is deciding what colors or patterns you are going to use to set your house apart from the others. There are so many ways to decorate them!
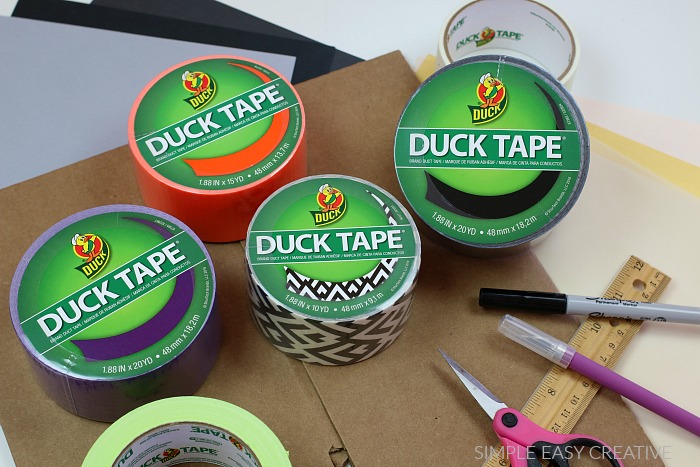
DIY Haunted Houses Supplies
- Boxes – a variety of different shapes and sizes
- Duck Tape – fun patterns work well, black, purple, glow-in-the-dark – really any color you like
- Vellum – used for the doors and window
- Cardstock – black or gray for the roofs
- Clear Tape – for the roofs and to attach the windows and doors
- Ruler
- Scissors
- Marker
- X-Acto Knife or cutting tool
- Light Strands – optional, we used 35 strand Christmas lights, I recommend using LED light
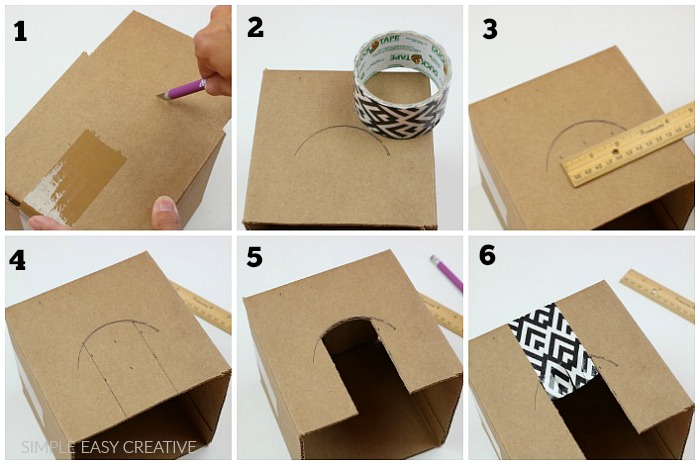
- Cut the bottom off the box you are using for your house.
- Use a roll of Duck Tape as a guide to make the top arch of your doorway.
- Use a ruler to find the center of the box front and mark the edges of your doorway. I found that an opening that was just short of 2 inches in width worked the best.
- Go ahead and mark the edges using the ruler edge as a guide.
- With a sharp knife cut out the doorway.
- Now we want to start covering the exterior of the box. Start at the center of the front.
- Make some cuts in the Duck Tape that is just hanging out there in the air to make it easier to conform to the arch before you wrap it to the interior of the box.
- Continue putting strips of Duck Tape around the exterior. To get the best look match the edges of the tape together but don’t overlap the edges. If you have ever hung wallpaper or watched it being done you will have a good idea how to do this. Just take your time and be careful to match the pattern if you are adventurous enough to use a patterned design.
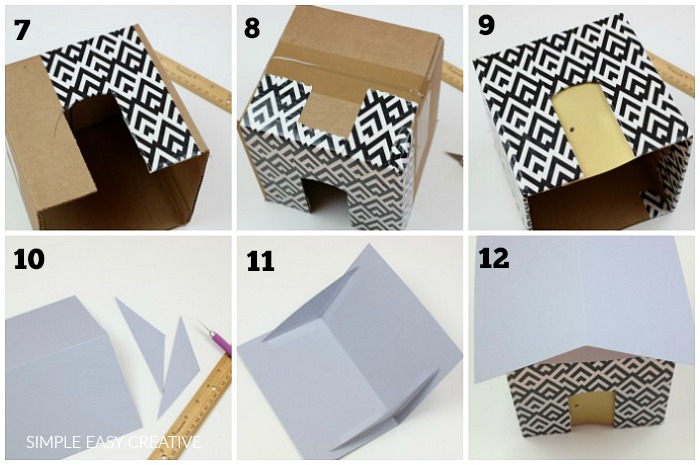
- Tape a piece of vellum paper large enough to cover the door and window openings to the inside of the box. Use a permanent marker to add door knobs, window panes, spiderwebs, ghosts or anything else you can dream up.
- Now on to building the roof. For the roof to have a gentle slope and have about a 1/2 inch overhang. Cut your cardstock 1 inch wider front to back and 1.5 times longer side to side. As an example: for a 6 inch by 6 inch box cut your paper 7 inches by 9 inches. For the ends cut a triangle 6 inches wide at the bottom and 1 1/2 inches tall at the center.
- Use clear tape to assemble the roof.
- Attach the roof to the box to complete the haunted house.
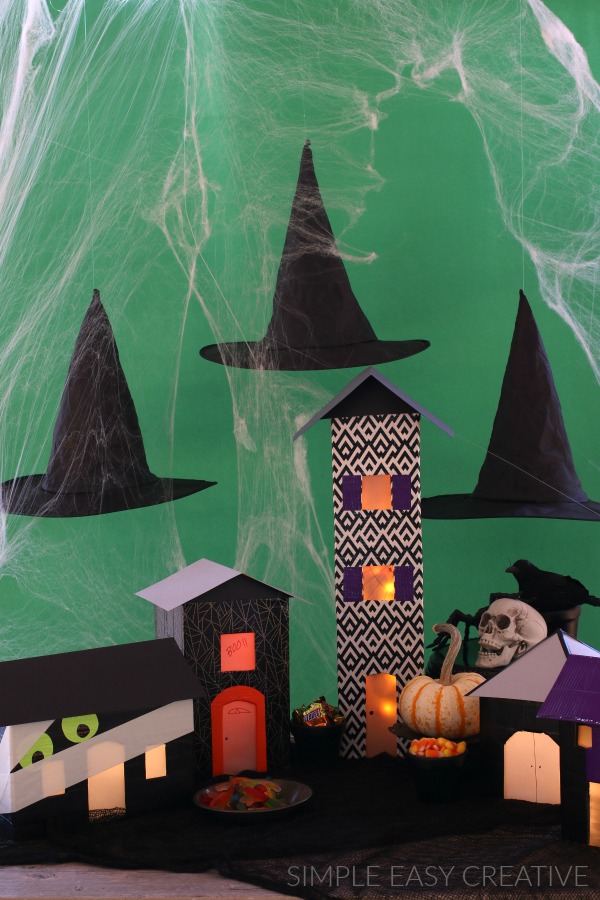
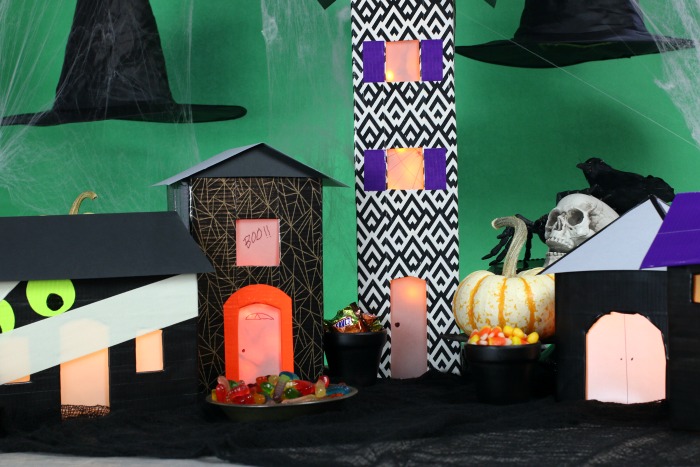
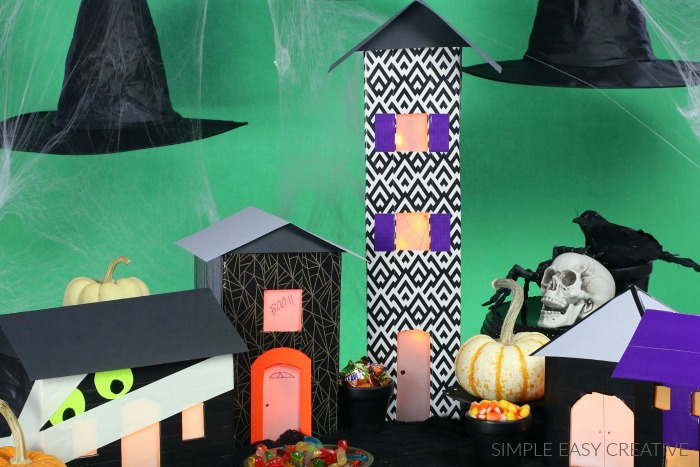
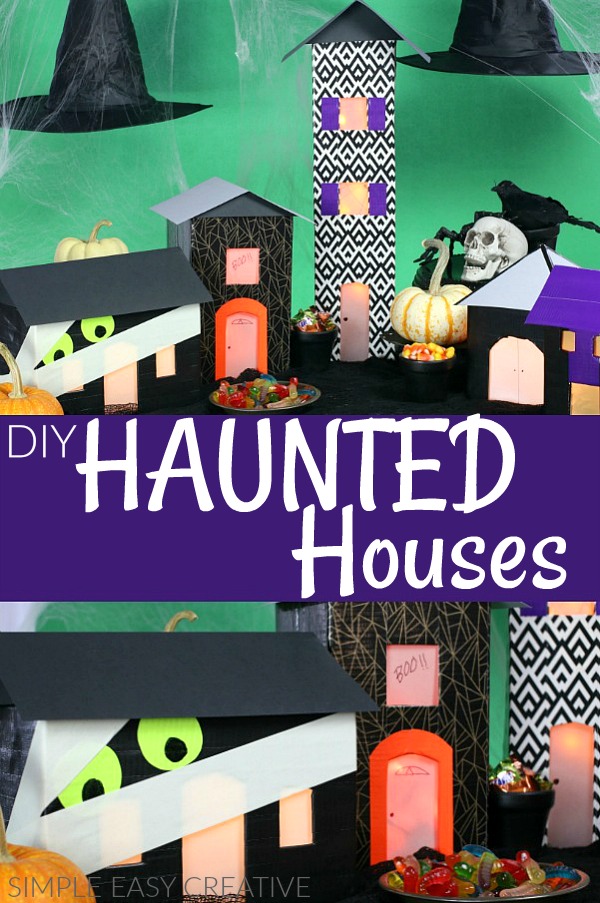
After the base of the houses and roofs are done, now it’s time to decorate them. Let your imagination soar here – the skies the limit.
For the tallest house, we added shutters to the windows using purple Duck Tape. And the next tallest house has orange Duck Tape around the door.
One of the houses has eyes, that are circles cut from Duck Tape, and the Glow-in-the-Dark tape on it. The last two houses are somewhat simple with Duck Tape on the roofs.
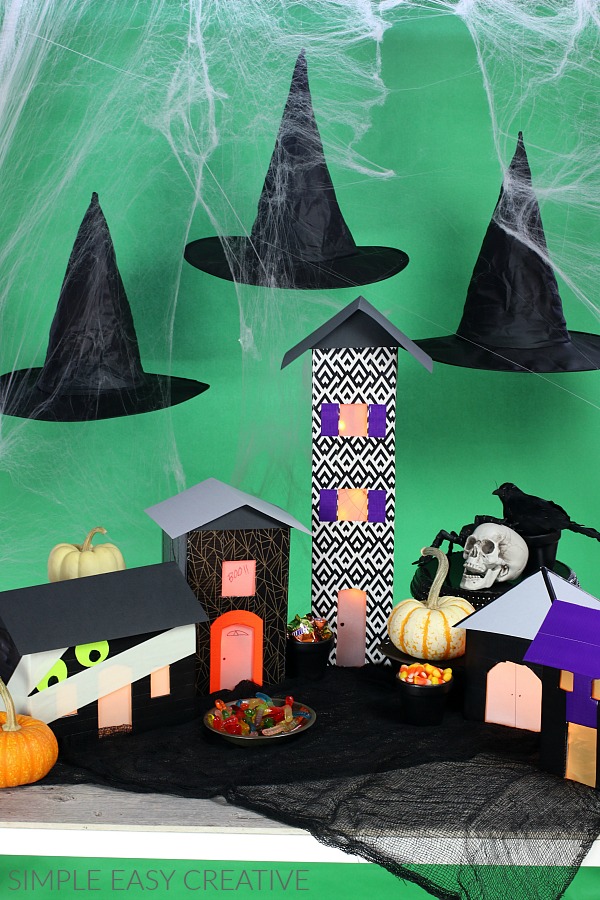
After the Haunted Houses are all built, you can display them on your Mantel, a table, buffet or even outside. They would be fun greeting trick-or-treaters!
For the table, we hung the witches hat from our Halloween Decorations, then added black netting to the table. Along with the houses, there is a black cake stand that has a few decorations on it, fresh mini pumpkins, and candy.
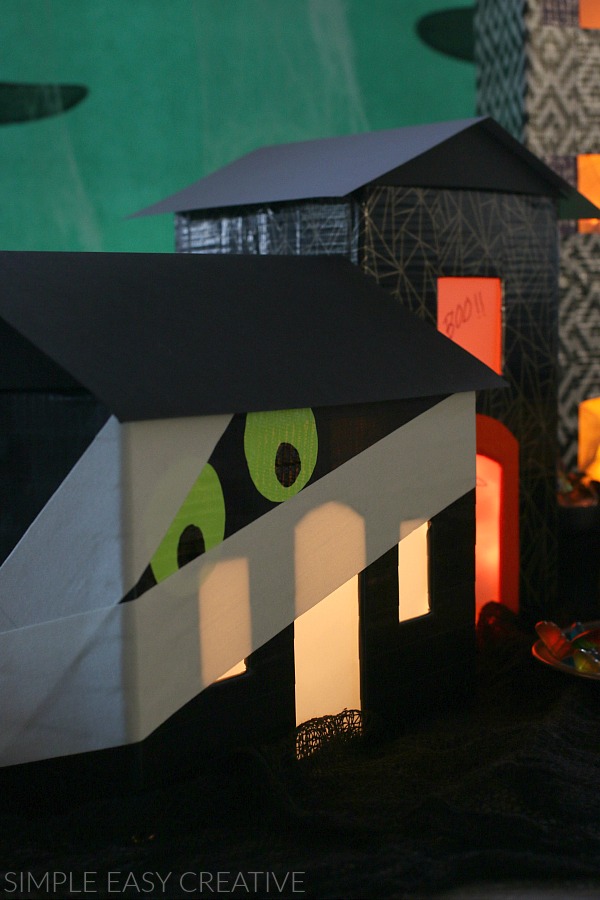
To add the lights, tape the strand to the inside back of the house. The light will shine through the vellum windows and doors.
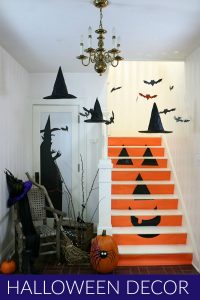
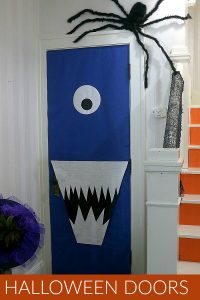
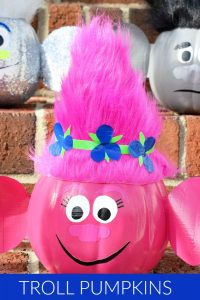
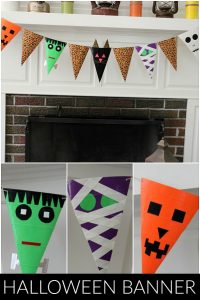
Looking for more fun projects for Halloween? Click on the photo for the instructions!

Such a adorable haunted house!
Thank you Erin!
OMG…these haunted houses are TOO FUN!!!
Awe thanks so much! We had fun making them!
-Liz
This is adorable! My kids would love this!
Thank you Rachael! Let me know if you give them a try!
-Liz
These are so fun! My kids will love making them with me!
Thanks so much Ashley! Thrilled you like the Haunted Houses!
-Liz
My seven year old would love making these houses with me – such a fun idea! I love that house with the green eyes!!
Thanks so much Kara! They were fun to make! I bet your little one would love it!
-Liz