Decorating with Washi Tape
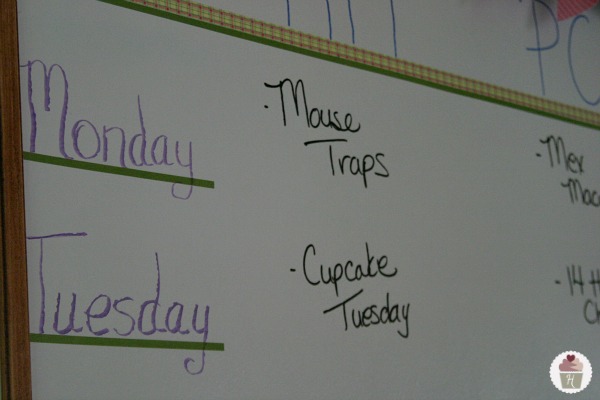
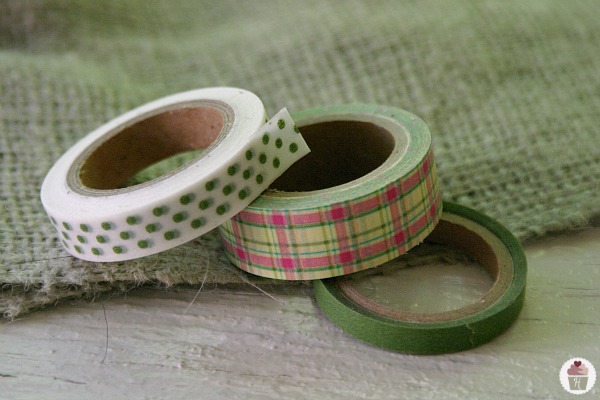
Washi Tape is all the rage now! It’s paper tape that comes in a ton of different designs and sticks to whatever you are working on. I’ve used it a few times now, on the Birdhouses and on the Votive Candle Holders. And most recently to decorate the new Dry Erase Wall that we painted in the office.
Since it was such a large plain white area, I felt like it needed something to add color but also make the board function a little better. Let me show you how easy it was to make the area extra special…
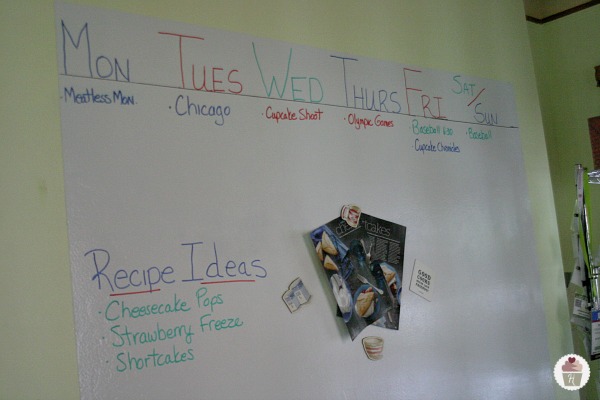
This is where we started, Doug painted the Magnetic Dry Erase Wall with Rust-Oleum Magnetic Primer. Then after looking at it for a couple weeks, we decided it needed something extra.
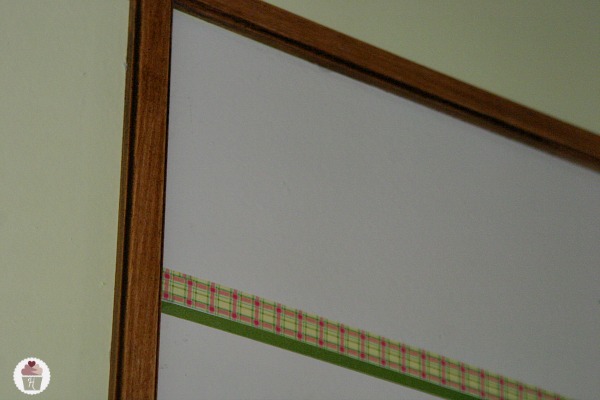
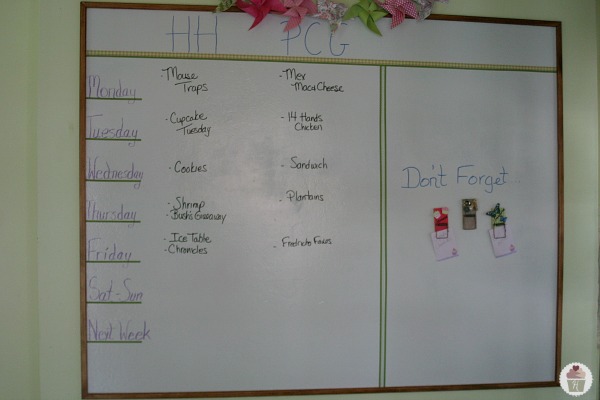
So we headed to our local Molding Outlet and grabbed some trim for only $1 per piece. You can also find trim at The Home Depot, Lowe’s or other lumber store. Doug stained the wood and attached it to the wall with DAP Strong Stik Adhesive, it was super easy with no nails or hammer involved.
We found the Washi Tape at Michael’s, sorry I didn’t save the package and have forgotten what brand it is, but any paper tape will work, just find your favorite pattern and colors.
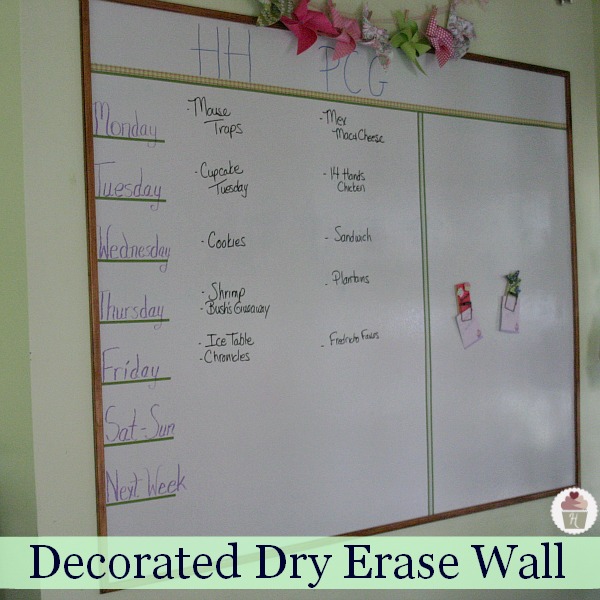
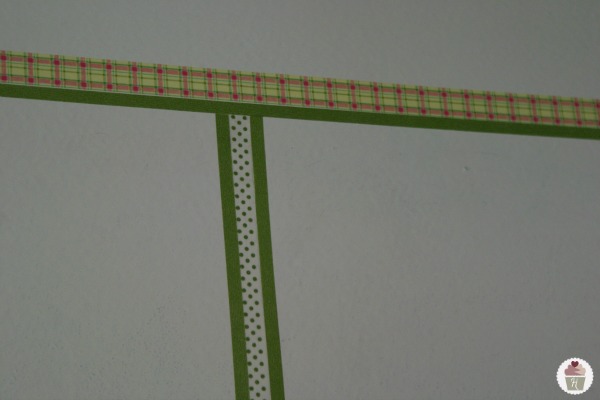
First we measured how far down we wanted the tape, and about every foot or so, made a mark, then simply placed the Washi Tape where the marks were made. Down the side of the board, we used the narrow Washi Tape to put the days of the week.
And then we sectioned off part of the board to write ideas and keep track of our work.
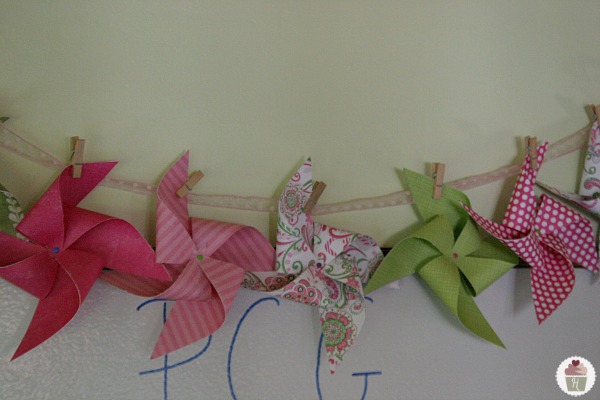
To finish it off, I added a small garland with pinwheels. I’m so excited about how the office is finally coming together. Yesterday I shared how the organizing is coming along and a little sneak peek at what Doug is building!
Quick Reference
Linking to…Weekend Wrap Up Party, Saturday Night Special , Sundae Scoop Party, Saturday Seven Party, Made By You Monday
Great ideas with the washi tape! I hope you can take a moment to pop over to check out my (relatively new) blog, https://sarahsaturdiy.blogspot.com I am follow you on Facebook and would love you to give some blog love as a follower of mine! Happy Crafting!
That is so cute!! We’d love for you to share this at our party! https://housewivesofriverton.blogspot.com/2012/09/riverton-housewives-round-up-31.html
What a great inspiration project! Thanks for sharing your white board success.
I love this idea! your Decorated dry erase board looks great!
Great idea! I love it. But wanted to point out another wonderful supply avenue. For those of us lucky enough to have one in our area, the Habitat for Humanity’s ReStores are wonderful resources for just about everything, you never know what you are going to find there. And when you need just enough trim or molding for a small project like this, it’s the perfect place to go. It’s a win/win/win. You save money, help the environment and best off all help those less fortunate!!