Cat Condo: Made from a Wood Pallet
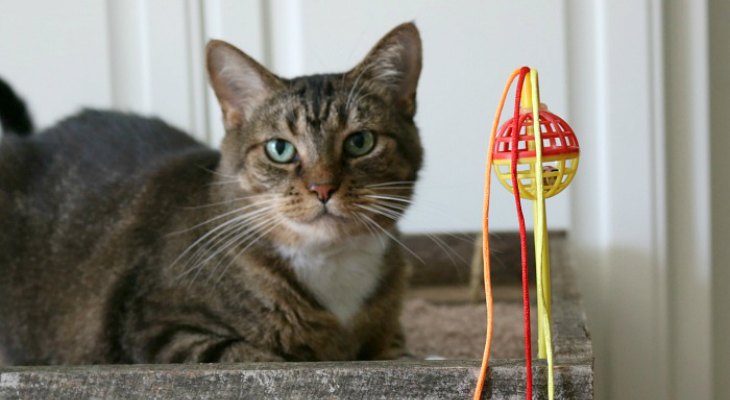
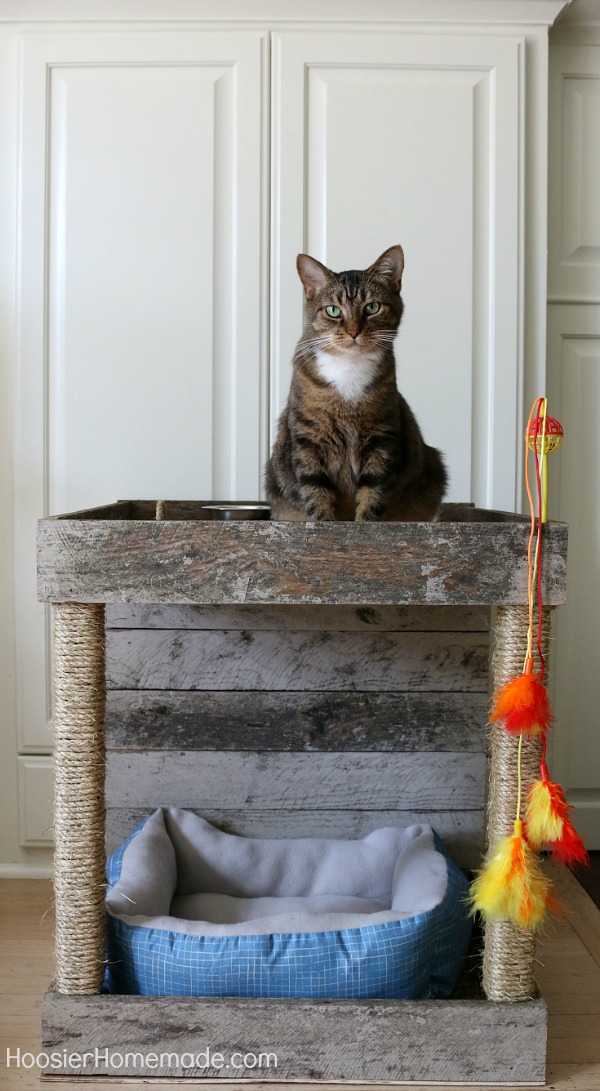
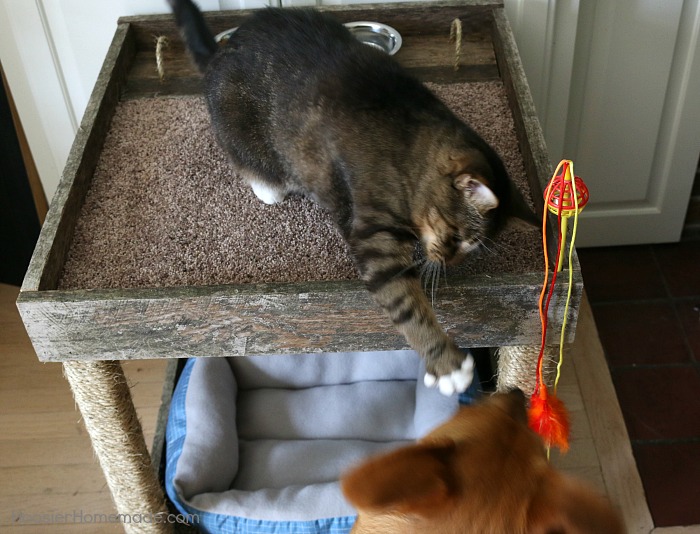
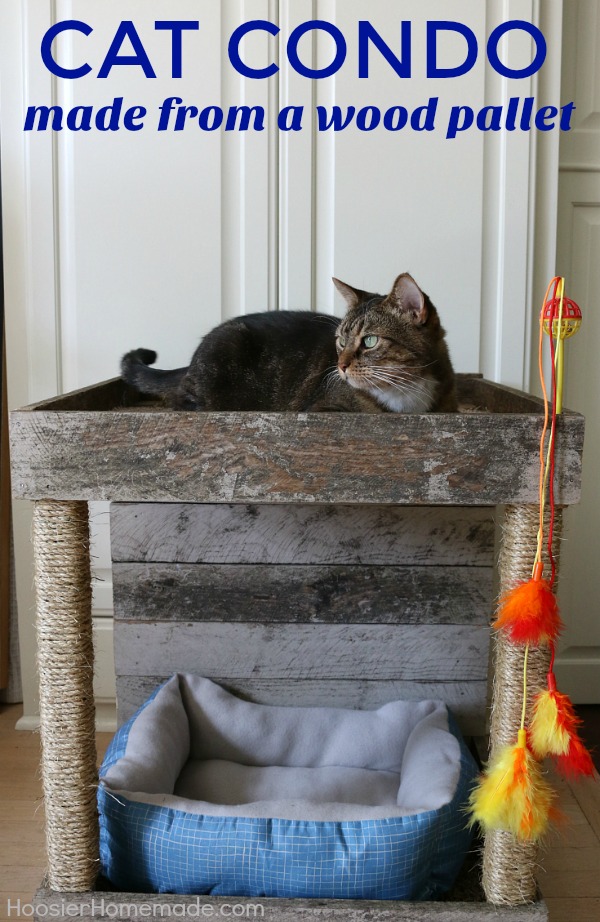
It’s time to pamper our kitties a bit! This Cat Condo that is made from a wood pallet has a spot for feeding, relaxing, playing and scratching.
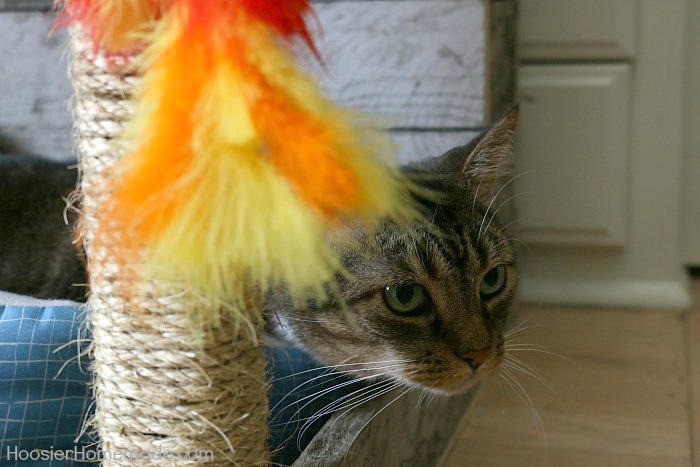
Ever since Tiki the Rescue Pup came to our family, Kali has been a bit put out. She has slowly warmed up to Tiki, but still hasn’t totally embraced the fact that she isn’t the queen of the house anymore. So we thought it would be fun to build her a Cat Condo – a space of her own that she can eat, sleep, scratch and play.
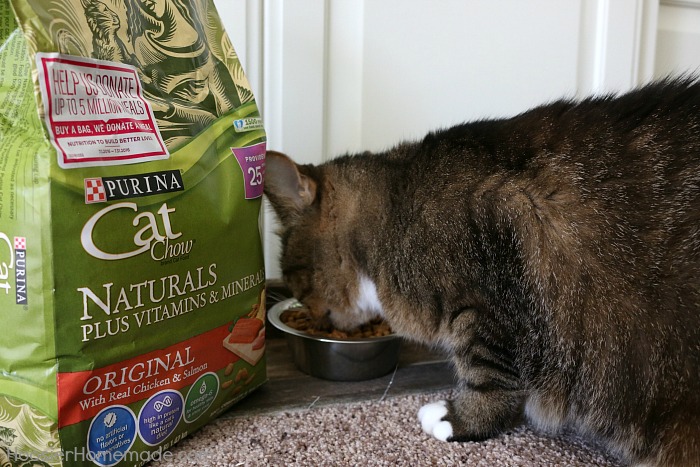
Since the month of July is a special time for Purina Cat Chow and the “Nutrition to Build Better Lives” program, we thought it was the perfect time to show Kali just what she means to our family.
We adopted Kali when she was just 6 weeks old, when my oldest son turned 16, that was 10 years ago. She has been with our family through a couple house moves, kids leaving for college, coming back home and all the other milestones that we have been through in the last 10 years.
A few years back, she got outside and was missing for 2 months, miraculously we found her. Let’s just say, she has never tried to venture outside again.
Doug built the Cat Condo from scraps of lumber and a wood pallet. We are currently building a shed in the backyard and have some scraps from that, as well as a wood pallet left from our deck.
Kali is enjoying her own space again. Although I am wondering if Tiki will try to lay in the bed.
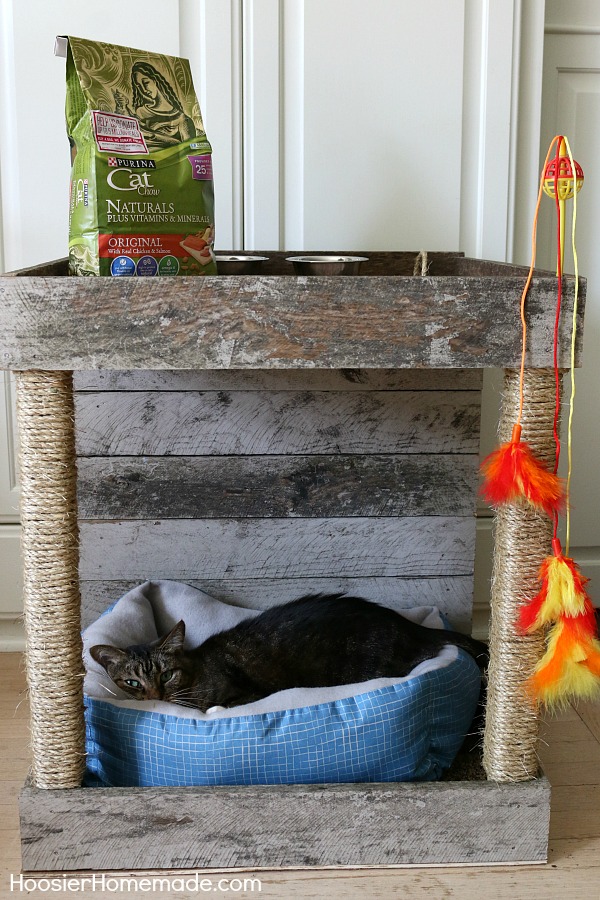
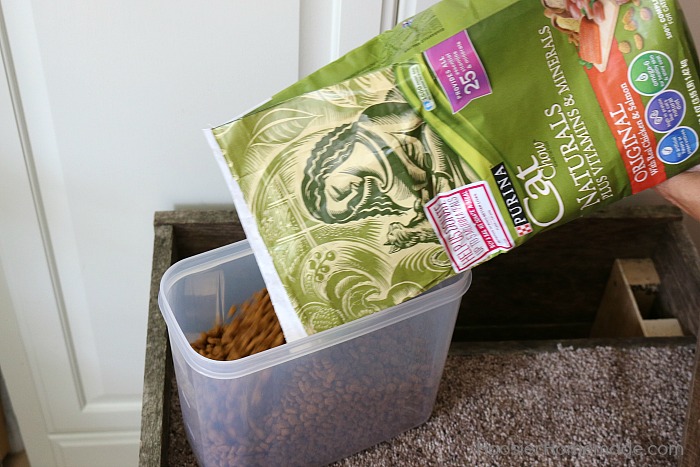
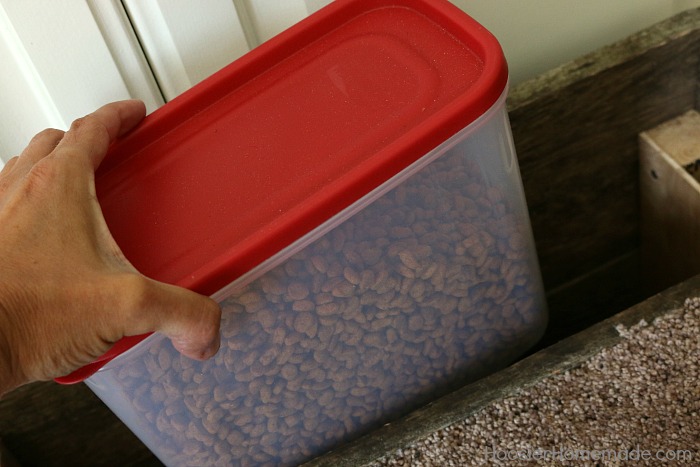
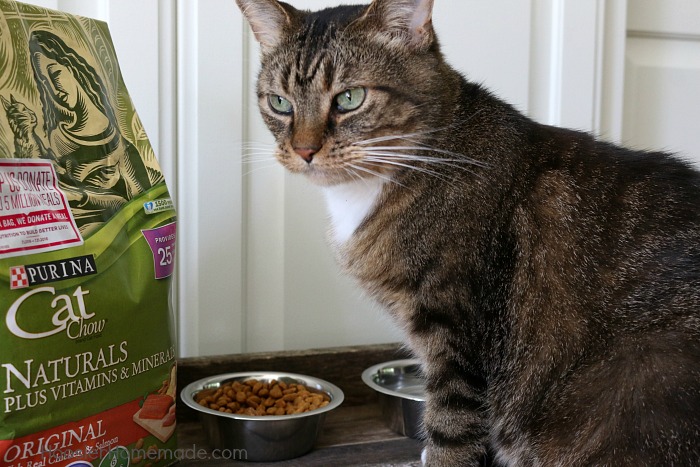
Doug created a handy spot in the Cat Condo to store the container with Purina Cat Chow. The “Nutrition to Build Better Lives” program has a goal of donating up to five million meals to cats in need through their non-profit partner, Rescue Bank. By purchasing Purina Cat Chow, you can help them reach their goal.
The food container fits nicely into the Cat Condo, which is perfect for us so that Tiki doesn’t get into it.
Kali quickly showed Tiki that this was her space – back off!
Join us in supporting Purina – simply purchase a bag of food at your local store and they will make a donation. Whether you own a cat, have a friend with a cat or maybe you just love cats, it’s a great cause!
Visit my fellow bloggers to read their stories –
Adopting Rusty from Ellis and Page
Our Cat Adoption Story from Smockity Frocks
Why I Love My Cat from Chaotically Creative
Cat Lady Must Haves from Polka Dotted Blue Jay
Meet Jackie – Our Cat Adoption Story from Sweet Nicks
Now – here is Doug to show you how to build a Cat Condo for your special feline friend!
Step 1
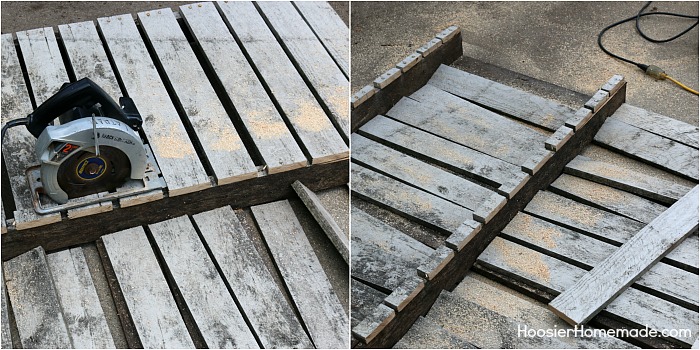
Use your circular saw and cut the top boards of the pallet into 22 inch lengths. I did this since it is extremely difficult to tear a well made pallet apart without special tools.
Step 2
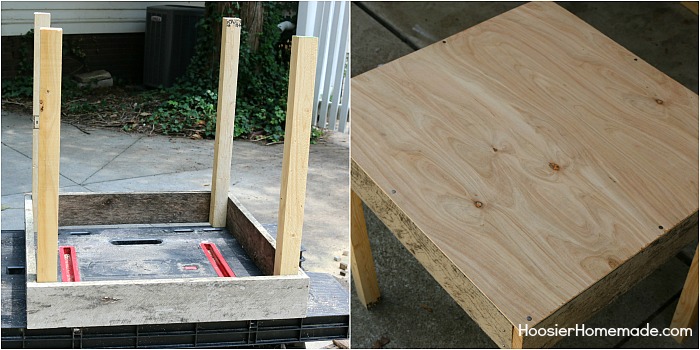
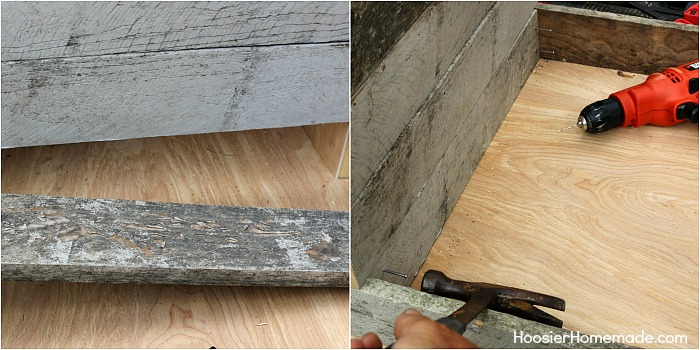
Take 4 of the 22 inch 2″ x 2″ uprights and attach 22″ boards to the outside, then nail the 1/4″ Luan Plywood to the bottom.
Step 3
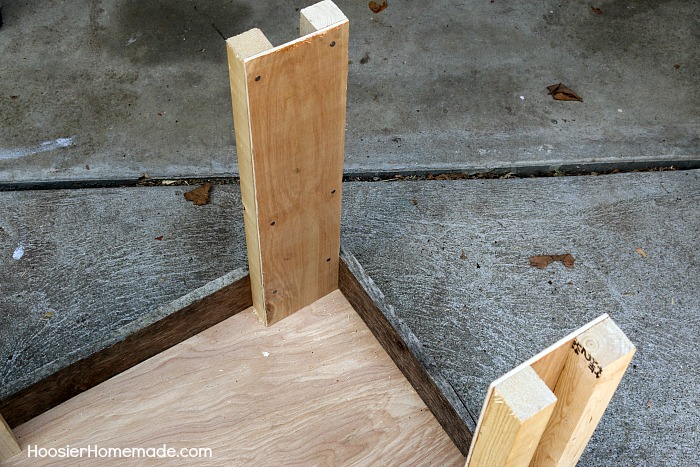
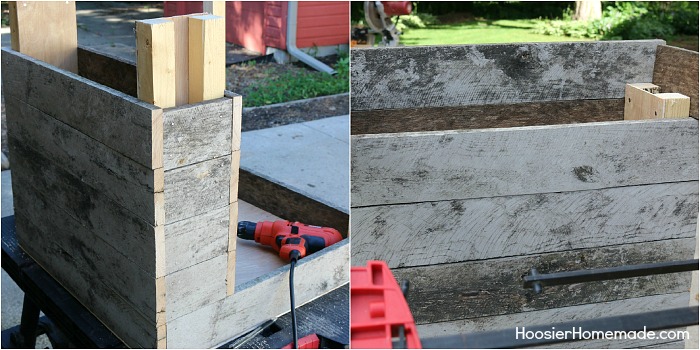
Attach the other 2″ x 2″ uprights 5 inches from the inside edge and then nail the 5″ by 22″ pieces of luan to the inside of the uprights. This is the framework for the food storage area.
Step 4
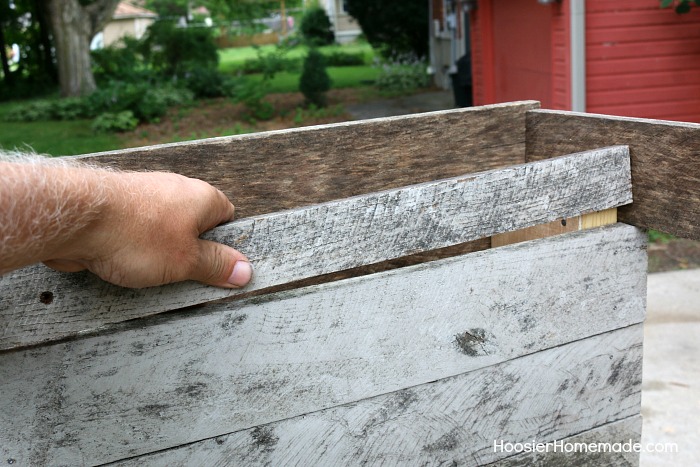
Then you will proceed to box in the storage area using 2 each of the 5″ and 22″ long boards for each layer. When you get to the top layer you will leave the interior board off.
Step 5
You will still have and open area at the bottom. Fill this with the full width 20 1/2″ board.
Step 6
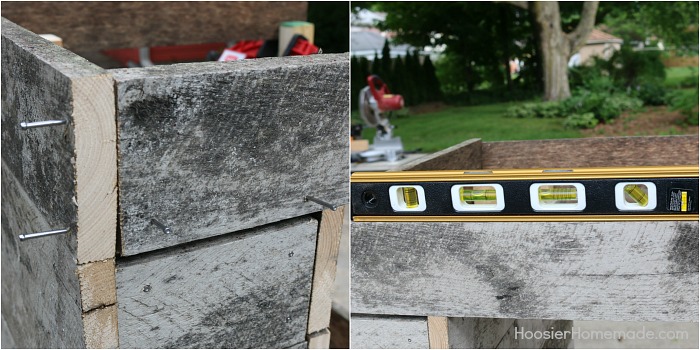
Attach the top level around the full perimeter of the uprights, nailing into the uprights and through the ends of the boards. Use a torpedo level to keep them straight.
Step 7
To finish the storage compartment nail a 20 1/2″ long by 1 1/2″ board to the inside.
Step 8
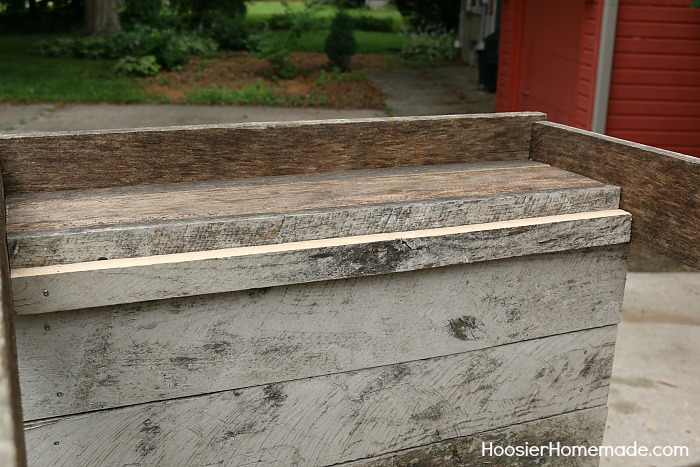
Build the storage compartment lid by nailing two boards together to make a 5″ x 20 1/2″ lid.
Step 9
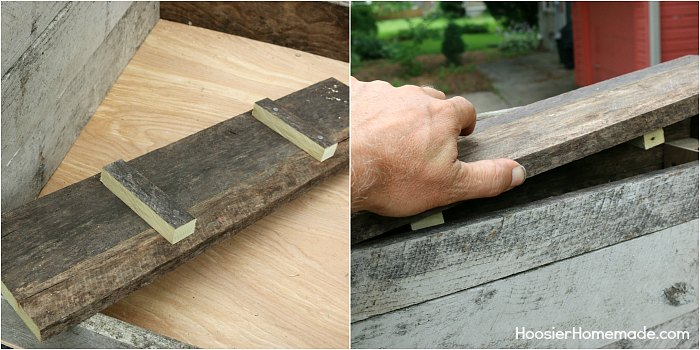
Attach a 1 inch wide board to the inside to support the upper floor.
Step 10
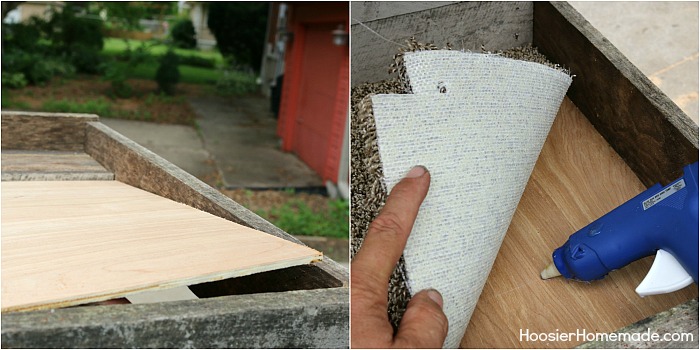
Nail in the 1/4″ Luan Plywood for the upper level then cut and glue down carpet samples to both the upper and lower levels.
Step 11
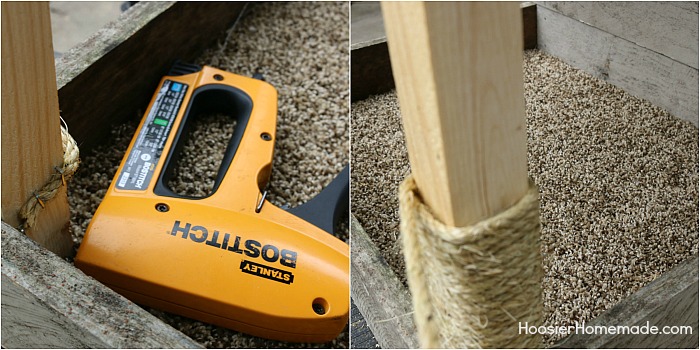
To finish the scratching posts staple the jute rope along the inside and tightly wrap all the way up and secure the upper end with additional staples.
Step 12
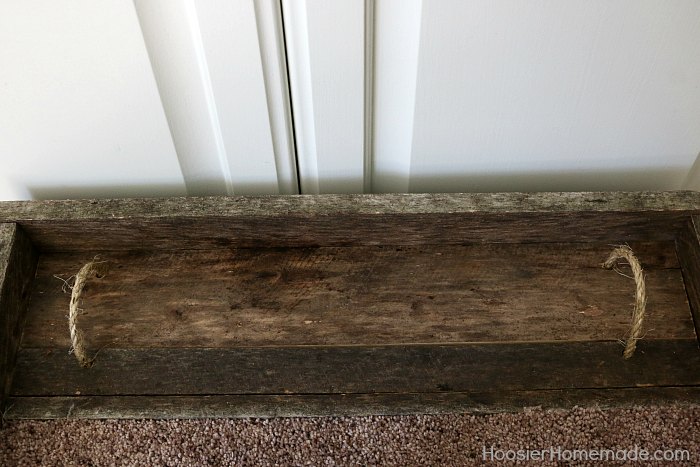
Finally drill four 3/8″ holes in the lid and use 9 inch long pieces of rope and thread the ends through the holes and secure with staples.
Learn more about the “Nutrition to Build Better Lives” program.

I love this idea…very simple yet looks nice and neat…the cat looks happy too!!! I am building a cat house for the outside barn cats. I had a place for them the last several years in a shop space but we had a renter move in that decided he would to have that space for storage. I will have the shop back at some point but I do not want them to be without a comfortable and safe place. I also thought if I move I will just build something that can also be moved as I will be the one to take all the cats that were left here when we bought the place and then a 3rd party abandoned her 2 cats when she left. I am a cat person first so I will take them all with me plus my own 3…total of 7 possibly I may take another that could be 8. I would never abandon a cat or any animal. My son also has a cat and he will be living me with me at some point so we could have all toll 9!!!
Love this for your furry friend!!
Thanks for linking up with Welcome Home Wednesdays! Live every Wednesday at 7AM CT.
liz @ j for joiner
This is awesome! I wish I had room. Maybe someday.