How to Plant a Window Box
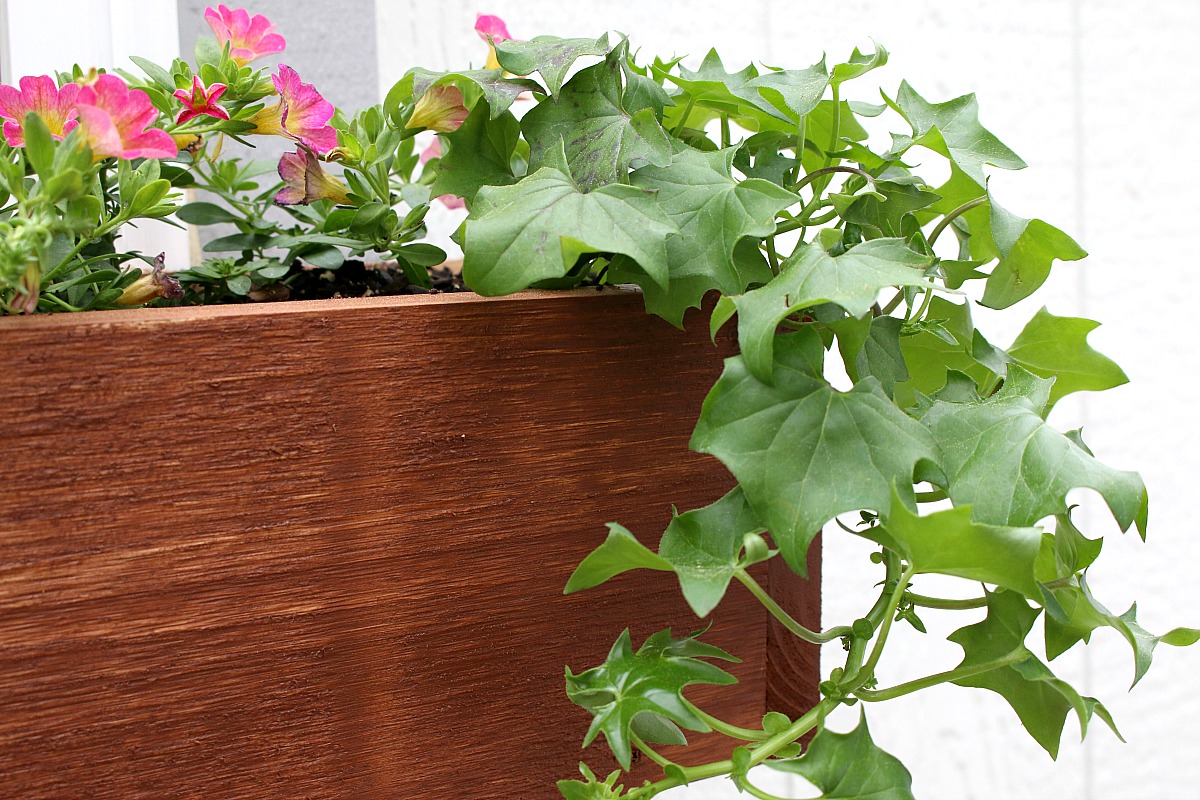
A window box filled with flowers and plants can add a lot of curb appeal to your home -or in our case, our SheShed! This easy update can be done in a few hours- keep reading to learn how to plant the perfect window box!
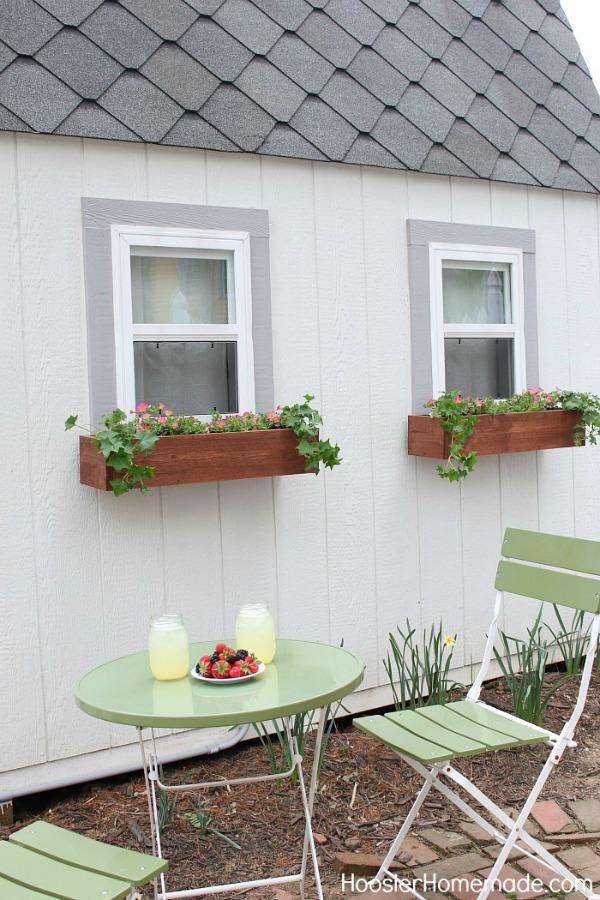
When we built the She Shed last year, I knew I wanted to add some window boxes this year. My honey-do list for Doug is long, so after building the swing, he tackled the window boxes. I wanted them to be Farmhouse style to match the She Shed. I’m thrilled with how they turned out.
We spent quite a long time at the nursery picking out plants. I like to fill planters and window boxes really full, however Doug likes to give the plants room to grow – and well, he’s the gardening expert, so I listen.
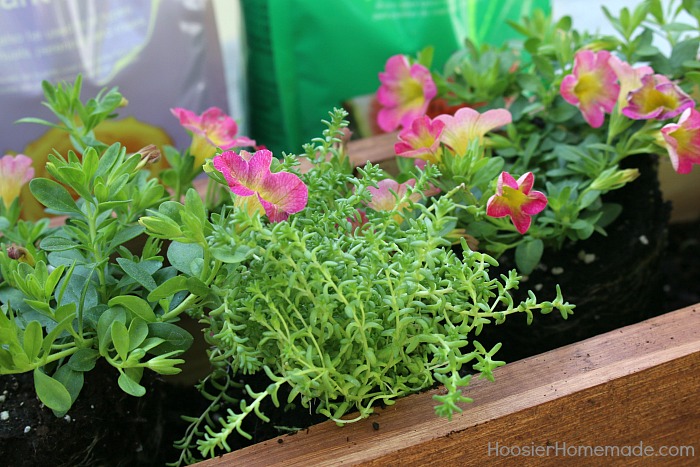
It is good to have a variety of plants- flowers with different colors, cascading plants, and plants that provide texture. This will keep your window box visually interesting!
First, you will need a window box. You can buy them at just about anywhere that have flowers and plants, or you can make one. Doug made these, watch for a video coming soon to teach you how to make your own. They are super easy!
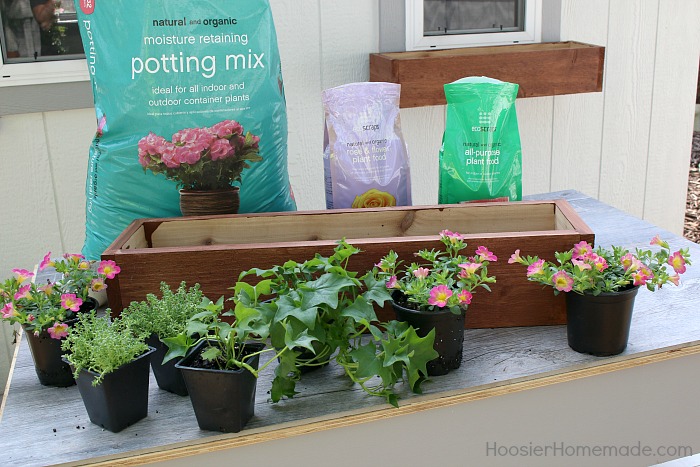
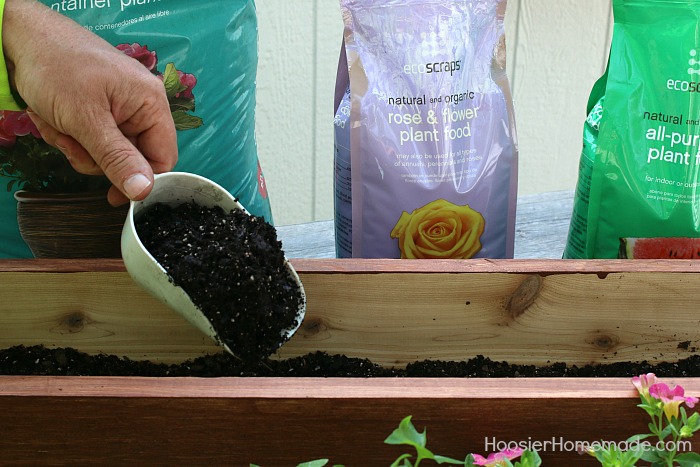
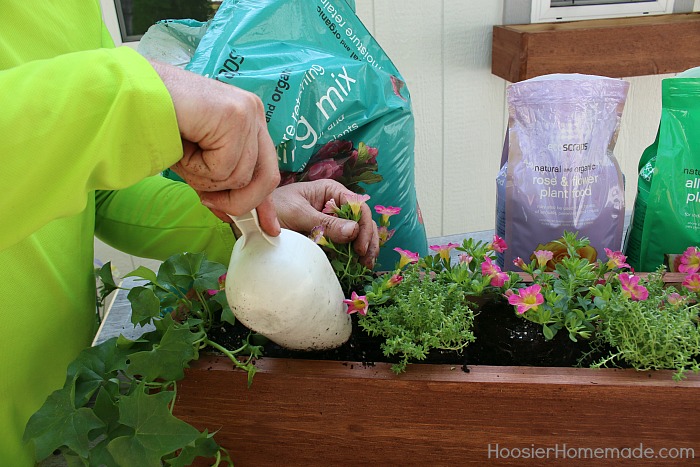
Then you will need potting mix, and fertilizer. Last Spring, we used EcoScraps in our Wooden Pallet Compost Bin, and loved it. For the window boxes, we used their moisture retaining potting mix, and the All-Purpose Plant Food, which we found at Lowe’s. You can also use the EcoScraps Rose & Flower Plant Food instead of the All-Purpose Plant Food.
Once you have your window box ready (be sure there are drainage holes in the bottom) it’s time to add the potting mix, fill your container about half full. Doug has used countless varieties of potting mix, and after using the EcoScraps product he literally said “this soil is really nice.” One of the reasons that the potting mix (and other products) are so great, is because EcoScraps uses bad food and transforms it into rich, organic soil.
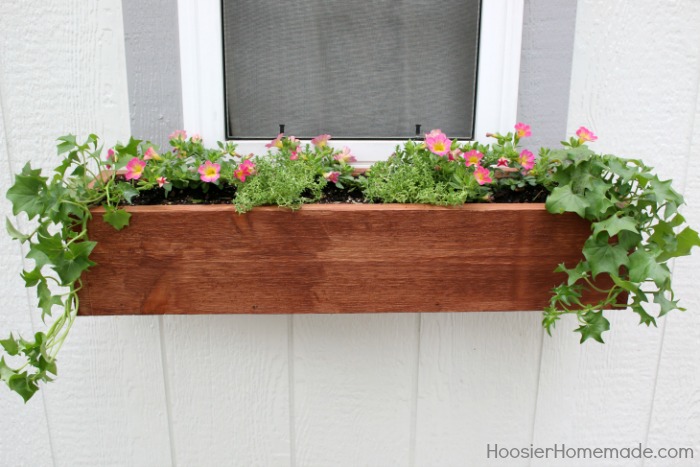
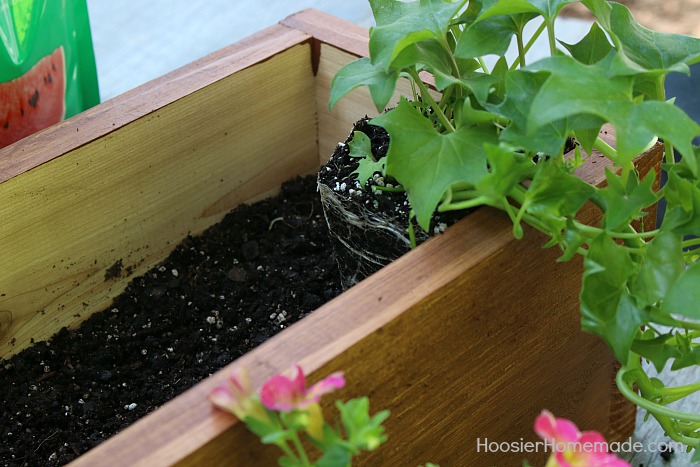
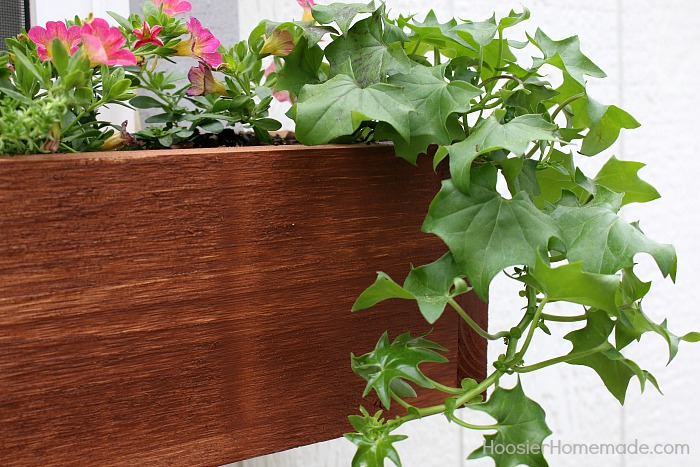
The window box is now ready for the plants. On each end, we added German Ivy that spills over the edge. I love how the leaves are a little different than the typical ivy. And the bright green color really pops.
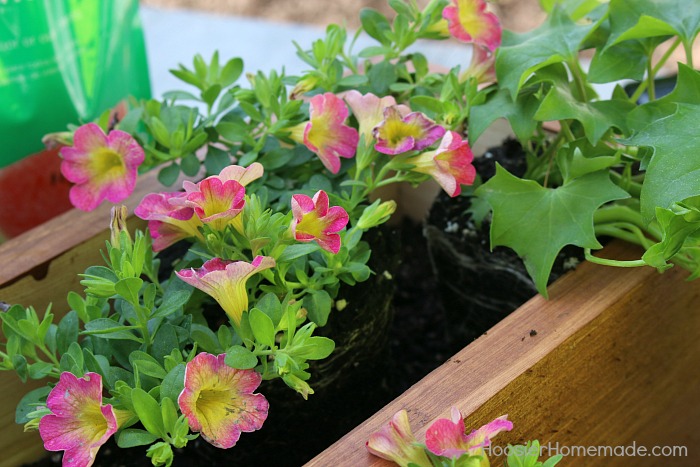
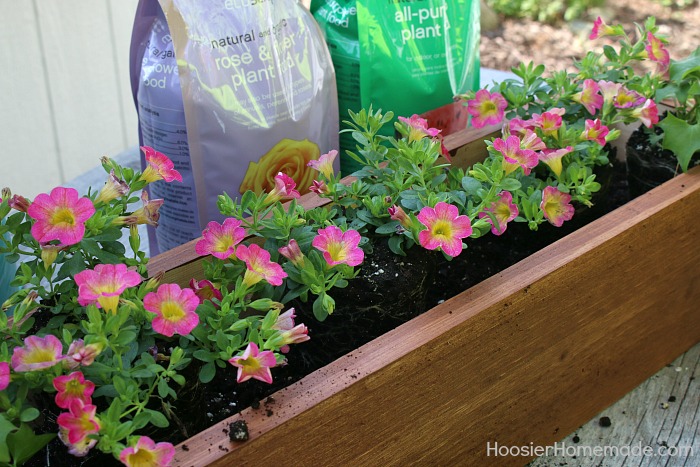
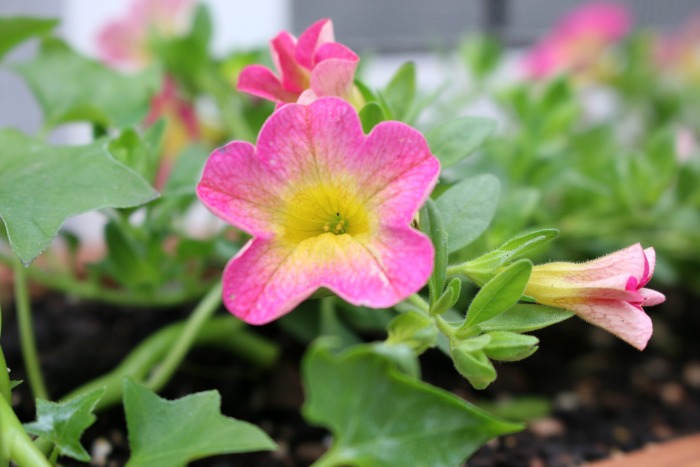
Then we added pretty pink Sweettart Superbells. Like many petunia varieties, they will continue to bloom if the dead flowers are picked off regularly.
Doug added 3 of the Sweettart Superbells a little toward the back of the window box. They are an improved variety of Millionbells.
For texture and something a little different, we used Sedum Acre. It will have a tiny yellow flower on it during the Summer, which will be really pretty with the pink Superbells. It’s also a perennial, so in the Fall we can plant it in the landscaping.
After you have the plants in place, now you can add more potting mix. Add the soil lightly around the plants, don’t pack it in tightly.
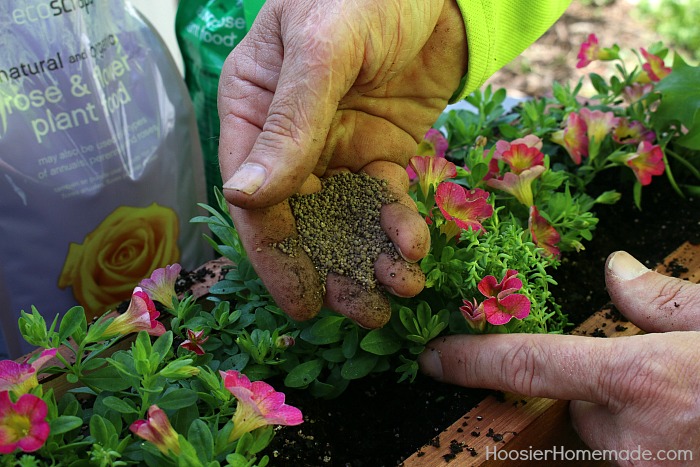
Now it’s time to add the EcoScraps All-Purpose Plant Food. You can learn all about EcoScraps Plant Food by watching this video. EcoScraps uses food waste from landfills to create organic, sustainable soils and plant foods.
The window boxes are now ready to be hung. We used simple corner “L” brackets attached under the windows of the She Shed.
The delicate flowers of the Sweettart Superbells is so pretty!
The German Ivy is a vigorous grower and will fill in nicely below the window box.

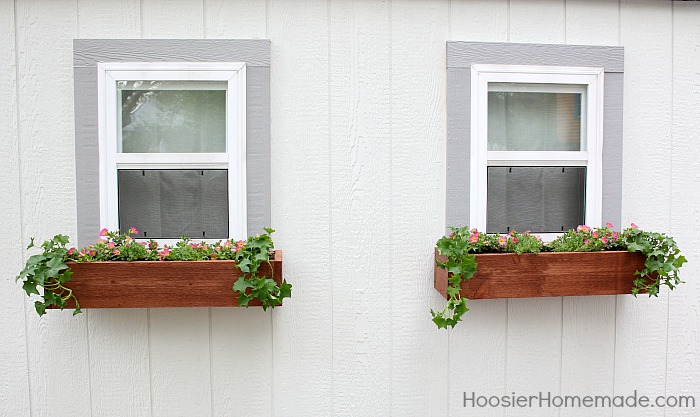
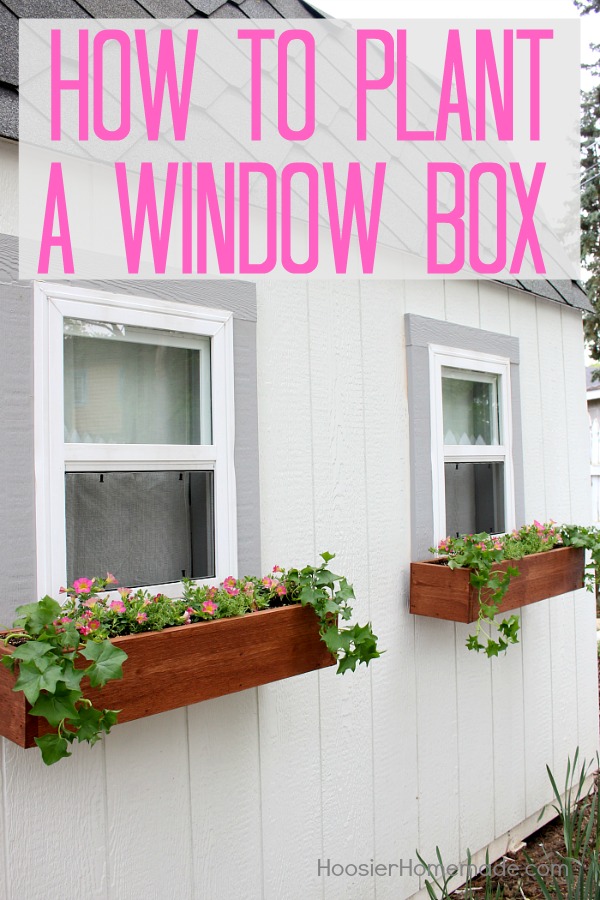
How beautiful it all turned out! I love! Unfortunately, you can not hang such beauty on the windows of a high-rise apartment 🙂
But I have a lot of flowers inside the apartment. I will definitely try to plant them as you suggest.
Love this stain color! What brand and color did you use? Cant wait to see your DIY video 🙂
Sorry Bridget I didn’t make notes on the stain color.
Bridget, we used Thompson’s WaterSeal Timber Oil “Teak” for the window boxes.
Lovely window box. Thanks for the ideas.
Thank you so much!