Shaving Cream Easter Eggs

Creating beautiful Easter eggs can be fun for the family. These Shaving Cream Easter Eggs are easy to do and turn out really pretty.
There are many Easter egg ideas – how to dye Easter eggs, Easter eggs with Cool Whip, natural Easter eggs, Easter eggs with Kool Aid, and then display the colored eggs with these Easter Egg Printables.
Creating these beautiful marbleized Easter eggs was not difficult, however there are a few tips I have for you before you begin.
Tip #1: These eggs take a lot of patience. I love how they turned out, however if you are looking for a quicker gratification, you may want to dye Easter eggs.
Tip #2: Using the shaving cream was really fun. It was very messy though. I used a lot of paper towel to wipe the shaving cream off of the eggs.
Tip #3: Wearing plastic gloves, especially for the kids, when working with the eggs is helpful.
Tip #4: Let your creativity shine here. You can combine the food coloring with the shaving cream in any way you like.
Tip #5: Be sure to use Shaving Cream not Shaving Gel. The cheapest Shaving Cream you can find actually works the best. Grab a couple cans.
Tip #6: You don’t need any special food coloring. The regular kind that you have in your baking cabinet will work just fine. You can also use it to dye eggs with water and vinegar.
Tip #7: You can use any container that works for you – bowls, cookie sheet, rectangle glass pan – as long as it’s deep enough to cover the eggs with shaving cream.
Tip #8: Are Shaving Cream Easter Eggs safe to eat? The short answer is NO – Shaving Cream Easter Eggs are NOT safe to eat.
The longer answer – Any time you use coloring or dye on eggs, it’s best to be safe. If you plan on eating the eggs, you can use whipped cream or Cool Whip instead of the Shaving Cream, the Novice Chef shows you how.
With any of the colored Easter eggs that you create, be sure that the egg does not have cracks that would allow the dye to seep on the egg.
Shaving Cream Easter Eggs
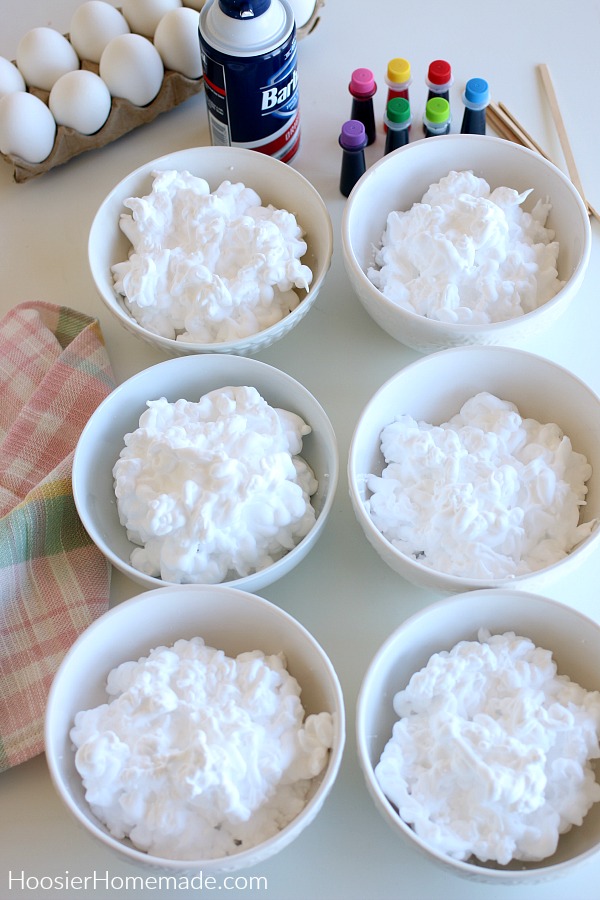
Supplies you will need:
- Eggs – white, hard boiled – the perfect hard boiled egg
- Shaving Cream – plain and cheap works the best
- Food Coloring
- Bowls or large cookie sheet
- Paper Towels – you will need a lot
- Stirring sticks or disposable spoons
Step #1:
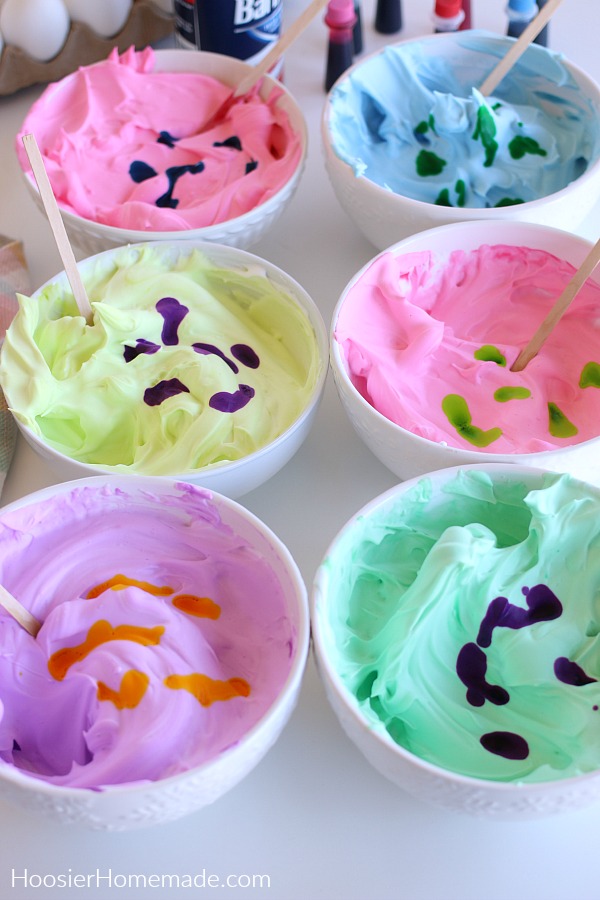
- Add shaving cream to bowls. You can also use a large cookie sheet. I used both methods and both of them worked.
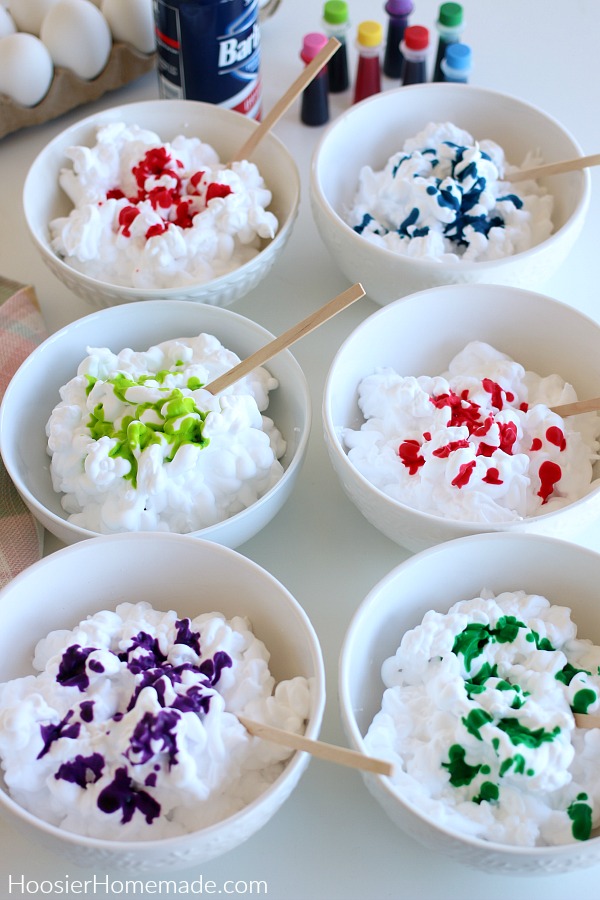
- Add several drops of food coloring to each bowl
Step #2:
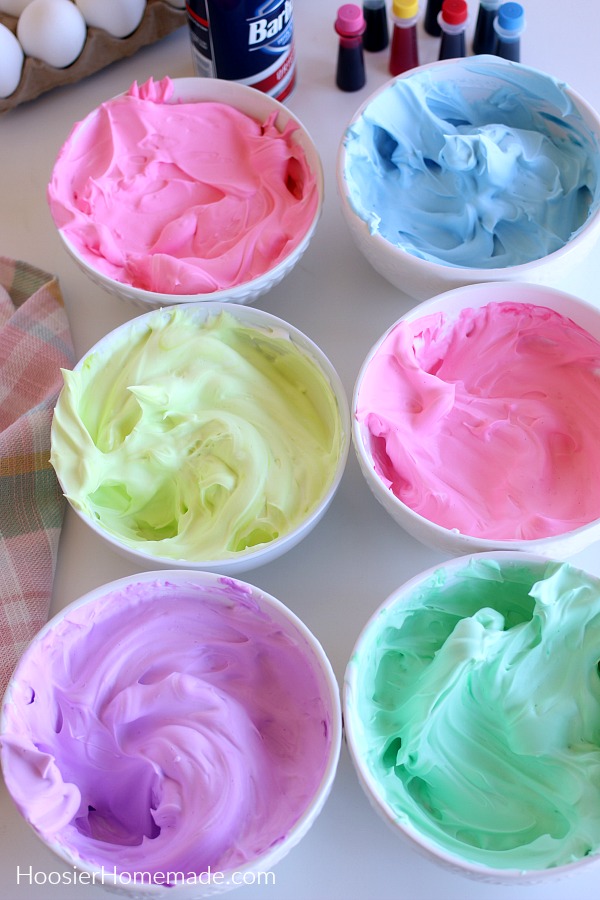
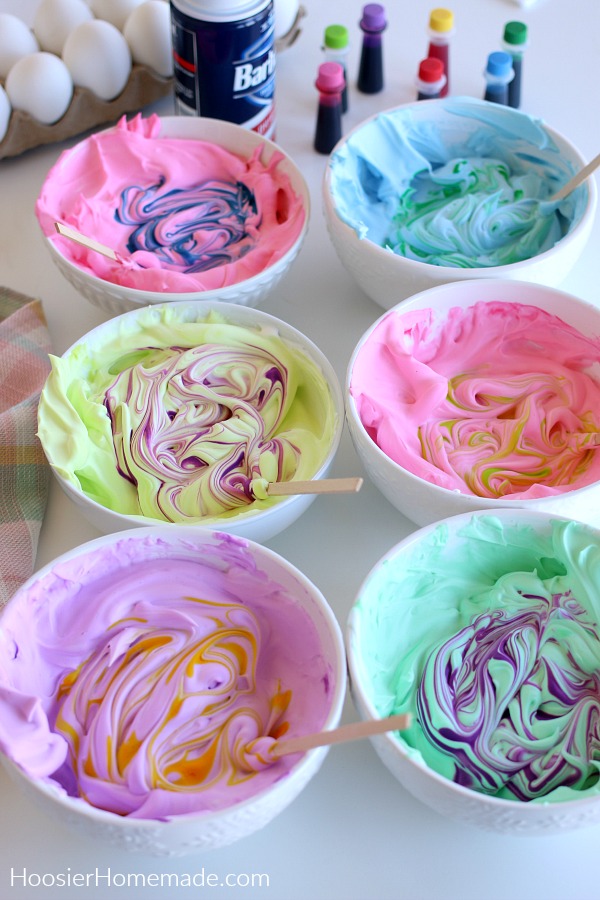
- Stir the color into the shaving cream until combined well
Step #3:
- Add a second color to each bowl
Step #4:
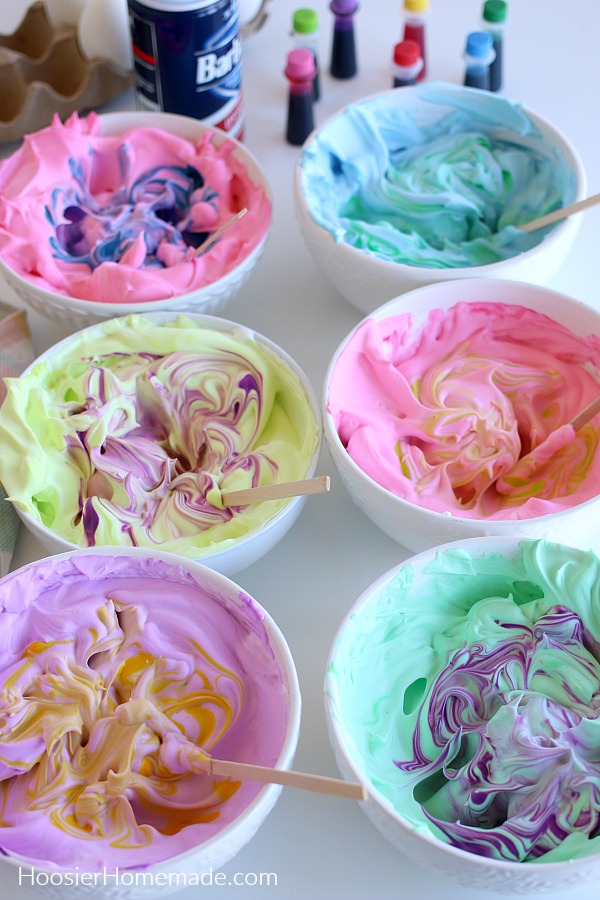
- Swirl the second color into the first color of shaving cream
Step #5:
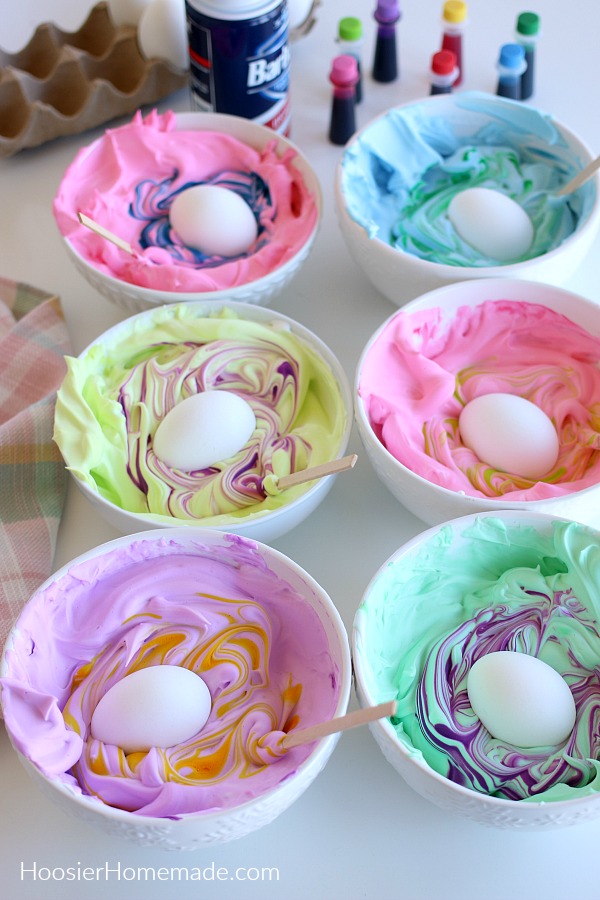
- Add hard boiled egg to shaving cream
Step #6:
- Completely cover egg with shaving cream and let set at least 20 minutes – the longer the better.
- Remove eggs from bowls, leaving them covered with shaving cream and place on a cookie sheet, paper plate, etc.
- Let them dry for at least 15 minutes – if you wipe them off before they dry, the color will wipe off
- Using paper towel, remove the shaving cream, and wipe very clean
- REMEMBER – these eggs are NOT okay to eat
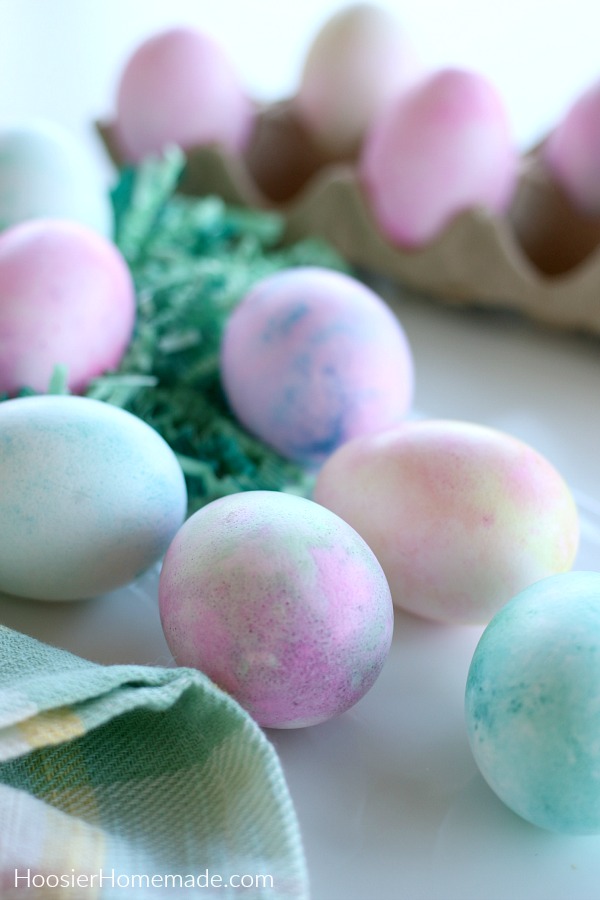
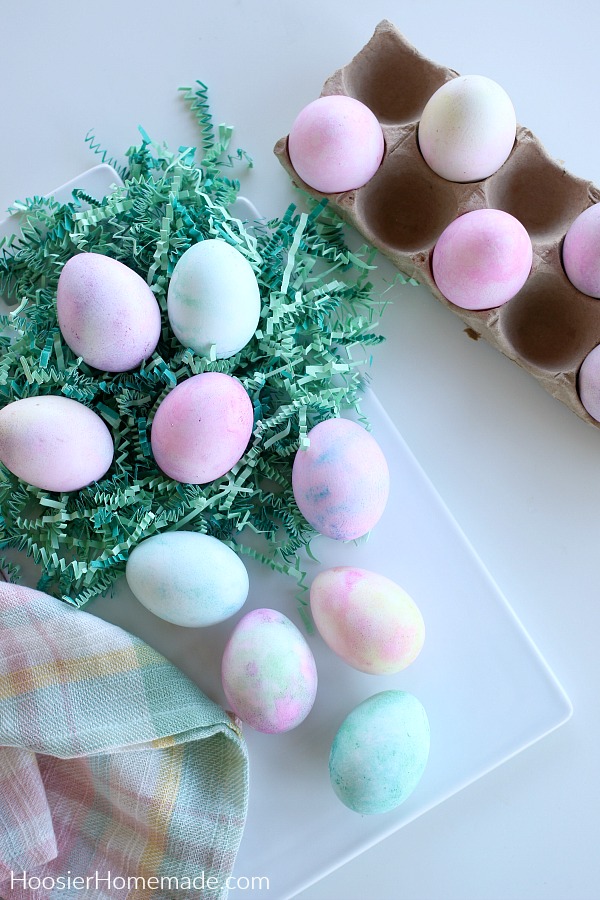
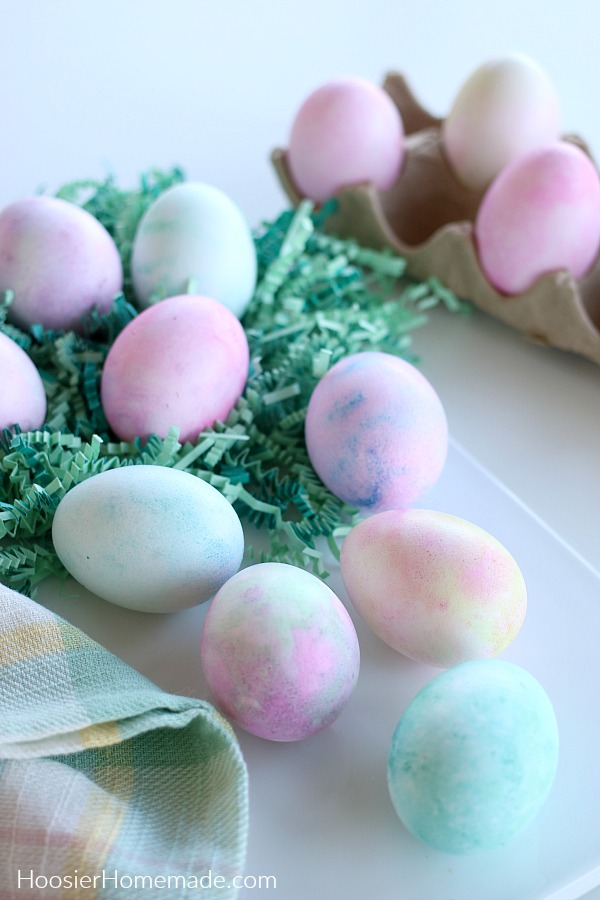
These marbleized Easter eggs with shaving cream turned out so pretty! I love the soft colors and swirls on them.
After the Easter eggs are all colored, display them in these adorable Easter Egg Printables – they are FREE!
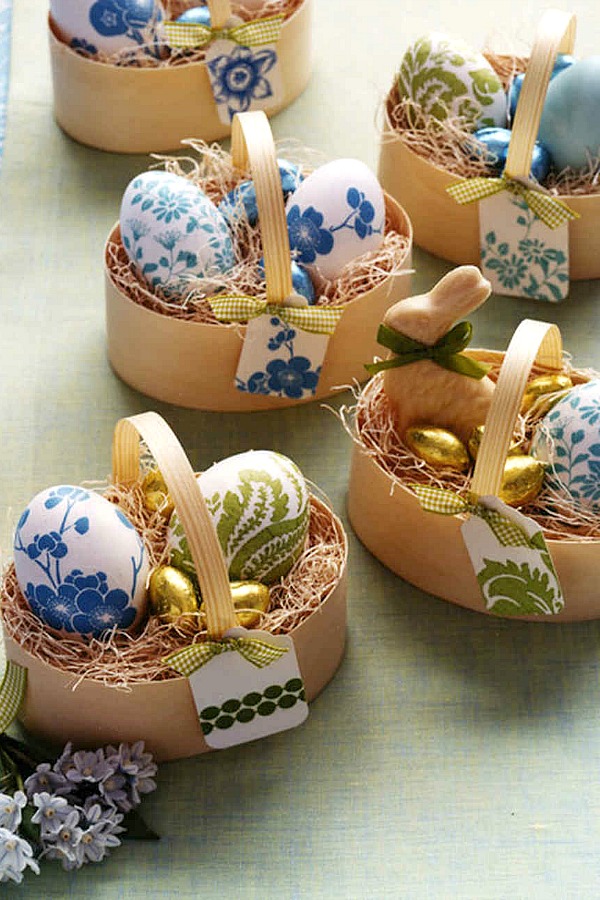
These gorgeous decorated Easter eggs use paper napkins. You can learn about more decorated Easter eggs.
