Fall Front Porch Decorating
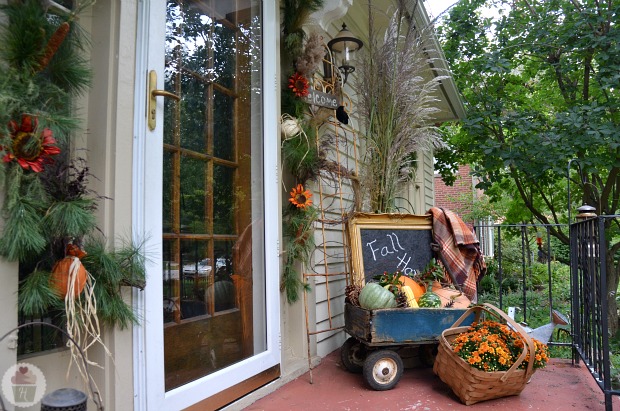
Our front porch is one of the areas of our home that I absolutely love to decorate! We live on one of the main streets in our town, and although there isn’t a lot of car traffic, we have lots of walkers and bike riders that travel our street. Growing up in this town, this street was known for the large, beautiful homes, I love decorating our home for others to enjoy. Somehow it takes me back to being a child and remembering all the homes the way they used to be.
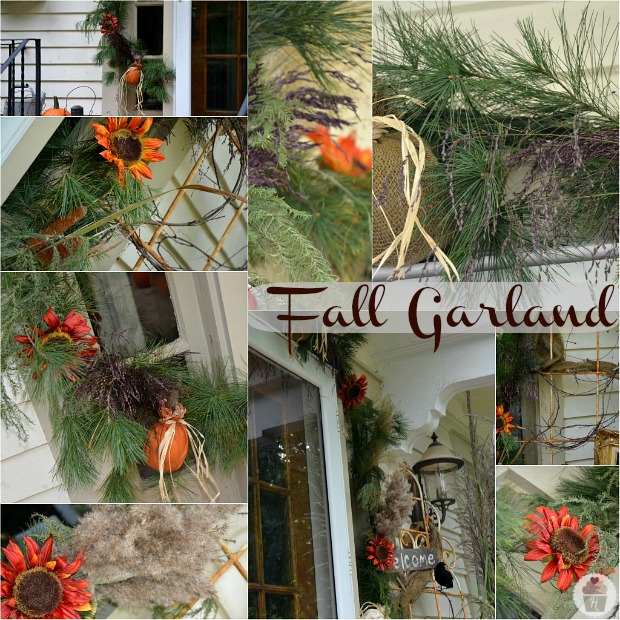
Next to Christmas, decorating our front porch for Fall is my favorite! And let me tell you, constructing the Fall Garland and hanging it around the door was much easier this week then when I hung the Christmas garland in the snow!
The inspiration for the Fall Front Porch Decorating all came from a trip to Hobby Lobby, they have gorgeous garlands and wreaths, and when we spotted a wreath that had more natural elements with the deeper colors, we fell in love with it. BUT, the price tag was $230! Yes, you read that right, my friends! So, Doug and I pulled on our boots, grabbed our clippers and headed for the park. We struck gold!
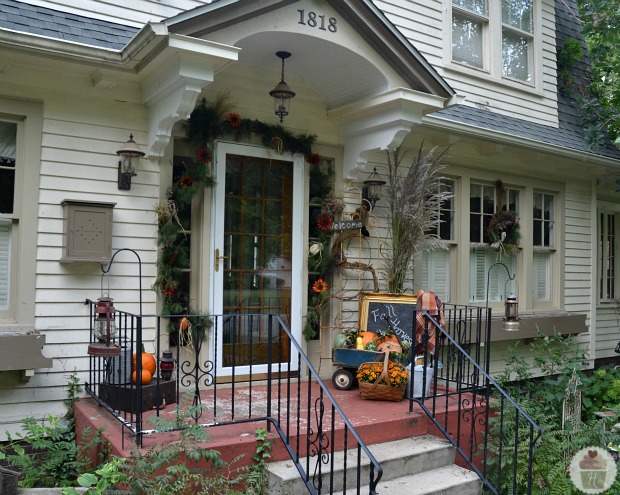
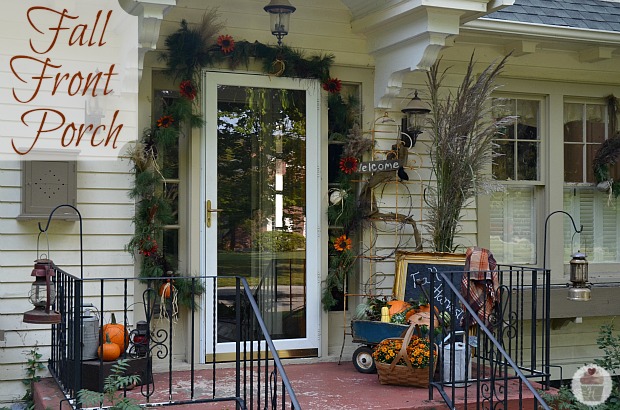
Before I show you how I put together the Fall Garland, let me take you on a little tour of the Front Porch…
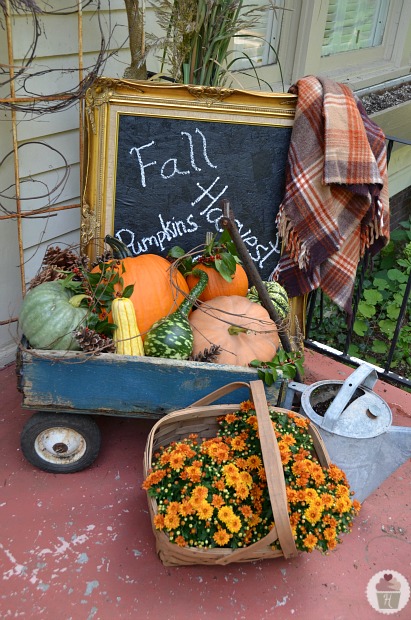
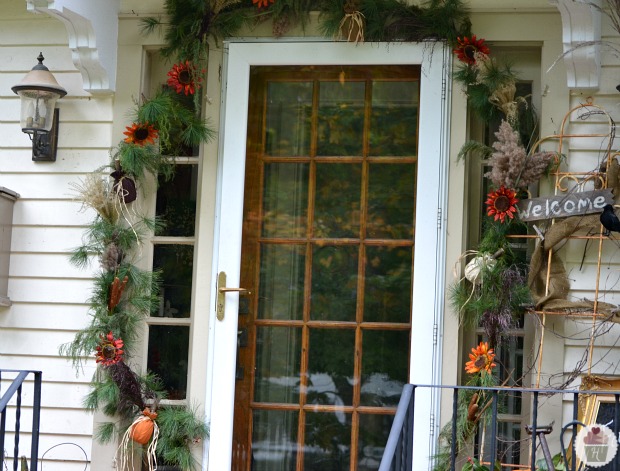
Let me give you a little closer look…
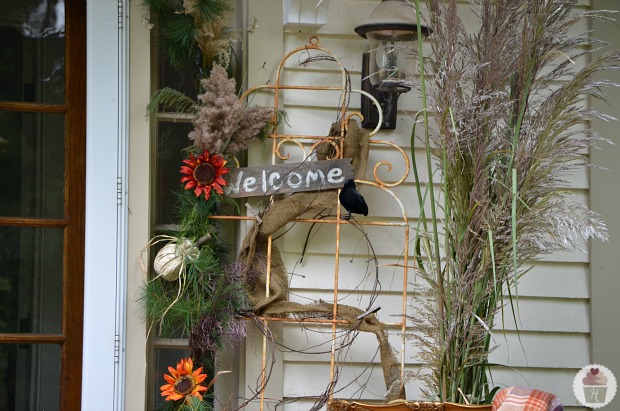
Behind the wagon, we placed an old trellis that has a well worn look about it, a tall galvanized bucket holds the Plume Grass, then in front of that, the Chalkboard, Antique Wagon filled with pumpkins and vines, a basket with mums and an Antique Watering Can and an wool blanket.
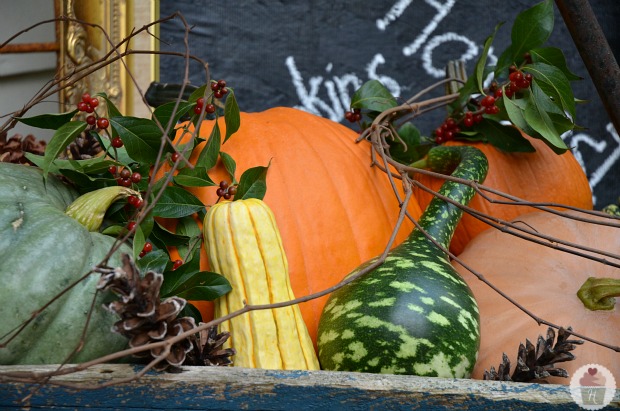
The chalkbaord is made with an old gold frame I found in the attic. Doug removed the picture, and cut a piece of wood to fit, then painted it with Chalkboard Paint, spraying on a few coats. Chalkboard Tip: Wet the board and use wet chalk that you wrap in a wash cloth…works like a charm!
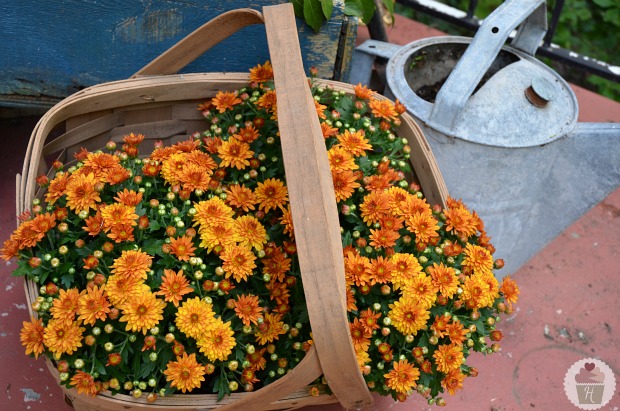
I love the color of these Mums! We found them at Lowe’s for only $2 each.
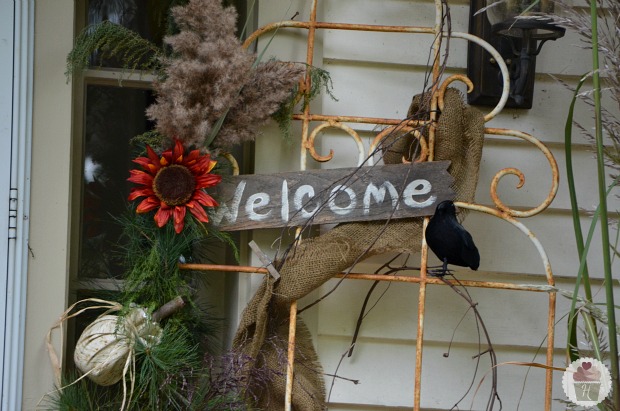
On the Trellis, I added grape vines, a little burlap held on with clothespins and a little crow.
My old blue wagon was filled with pumpkins in different colors and shades, gourds, vines and pine cones.
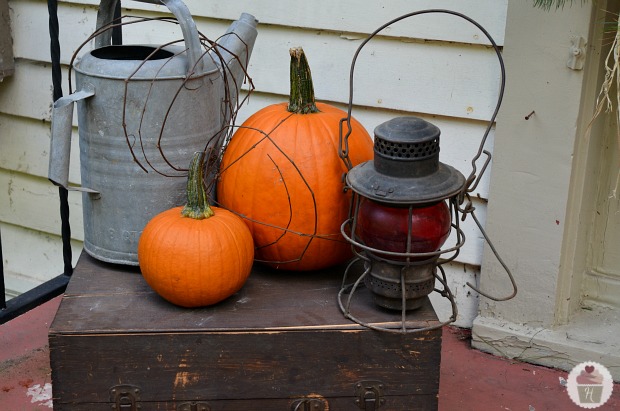
On the opposite side of the porch, I placed an Antique Suitcase with a Watering Can, pumpkins and an Antique Railroad Lantern.
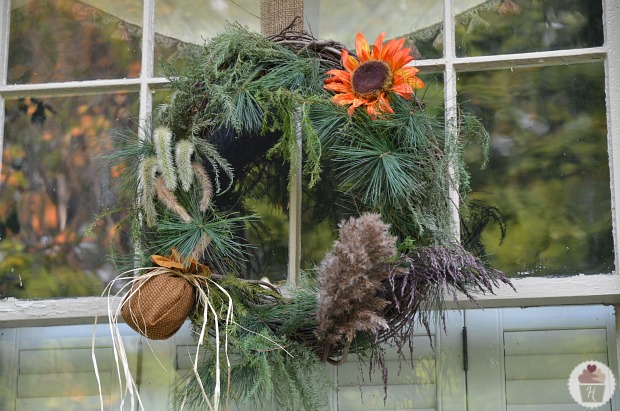
To pull everything together, I decorated a wreath for each side and hung them on the windows. I used the same supplies I used on the garland…let me show you how to make your own…
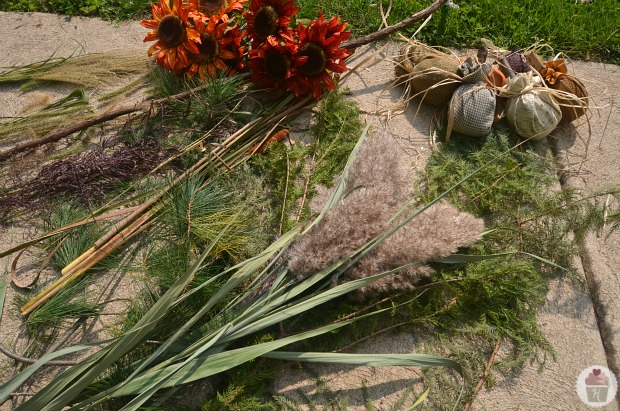
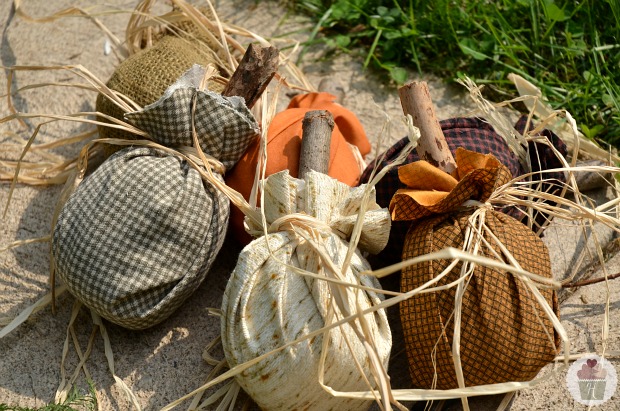
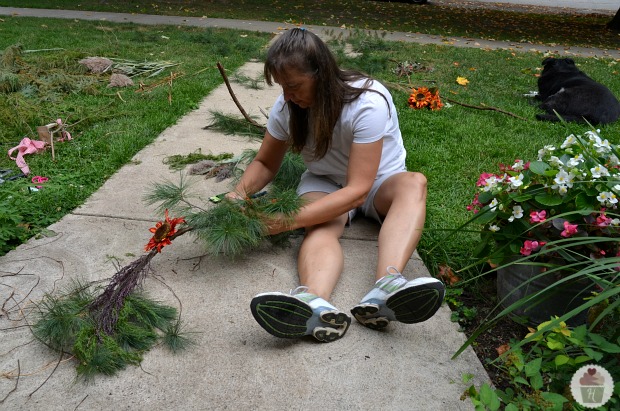
First, gather your supplies…like I mentioned at the beginning, the inspiration came from a very expensive wreath. We picked all the greenery and grasses along side of the road and at the county park. Every park has rules, we did ask permission first. We bought the silk sunflowers at JoAnn’s on sale for $10 and I made the pumpkins.
The pumpkins were covered in fabric that I had in my stash. I just wrapped the fabric around and tied it with twine. Then I cut a stick for the stem and used the hot glue gun to attach it. To finish it off, I tied a little raffia around.
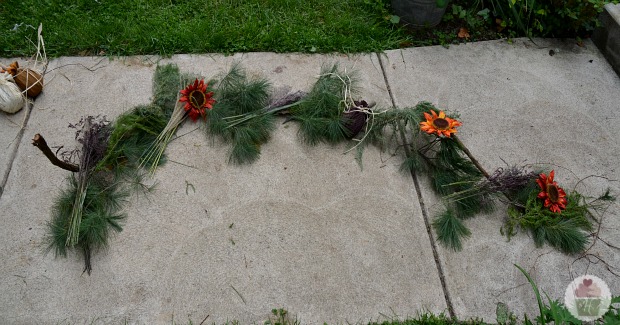
The base of the garland is a wild grapevine, it is free form, which I think is pretty cool. I laid out each of the greenery, grasses and other decorations the way I wanted it to look.
Then the assembly began…with my paddle of wire and cutters, I started wiring on each of the pieces of greenery and other decorations.
I couldn’t be more excited with how the Fall Garland turned out!
So what do you think? I hope I have inspired you to decorate your Front Porch or outside area for Fall!
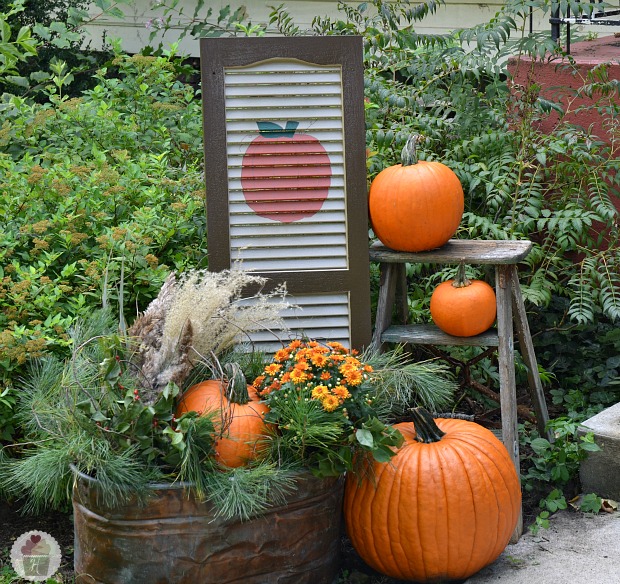
Update…we added the DIY Painted Shutter and more Outdoor Fall Decorations at the bottom of the steps…
Linking to…Southern Hospitality , Show & Tell Friday, Weekend Wrap Up Party, Sundae Scoop Party, Saturday Sevens, Made By You Monday, Autumn Party, Fall Nesting Party
40 Comments