Downy Touch of Comfort Quilt
Last month we started on the Downy Touch of Comfort Quilt, and shared with you what you will need to create your own quilt to send to a child in the hospital. If you haven’t already, you can send for a free quilt kit from Downy and Quilts for Kids.
There has been a few things, like a special graduation, get in the way of my progress, but I’m excited to share with you the Quilt top and how I put it all together.
After the quilt blocks were all sewn together, I added the inner and outer borders…let me show you how I did that…
Here’s a re-cap of what you need…
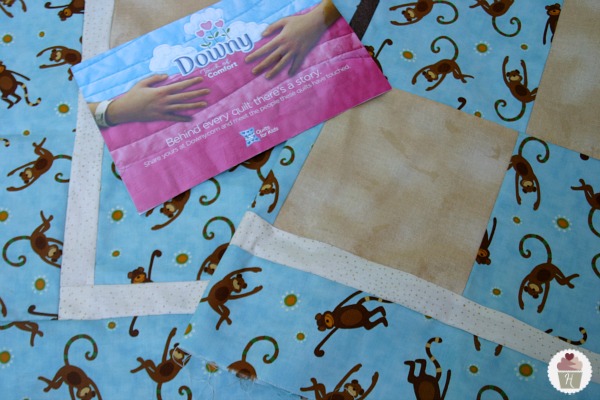
- Quilt Kit from Downy Touch of Comfort and Quilts for Kids
- Sewing machine with matching thread
- Sewing supplies – pins, scissors
- Quilting supplies – cutting mat, rotary cutter, quilting ruler
The first steps…
- Lay out all the fabric and mark them with a piece of paper so you know where the pieces will go
- For the Block Quilt – you will need 6 1/2 inch squares {watch the video to see how to cut them}
- Sew together the blocks using a 1/4 inch seam allowance and press the seams toward the darker fabric
Watch the first steps Quilting Video for more tips.
The next steps…
- Sew the inner border onto the quilt top, adding the sides and then the top and bottom
- Sew the outer border onto the quilt top in the same manner
- Press the seams toward the darker fabric

Stay tuned as I finish up the quilt and share more on the Downy Touch of Comfort Program. I’ve created a Pinterest Quilting Board where we can all share our quilts. I hope you will join me, learn a few sewing skills and spread a smile!!
Disclosure: I am participating in the Downy Touch of Comfort Program, as always, the opinions are all my own.