DIY Shiplap Wall for under $40
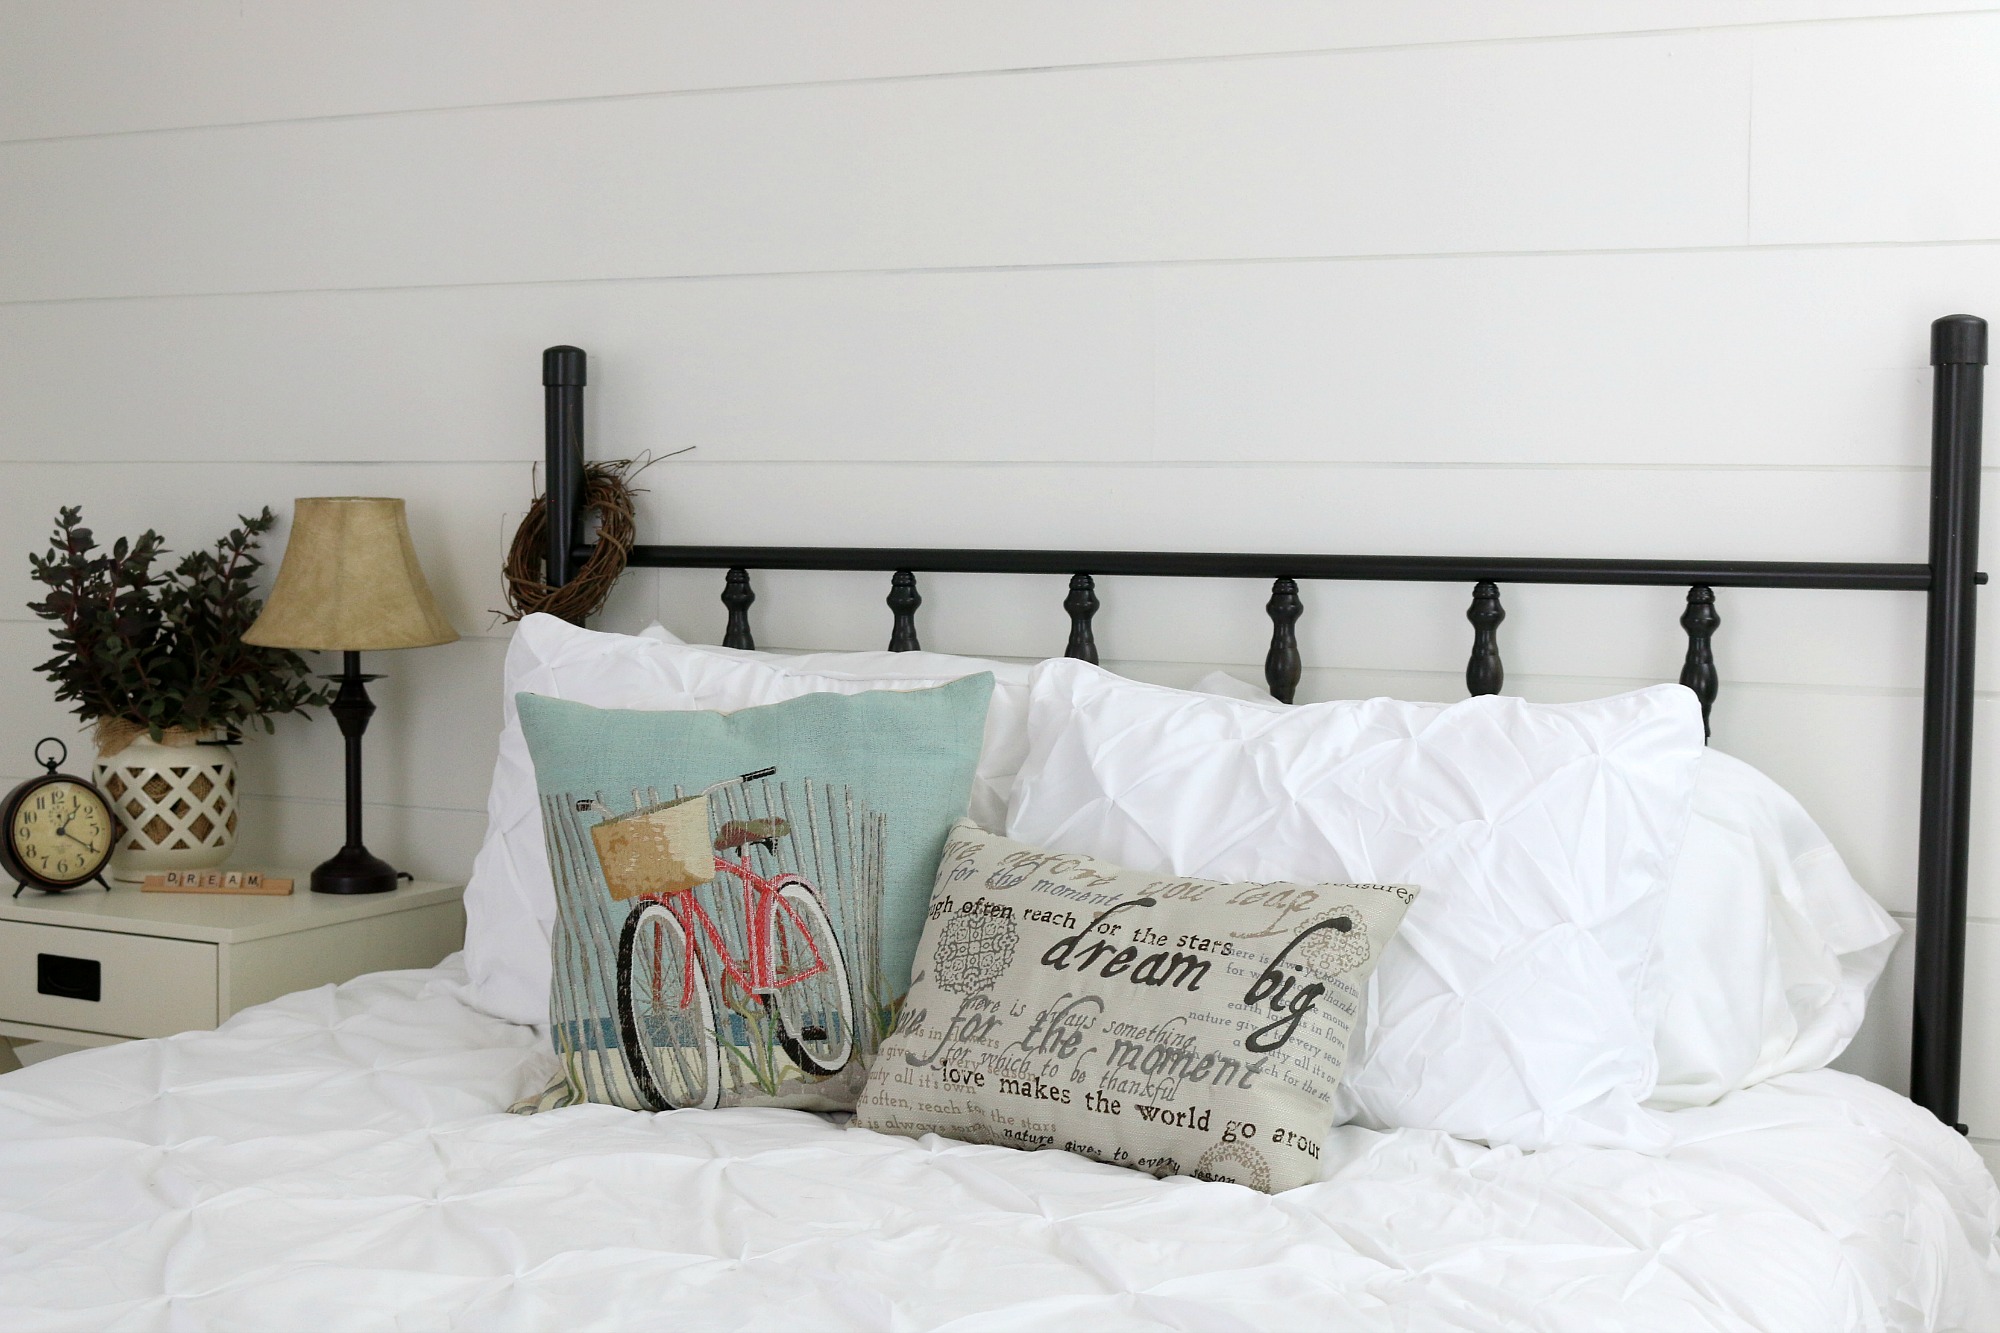
Are you in love with the show Fixer Upper? Do you love Shiplap Walls? Wish you could have one? Well, now you can! Follow these easy instructions and transform your own space for UNDER $40 with this DIY Shiplap Wall!
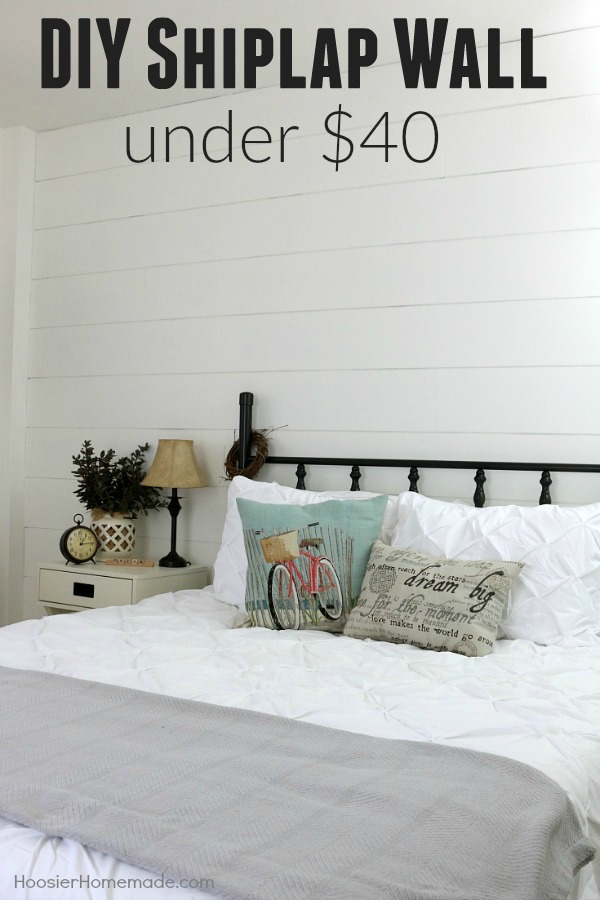
Get started NOW! Skip this post and grab your detailed plans for ONLY $2.88
Last week we shared our new Farmhouse Decor in the Bedroom, including the Shiplap Wall that we created for under $40. I was so excited to see that you all were just as excited about the new space as we are. We are planning to remodel the whole house, next up is our dining room, so stay tuned for that in July. And of course, we are also building the She Shed which will have Farmhouse Decor as well. I guess I just can’t get enough of this style of decorating.
Are you ready to create a special Shiplap Wall in your own space? Let’s get started —
We created a set of detailed plans for you! They include – photos with step-by-step instructions, supply list with prices and FAQ’s. Everything all in ONE place for you! Click on the photo below.
ONLY $2.88
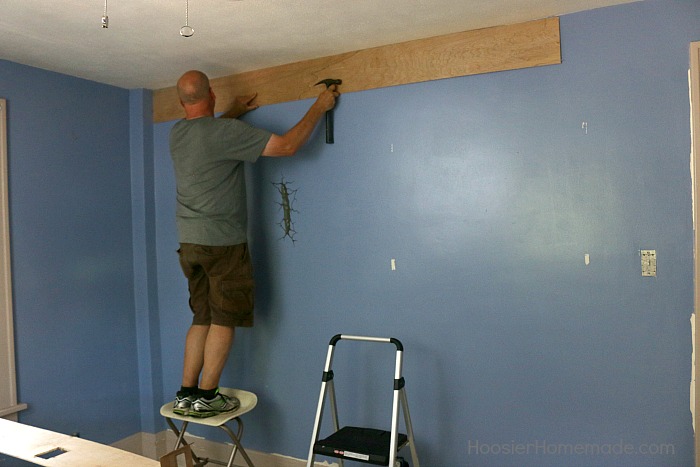
This is where we started. This bedroom was painted a bright blue with tan trim, and we were ready for a change. Even though we were painting the whole room white (including the shiplap), we did not paint the wall prior to hanging the wood. I’m glad we didn’t waste time and materials, because it turned out just fine.
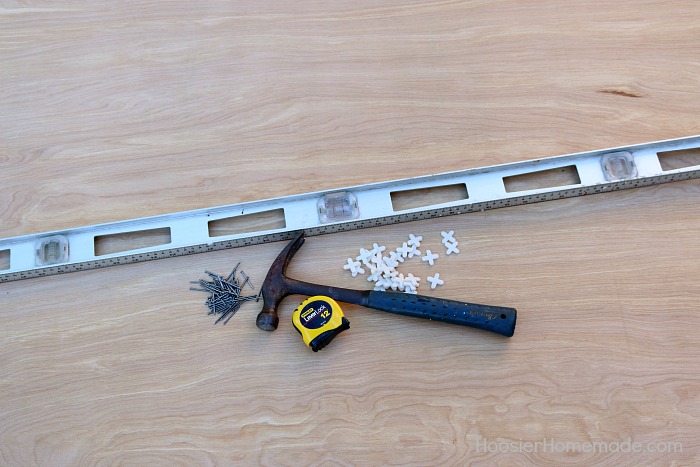
The first step is to gather all your materials and tools.
Shiplap Wall Supplies
- Wood – we used 1/4 inch Luan Plywood from The Home Depot (cost $11.97 each)
- Nails – 1+1/4 inch finishing or paneling nails
- Tile Spacers – 1/4 inch
Tools Needed
- Table Saw
- 4 foot Level
- Hammer
- Tape Measure
- Pencil
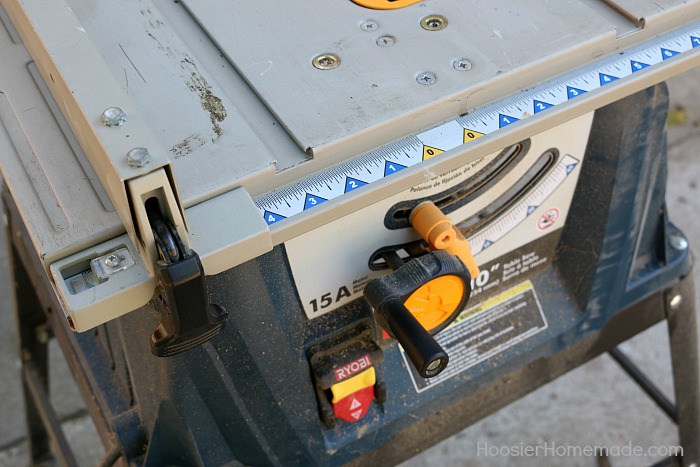
Step 1: Getting the Table Saw ready
Set the table saw to cut 8-inch width strips
Note – you can also have the wood cut at your local lumber store. The prices vary from store to store, but most are under $1 per cut.
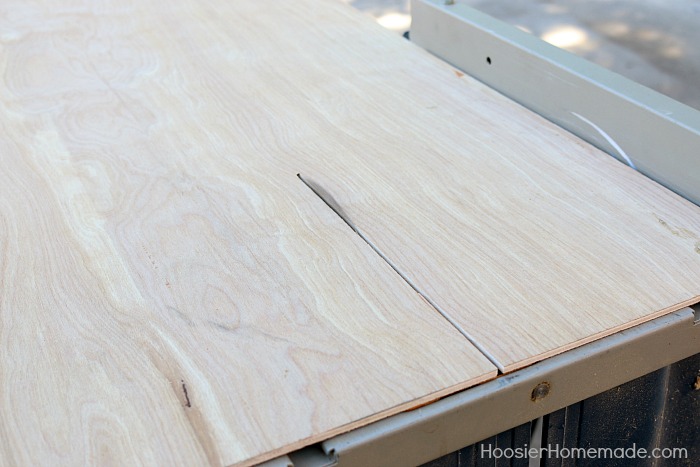
Step 2: Cutting the wood
To keep the cost down, we used Luan Plywood. We cut the plywood into 8 inch wide pieces. You can also use 6 or 10 inches if you like the look better. We found that the 8-inch width made the room appear a lot bigger.
The only thing we had trouble with while cutting was that the Luan Plywood was a little flimsy because it was thin. We learned we needed to have 2 people – one to do the cutting and one to stabilize the wood. I think next time, even though Doug has a saw, it might be worth the extra $1.50 (or so) per piece of wood to have it cut at the store.
To stagger the seams, we cut the plywood into different lengths – 8 feet, 6 feet, 4 feet and 2 feet.
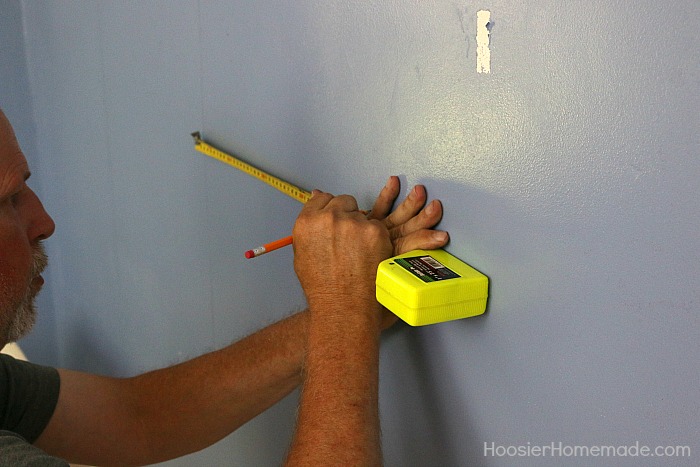
Step 3: Finding the Studs
The next step is to find and mark the studs. Our home is very old (1926). When we hammer into the wall, we often can hear the plaster falling down, so it was really important to find the studs. And because it’s so old, the new tools that are on the market to find studs in a wall have not worked for us. So Doug measured and marked all of the studs- our studs are approximately 18 inches apart.
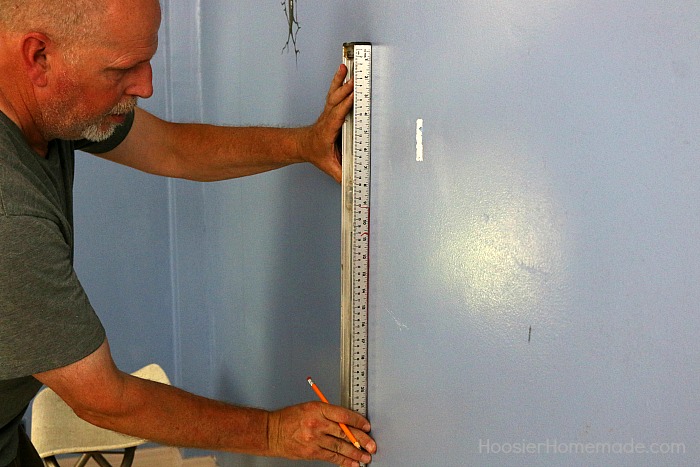
Step 4: Marking the Studs
After the studs are found, use your level to mark vertical lines on the wall where the studs are.
Step 5: Nailing the boards
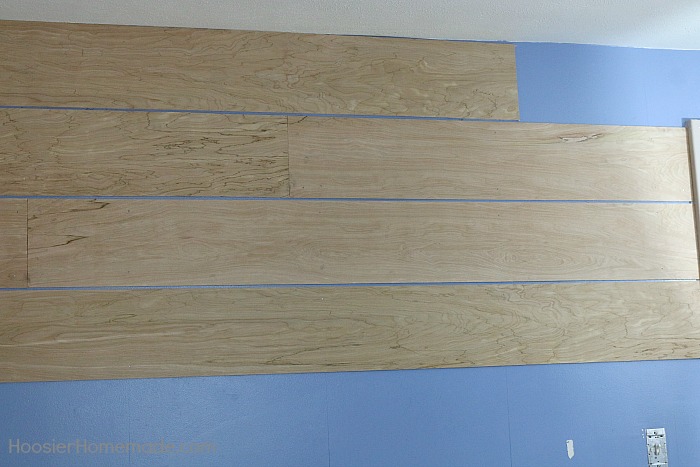
Now it’s time to add the boards. We started at the top, so there was a full piece of a board showing and staggered the seams. The bottom won’t show much because of the bed covering it.
Note – you can also glue the wood to the wall, we chose not to and have not had any issues. There were a couple spots that we needed to add an extra nail.
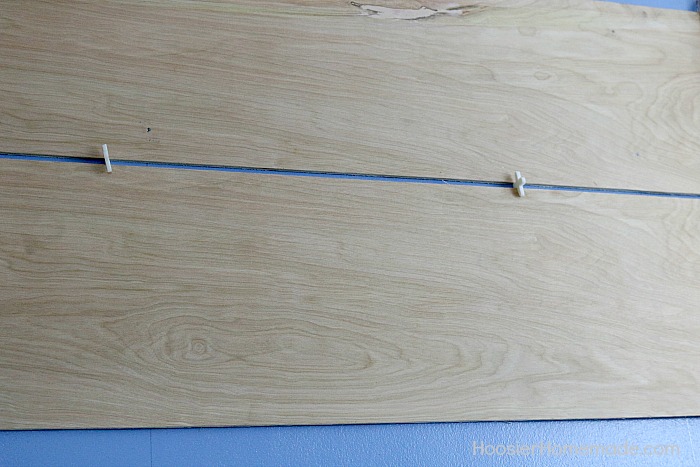
We used tile spacers to make the spacing in between the boards all the same.
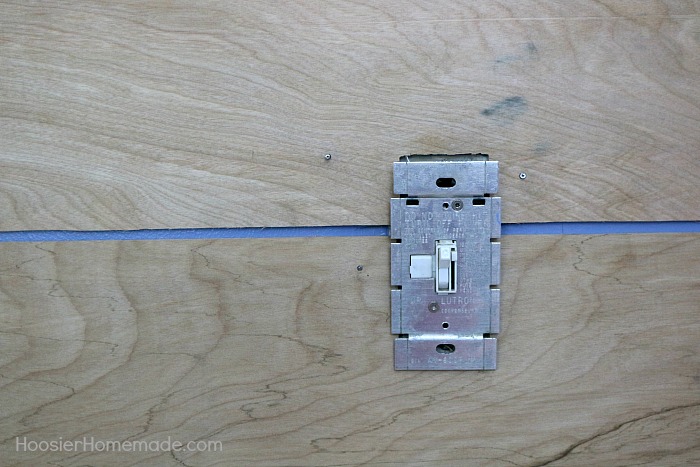
Step 6: Making cutouts for light switches
More than likely, you will have some type of cut out that will need to be done, like a light switch and electrical outlet. Depending on your wall, the outlet made need to be moved out a bit so that the outlet can set on top of the wood.
Step 7: Finishing the wall
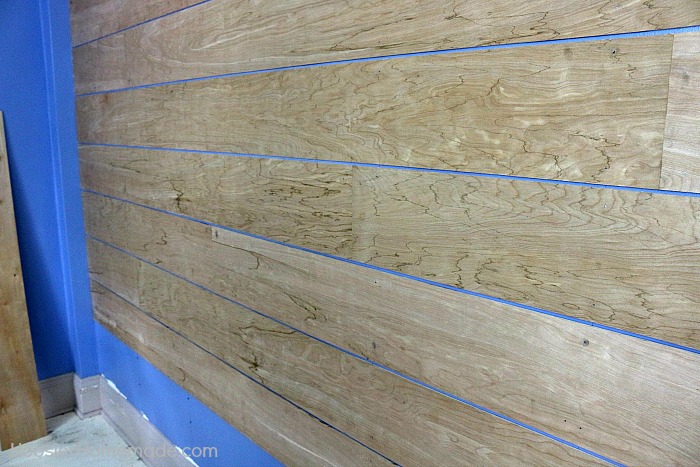
To finish the wall at the bottom, you will need to measure the space and cut the width and length of the boards accordingly.
We created a set of detailed plans for you! They include – photos with step-by-step instructions, supply list with prices and FAQ’s. Everything all in ONE place for you! Click on the photo below.
ONLY $2.88
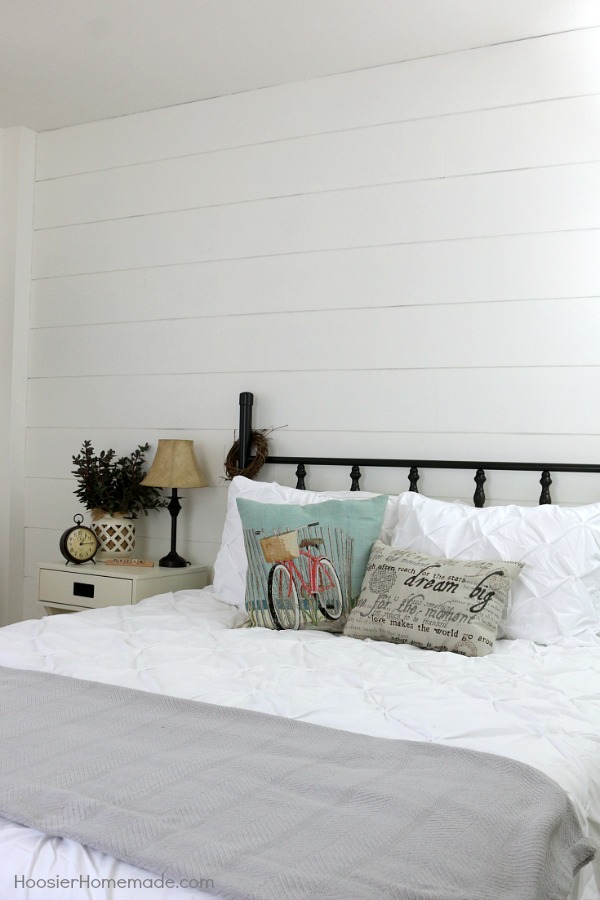
After the wall is complete, it’s time for paint. We used a primer on it first, then painted with an off white color. I’m absolutely thrilled with the way it turned out, and can’t wait to work on the other rooms in the house!
Shiplap Wall Final Cost
Luan Plywood – 3 sheets @11.97 = $35.91 (12 x 8 foot wall)
Nails – .50 cents – we used less than 1/4 of the box of nails which was $2.68
Spacers – only used a few that we already had – you can also make your own spacers with pieces of wood, coins or other items
Paint – $3.00 – 1 gallon of paint divided between the 4 walls
Note – these are the prices that we found here in the Midwest, prices will vary across the country


Can I do this over a studded wall so I don’t have to drywall, or us sometime different
Thank you
I would not recommend doing this over a bare studded wall. You will run the risk of the plywood warping.
Thank you for such a great idea! I’ve been wanting to do a ship lap wall for a long time and this was exactly was I was looking for. It cost me a little more ($90 total for 4 sheets of wood, spacers, nails, and paint). I decided to white wash the walls instead of painting it solid. It came out wonderfully. Thanks!!
So excited to hear that April! We would love to see photos if you would like to share!
-Liz