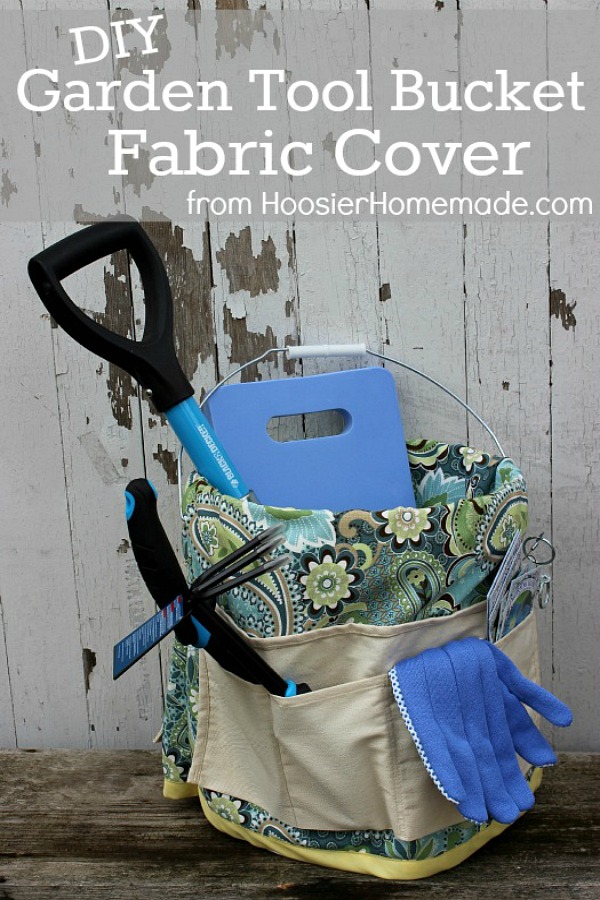
DIY Garden Tool Bucket Fabric Cover
The time has come that we have longed for all Winter…time to get outside and start gardening! One of the things that I often struggle with is having all my tools in one spot. I love to garden but I hate always hunting around for tools that I need, especially if I only have limited time to get some work done.
Years ago, Doug had a bucket cover with pockets for tools. Well that cover is long gone, so we decided to come up with a Garden Tool Bucket Fabric Cover of our own.
I have to be honest, I’m a pattern loving seamstress. I typically always use a pattern for anything I sew. This time around though…no pattern! But with help from Doug, we figured it out and came up with some pretty easy directions for you.
This Garden Tool Bucket would make a great Mother’s Day gift, a special birthday gift for the gardener in your life or even for yourself.
We have lots to cover so let’s gather our supplies and get busy…

Garden Tool Bucket Fabric Cover Supplies
- Bucket – any size will work, we used a 5 gallon bucket
- Fabric – a heavy weight outdoor fabric is best
- 2 Carpenter’s Nail Aprons
- 1 package double fold bias tape
Tools
- Grommet Kit – not pictured
- Sewing machine, pins and matching thread
- Scissors, Ruler, writing pen and Sharpie marker
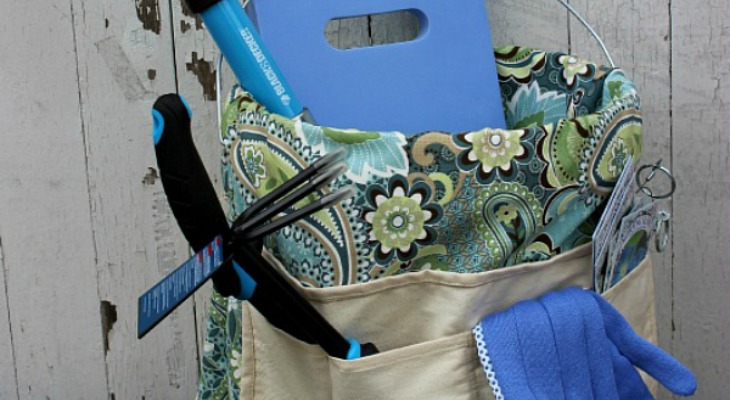
Gardening Supplies for Bucket – anything you like, we used…
- Pocket Saw
- Garden Tools – trough, culti-hoe and short handled shovel
- Garden gloves
- Knee pad
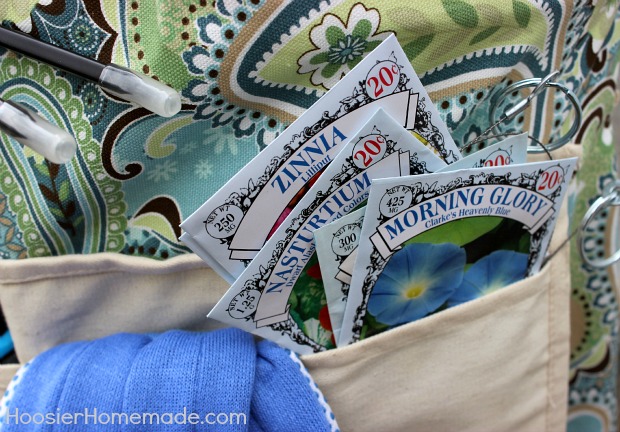
- Seeds
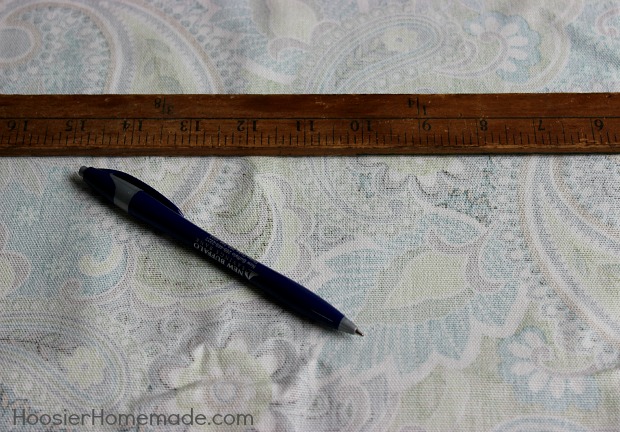
Step 1 – Measuring
- Measure your bucket and decided how much of the fabric you would like to have showing above and below the nail apron
- We used 13 inches

Step 2
- Then fold the fabric over to create the outside and inside of the bucket cover

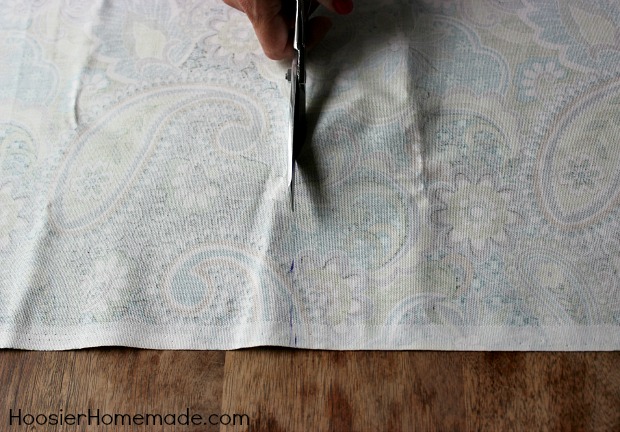
Step 3
- Cut along the edge
Step 4
- Measure around the bucket and add 1 inch for seam allowance
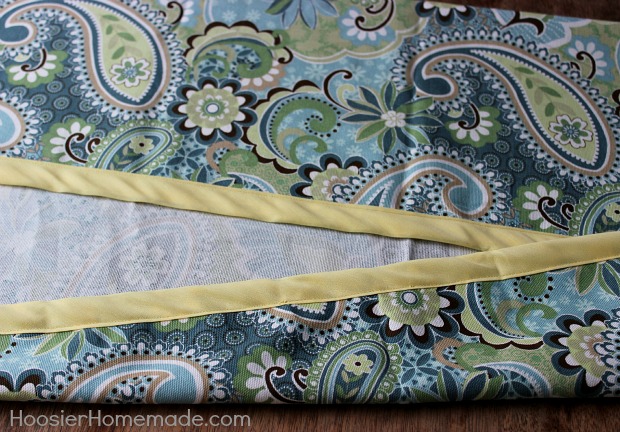
Step 5
- Sew on the double fold bias tape to the top and bottom
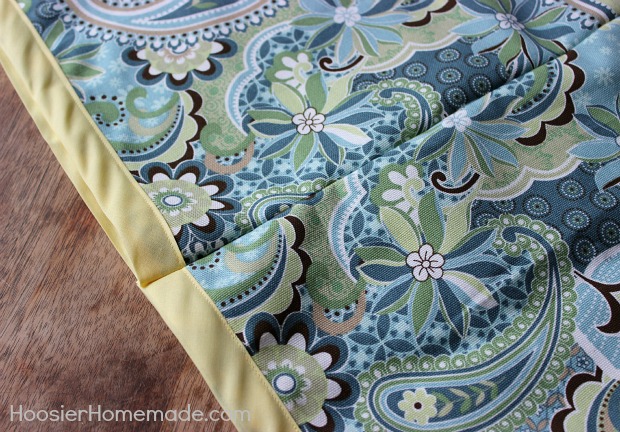
Step 6
- Sew together the 2 ends, creating a circle
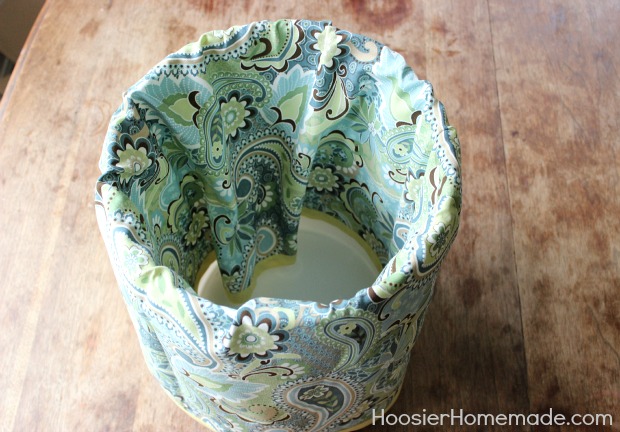
Step 7
- Place the cover in the bucket to see where to place the nail apron
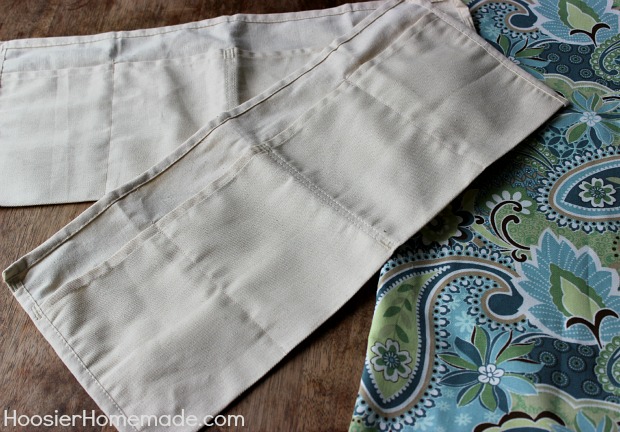
Step 8
- Cut off the ties on each end of the nail apron
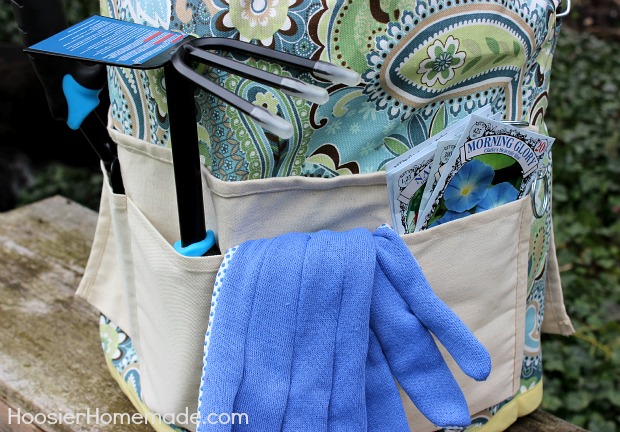
- Then create additional pockets by sewing a seam in the middle of the existing pockets
Step 9
- Then pin the apron onto the cover and sew across the top
- Be sure to back stitch to secure the ends

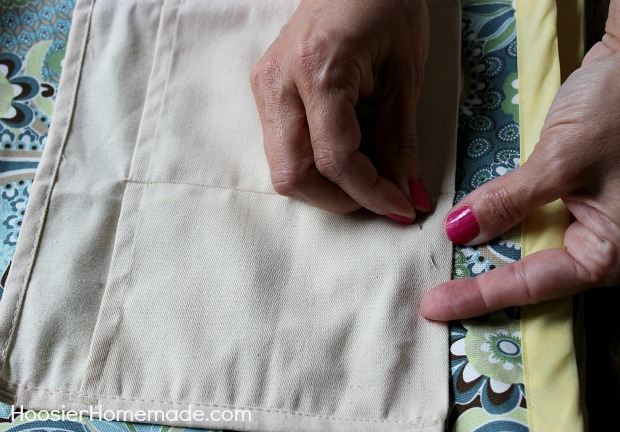
Next you will need to make the hole for the handle using the Grommet Tool Kit, it’s not difficult at all.
- Mark where you need the hole to be with a Sharpie or other marker
- Place the piece of wood that comes in the kit under the fabric and use the tool to create the hole
- Here is the hole
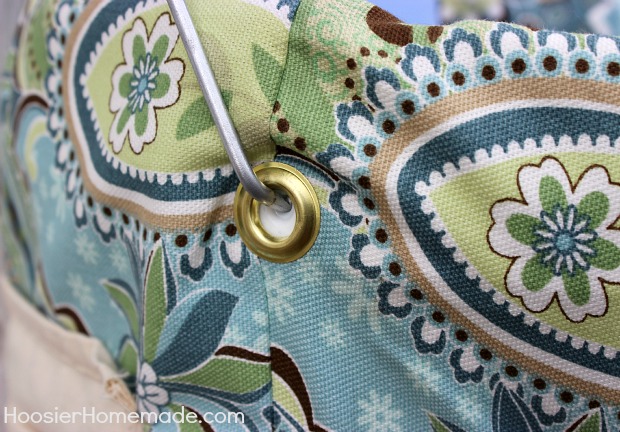
- Place the grommet under the fabric
- Add the washer
- Then use the punch to secure them together
Note: the grommet in the photo above is actually on the wrong side of the fabric {oops}, all of the directions are the same, we just put it on the wrong side of the fabric. The photo below shows the correct one.
Then replace the handle, through the hole.
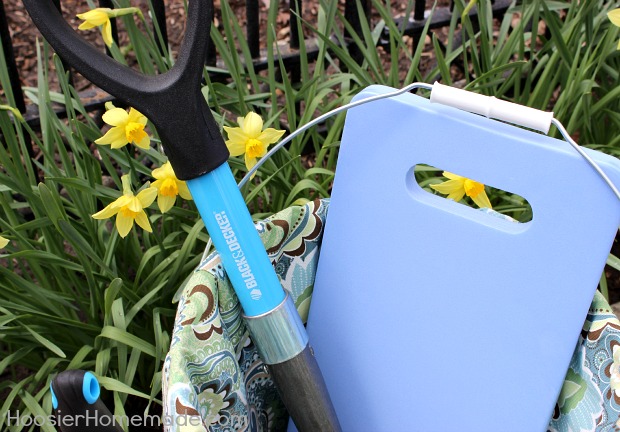
Now I’m ready for some nice weather to get my hands dirty!
How about you? Are you ready to start gardening?
I’m looking for the fabric you used for this bucket. Do you have source?
I want to use as summer bed spread.
I have pillow shams.
I believe I purchased it at Joann Fabric Store, unfortunately they are out of business now.
However, I can tell you that it’s “Kensington Home Collection”. I did a search and found a few on Fabric Warehouse, but nothing exact >> https://fabricwarehouse.com/paisley-design-fabrics/?srsltid=AfmBOoohiAEIpsXCiGdjADzzoPRSC8MXCPJ2AtJ9vxQdtbyUaiBU40kc
You might also try Etsy or Ebay.
Hope that helps! -Liz
very great idea. I am sure the fabric exchange has so many choices of fabric for this kind of project..
For those of us with brown thumbs, I would imagine this would work great for cleaning supplies, too.
What a cute bucket! I love it!
Love this! Really cute idea for gardening! =)
Thanks so much Melissa!