DIY Decorated Witches Hat

Sometimes a plain old Witch Hat just isn’t good enough! So with a little whimsy and a little style the Decorated Witches Hat came to life! I know you can do this, just grab a handful of pretties and jump right in. This is a great way to add your own attitude to either your decor or that killer costume you’ve been dreaming about, so let’s make sure the Witch is in.
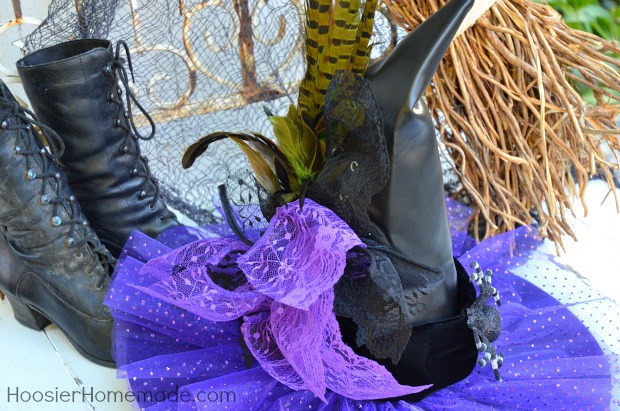
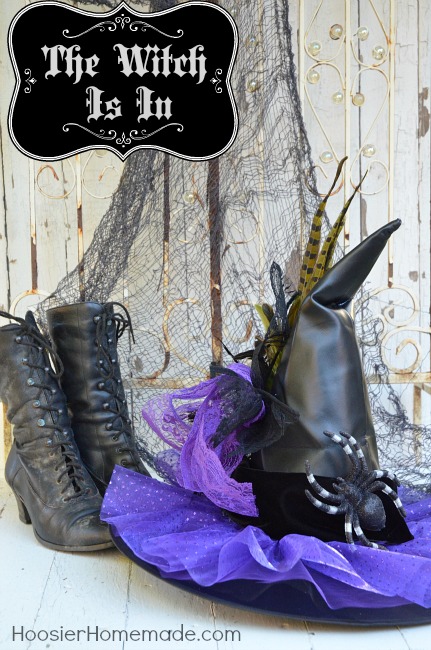
Any witch would love to wear this hat…don’t you think?
Let me show you how we decorated the Witches Hat...
Decorated Witches Hat Supplies:
- Witches Hat – we bought this one at Walmart
- Black velvet fabric
- Black and Purple Tulle Netting
- Purple patterned Tulle
- Black and Purple Lace Ribbon
- Feather
- Spider {not shown}
- Needle and thread
- Hot Glue Gun
Step 1:
- First we added the tulle netting, the black and then the purple. We laid the piece of netting over top the hat and cut a hole in the center, working our way down. Then trimmed around the brim of the hat
Step 2:
- With a needle and thread, run a basting stitch at the edge of the Tulle to gather it

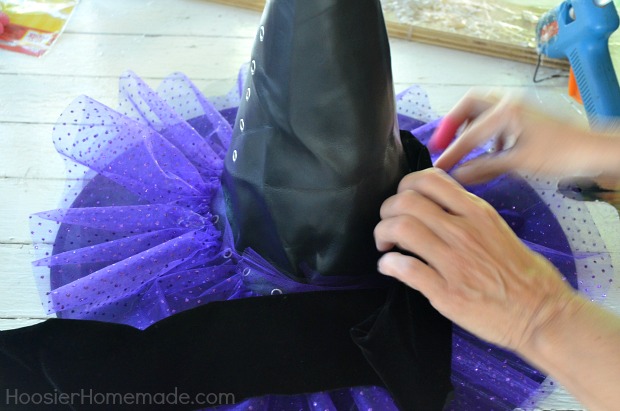
- Place the gathered tulle around the hat and glue it down in a few spots

- Glue the velvet fabric around the brim
Step 5:
- Now it’s time to add the feather by glueing it in
Step 6:
- Measure several pieces of the black and purple lace ribbon, lay them together alternating the colors.
- Glue it onto the Witches Hat
Step 7:
- And for the finishing touch, glue on the spider
Not too shabby for an Old Hag’s Hat don’t you think.
I think the feather totally makes the Witches Hat cool!
And the spider is pretty cool too!
Halloween Crafts, Decorating and Treats on HoosierHomemade.com
Linking to… Show & Tell Friday, Saturday Seven, Made by you Monday, Saturday Night Special


BUT. how do i attach the light
Hi Joanie, what light are you asking about?
I love it! Great job ~
xo
Pat
Really, you have made a very nice hat. The velvet fabric, which you added in the hat, is looking very beautiful.
I love what you did with the hat … and the boots just complete the whole look!