Budget Friendly Tips on Organizing your Home Office
Setting up a home office and getting it organized can take time and money. These Budget Friendly Tips on Organizing your Home Office will help.
Whether you run your own business from your home, like we do, or work outside the home, everyone can benefit from a home office. However, sometimes space is limited, so we have put together tips on organizing home office, and yes, it’s simple, easy and budget friendly.
Let me begin with a little back story. After I had been running our business for 3 years, we decided to take a leap of faith and Doug would quit his full time job as a landscape architect to join me on this journey. At the time, we weren’t really sure how it would all work out, but we knew it would be awesome. And it has been. However, figuring out a good space for him to work has been a bit of a struggle.
At first, he simply used his laptop while sitting on the couch. But that quickly became an issue. So then we tried working together in my office, but well, that didn’t work either. So then a friend gave us a desk, so we set up an office space in our bedroom and that worked pretty well for a year or so. We learned that using Skype to communicate quickly for questions and answers worked out well. But it got to the point that the office was taking over the bedroom, so we decided to move Doug’s work space to the Studio.
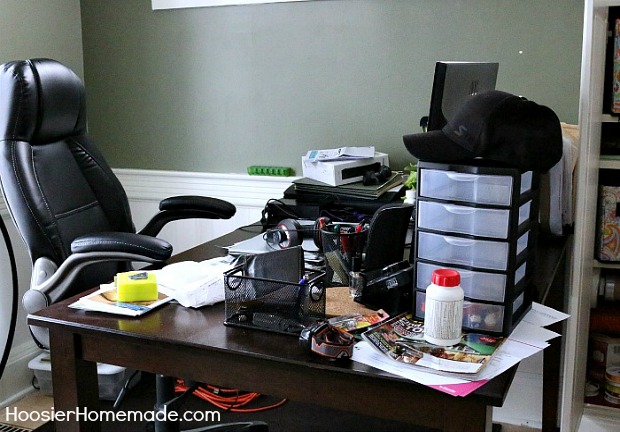
Last year we moved all of the Living Room furniture into the Dining Room and turned the Living Room into our Studio. It’s a perfect spot – except for the mess that was always in Doug’s work space. So we decided it was time to tackle the space and turn it into an organized home office. But we needed to keep it budget friendly.
This is where we began. The space was great, there just wasn’t any organization and no where really to put anything. Here are our favorite tips –
Tips on Organizing Home Office
- Keep it simple. Clear the area completely, then group the items that you need to add to the space.
- Establish centers or zones. Each activity (filing, typing, electronics, etc) should have a zone.
- Have a space for hardware and larger items. Position your equipment by frequency of use. If you use your printer every day, keep it accessible, if the scanner only gets used once a week, put it in a lower spot.
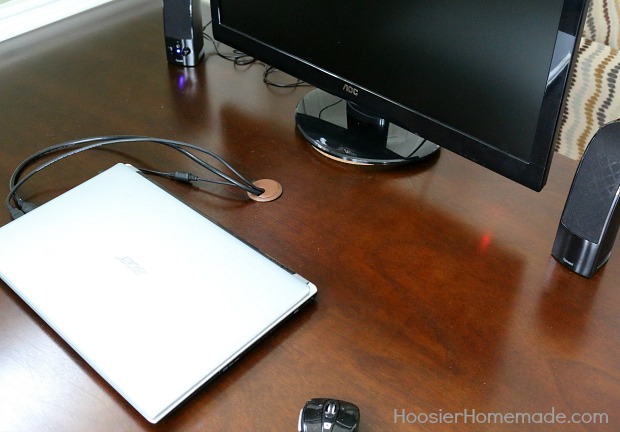
- Conceal cables and wires. You can read below how we installed a grommet to hold the cables. Mark cables with mailing labels and keep all cables together, for instance all the computer cables together, all electronic cables together and so on.
- Establish a system for papers. Ultimately touching the paper or receipt only 1 time is perfect.
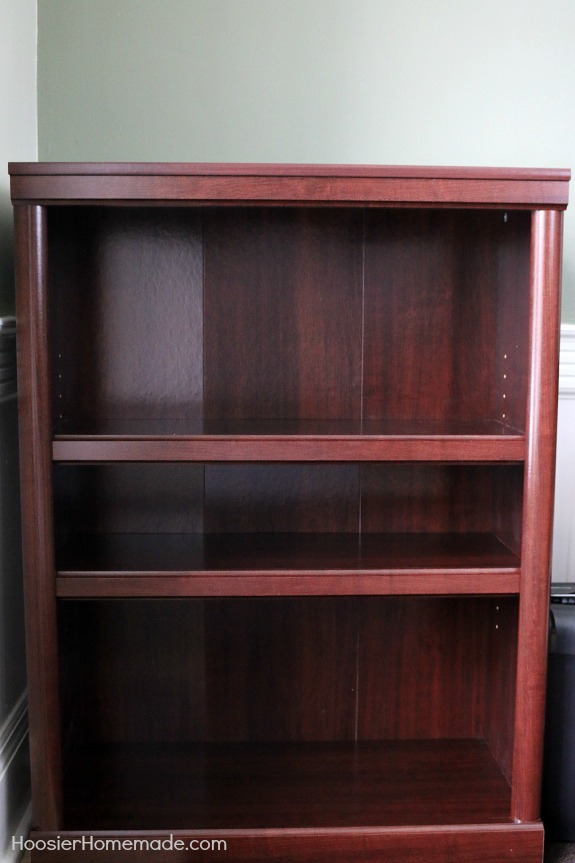
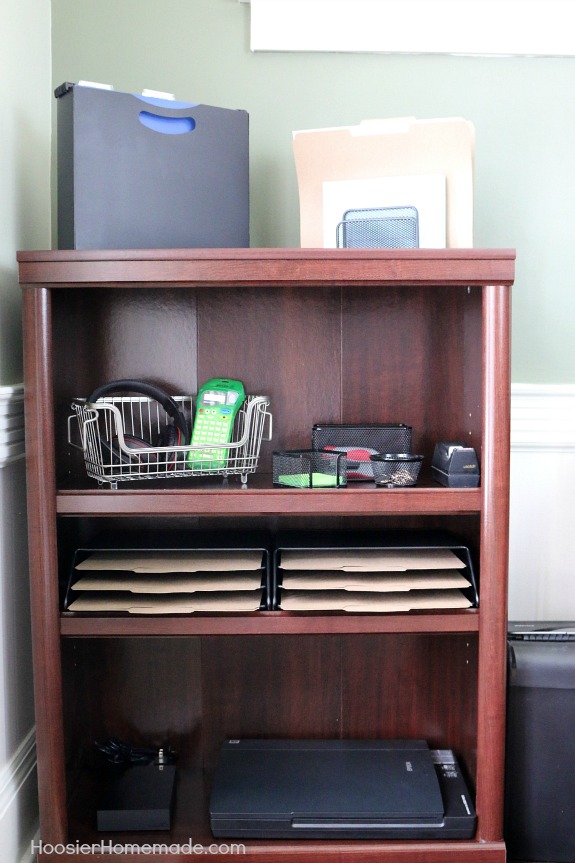
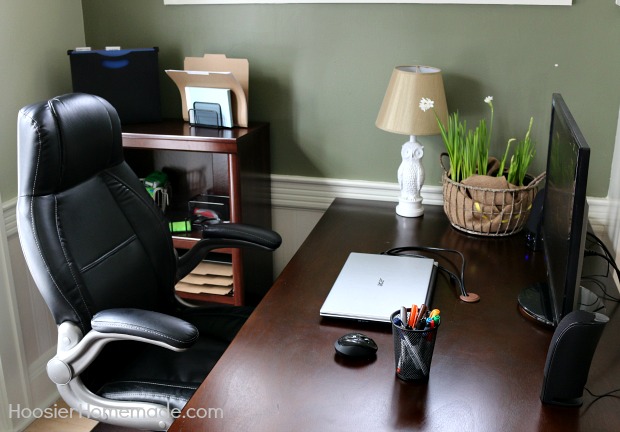
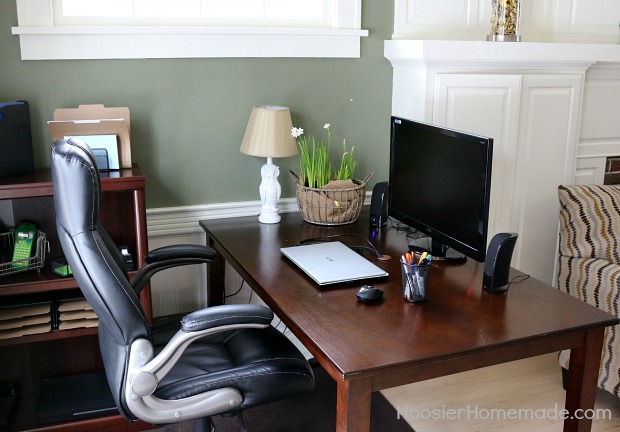
We had purchased the table last year when we organized the Studio (more on that later), but Doug needed a spot to keep files and all the equipment he uses. So we purchased this Better Homes and Gardens 3 shelf bookcase at Walmart. It has a cherry finish that goes great with the table.
Then we needed to find pieces that would fit on the shelves easily, but more importantly that would work well for what we needed to organize.
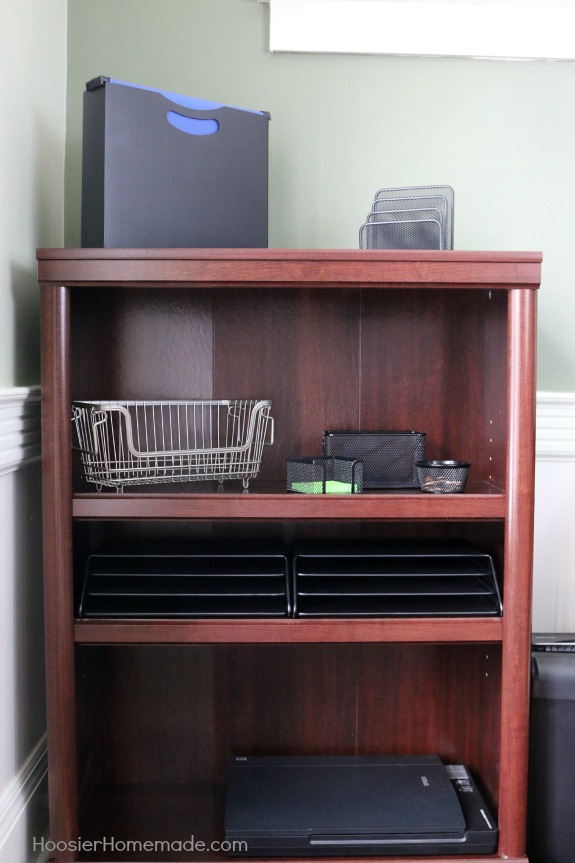
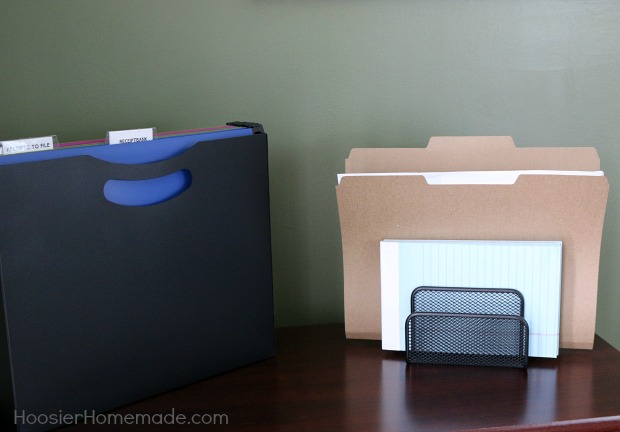
To hold the files that he needs everyday, we chose a standing hanging file box. And for more organizing a mini sorter.
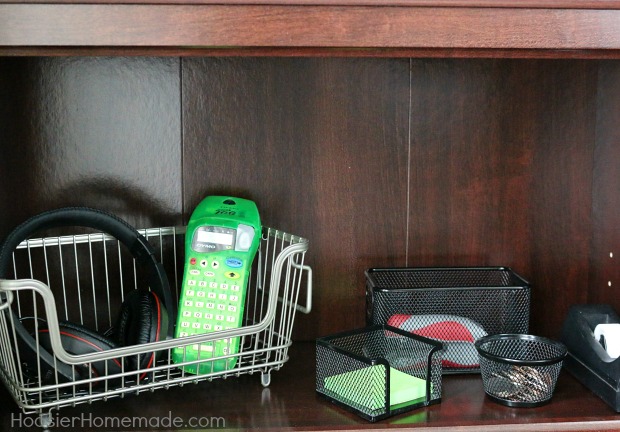
We already had the items on the right, the baskets and cube to hold sticky notes. We wanted some sort of basket and couldn’t find what we wanted in the office supply area, so we started searching around Walmart for something that might work. And in the bathroom area, there are lots of different baskets and organizing tools. We chose a small stackable wire basket with a satin nickel finish, it works perfectly to hold electronic items. They also have other sizes that we think we will add later.
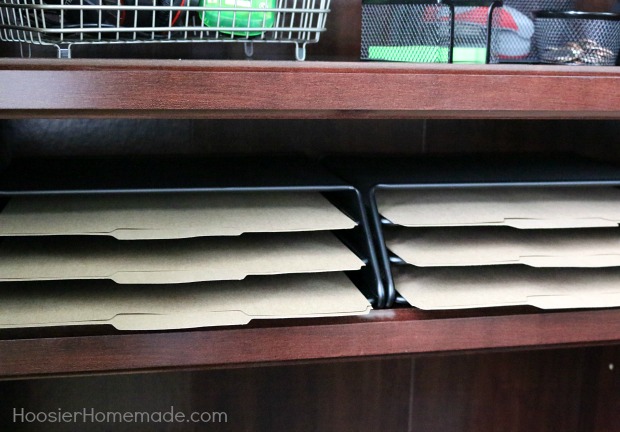
And the desk organizers for files were added to the shelf. The shelves are adjustable, so these worked perfectly.
Now all the files and other items are neat and organized. And for under $100, the shelves are done. Now to move onto the desk area.
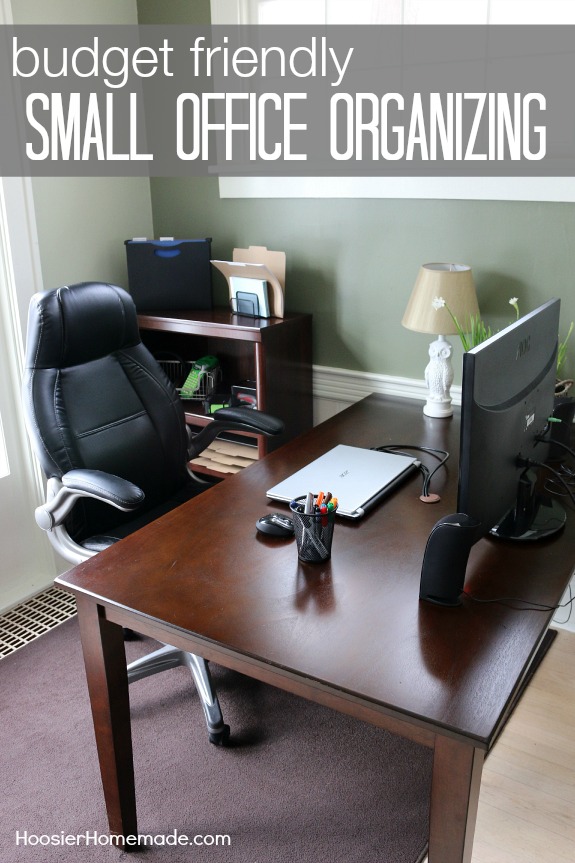
Because the table is not an actual desk, cords were a big issue. So Doug installed a 1 3/4 inch computer grommet. It was easier than what we expected, he drilled a hole using a hole saw (the diameter required for the size of grommet used) then spread clear silicone caulk around the inside of the hole in the table top and inserted the grommet and let it set up over night.
We bought the large monitor last year so we could use it while working on photography to see the photos instantly, it’s called tethering. Now the monitor not only works for our photography, but also works with Doug’s laptop.
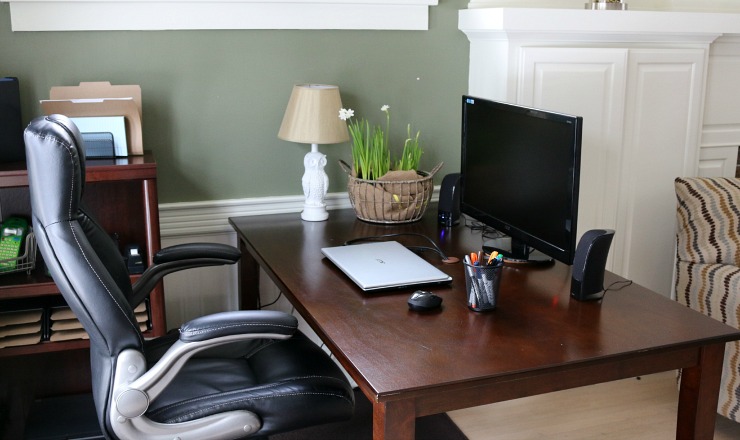
After it was all organized, I just had to add a little touch of decorating to it. The Owl Lamp that was in our Family Room found a new home. And the Paper Whites that are blooming at a little fresh green to the desk.
We anchored the space with a brown rug that we had in another room. The home office fits right in with the rest of the room, like it was always there.
Table – Better Homes and Gardens Dining Table – $109
Bookcase – Better Homes and Gardens 3-Shelf – $60
Rug – repurposed from another room
Organizing – Standing File System, Mini Sorter, Small Wire Basket – $27
Owl Lamp – repurposed from another room
