How to Clean, Prepare and Stain your Deck
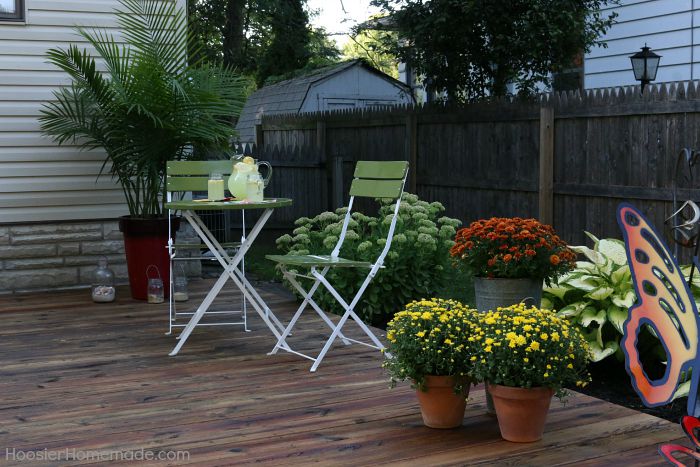
There’s no need to be afraid of staining your deck. Here are some tips along with easy to follow directions that will show you how to clean, prepare and stain your deck…like a PRO! We’ve even included a complete list of tools you will need to get the job done.
We recently had the opportunity to help our friend Jean. After she put her house on the market she realized that her deck was in need of a little update. It took some hard work, and a lot of sweat, but she was thrilled with the end result. I have to be honest though, Doug did most of the work. So I’m going to let him tell you how he cleaned, prepared and stained the deck.
Over the years one of the most difficult DIY projects I’ve had to tackle has been anything that requires staining wood. So to take on a large project like reviving an entire outdoor deck made me a little nervous. Add to the mix that I was doing this for a friend so I really wanted to do the best job possible. There are many decisions to make like – do I clean, repair or replace any or all parts of the deck and what products and equipment do I use.
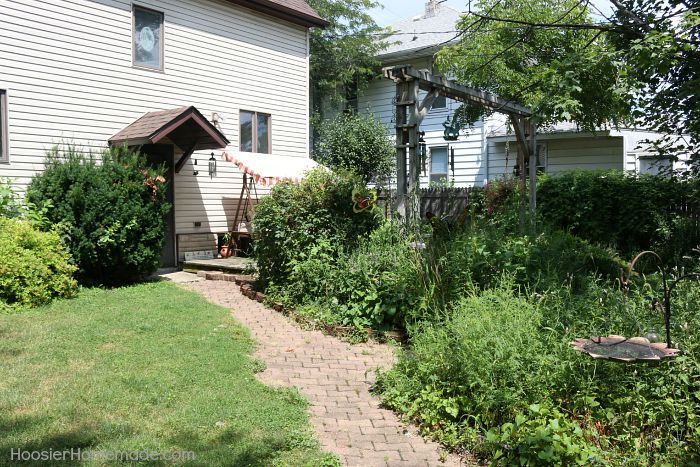
To show you how easy it is in a couple of weekends to take your treated wood deck from this…
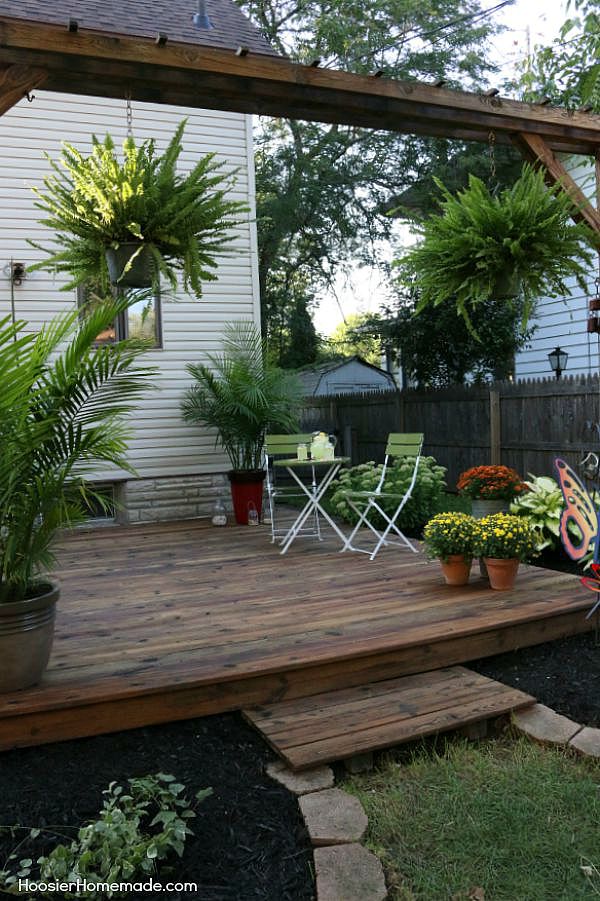
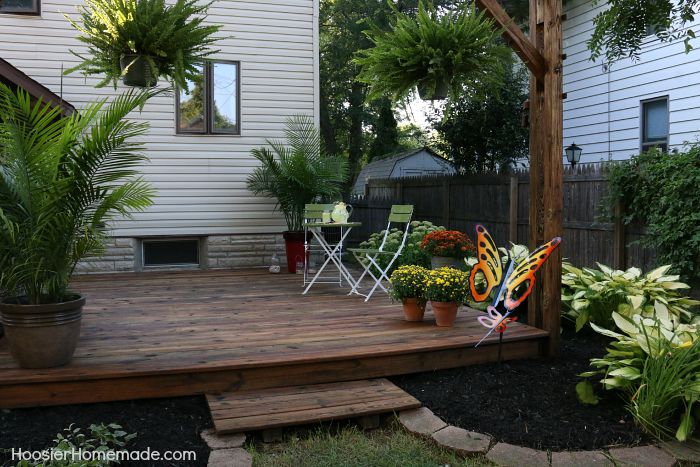
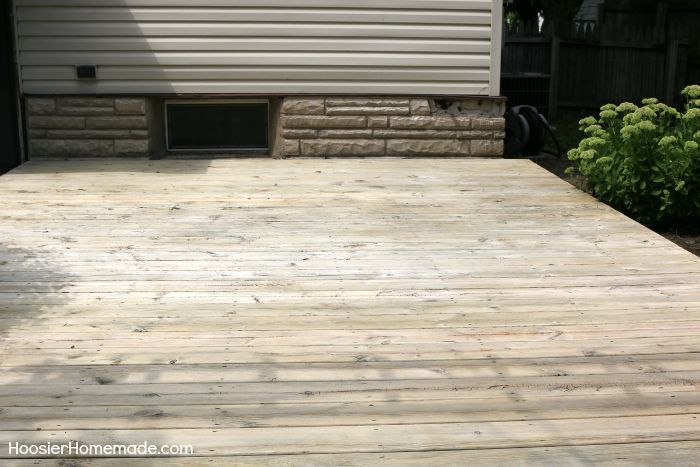
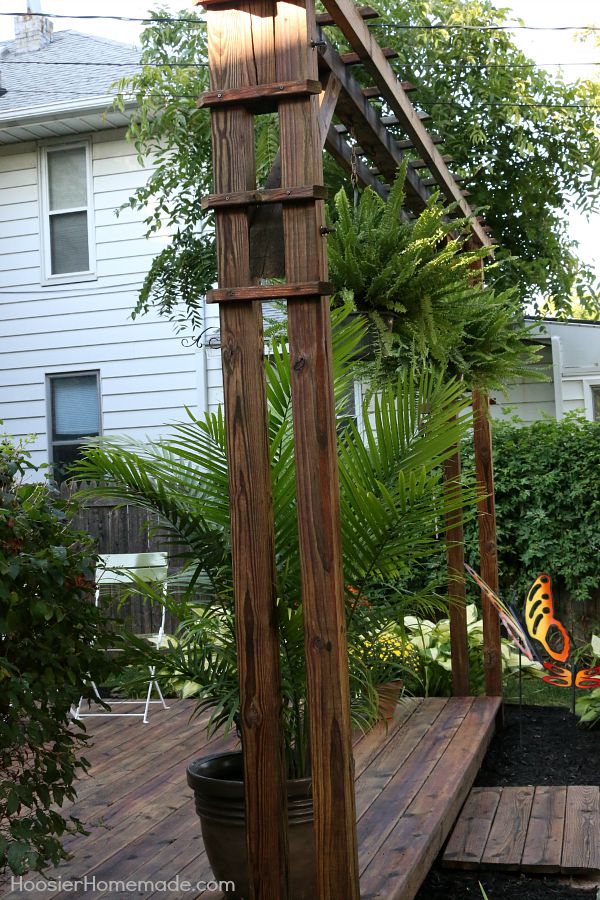
to…this.
I thought I’d share the entire process with you so you can get a better understanding of what it takes.
Let’s get started with deciding on what products to use. When it comes to outdoor maintenance projects, there is one name that always immediately comes to mind, Thompson’s® WaterSeal. For this project, we decided to give the new Thompson’s® WaterSeal® Penetrating Timber Oil, which is available at The Home Depot, a try. Its unique formulation nourishes and beautifies exterior wood, including hardwoods, with its triple blend of premium oils. The deep penetrating oils protect the wood from water damage, while the coating resists mildew and UV damage. Premium iron oxide pigments offer long-lasting beautiful colors that hold up to heavy foot traffic and minimize lap marks and color streaking.
How to Prepare a Deck for Stain
But first we need to prep the deck and surrounding area, and you know what that means – it’s time to clean.
Take this time to clean both the deck itself and the surrounding landscape. Trim plants far enough away to allow plenty of air movement, so the deck can dry out properly. This will make it so much easier to do a great job and achieve better results.
Once this is done you can move on to cleaning the deck. This is the hardest step so be prepared to sweat! Cleaning an old deck requires a combination of the right tools, the right cleaning products, and good old fashion elbow grease.
How to Clean a Deck
Here’s a list of what you will need to clean your deck…
- Garden hose with a spray nozzle
- Stiff bristle brush with a long handle
- One gallon pump sprayer
- Thompson’s® WaterSeal 3-in-1 Wood Cleaner
- Strong back and arms (elbow grease)
Some of you might have noticed an item that is not listed, which is commonly thought of when people talk about cleaning their decks; and that is a pressure washer. Let me explain why I don’t recommend using one of these on wood decks, especially one that is old and weathered. It is way too easy to damage the wood grain on older decks with a pressure washer. Even if it doesn’t look like any damage has been done you will still notice that the wood grain has been roughed up.
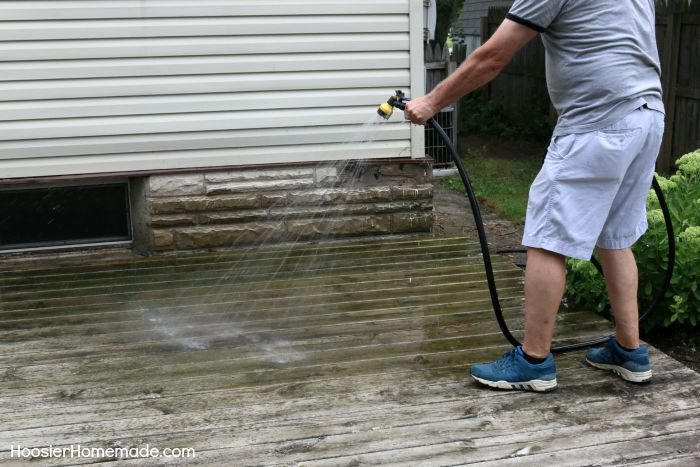
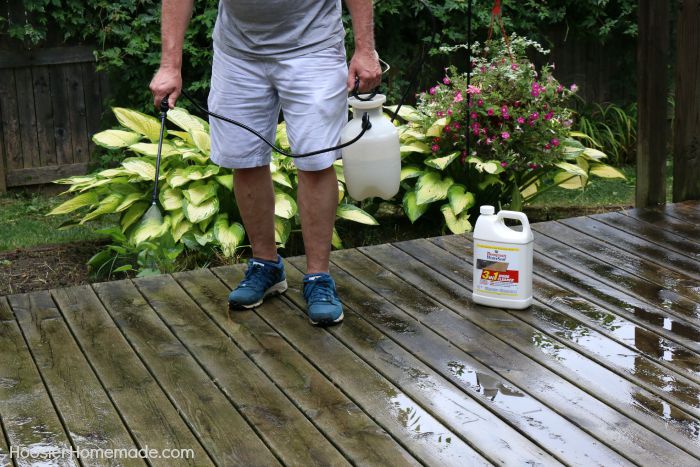
Now on to the directions that will help you clean your wood deck. First, if at all possible, plan to work on your deck when it’s not in direct sunlight. Start by wetting the wood and any plants next to the deck that you might accidentally spray with your garden hose.
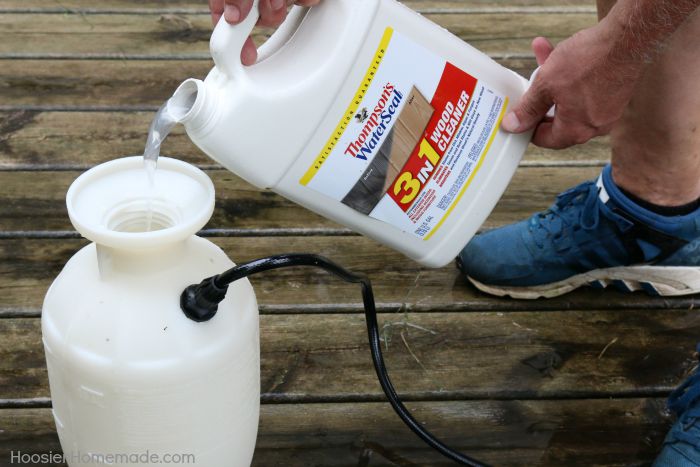
Now pour the Thompson’s® WaterSeal 3-in-1 Wood Cleaner undiluted into the pump sprayer and apply generously to a small section of your deck.
For reference, I sprayed four boards the entire length of the deck which was 20 feet wide. Allow the deck cleaner to soak in for 10 to 15 minutes. You may need to spray a little more cleaner on the boards to keep them wet.
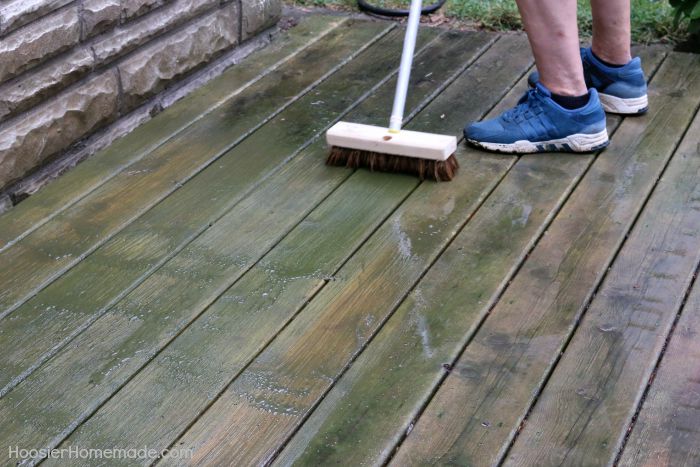
Then scrub the boards with the stiff bristle brush, rinse and move to the next section.
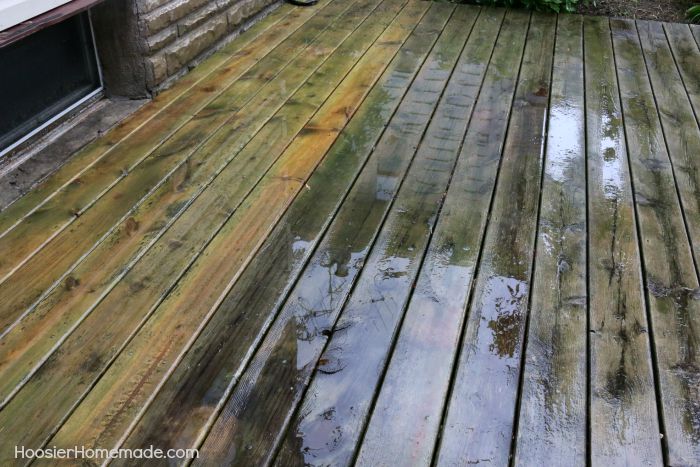
On really dirty and older decks you may need to repeat the cleaning process to remove the really stubborn dirt. You can see the difference on the first set of boards after cleaning.
After you finish cleaning. it’s time to wait. You need 2-3 rain-free days between cleaning and staining your deck. This is the perfect time to make repairs or conduct any minor maintenance of the deck. One of the most common things you might need to do is reset nails that are sticking up above the surface of the wood.
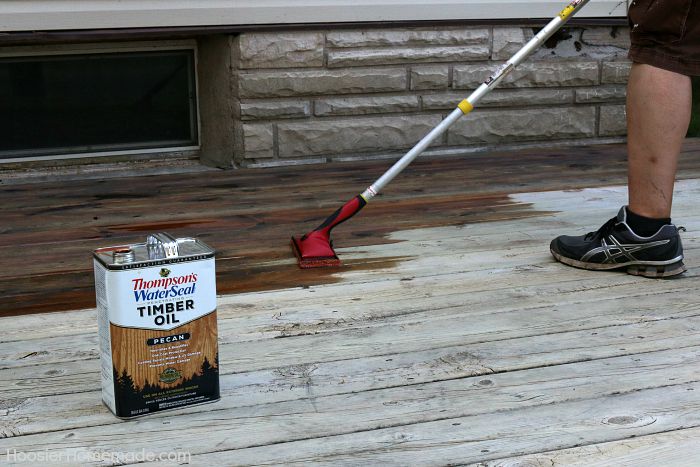
Also, now is the time to decide on the color you’d like to stain your deck if you haven’t already. We chose Thompson’s® WaterSeal Penetrating Timber Oil in Pecan for the red undertones. Now here’s an extra tip, you’ll need to take into account the color of the bare wood after it’s cleaned. For our project, the wood still had a light green undertone from the pressure treatment even after years of use. So the resulting color of the finished project was a darker brown than red. But that was what we were planning for. See, high school art classes do payoff.
After your deck has dried, it’s time to apply Thompson’s® WaterSeal® Penetrating Timber Oil.
Here’s a list of the supplies you will need to stain your deck…
- Thompson’s® WaterSeal® Penetrating Timber Oil in your chosen color (one gallon covers 150-350 square feet)
- 5-gallon bucket if staining a deck that requires more than one gallon of stain
- Paint tray
- Paint roller or deck applicator pad or airless sprayer for applying the stain
- Extension roller/ paint pad handle
- 2 1/2 inch high-quality paintbrush made to use with oil paints and stains
- Paint tarps or plastic sheeting
- Floor broom
Now that you have all the tools and supplies you can get staining.
How to Stain a Deck
Always read and follow the directions that come on the packaging.
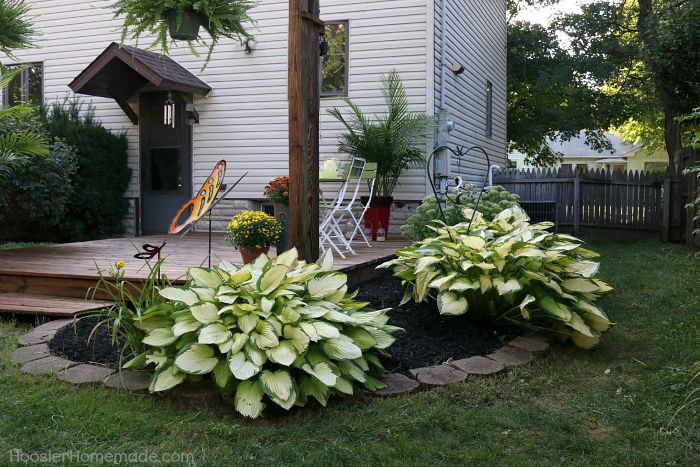
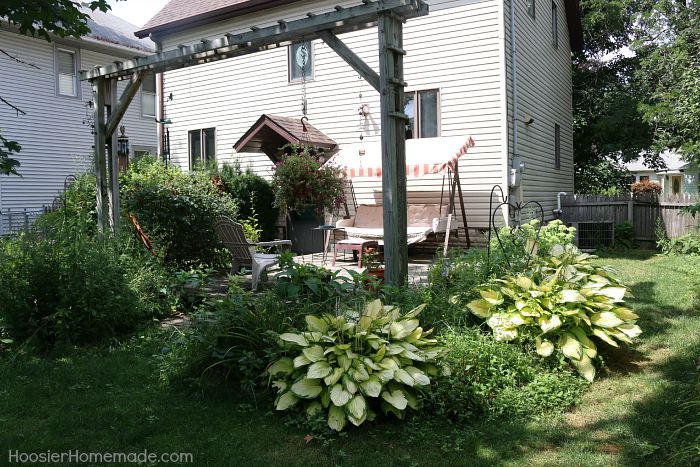
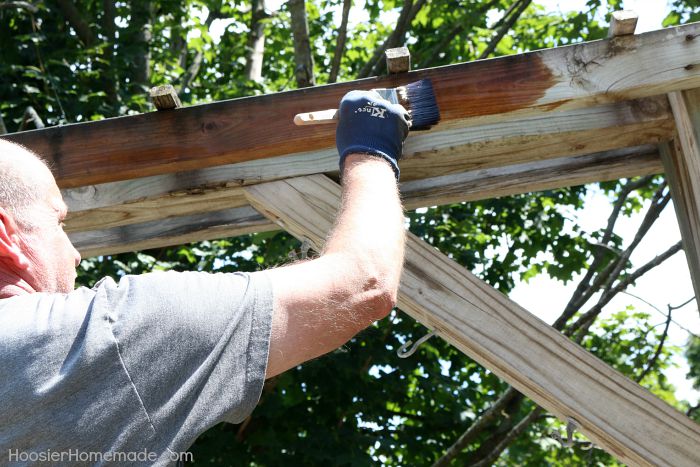
Start by placing a tarp over any adjoining areas that you don’t want any stain to possibly drip on. For us, we had an arbor that went over the deck. This needed to be stained before moving onto staining the deck surface. You will want to protect any concrete, brick or stone surfaces that adjoin your deck.
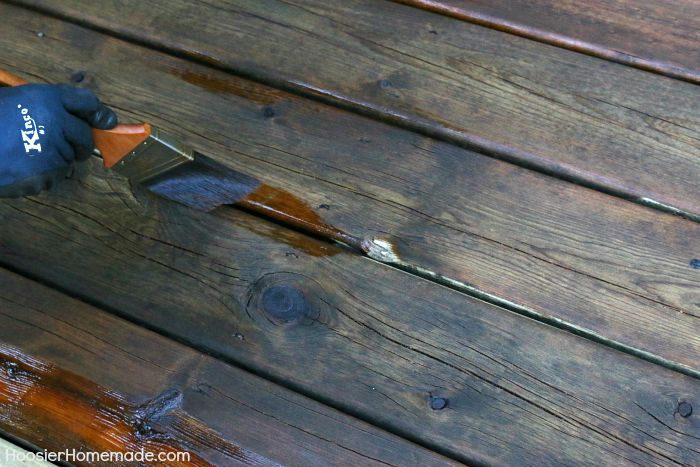
Then it’s a simple process of applying the stain. If you are using more than one gallon of stain you’ll want to combine all the individual containers into the 5-gallon bucket. This will ensure there is no variation in color throughout your deck. As you’re staining, tackle the deck in sections that are only as large as what you can apply with the paint pad and touch up in between the boards with the paint brush rather quickly.
I tried three to four board width sections at a time, which worked great for our project. You’ll need to move rather quickly depending on how hot the temperature is outside, whether your deck is in the shade or sun and how fast the wood is soaking up the stain. Basically, you don’t want to stain large areas at a time because the stain may dry before fully penetrating the wood, resulting in lap marks.
Once you’ve finished staining your deck, allow it to dry for 8 hours before allowing light foot traffic and 24 hours before placing furniture or other heavy items back on.
Only one coat is recommended, but we applied a second coat to this deck to even out some color variations caused by weathering.
I hope this helps you tackle any fears you may have about staining your own deck. It’s a great feeling to do-it-yourself and helps save money to put towards another project.
Be sure to follow us on Pinterest, Facebook, Twitter and Instagram for updates and project ideas for your home!
Hey Liz! Awesome post and I appreciate your hard work. Thanks for sharing the wonderful article with us about How to Clean, Prepare and Stain your Deck.
WHAT IF YOU CAN NOT GET ALL THE OLD STAIN UP FROM THE DECK BEFORE PUTTING DOWN NEW DECK STAIN?
You will never get all the stain up from wood. Is the deck painted or is the previous stain a solid stain? Either one of these will make it near impossible to do anything but repaint or restain with the same color or tint. Otherwise use a shade darker tint of stain to restain.