DIY Mobile Laundry Station
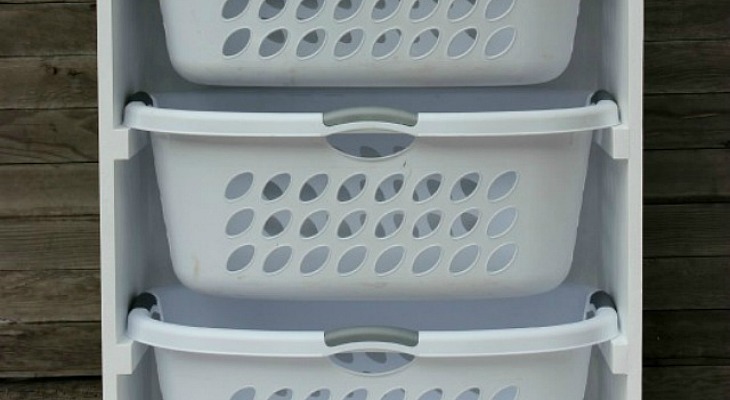
Laundry – the never ending task! Seems like no matter how many times we try to get caught up, the pile of laundry just keeps multiplying! What if you had an area that would keep all your laundry and the supplies organized? And even if you had laundry, there would be a spot to keep it all.
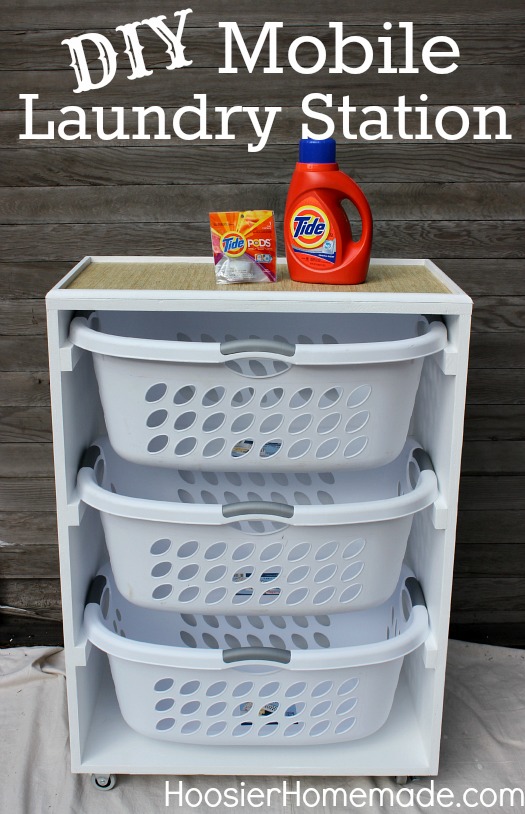
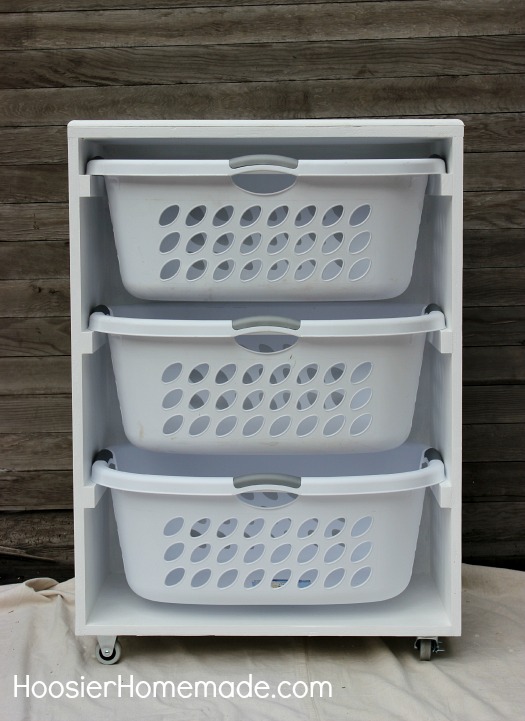
This Mobile Laundry Station keeps your laundry separated, so when you have time, you can tackle the pile that never seems to go away.
Isn’t she a beauty? Doug did a fantastic job on it. But it’s actually not for me – I will have to confess, I don’t do the laundry in our house. Yes, I’m very lucky to have my hubby do our laundry.
We took the rolling laundry butler a step further and created an organizing station that holds laundry baskets and a place on top to hold soap, stain remover and dryer sheets and created a Mobile Laundry Station.
We have lots to show you how to build this Mobile Laundry Station – so let’s get busy…
First let’s gather our supplies –
Mobile Laundry Station Supply List
- 4 x 8 foot sheet – 3/4 inch plywood
- 2 – 6 foot 1 x 2 inch pine boards
- 4 x 4 foot sheet – 1/4 inch plywood
- 8 foot – 1/2 inch x 3/4 inch shoe molding
- 2 – 2 inch medium duty swivel casters with brake
- 2 – 2 inch medium duty rigid casters
- Deck screws – 8 gauge by 1 1/4 inch
- Wood screws – 8 gauge by 3/4 inch
- Wood Glue
- Primer
- Paint
- Shelf Liner
Cut List
The measurements will depend greatly on the size of your laundry basket. We used 1.25 bushel Sterilite brand. It’s best to have the employees at The Home Depot cut the 3/4 inch plywood into 15 1/2 inch width pieces for you.
For the box – 3/4 inch plywood
- 1 – 15 1/2 inch x 26 inch (bottom)
- 1 – 15 1/2 inch x 27 1/2 inch (top)
- 2 – 15 1/2 inch x 36 inch (sides)
For the back – 1/4 inch plywood
- 27 3/8 inch x 35 3/4 inch
For the rails – 1×2 inch pine boards – the rails will be attached to each side once the box is built, at 10 inches from the bottom, then 21 inches from the bottom and 32 inches from the bottom measured at the top of the rails. Spacing will depend on the size of your laundry basket.
- 6 – 15 1/2 inch long
For the top – Shoe Molding (ends cut at 45 degree angles)
- 2 – 27 1/2 inch pieces
- 2 – 15 1/2 inch pieces
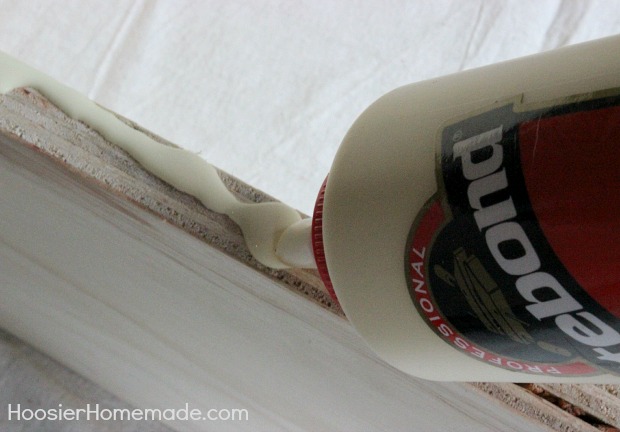
The construction is a simple box, attach the sides to the ends of the 26 inch wide bottom piece then cap the sides with the 27.5 inch wide top piece. The finished inside measurement should be 26 inchs.And finish with 1×2 inch pieces of wood to hold the laundry baskets. After cutting the pieces of wood, it’s best to apply wood glue to the joints before screwing them together.
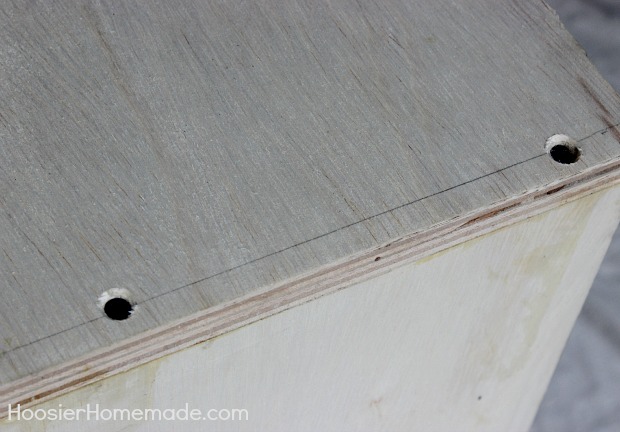
Pre-drill the screw holes with a small drill bit and countersink the holes for a clean finish. After glue is set and prior to painting, cover the screw heads with wood putty.
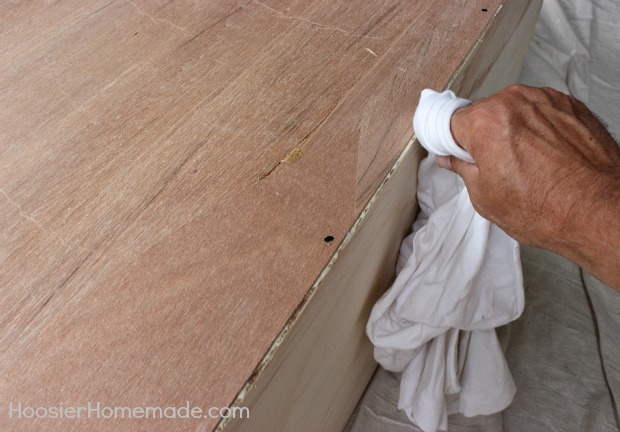
After you have built the sides of the box and attached the back, make sure to clean up any wood glue that has squeezed out of the joints with a clean wet rag.
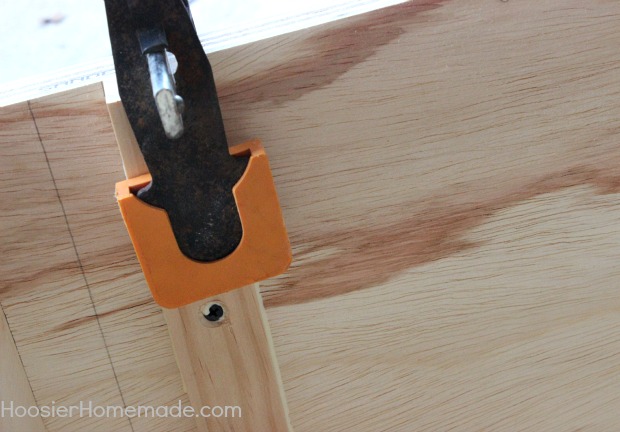
Now it’s time to build the rails that will hold the laundry baskets. Attach the rails to the inside of the box, use the supply list as a guide for spacing the rails. Use a clamp to help hold the rails in place while you glue and screw them to the side. Leave the clamps on until the glue has dried.
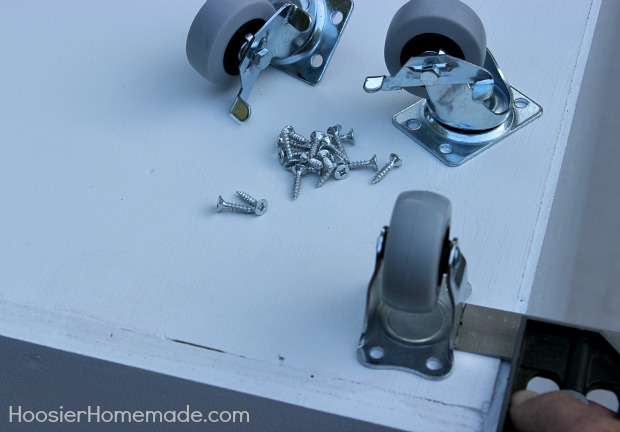
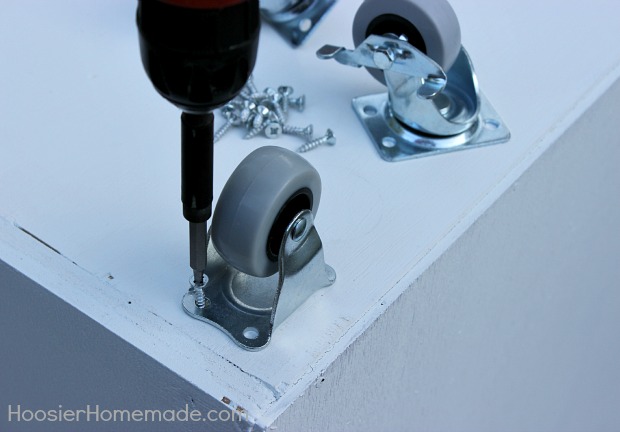
After the laundry station has been primed and painted, you can add wheels to the bottom if you like. Space the wheels 1 inch in from the corners.
And attach them with the 3/4 inch wood screws.
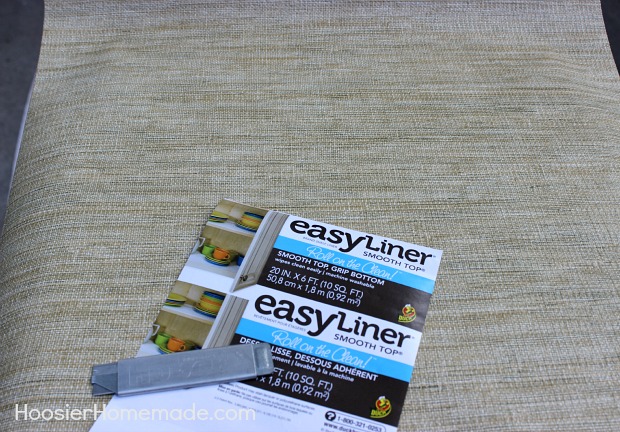
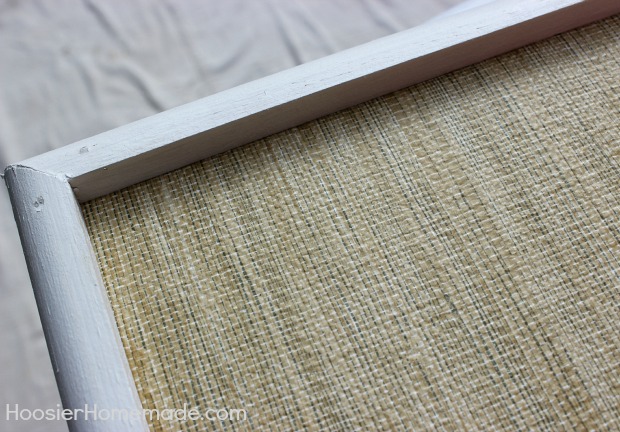
To make clean up easy, we added shelf liner to the top. This Duck Brand easy liner is sold in a roll and can be cut to fit the top. Secure with staples around the outer edge.
To finish the top, attach wood trim around the edge with finishing nails. This trim can also be glued, but we chose to nail it so it could be removed if the liner needed to be replaced.
Time to tackle Mount Washmore!
Hi Liz,
Great idea! I know you mentioned your husband doesn’t sell them but might if someone lived nearby. I saw you live in Indiana, we live right outside of Cincinnati. What part of Indiana do you live? Thanks!
Hi Lindsey, we live about 5 hours from Cincy, in NW Indiana.
~Liz
Oh ok! I think that may be a little too far. 😉 It was worth shot. 😉 Thanks for letting me know, and for sharing a great idea! Have a Merry Christmas!
If we get down that way I’ll let you know Lindsey.
Thanks!
Just super! Love this a lot
So glad you like it, thanks for stopping by Joy!
~Liz
I love this idea and have been wanting to make a couple for our laundry. One comment was to use it for a toy station. With mounted wheels, it can be turned around to hide the baskets. A chalk board can be painted on the back board and peg boards hung on the sides for chalk and eraser bins, hooks and trays for storage. The height of the cart could be adjusted for the height of the child.
Great idea! You could also glue a lego plate on top and store legos in laundry baskets. So many uses for this!
I love that idea Mirka! Thanks for stopping by!
~Liz
Hello,
why is the bottom one 27 inches and the to 26 ? Thanks!
Victor, the difference in lengths makes it both easier and sturdier to assemble.
where do u live I am from PA would like to buy one
We live in Indiana. Sorry we don’t sell the laundry stations.
Hi, maybe that’s why my husband is so creative! He also is from IN, though we currently reside in TN! Thanks for posting! I think I’ll have him add a hanging rack on the side or top so I can straight away hang things. Thanks!
That’s a great idea Mary! And yes, Indiana people are creative…ha, just kidding! We love Tennessee too!
~Liz
What a great idea! Might need to see if the hubby can conjure up something like that for me!
I love this! What are the dimensions of the laundry basket?
Hi Jennie Kay, the laundry baskets we used are 1.25 bu from Sterlite. Any size will do, you just will need to adjust your building measurements.
Thanks for stopping by!
~Liz
Genius idea! Love it two plus…
Is this from Ana White’s plan? I like the addition of the molding and wheels.
Hi Amanda, no my husband came up with the plan. Ana White has great stuff though, she may have something similar.
I plan to build a few of these -not just for laundry, but also for the toys! It is so easy for bulky toys to be put away as well as others to be seen!! GREAT IDEA!!!
That is a great idea!! Even for crafts!!! Guess ill be building more than 1. Lol
Yes Darleen, it’s definitely great for crafts and lots of other things around the house.
~Liz
This is a terrific project! About how much does it cost to make one?
Hi Jennifer, Depending on what grade of plywood you choose to use the cost can range from $40 to $60 per laundry station.
Someone in our family could really use one of these. I will give them this web page. Great going Doug. Sure wish my hubby would have done laundry. I love this younger generation.
how far are you from muncie? lol.. what would he charge?
I love this! Esp since my laundry room is so tiny. Bought a house and they had a stackable washer and dryer, and I just didn’t like them. Seemed smaller than mine. So I sold them and moved mine in, and the room is tight, hence their stackables probably. This would be perfect!! I wish I lived closer, I would be right in line behind Patricia!!
I love this! Does he sell them?
Thanks Patricia, no he does not sell the laundry station. But if you lived close he might be able to. Shipping would not work though.
~Liz
I would love this but I have a townhouse and wheels or no wheels not gonna work. Although my laundry room needs a make over even painted I live here 20 years never had a make over.