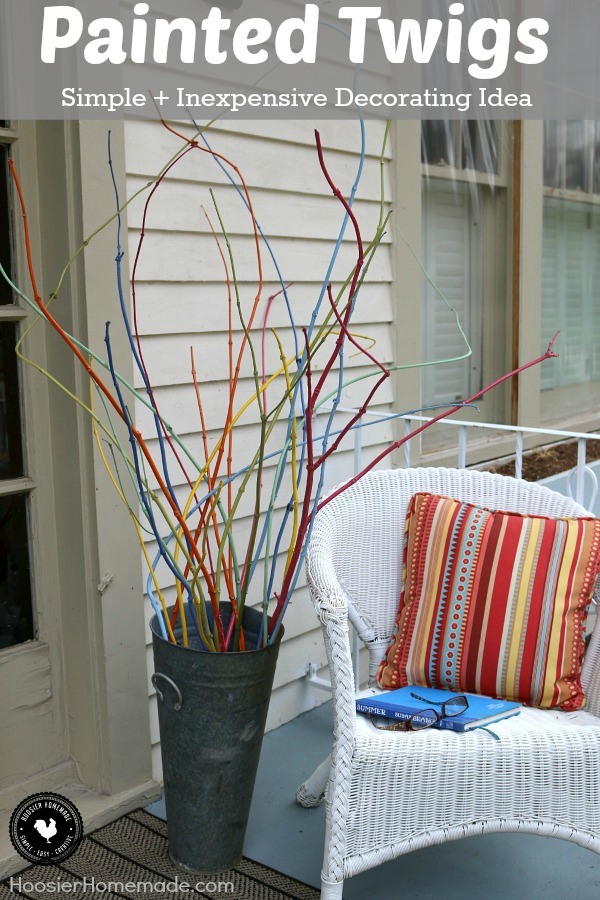
Painted Twigs: Simple and Inexpensive Decorating Idea
Who would have ever thought that Painted Twigs would turn out to be a simple and inexpensive decorating idea? We have transformed twigs that we cut from the back yard into a cool decoration for the Front Porch.
Decorating your home with items you already have can not only be inexpensive, often times free, but also really fun! It’s actually one of my favorite things to do. Shop the house for items that we already have and transform them into beautiful decorations.
Recently we decorated our Front Porch – watch for more on that coming soon – and we wanted it to be different. We didn’t have a lot of time or money to spend on it, and there wasn’t really the need to spend a lot either since we have lots of things to use around the house.
I knew I wanted something tall to fill the space around the chair, and I wanted something colorful. So we went on a hunt. We pulled out everything that we might want to use and then decided how we wanted the porch to look.
Would it be a Spring Front Porch? Well, Spring is actually almost done since May and Summer are right around the corner.
Would it be a Summer Front Porch? No, I really enjoy decorating for Fourth of July so we save that for later.
Would it be a colorful, welcome to our home type of Front Porch? Perfect! Some decorations that would be the in between time from Spring to Summer.
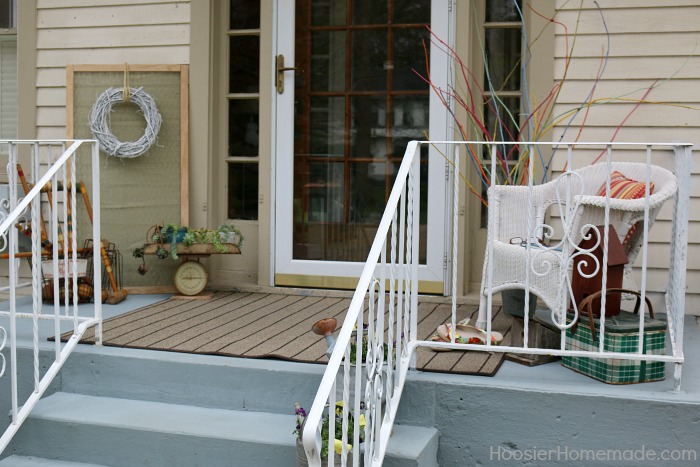
Here’s a sneak peak at the Front Porch, like I said, more on that soon. But for now, let me show you how we made the Painted Twigs.

We began by cutting some twigs from our back yard. We have some large trumpet vine that are along the fence that are kind of unruly. Doug often threatens to cut them all down. But they do make a good screen along the fence.
If you don’t have twigs or sticks that you are able to cut. I have a few ideas for you. 1) ask a neighbor, maybe offer to paint extra twigs for them in exchange for using some from their yard, 2) go to the park – you will need to check first to make sure it’s okay to cut, and 3) you can also cut along side the road, be sure to wear gloves because sometimes there are thorn bushes that you won’t want to run into.
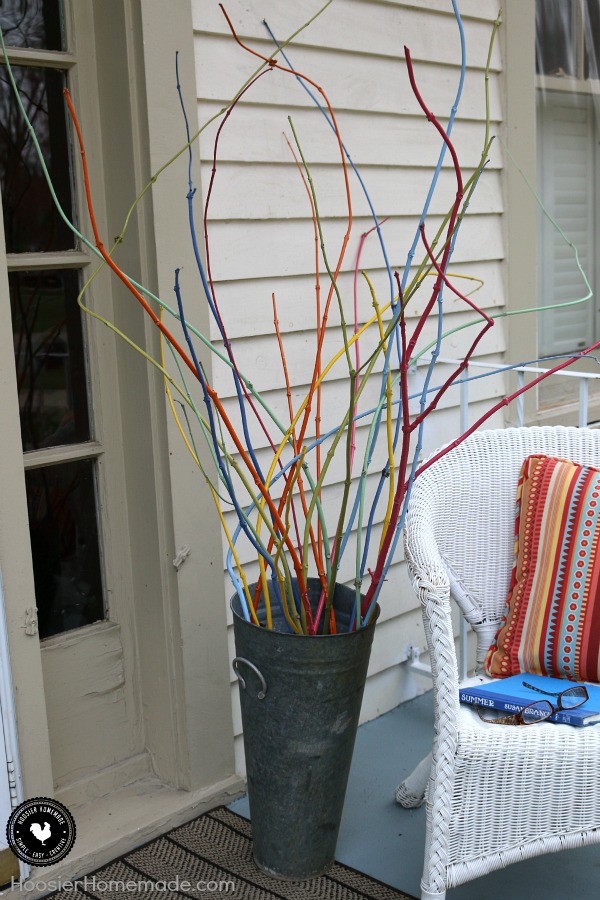
For the spray paint, we just used what we already had on hand, making this project absolutely free. We used Krylon in Periwinkle, Pumpkin Orange, Pistachio, Ivy Leaf, Watermelon, Sun Yellow and Peekaboo Blue.

Then we laid the twigs out in bunches on top of a paint tarp, painted one side, let me dry about 5 – 10 minutes, then flipped them over and continued painting.
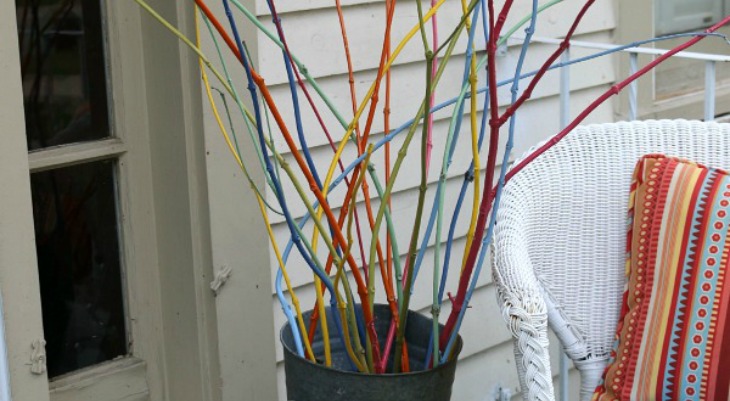
After the twigs were all dry, we put them into a tall galvanized bucket that we had. To make the twigs look proportional in size, it’s good to use a tall container. But you can certainly use anything you have.
The whole project took about an hour, but most of that time was waiting for the twigs to dry. And the cost for us was $0, which always makes me happy!
I think these Painted Twigs would also look cool inside your home, near the fireplace, in a corner in the Dining Room or even in your bedroom, anywhere you need a little brightness.
How would you decorate with them?
I can’t wait till after thanksgiving to start my projects my youngest daughter is moving out Dec 1st I am hoping if I keep myself busy redecorating the house I won’t have empty nest syndrom.ty for these great ideas. Chrissy from Whitehall pa.