No Sew Burlap Placemat and Outdoor Entertaining
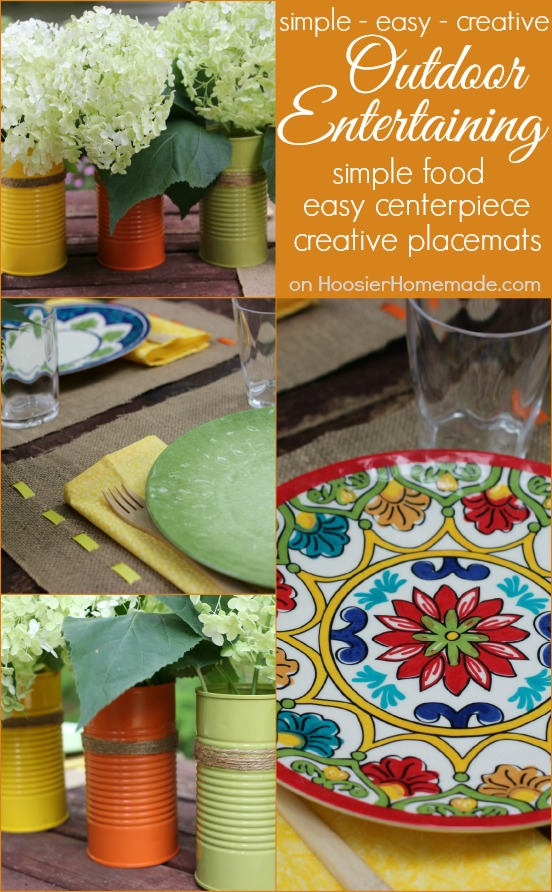
It’s that time of year, time to invite your friends and family over to celebrate the gorgeous weather. Today we are keeping it simple, easy and creative, we are adding an easy centerpiece and a creative No Sew Burlap Placemat with our Outdoor Entertaining tips.
I’ve learned the hard way over the years that entertaining doesn’t have to be stressful. Keeping it simple is key to you and your guests enjoying their time at your home. Many years ago, I would work for days preparing the house, making a grocery list, cooking and baking, decorating and more – just to be totally worn out by the time the party day arrived.
Now don’t get me wrong, I love still love to do all of those things, but I have learned to scale it back and keep it simple. Whether it’s letting others bring food to share for a potluck, an easy centerpiece or even a fun table setting on No Sew Burlap Placemats, it’s always great to host a get together.
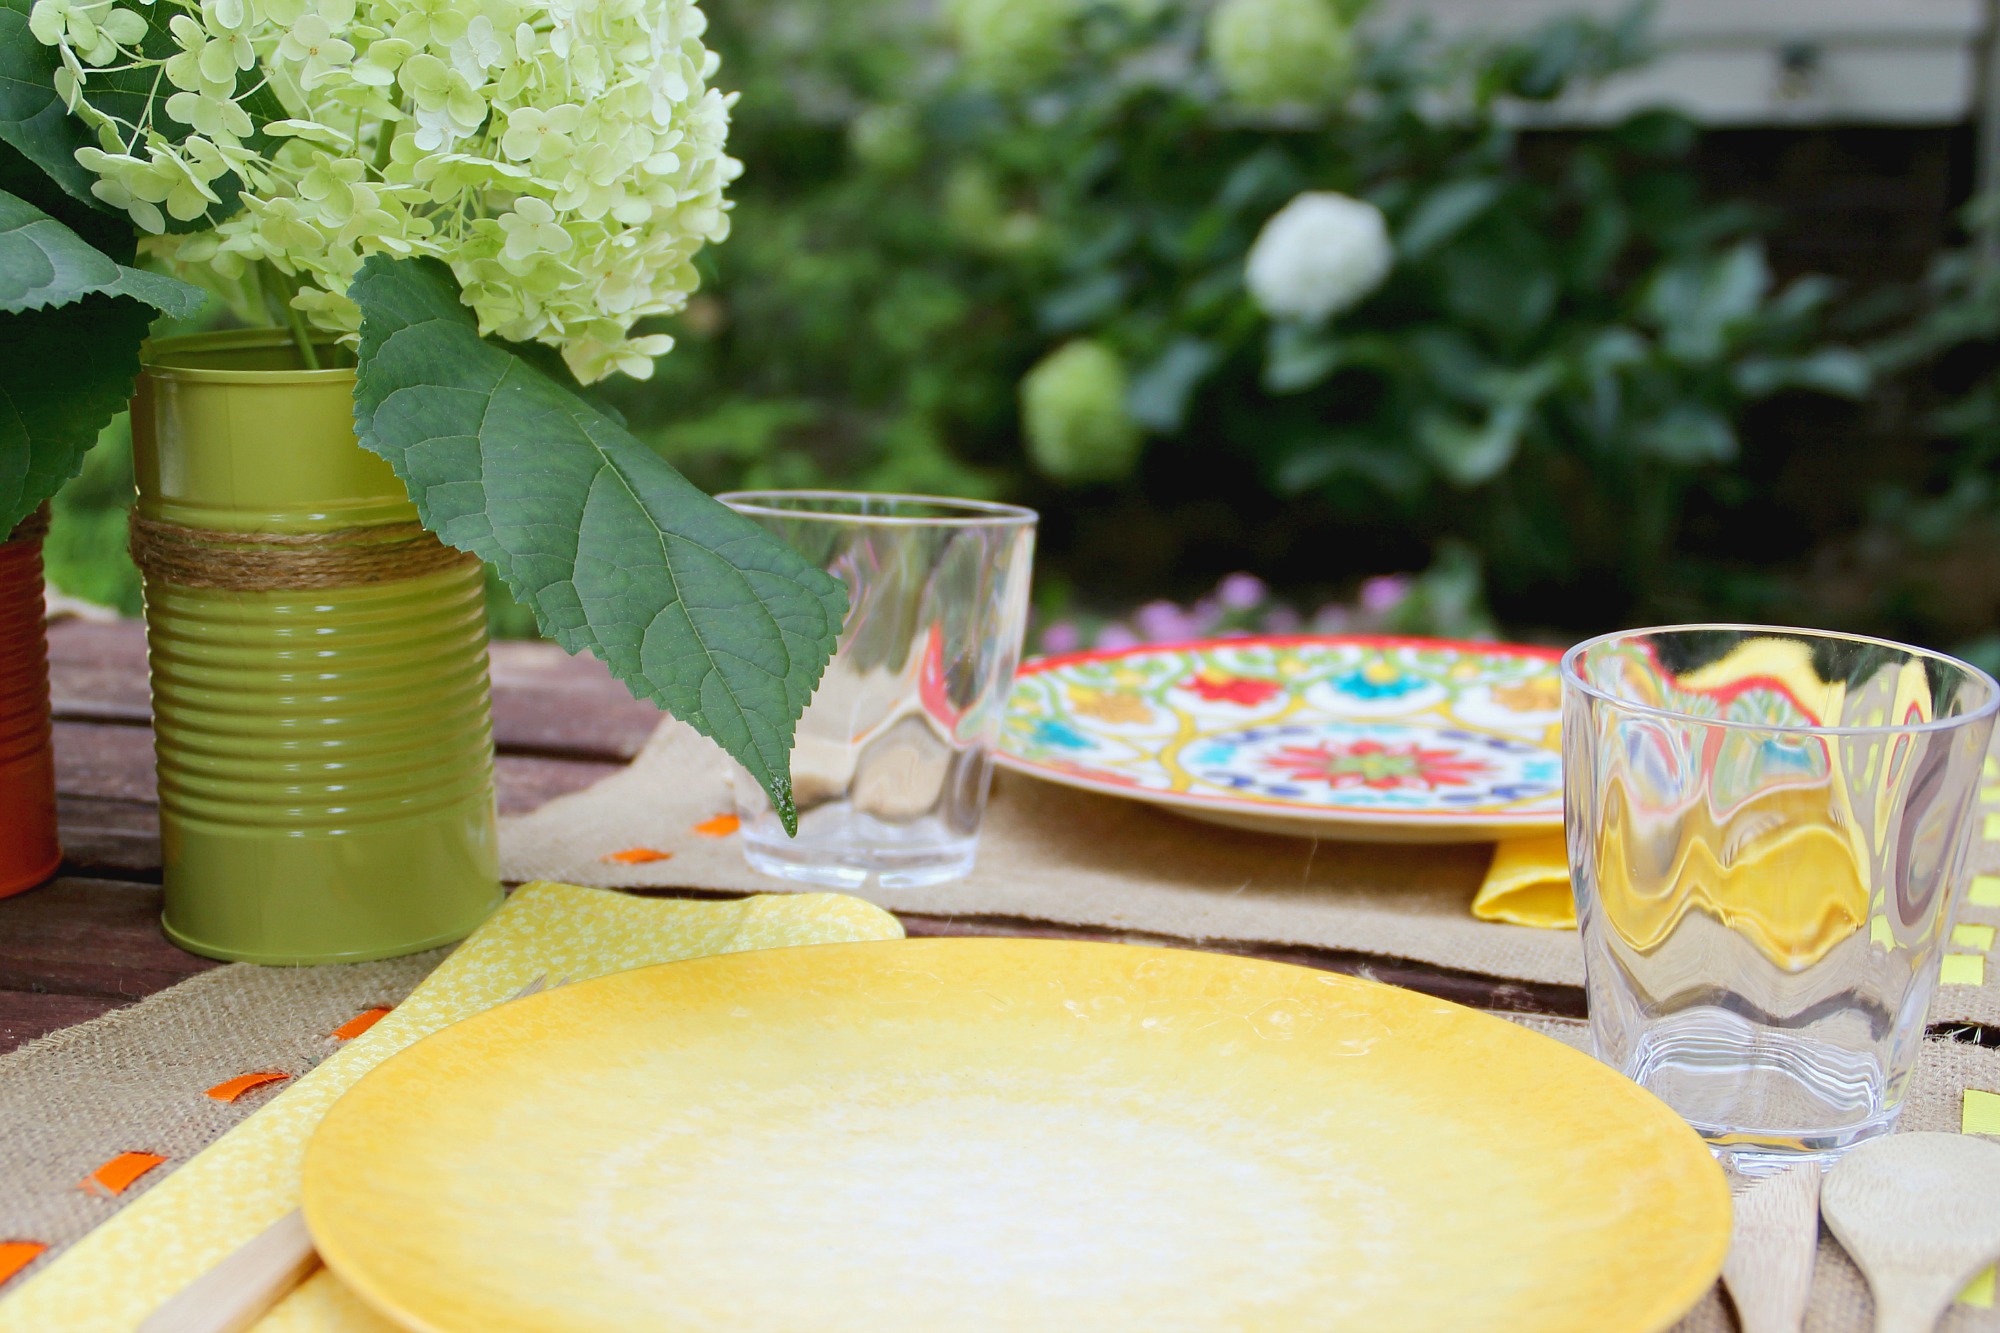
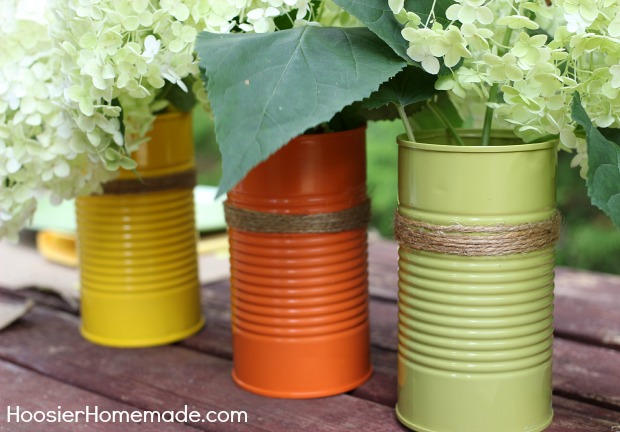
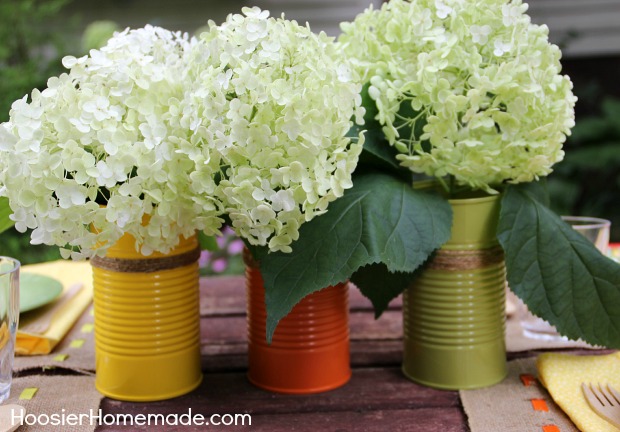
For the centerpiece, we used baked beans cans, (any can will work) washed them out, and used Krylon ColorMaster Spray Paint on them. Doug added 2-3 coats, letting them dry about 10 minutes in between coats, then they were ready to handle in a couple hours.
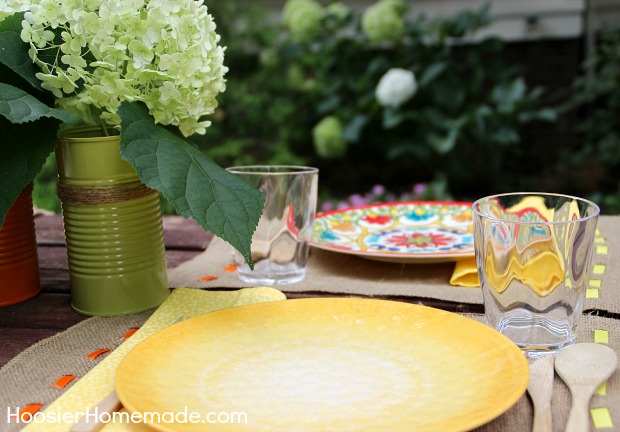
After the paint has dried, wrap twine around, securing with a dab of hot glue. Fill with water and add your favorite flowers. I used Hydrangeas from our yard.
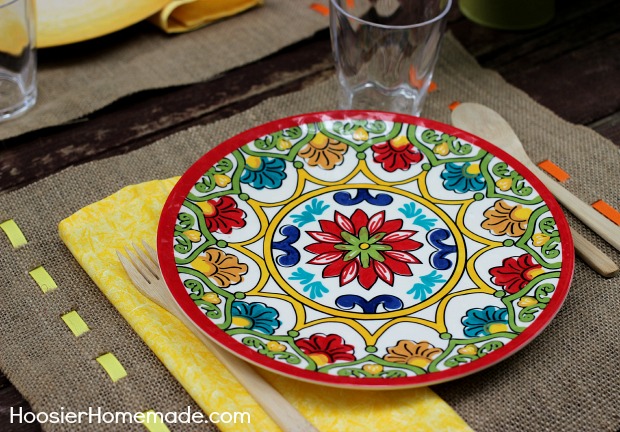
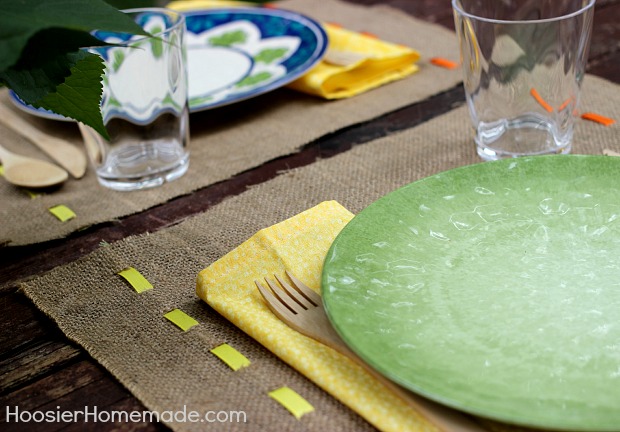
We set the table with plates from Better Homes and Gardens line at Walmart. Although the dishes look like they are ceramic, they are melamine, making them light weight, easy to handle and care for, and perfect for an Outdoor Party.
Under the table setting we made No Sew Burlap Placemats with coordinating ribbon colors to match the plates.
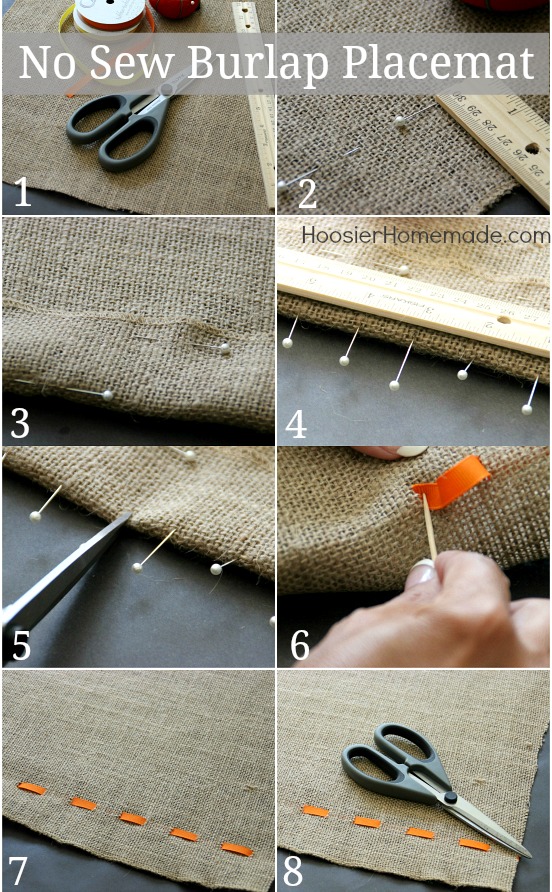
How to Make No Sew Burlap Placemats
- Gather your supplies – Burlap; we used a table runner and cut pieces 15 1/2 inches wide, 3/8 inch Ribbon; we found some in the craft department at Walmart for under $2, Scissors, Ruler and Straight Pins; found in the craft department near the sewing supplies.
- After your placemat is cut, measure 2 inches along the side and mark with a pin
- Then fold the edge up along the pins, and secure with more pins
- Mark the edge of the placemat every inch with a pin
- Snip about 1/4 inch at every pin
- Remove the pins and begin adding the ribbon through the openings. I used a toothpick to help.
- Weave the ribbon back and forth through all the openings
- Then trim the ribbon even with the placemat. Use a bit of glue to secure the ribbon if necessary
See how we created this Simple – Easy – Creative Outdoor Space

I always enjoy reading your decorating tips. Thank you for sharing!