How to make Gel Ice Packs

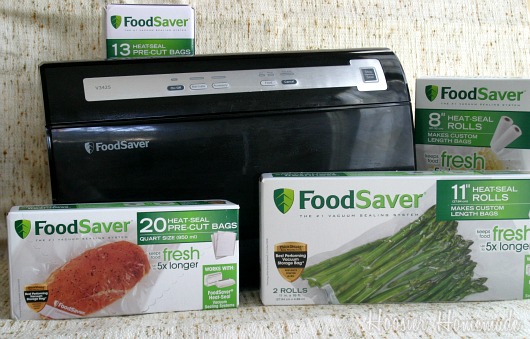
A little while back, I shared the FoodSaver Vacuum Sealing System with you. It’s an awesome way to not only save money on buying in bulk, freezing leftovers but can also be used for freezing fruit and vegetables.
I bought cranberries on sale, measured 2 cups into each bag for Cranberry Bread and sealed them with the FoodSaver. We will enjoy using them all Winter long.
As part of the FoodSaver Challenge, we were asked to come up with other ideas to save money. As a Mom of three boys, we have our share of injuries, especially sports injuries. Gel Ice Packs can be expensive, and using regular ice can be uncomfortable.
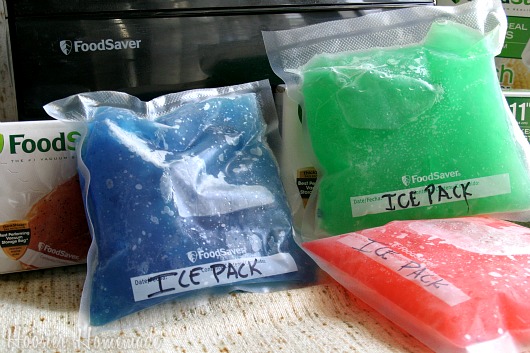
These homemade Gel Ice Packs are super easy, and inexpensive…
Gel Ice Pack Supplies:
- 2 cups water
- 1 cup rubbing alcohol
- Liquid food coloring
- Resealable bags
- FoodSaver System bags
Instructions:
- Mix 2-1; 2 parts water to 1 part rubbing alcohol. The rubbing alcohol does not allow the water to freeze.
- Add a few drops of food coloring and stir
- Pour liquid into a resealable bag.
- We tried using just the FoodSaver bag and for some reason {we think the alcohol}, it wouldn’t seal all the way. But if you place the liquid in a resealable bag first, then seal the FoodSaver System, it makes a durable, secure ice pack.
Thru the end of December 2011 go to SmartSource.com to find coupons for $10 off on a purchase of a FoodSaver System and $2 off on your purchase of FoodSaver bags.
Disclosure: This post is part of a campaign I am participating in with the Walmart Moms. Walmart has provided me with compensation for this post. My participation is voluntary and opinions, as always are my own.
Linking to…Weekend Wrap up Party,Made by you Monday


For longer “cold time” and more gel consistency, I like mixing in water crystals you would use in gardening (basically crushed up water beads). You can buy little packets at Hobby Lobby in the wedding/floral section, or a big bag at the hardware store with the plant fertilizer. Make sure NOT to get any with added fertilizer!
Before my shoulder surgery, I experimented with liquid alone versus the crystals. I much prefer the crystals for ease of sealing, less water leakage from worn out corners, and the whole pack stays cooler longer. Since then we have made all sizes/colors!
As an added bonus, it was a fun experiment for the kids to see how much water 1 tbsp of crystals would absorb. A great test-your-hypothesis experiment with essentially no mess and no waste (we just turned the experiment into another ice pack)!
I tried this recipe; It nicely stays cold and doesn’t harden, but it doesn’t gel up.
Did you try turning off the suction part of the food saver? I was having the same problem when I made mine and asked to use my Mom’s old press and seal. It works great! but doesn’t suction out the air first. Just an idea.
I wish you’d make it easy to print out directions so I don’t have to write them down. I’d like to print and save these tid bits
Arlene, I do have a printable recipe that is easy to print out, but since this isn’t a “recipe”, I didn’t include it. I can easily add it for you.
What a GREAT idea! Thanks so very much!
Thank you so much for the directions for making homemade Gel Ice Packs. Personalizing them by color is also a winnter!
What a great idea! My girls are outgrowing their princess boo boo buddies so this will be great to have (as I don’t imagine they’ll outgrow their clumsiness quite so quickly!)
Wow, what a great idea! I didn’t know that alcohol would not allow water to freeze!
What a great idea! I’m definitely smacking myself for having not thought of this before. Thank you for sharing!!!
Thanks Heather 🙂