How to Make a Wooden Flag
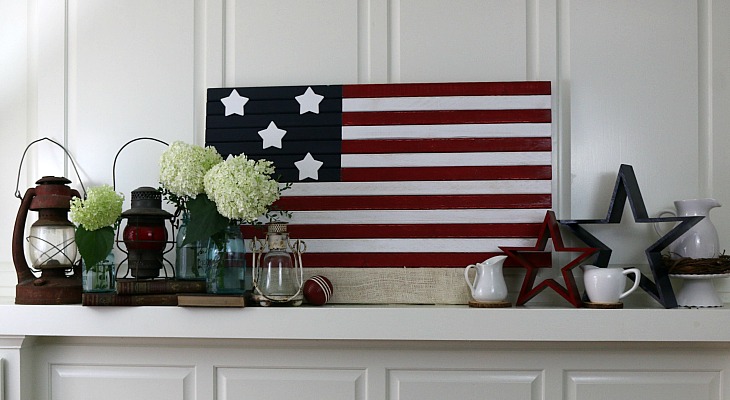
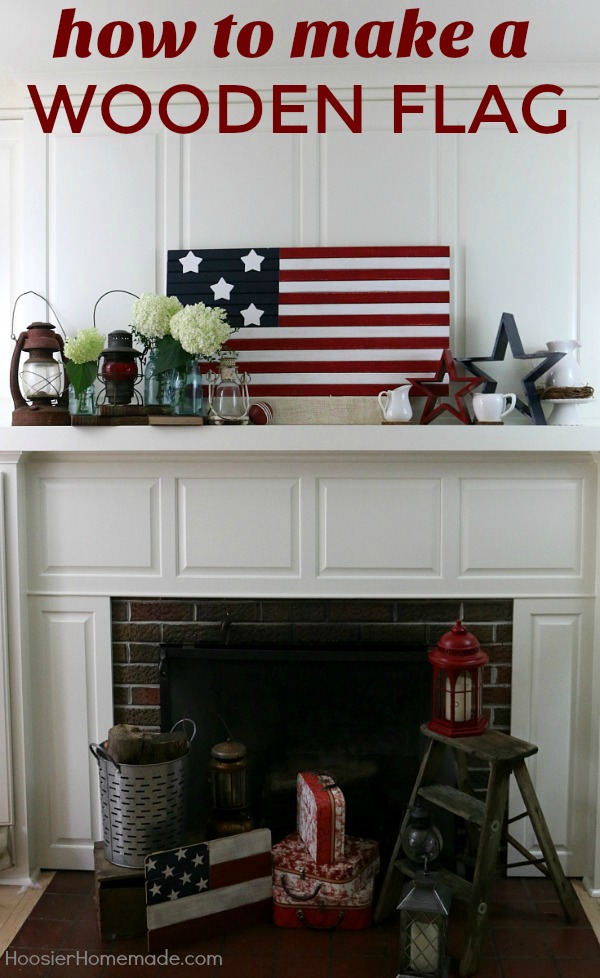
Learn how to make a wooden flag and decorate your home. The American flag means so much to me- and showcasing it in my home decor makes me so happy!
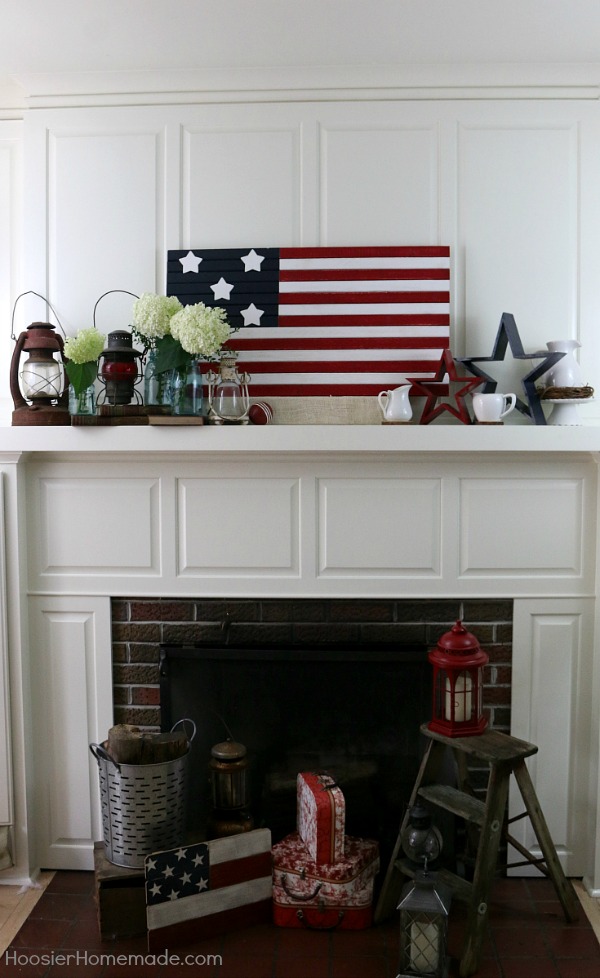
Decorating with flags are not just for the 4th of July holiday-I love using them throughout inside and outside our home. Putting up a flag not only shows my love for our country, but supports those who serve as well. And, they serve as the perfect backdrop!
I am so excited that the Summer Olympics begin soon. Do you watch them? We are pretty much glued to them from the opening ceremony to the closing. Every time I see an athlete on the podium and the National Anthem is played, I get a little choked up. I think of not only all the hard work that went into the achievements but also the pride that they must feel to represent our country.
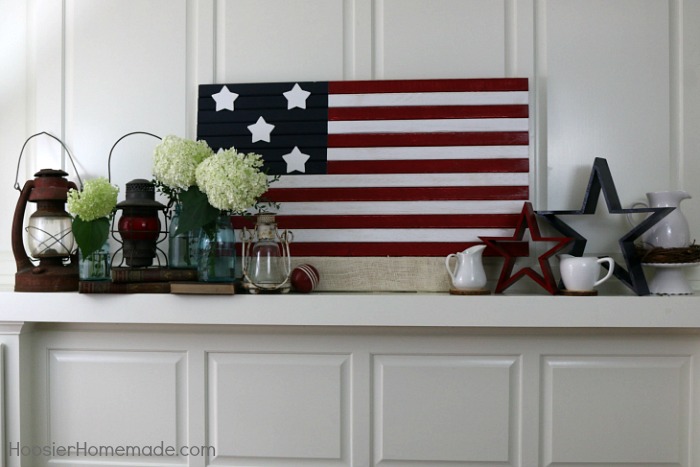
Recently we made a Wooden Flag to add to our Summer Mantel. I will definitely be keeping it up through the Olympics to show my support! It’s not difficult to make, all you need are a couple supplies and a few tools. If you don’t have a saw to cut the wood, remember that most lumber yards will cut the wood for you.
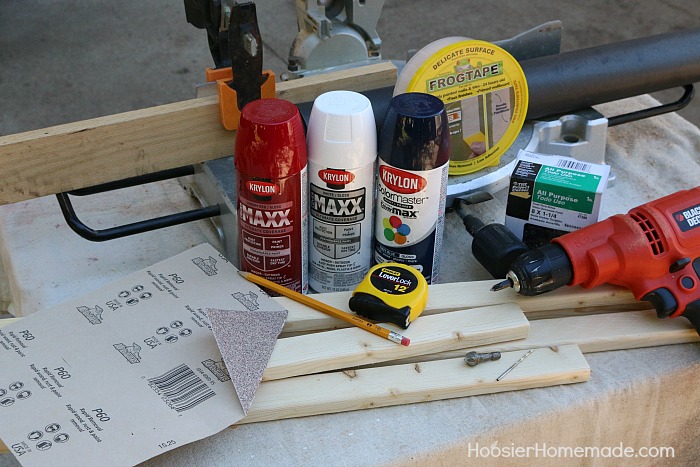
Wooden Flag Supplies
- Wood – 13 pieces of 1 x 2 firing strips cut to 36 inches long – you can also have the wood cut at the lumber yard
- Wood – 3 pieces of 1 x 2 firing strips cut to 18 inches for the back
- Paint – we used red, white and blue spray paint
- Wooden Stars (not shown)
- Frog Tape or other painters tape
- Saw
- Drill, Drill Bit and Counter Sinking Bit
- Tape Measure
- Pencil
- Wood Screws – #8 x 1.25 inch all purpose
- Sandpaper
Step 1:
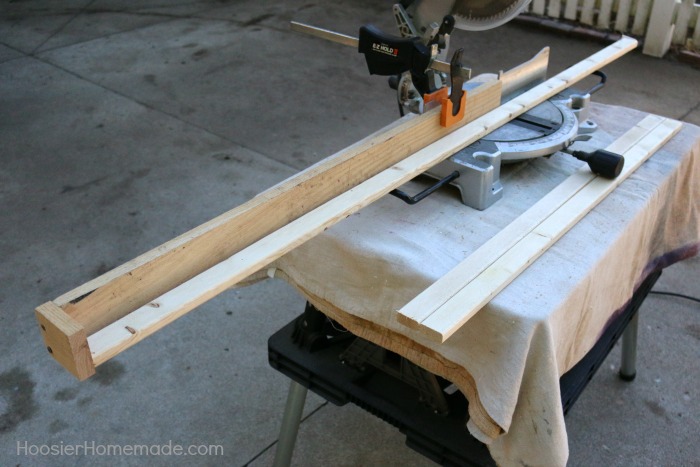
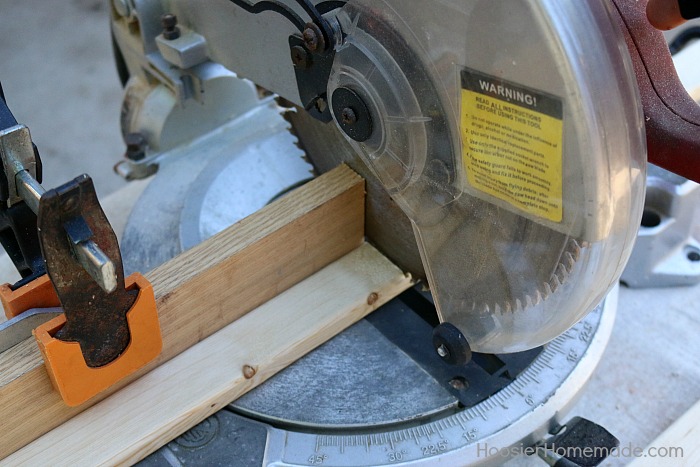
Doug made a cutting jig since he was going to be cutting multiple pieces and he wanted them the exact same length.
He took a 1 x 4 piece of lumber and attached a stop and the end with screws. And positioned it on the saw fence to the correct length. If this seems too hard, just measure really carefully or have the hardware store cut your lumber for you!
Step 2:
Cut 13 pieces of lumber 36 inches long
Step 3:
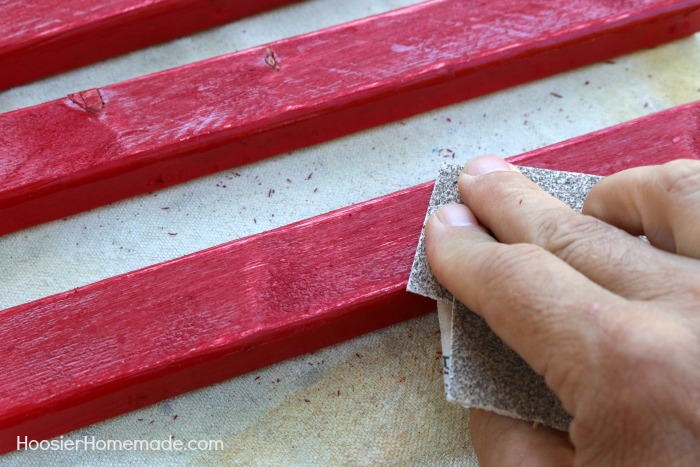
Paint the boards red and white. There are 7 red boards and 6 white boards.
Then sand the boards to distress them a little bit.
Step 4:
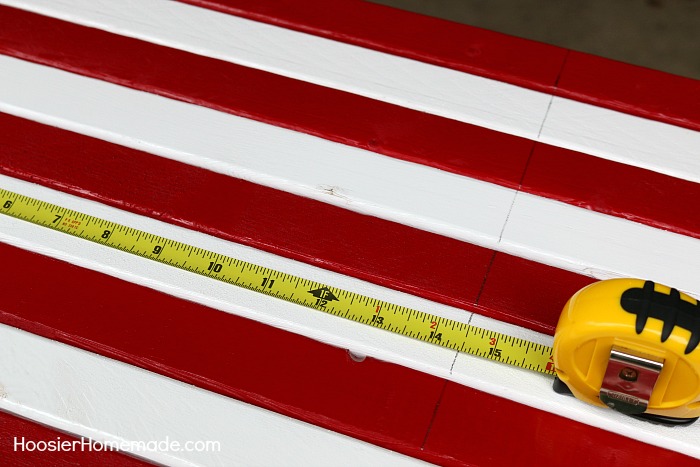
Measure and mark 14.5 inches for the blue portion of the flag.
Step 5:
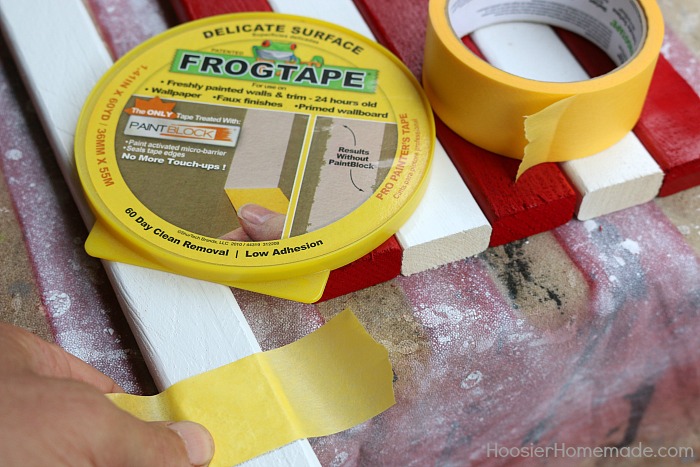
Use the Frog Tape to mark off where the blue paint will be added. Make sure that it adheres firmly so that there is no bleeding.
Step 6:
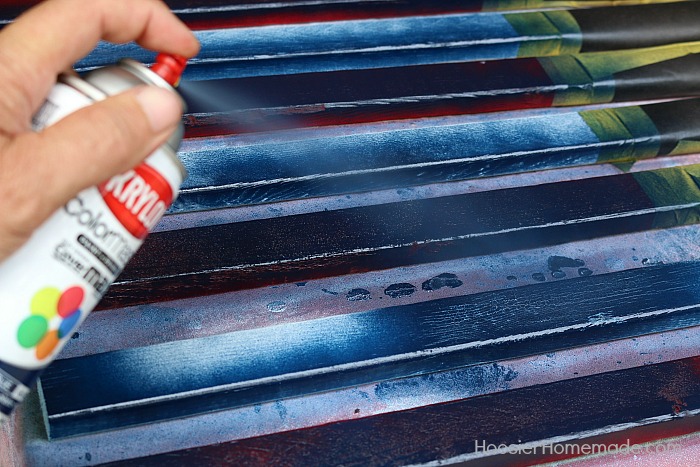
Paint the blue. You can see on the right side of the photo, that Doug covered the portion that needed to remain red and white with black paper and Frog Tape.
Step 7:
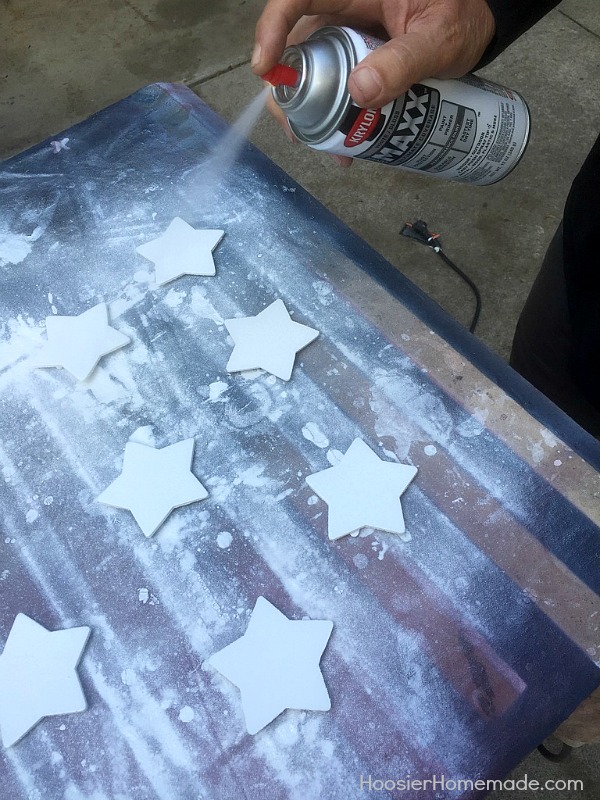
Paint the wooden stars with white spray paint.
Step 8:
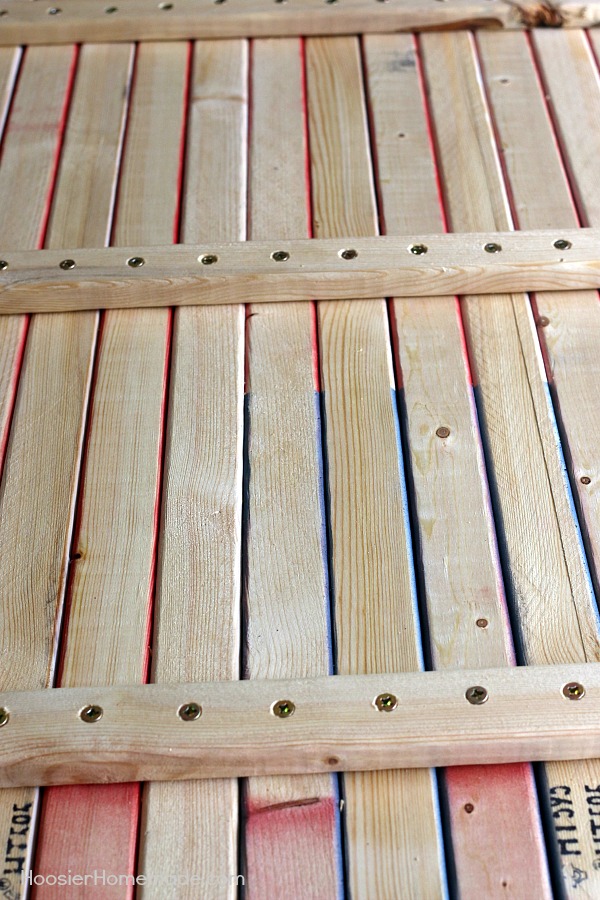
To fasten all the boards together, use the 18 inch pieces of lumber. Drill pilot holes for each screw and use the counter sink bit to make a hole for the screw head to set in flush to the wood. Attach the wood with screws on each board. Attach 1 piece in the center and the other 2 pieces are 6 inches from the center.
That’s it! Display your new flag proudly on your mantel or anywhere in your home! How do you celebrate the Olympics in your house? If you make a flag, we would love to see!
One Comment