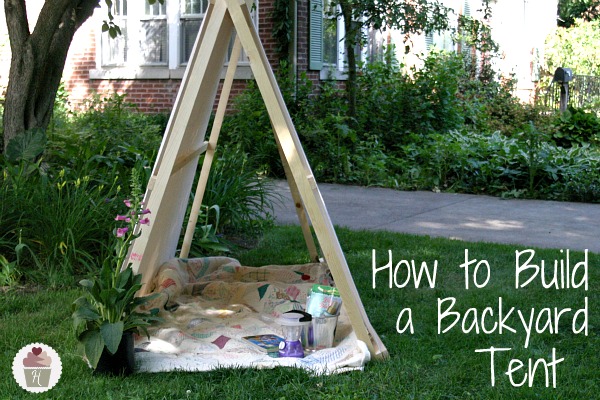
How to Build a Backyard Tent
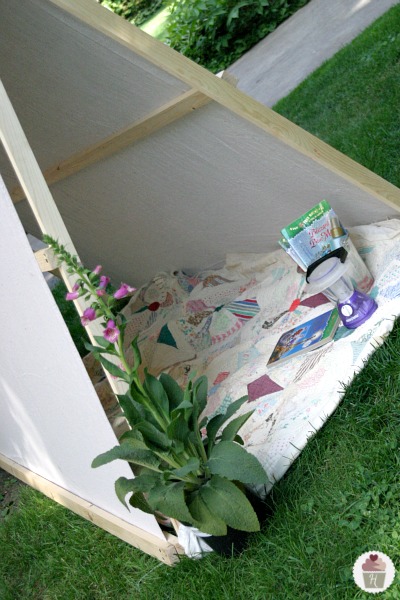
School’s Out For Summer! Yes it’s that time of year when the kids are with us all the time and what better way to celebrate summer than getting outside and enjoying all that nature has to offer. All this week we’re sharing ideas that you can do with the family outdoors. Today we’ve got an easy backyard tent for you.
After spotting a picture of this tent in the summer issue if Lowe’s Creative Ideas magazine I just knew we had to share it with you. So I gave Doug a nudge and sent him on his way to build this for us. We followed the directions we found on Lowe’s Weekend Projects page and I’ll have to say I wasn’t disappointed. This project was really fun, inexpensive, and took less than an hour to complete.
The best thing about this project is that anyone can build it with just a few basic tools. Heck, you don’t even need to cut any boards since they are all the same size.
So grab the kids and spend the afternoon with them building a backyard tent.
Let’s get started…
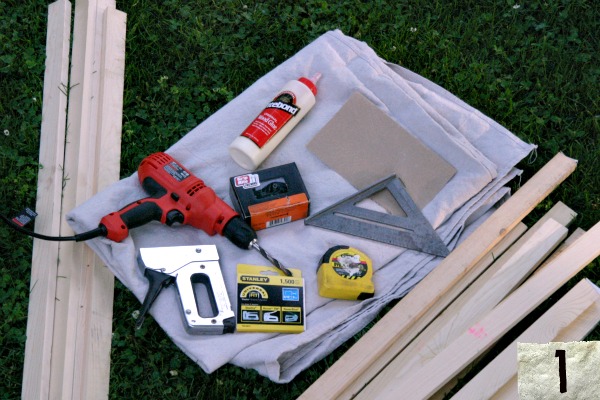
Gather tool and supplies…
- Drill/Driver
- 3/8″ drill bit
- tape measure
- framing square
- staple gun
- wood glue
- sand paper
- 12 – 1″x2″x6′ boards
- #8×1-1/4″ wood screws
- 2 – 3/8″ wing nuts
- 2 – 3/8″ flat washers
- 2 – 3/8″x2″ hex bolts
- 6’x9′ canvas drop cloth
Sand the edges of the boards to remove any rough spots. Pick the four straightest boards, measure 20 1/2″ from the end and mark the center of the 1 1/2″ side. Drill a 3/8″ hole for the bolt.
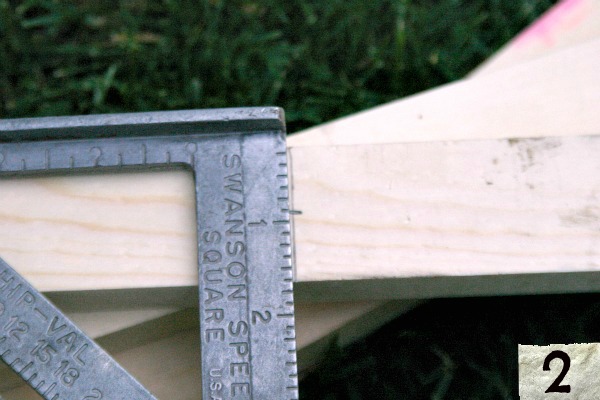
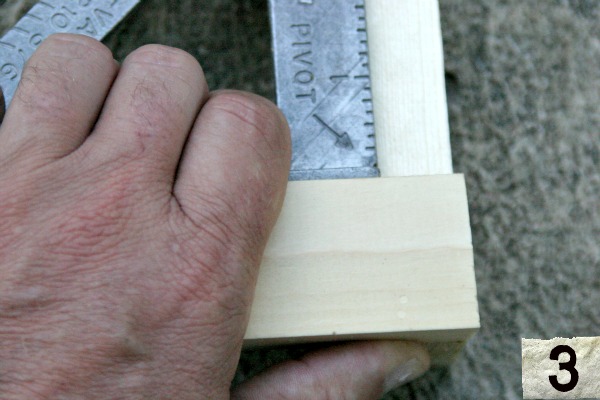
On a hard level surface lay two of the vertical ends on edge 6 feet apart with the 3/8″ holes at the top end. Lay another board on top spanning the vertical boards. With the framing square check to make sure they are square to each other.
Drill two pilot holes in the top board, add glue and screw the top board to the two vertical boards. Measure 23″ from the top edge of the bottom board and mark the two vertical boards. Glue, drill, and screw a second horizontal board in place. Measure another 23″ and repeat to add a third horizontal board to complete one tent frame side. Repeat to make a second side.
Once the glue has dried stand both frames with the holes overlapping. Place the hex bolt through the hole with a flat washer on both ends and secure with a wing nut. Repeat for the other end.
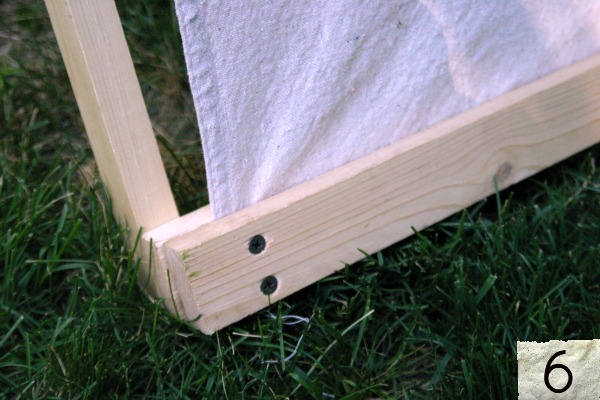
Cover the framework with a 6′ x 9′ canvas drop cloth, staple the ends to the bottom boards and screw a board over the bottom board to secure staples and create a finished look. (wash the drop cloth prior to soften)
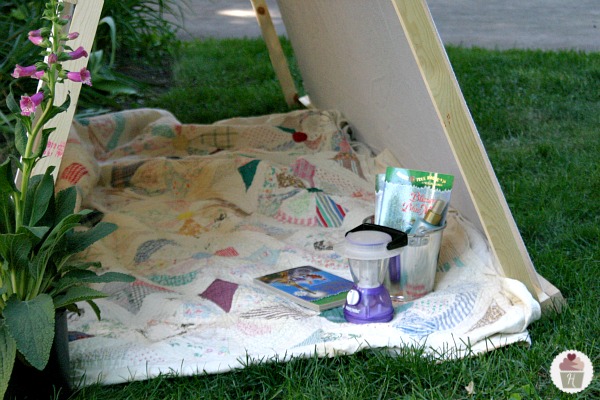
After you’ve put in the work now comes the fun part, add a comfy quilt to relax on with a few of your favorite things…
Maybe a flower or two to dress it up a bit and of course some reading material for the kids. Throw in a lantern and you’ve got the perfect little hide away for the kids…or even you if you like.
Linking to… Show & Tell Friday, Made By You Monday, Weekend Wrap Up Party, Saturday Night Special, Sundae Scoop Party


I like the fact that you include pictures w/ instructions. Are you able to show how to build a large tire swing?
Thanks.
Love this! I just clothes pinned a sheet over my hammock, I’m all about being outside with out the sun on me.
Wow! Great project! Link it up with me on my Wow Us Wednesday, ok? Over at http://www.familyhomeandlife.com