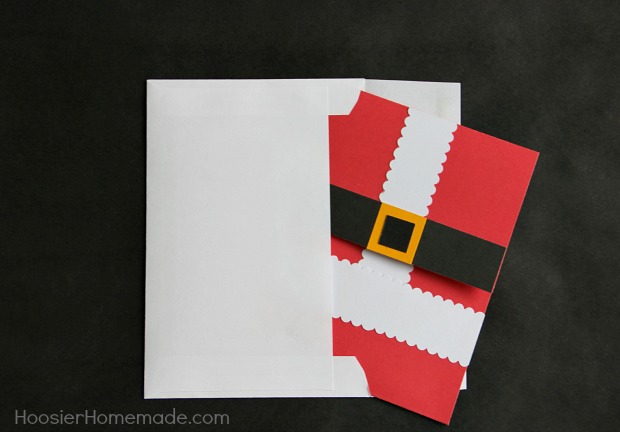
Handmade Christmas Card
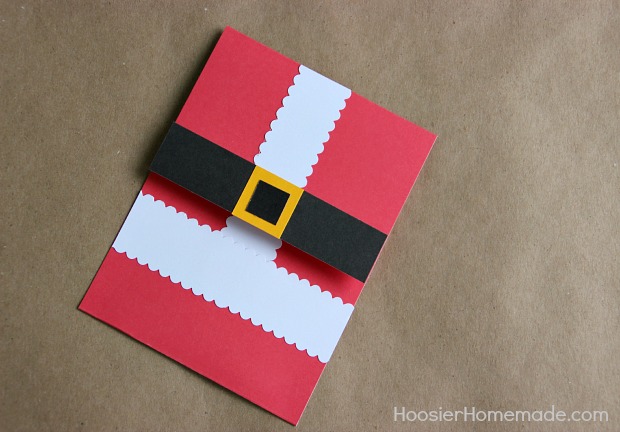
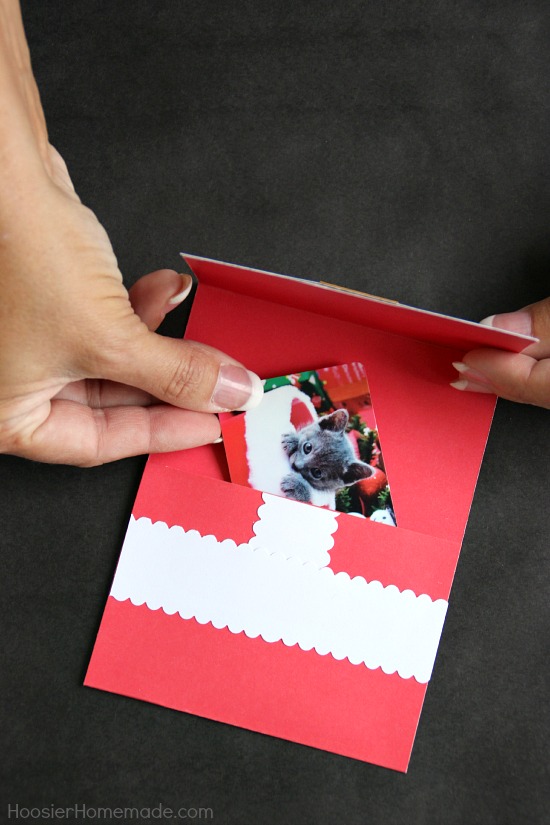
There’s something special about giving and receiving Handmade Christmas Cards. However, sometimes they can be time consuming. To kick off our 12 Steps to Christmas Sanity, we have created an easy to make homemade Christmas card that holds a gift card or family photo.
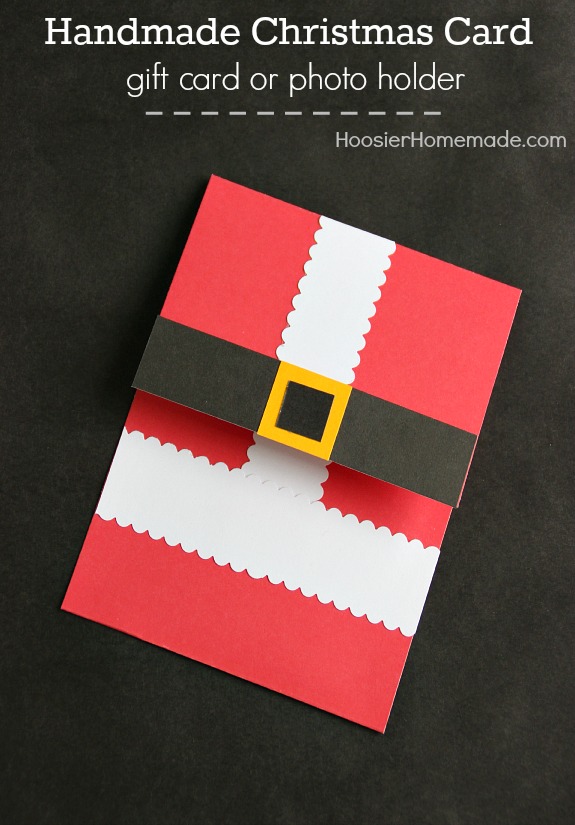
Aren’t they adorable? I think the Santa design is perfect for any age. With just a few simple supplies you can make your own handmade Christmas card design and the kids can help assemble them.
Before we get started with the Christmas card, I want to tell you about something exciting!
12 Steps to Christmas Sanity begins today!
I’ve teamed up with Laura from I Heart Planners to share simple – easy – and creative ideas with you to help you get ready for the holiday season and have more time to spend with your family. Here’s what we have planned for you…
- Day 1 – Handmade Christmas Card and a Printable Holiday Card Tracker
- Day 2 – Printable Monthly December Calendar
- Day 3 – Budget Friendly Gift Ideas and a Printable Budget Tracker
- Day 4 – Printable Christmas List
- Day 5 – Christmas Recipes and Printable Christmas Menu with Grocery List
- Day 6 – Baking Supplies Checklist and Printable List
- Day 7 – No Bake Holiday Treats: Hot Fudge Sauce, Christmas Candy Crunch, Cookie Dough Truffles, Homemade Gum Drops and Hot Cocoa Mix
- Day 8 – Simple Decorating Ideas
- Day 9 – Easy Gift Bags with Fabric Handles and Printable Gift Tags (2 different styles)
- Day 10 – Gift Basket Idea and Printable Gift List
- Day 11 – Party Prep and Printable Party Planner
- Day 12 – Organizing Christmas Decorations and Printable Box Labels and Inventory Sheet
Follow along each day and prepare for the holidays. Laura has created some awesome printables for you to get you organized. We would love to see your creations too! Share them on social media by using the hashtag – #ChristmasSanity
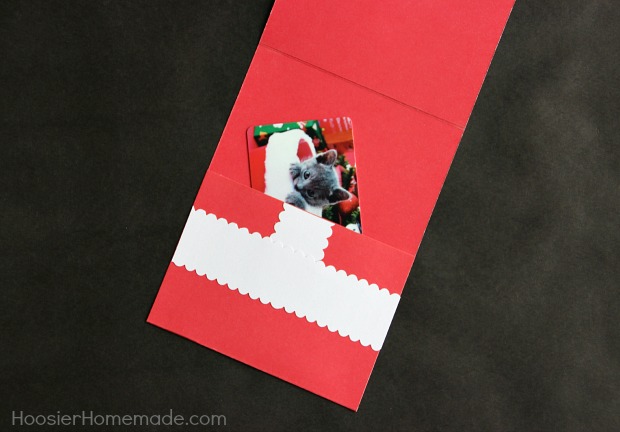
Now back to our Handmade Christmas Card. The pocket on the bottom is perfect for a Gift Card or even a Family Photo.
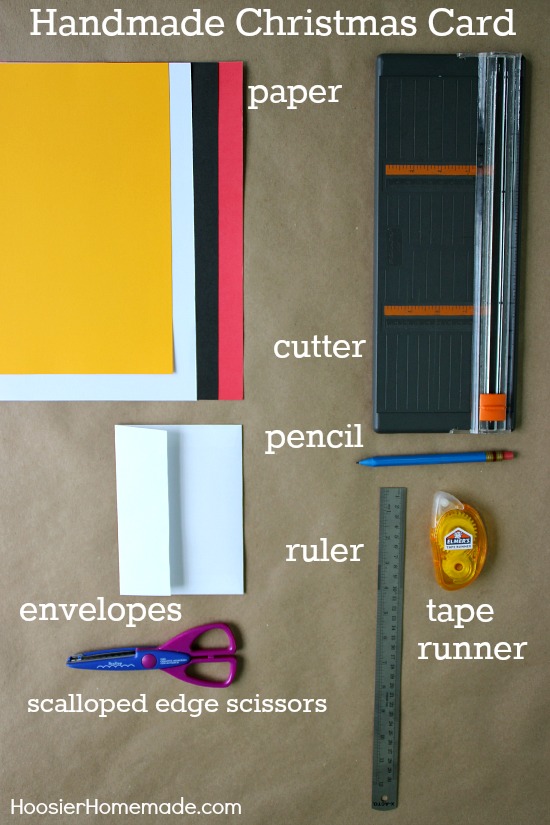
Handmade Christmas Card Supplies
- Scrapbook Paper – red, white, black and gold
- Paper Cutter
- Envelopes – 4 3/4″ x 6 1/2″ social envelopes – we found ours at Walmart in the office section
- Ruler
- Tape Runner
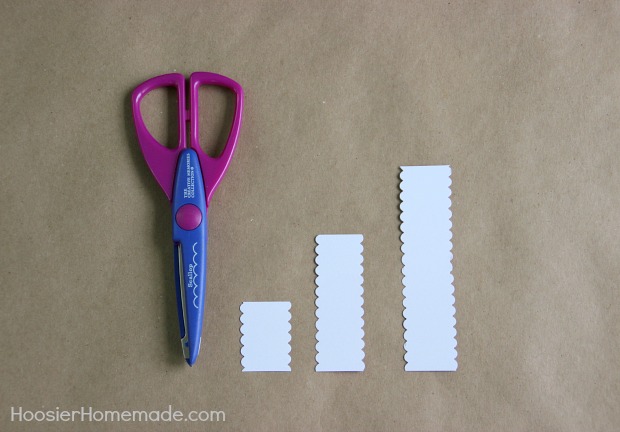
- Scalloped Edge Scissors
Step 1
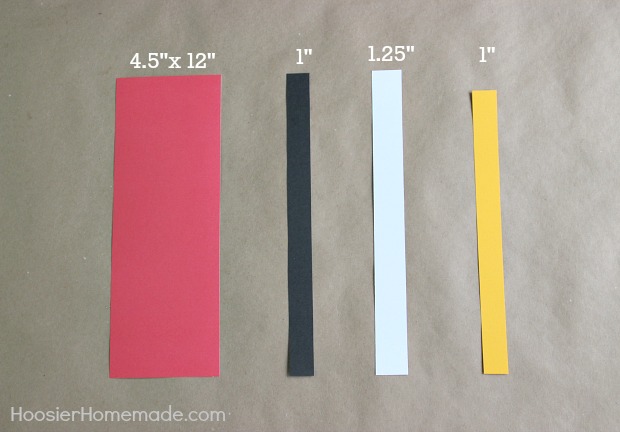
Cut each of the pieces of scrapbook paper. If you cut all of the pieces you need, the assembly of all your cards goes really quickly. These instructions are for 1 card, however you can cut as many as you need and put them together all at once.
- Red – 4.5 x 12 inches
- Black – 1 inch strip
- White – 1 1/4 inch strip
- Gold – 1 inch strip
Step 2
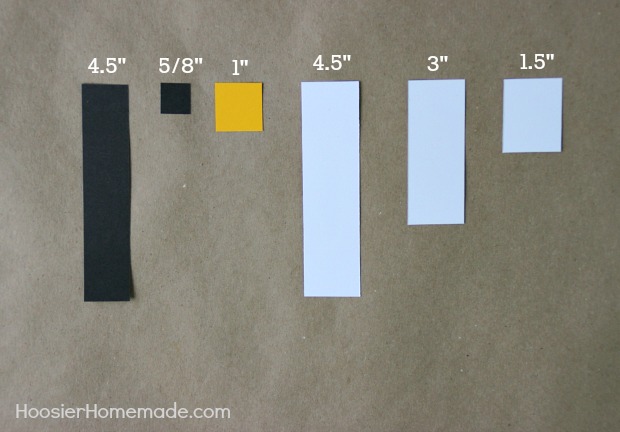
Cut each of the pieces to the length needed
- Belt – 4.5 inch strip
- Buckle Inside – 5/8 inch square
- Buckle Outside – 1 inch square
- Fur on bottom – 4.5 inch strip
- Fur on top – 3 inch strip
- Fur under belt – 1.5 inch strip
Step 3
Cut the edges of the white strips with Scalloped Edge Craft Scissors
Step 4
Using the Tape Runner, add the black piece to the gold buckle and then add the buckle to the belt.
Step 5
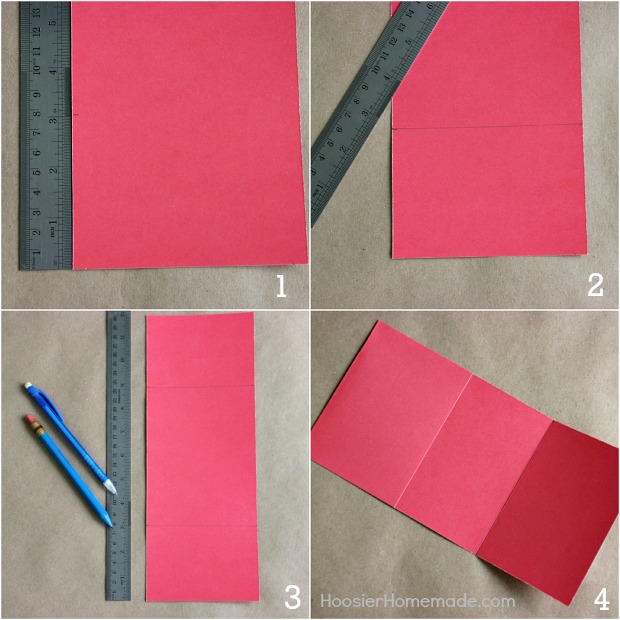
Next it’s time to score and fold the card. The card folds are positioned so that the top slightly overlaps the bottom.
- Mark 3 inches from the bottom
- Then using the ruler and a mechanical pencil WITHOUT the led showing, score the line. You can also score with a different tool if you have one.
- Mark another line 8+ 7/8 inches from the bottom, and score
- Fold the card
Step 6
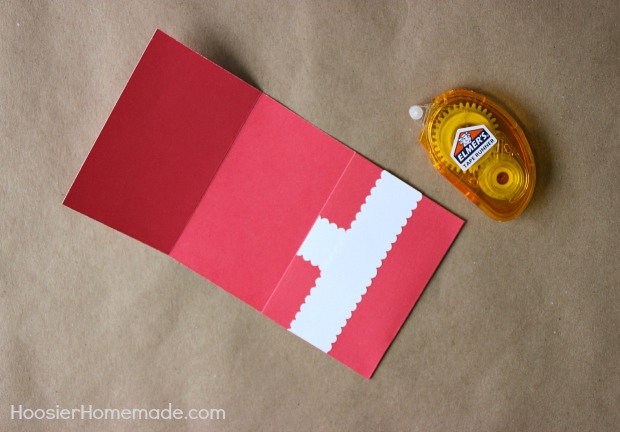
Now it’s time to create the pocket.
- Using the Tape Runner, fold up the 3 inch piece on the bottom and attach it to the card at the sides, creating a pocket
- Attach the small white strip in the center, then add the 4 1/2 inch strip across the card

Step 7
Add the top pieces
- Attach the 3 inch white strip in the center
- Attach the belt across the bottom of the top piece
And you are done. Add a Gift Card, Family Photo or whatever you like.
Slip the card into the envelope and off to the post office you go!
To keep you organized, here is a printable Holiday Card Tracker from I Heart Planners
Click on the photo below to download

