DIY Fairy Garden
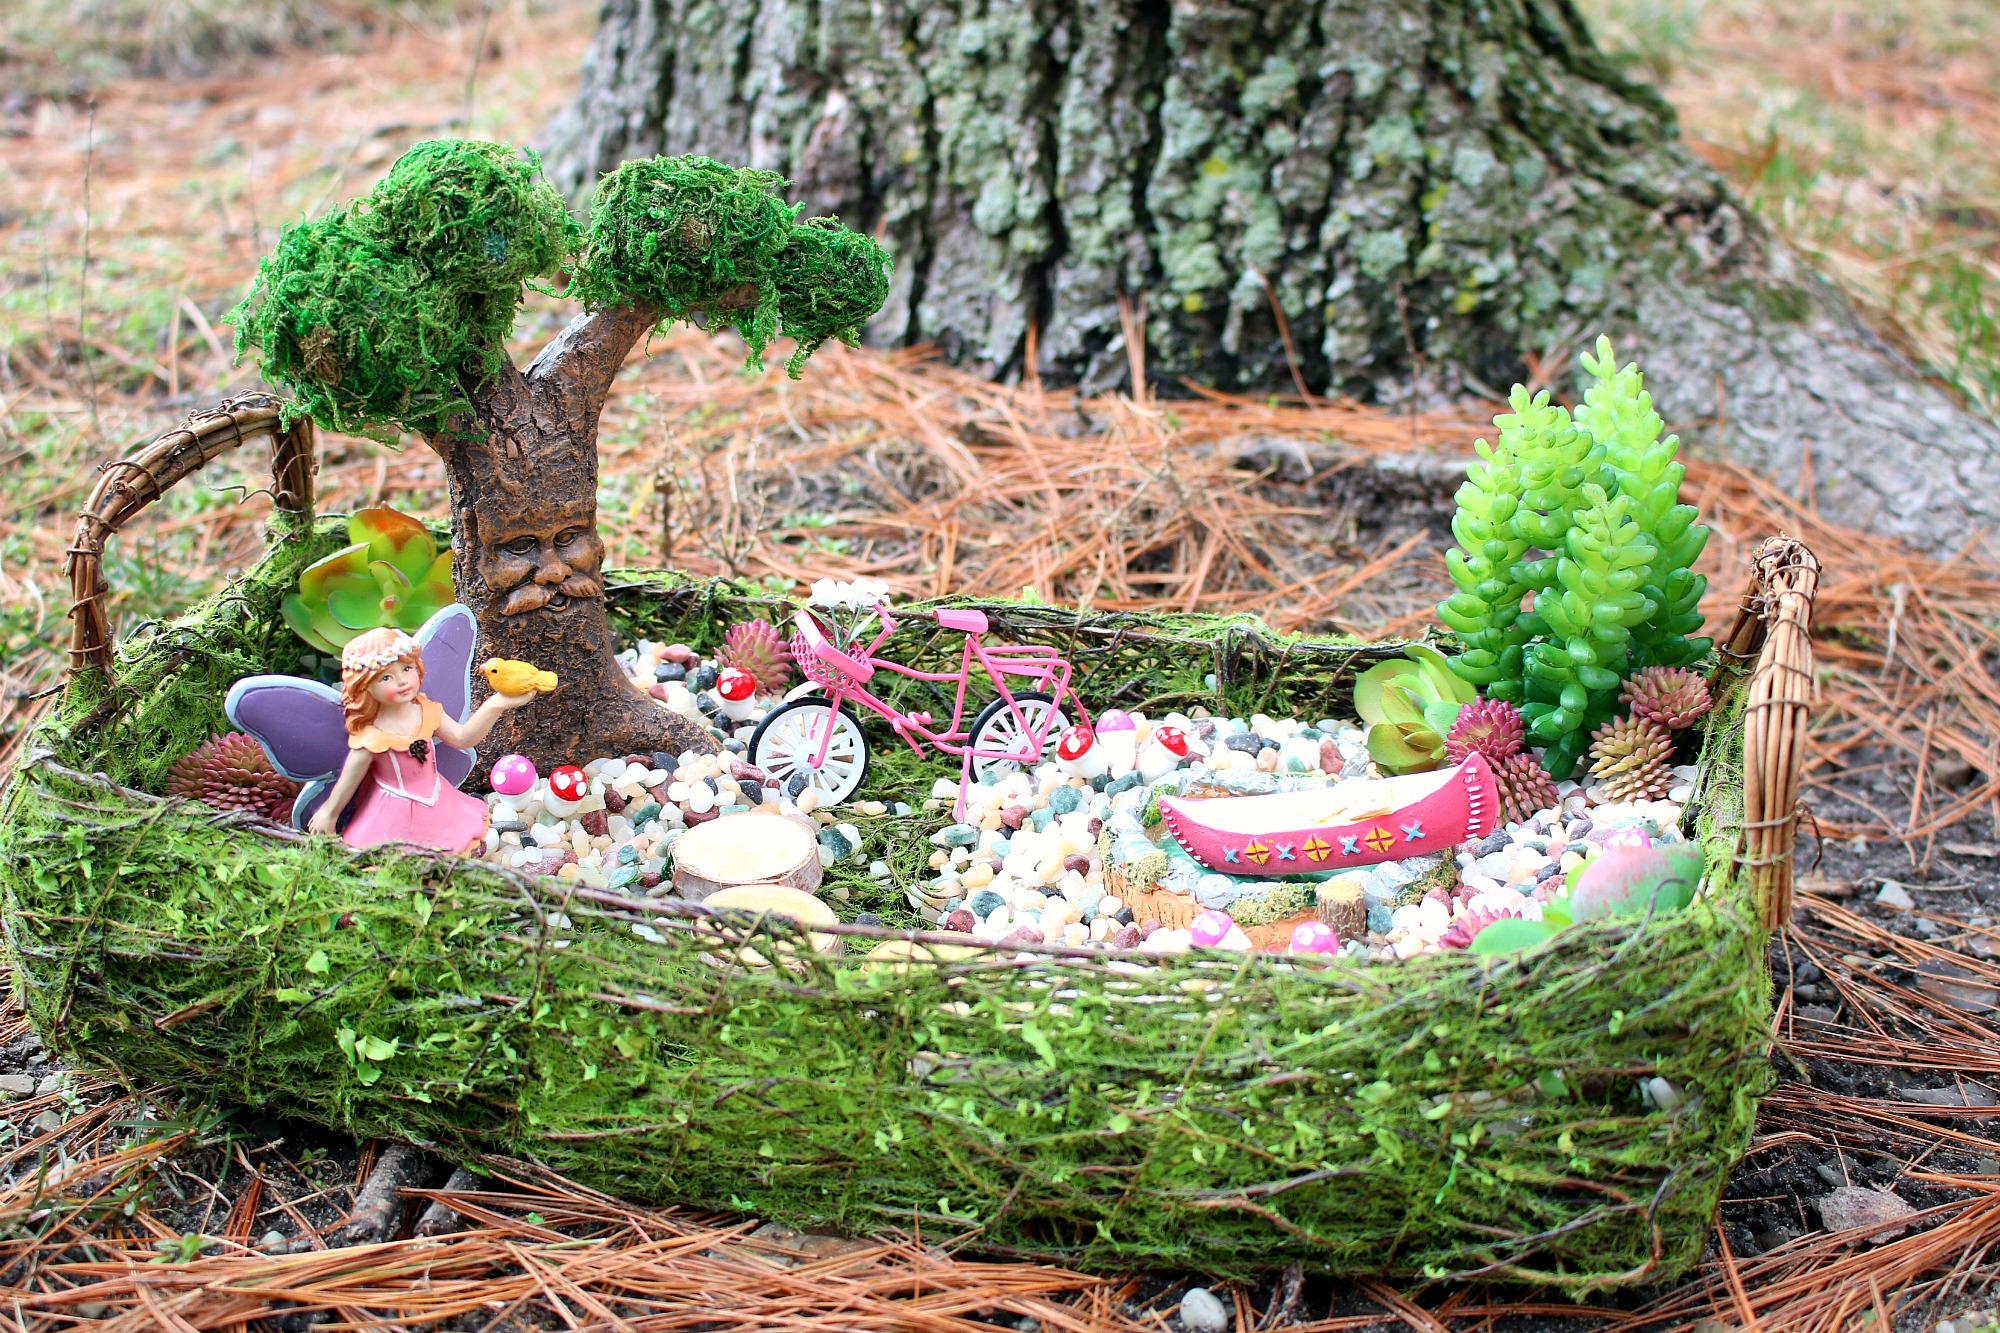
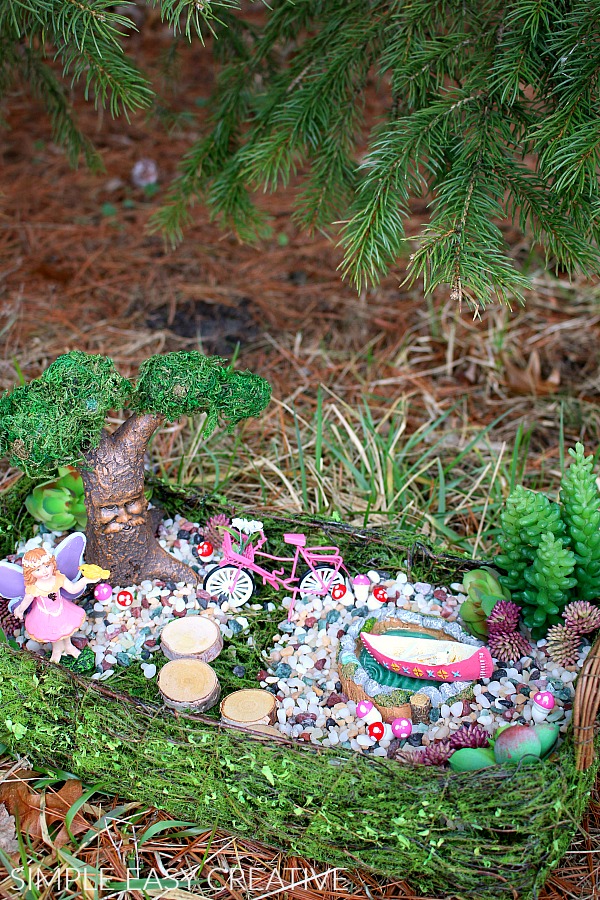
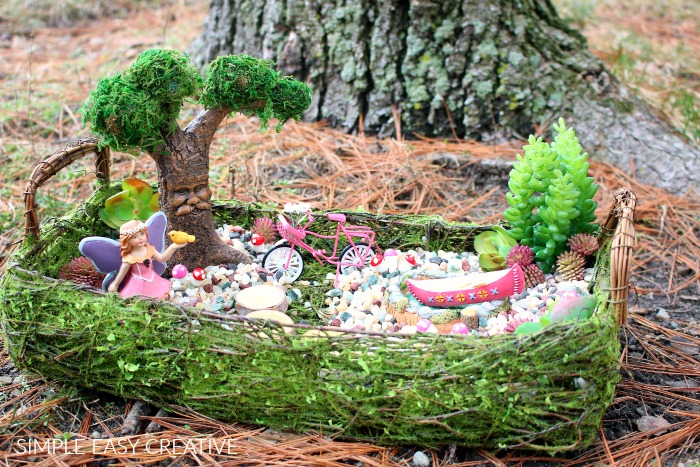
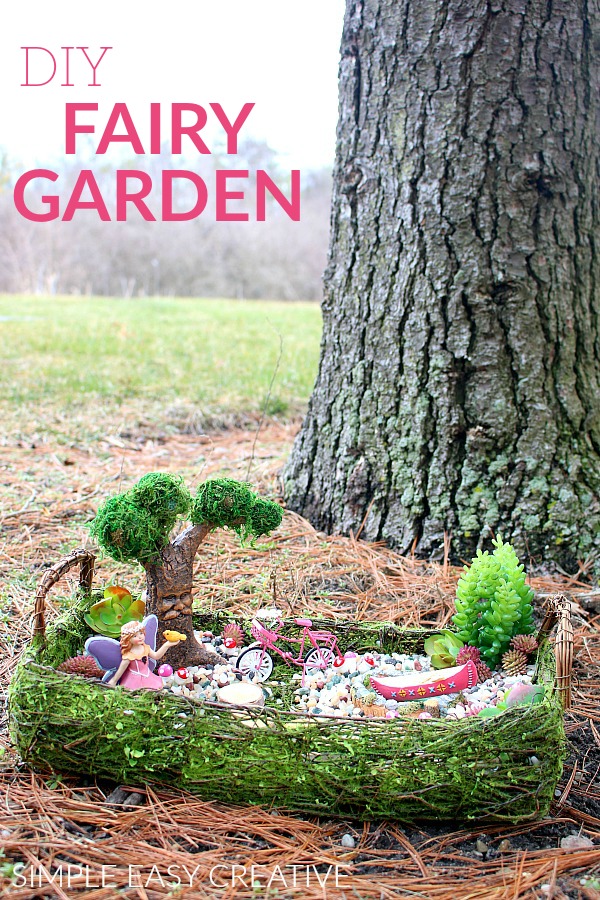
This DIY Fairy Garden is full of whimsy and fun for children and adults! This easy step-by-step tutorial will help you create your very own Fairy Garden.
After a very long Winter here in Indiana, I am ready to get outside and enjoy the Spring weather! This DIY Fairy Garden is one of my first steps in that direction.
Creating a Fairy Garden has been on my wishlist for a few years now, so I’m super excited to get the first one done. I’m sure there will be plenty more to come because I absolutely loved putting this arrangement together. And it was really easy!
The Fairy Garden Ideas are endless, from the very simple to the very intricate with layers, waterfalls and more. Be sure to get the children involved too, they will love being able to create with the miniatures. I also think these would be a fun activity for a birthday party. You could have a variety of fairy garden supplies for the children to choose from and let them get creative!
You know we like keeping it simple around here, so this Fairy Garden took me about 30 minutes from start to finish, including figuring out exactly what would fit in the basket.
There was such a huge selection of fairy garden accessories that I bought several other miniatures to add including Fairy Garden Houses and a Swing Set, but they just didn’t fit, so I will save them for the next Fairy Garden.
Spring is all about new beginnings. After the hustle and bustle of the holidays and getting gifts for everyone else, it’s time to treat yourself (and your space!) With bright florals and fresh projects, Michaels helps you MAKE all things spring!
The selection of miniatures at Michaels is so fun to look at! They have three different sets of Fairy Garden Accessories in the store and more online. I decided to mix and match for my DIY Fairy Garden.
The first decision to make is the type of container you will use. There is a wide variety to choose from – baskets, galvanized trays and pots, wooden tubs and much more.
After you decide on the container, then you can choose the fairy garden accessories to add.
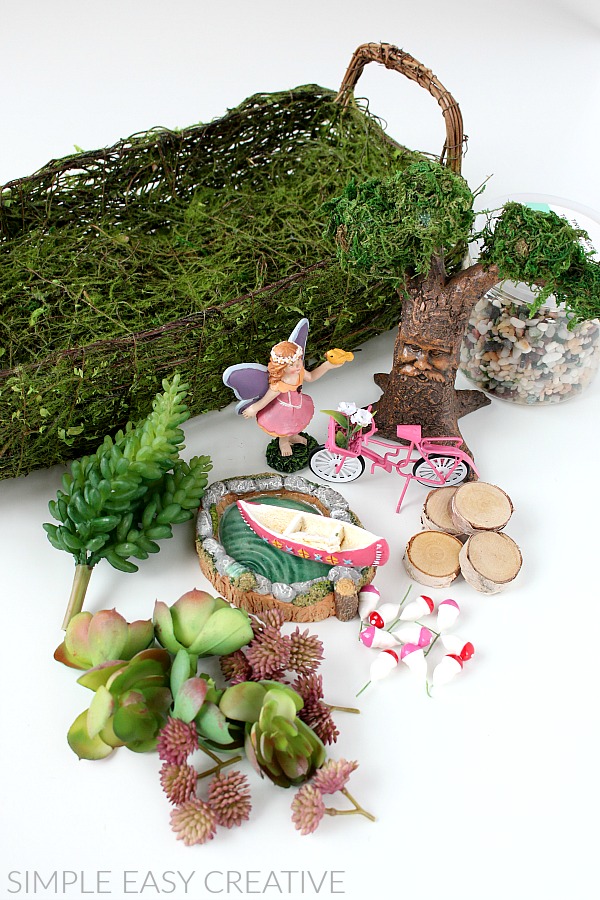
Here is what I used:
Fairy Garden Accessories
- Basket
- Decorative Filler Stone
- Tree
- Miniature Pond
- Boat
- Fairy
- Bicycle
- Birch Discs
- Artificial Succulents Spring Pick
- Mushrooms pick
Tools:
- Scissors
- Plastic Wrap to line basket if needed
After I decided how I wanted the Fairy Garden to look, I started layering in the accessories.
Step 1:
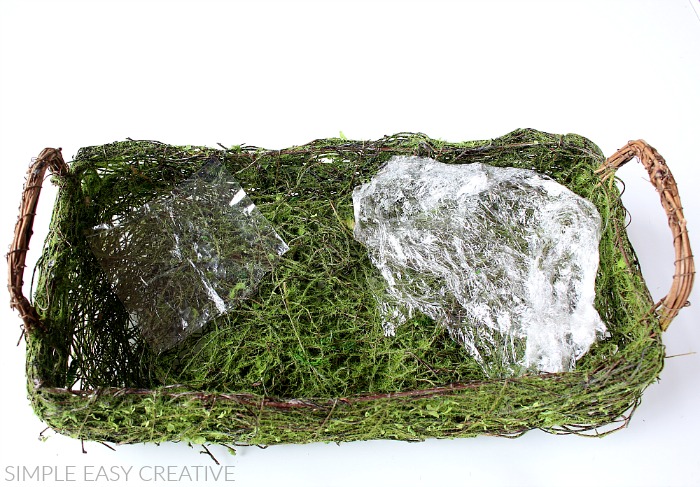
- Add plastic wrap to the basket where you will add the stones. On the left side, I used a plastic bag that one of the miniatures came in.
- If your container doesn’t have holes in the bottom, you won’t need to line it.
Step 2:
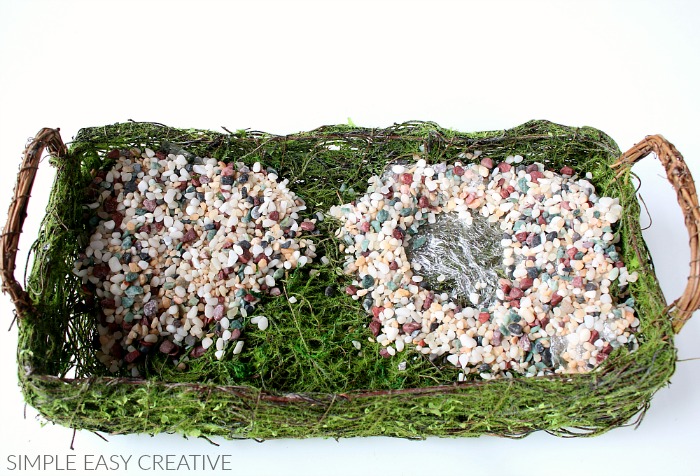
- Add the decorative filler stones. I found it easiest to add a small handful at a time so that I had control of where they were being placed.
Step 3:
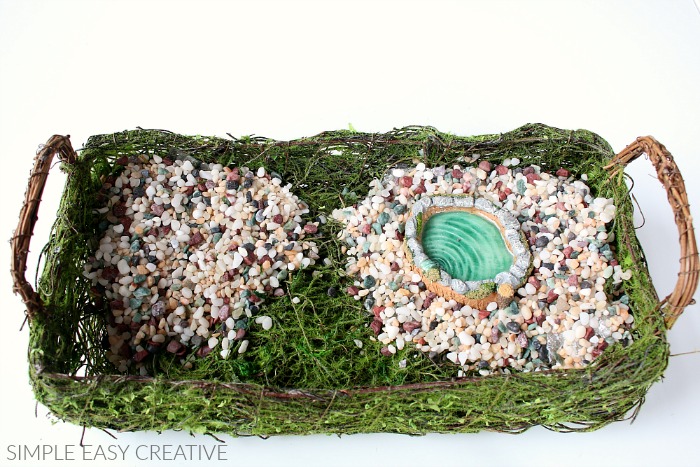
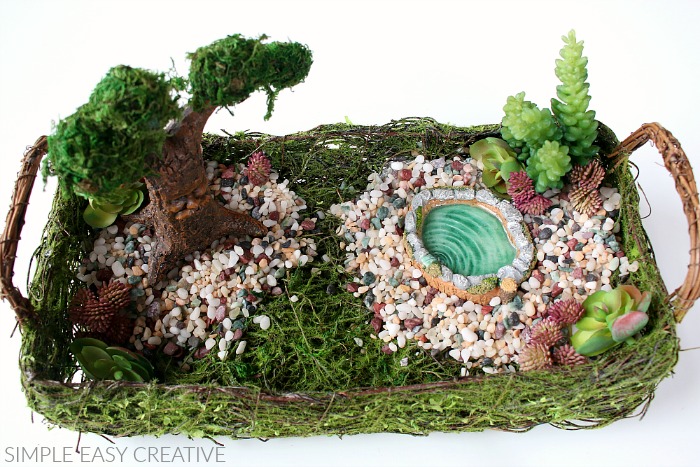
- Add the miniature pond in the stone.
Step 4:
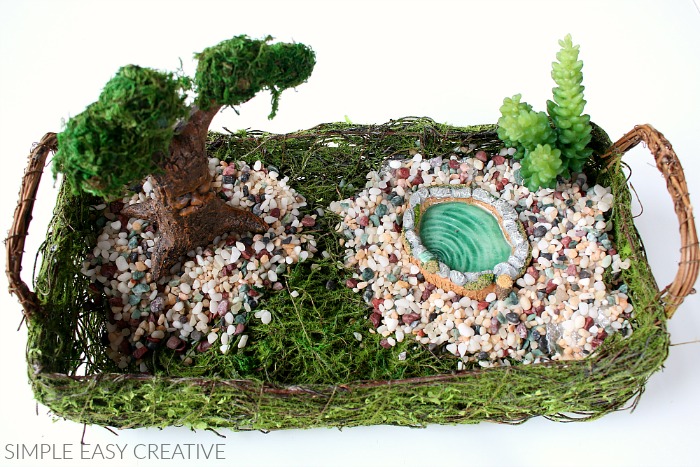
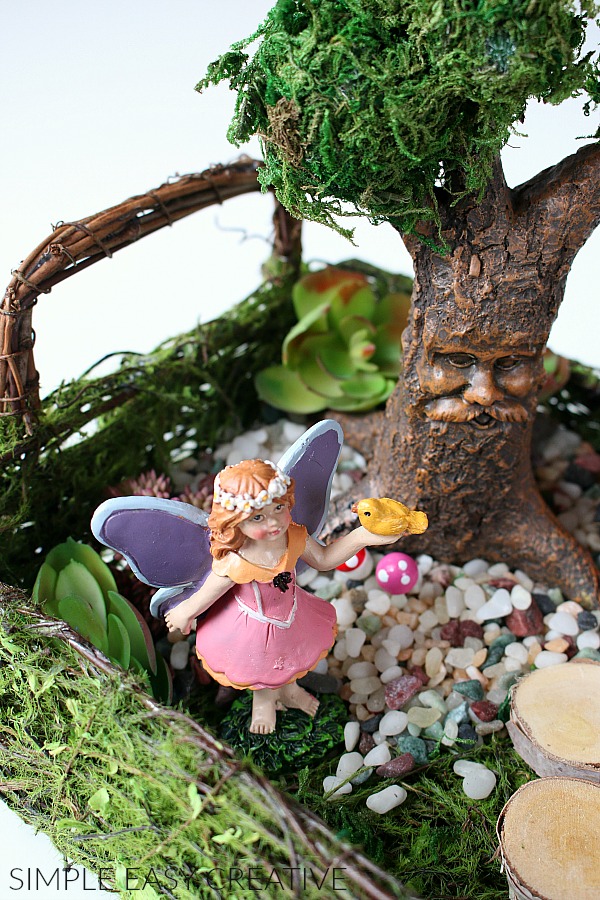
- Now you want to add some height to the Fairy Garden. I used a tree and also an artificial succulent that looks a bit like an evergreen tree.
Step 5:
- To add a little color to the Fairy Garden, I chose some fun artificial succulents from the aisle with flowers. Michaels has a large selection to choose from.
You could also use fresh succulents, but I think the artificial look great and are an easy alternative to real.
The succulents came on picks, and I cut off the individual blossoms and added them into the stone.
Step 6:
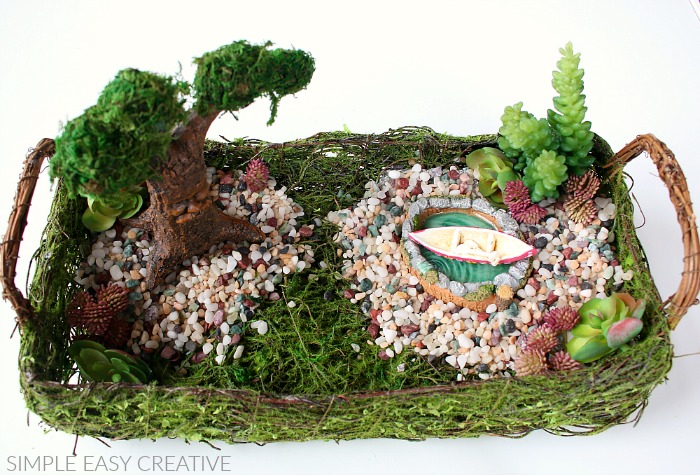
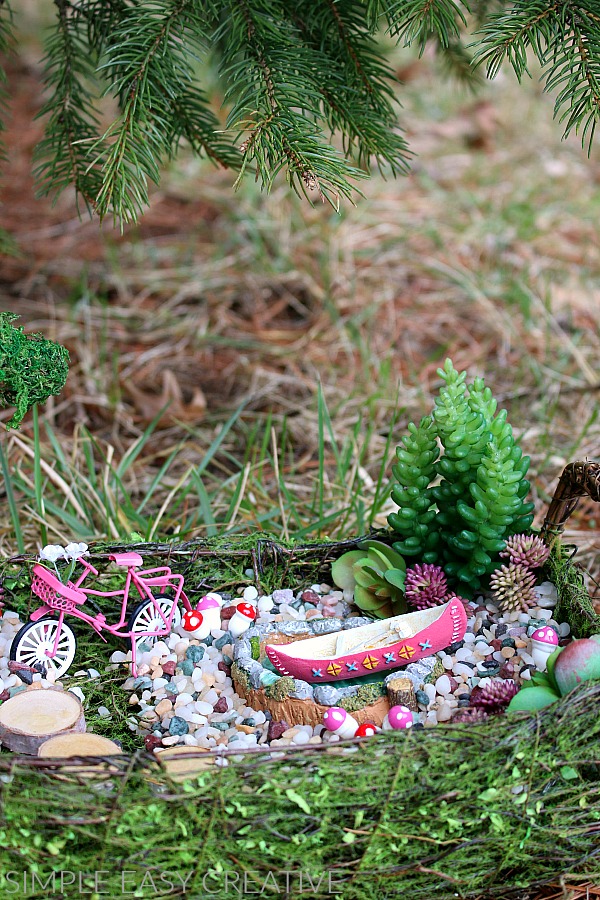
- Next comes the miniature boat.
Step 7:
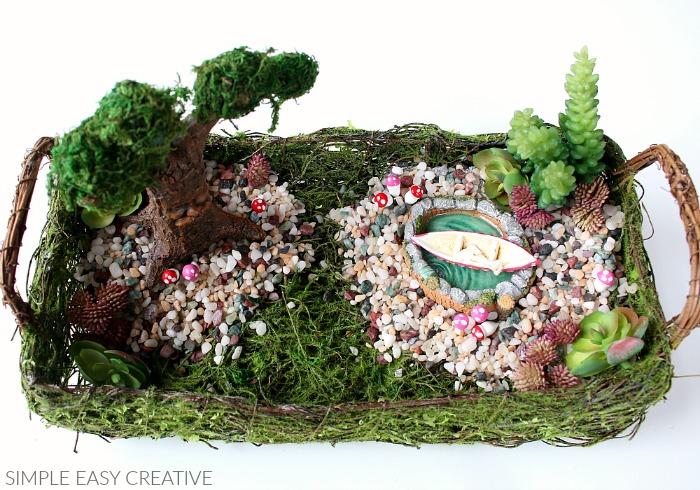
- The pink and red miniature mushrooms add a little more whimsy and color to the Fairy Garden.
Step 8:
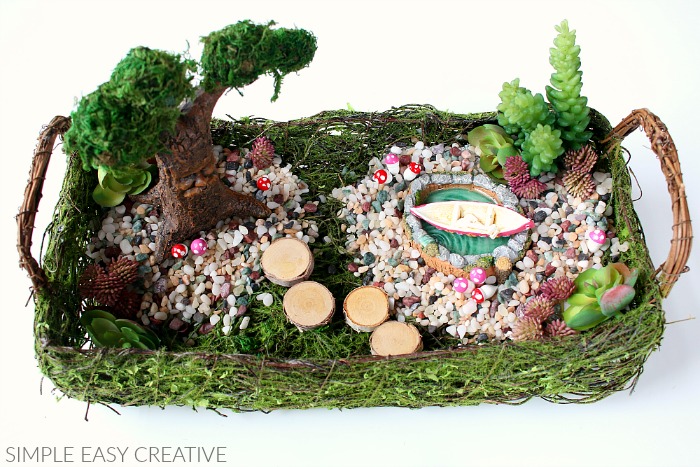
- And next add the Birch Discs for stepping stones.
Step 9:
- This sweet little fairy is ready for Spring with her flower headband and greeting the birds.
Step 10:
- Time to finish up with the pink miniature bicycle.
Are you ready to create your very own Fairy Garden? Share with us what you would like to add.
2 Comments