Valentine Cookie Pops
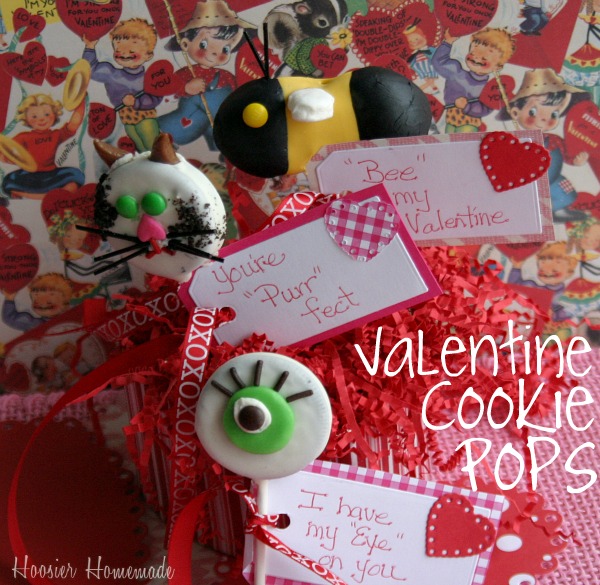
I have a super fun treat for you today…Valentine Cookie Pops! With just a few simple ingredients, you can create these for your kiddos, your sweetie or even as classroom treats.
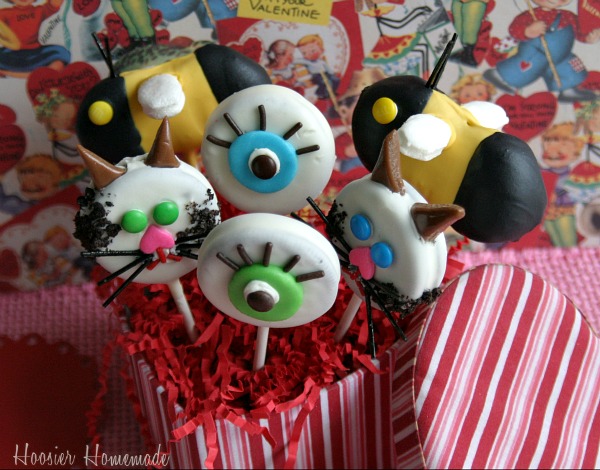
“Bee my Valentine”…“You’re PURR-fect” or how about “I have my EYE on you!”
Aren’t they fun? I used canned frosting {it melts the best} to coat the cookies, but you could also use candy melts or Almond Bark.
Let’s gather our supplies…
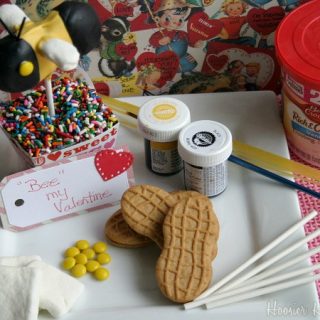
Valentine Cookie Pops: "Bee My Valentine"
"Bee" My Valentine, Cookie Pops from HoosierHomemade.com
Ingredients
- Nutter Butter Cookies
- Lollipop Sticks
- Small amount of melted chocolate – you can use candy melts, chocolate chips or Almond Bark
- White canned frosting
- Buttercup Yellow & Black Coloring
- Spaghetti, uncooked
- Yellow mini M&M’s
- Marshmallows – I used Stackers
- Small paint brush
- Wax Paper
Instructions
- Carefully take apart cookie
- Melt chocolate and dip end of lollipop stick in chocolate and place in frosting on cookie, replace top of cookie
- Place on wax paper and place in freezer for at least 15 minutes
- With a paint brush and the black coloring, paint the spaghetti for antenna, set on wax paper to dry
- Color frosting, some with yellow and some with black, the amount of frosting will depend on how many cookies you are coating
- Melt in microwave for about 20 seconds
- Coat the whole cookie with yellow, let excess drip off back into the bowl and place in floral foam to keep it upright, let set a few minutes
- Add black frosting on the ends, place in freezer for about 5 minutes
- Cut marshmallows, add to bee with frosting or melted yellow candy melts
- Add yellow eye and antennas
Nutrition Information:
Amount Per Serving: Calories: 0Total Fat: 0g
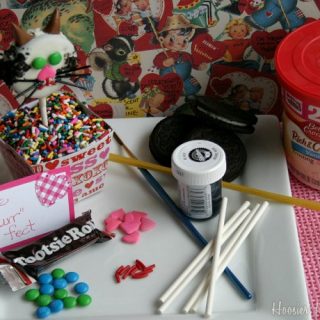
Valentine Cookie Pops: "You're PURR-fect"
Cat-lovers will PURR over these Valentine Cookie Pops from HoosierHomemade.com!
Ingredients
- Round sandwich cookies – like Oreos
- Lollipop Sticks
- Small amount of melted chocolate – you can use candy melts, chocolate chips or Almond Bark
- White canned frosting
- Black Coloring
- Spaghetti, uncooked
- Eyes – Mini M&M’s
- Ears – Tootsie Rolls
- Nose – Jumbo pink heart sprinkle
- Mouth – red Jimmies
- Small paint brush
- Wax Paper
Instructions
- Carefully take apart cookie
- Melt chocolate and dip end of lollipop stick in chocolate and place in frosting on cookie, replace top of cookie
- Place on wax paper and place in freezer for at least 15 minutes
- With a paint brush and the black coloring, paint the spaghetti for whiskers, set on wax paper to dry
- Place white frosting in a bowl, amount will depend on how many cookies you are coating
- Melt in microwave for about 20 seconds
- Coat the whole cookie, let excess drip off back into the bowl. Add crushed cookies if desired, and place in floral foam to keep it upright, place in freezer for about 5 minutes
- Meanwhile, prepare the face – soften Tootsie Rolls in your hands, push flat and cut ears. Layout other candy for face
- Place in freezer to set, about 15 minutes
Nutrition Information:
Amount Per Serving: Calories: 0Total Fat: 0g
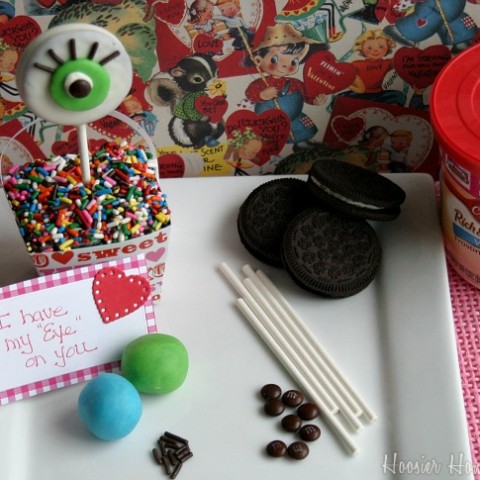
Valentine Cookie Pops: "I Have My EYE On You!"
Eye candy for Valentine's! Make these fun eyeball Valentine Cookie Pops from HoosierHomemade.com.
Ingredients
- Round sandwich cookies – like Oreos
- Lollipop Sticks
- Small amount of melted chocolate – you can use candy melts, chocolate chips or Almond Bark
- White canned frosting
- Eye – Candy clay – I shared the recipe in Cupcake Chronicles Newsletter {subscribe here } or you could also use a round candy like Necco Wafers
- Pupil – brown mini M&M’s
- Eyelashes – Chocolate Jimmie sprinkles
Instructions
- Carefully take apart cookie
- Melt chocolate and dip end of lollipop stick in chocolate and place in frosting on cookie, replace top of cookie
- Place on wax paper and place in freezer for at least 15 minutes
- Roll out candy clay and cut with a decorator tip, add to cookie with a little frosting or add round candy
- Add a little frosting to the middle and then the brown M&M
- Add Jimmies for eyelashes
- Place in freezer to set, about 15 minutes
I cut the tags from Lifestyle Crafts die cuts, added a heart cut from die cuts like I used on the Heart Garland, and tied them onto the stick with a ribbon.
Happy creating! I’ll be back tomorrow with Homemade Gum Drops for Valentine’s Day!
Disclosure: I received some products to try from Lifestyle Crafts and as always, the opinions are my own.
Linking to…Gooseberry Patch, Show & Tell Friday, Weekend Wrap up Party, Made by you Monday
Oh I love this! It would be great if you would share this with our readers for Fun Stuff Fridays. https://www.toysinthedryer.com/2012/02/fun-stuff-fridays-11.html
These are so adorable! Why don’t you link your post to Seasonal Sundays?
– The Tablescaper
ohmigosh CUUUUUUTE!!! Would you please share this with our readers for Fun Stuff Fridays? https://www.toysinthedryer.com/2012/02/14-days-of-valentines-fun-stuff-fridays_10.html
your projects are always creative and inspiring come see me at https://shopannies.blogspot.com
These are just adorable! Very creative 🙂
I need to unsubscribe from the Facebook posts. I’d like to keep getting your emails. Just not the ones on my Facebook page/wall. Thank you.
Kathe, I’m sorry I don’t have control over the Facebook updates. You can just unlike the Facebook page, and it will not go into your feed.
Hi Liz, these are adorable and I bet a lot of fun to make. Thanks for sharing. Regina