Fall Tablescape Tutorial
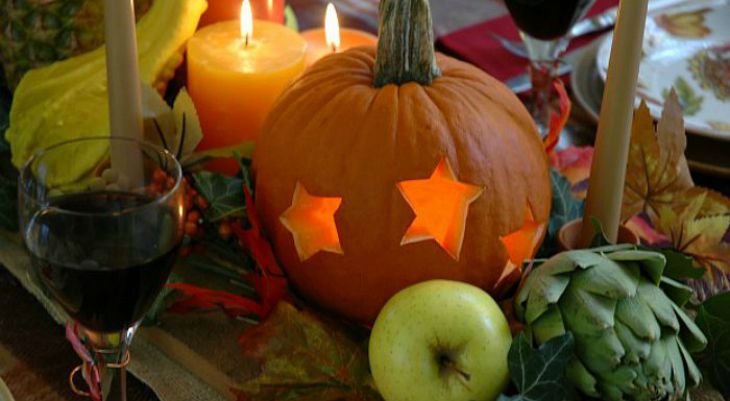
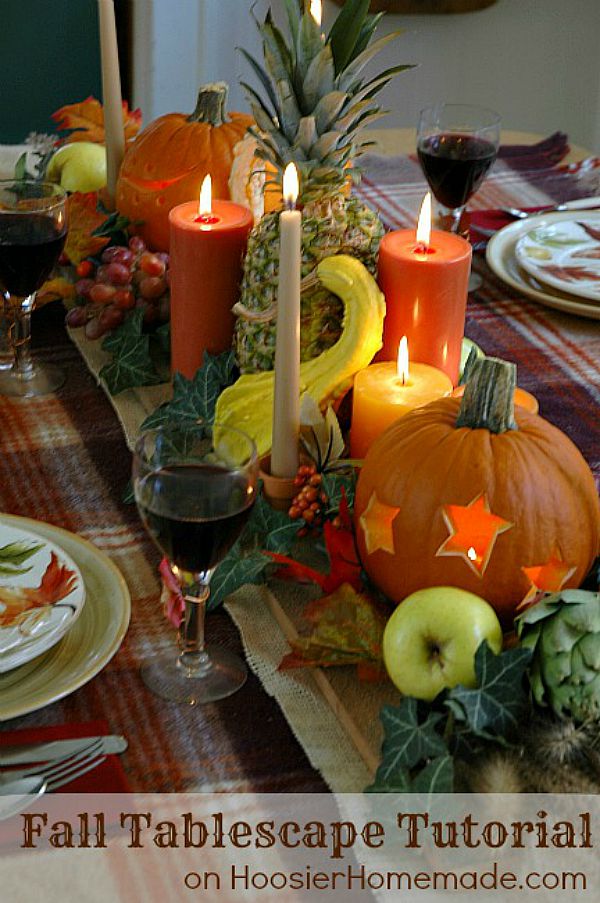
Creating a beautiful table centerpiece for your Fall or Thanksgiving dinner is easier than you think! This Fall Tablescape Tutorial will show you how to decorate your table with step-by-step photos.
We have a a little mix in this post…part Fall Decorating…part Pumpkin Carving!
When you think of Fall Decorating you probably think of pumpkins, gourds, leaves, etc. But how about fruit, vegetables and carved pumpkins?
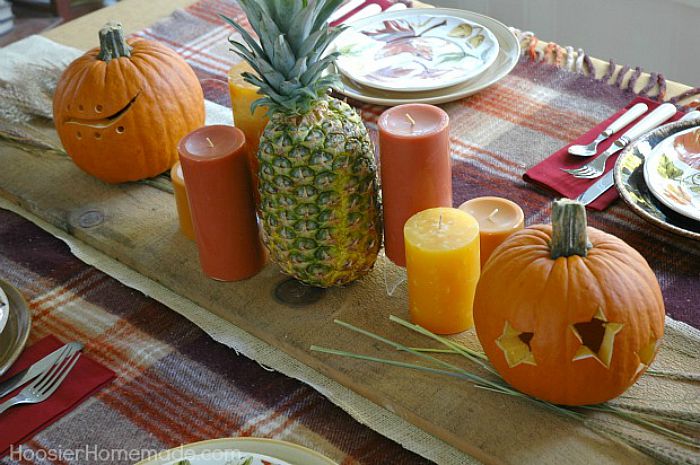
As I was gathering ideas to add to my Fall Decorating Pinterest Board, I came across a Fall Tablescape that I loved and decided to put my spin on it. It’s perfect for your Fall parties, and would make a gorgeous Thanksgiving table centerpiece. This centerpiece would also be fine for an adult Halloween party, if you are looking for something a little more elegant.
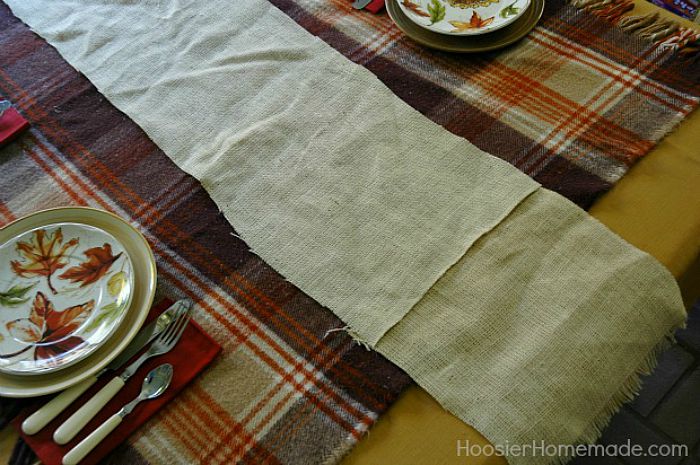
Let’s begin with the base for our Fall Tablescape, the tablecloths…
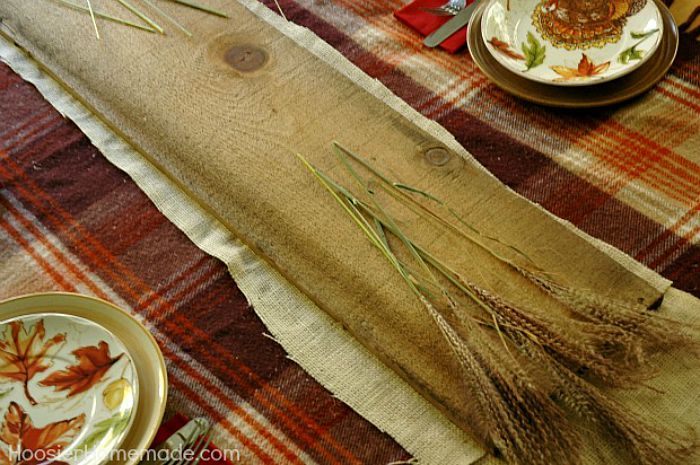
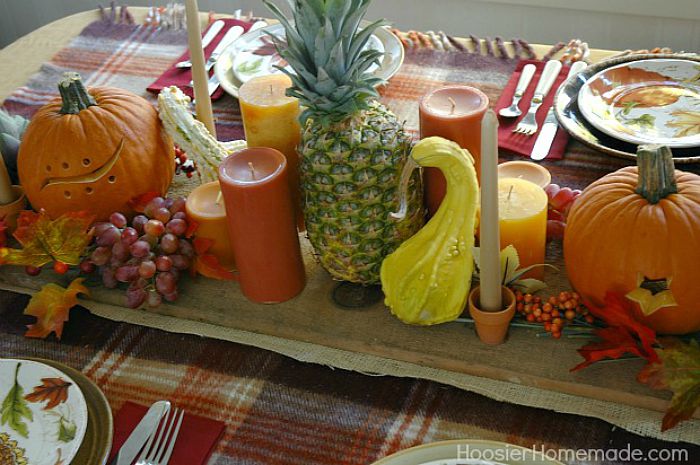
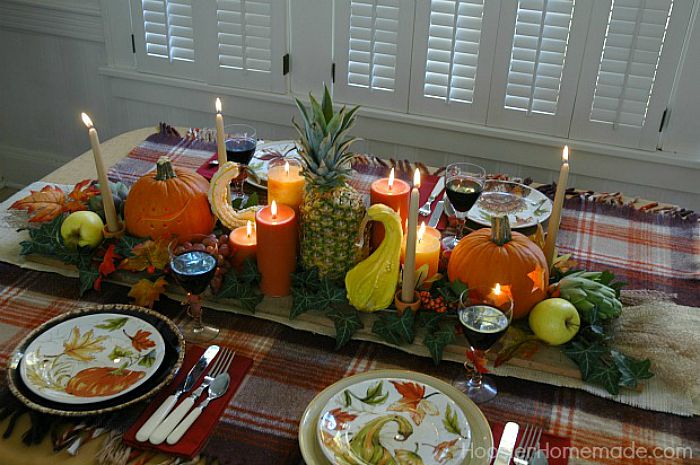
I created a cozy, warm feeling by layering the tablecloths. I started with solid rustic gold, then added a warm plaid throw for texture and something a little different. On top of that came some ivory color burlap for more texture and interest.
Next came the wood, any piece of wood will work. We used a piece from the folks that we got the barn doors that Doug used to build amazing Office Desk.
On the wood, I laid down a base of Ornamental Grasses that I cut from the yard. If you don’t have them in your yard, you can usually find them along side the road, at the park or even in the floral department at craft stores.
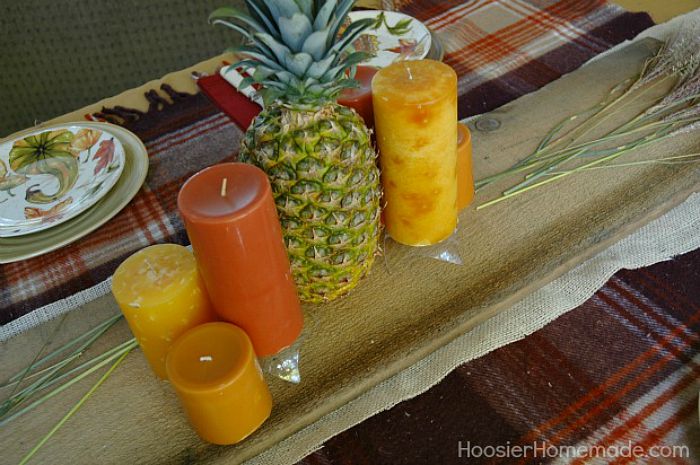
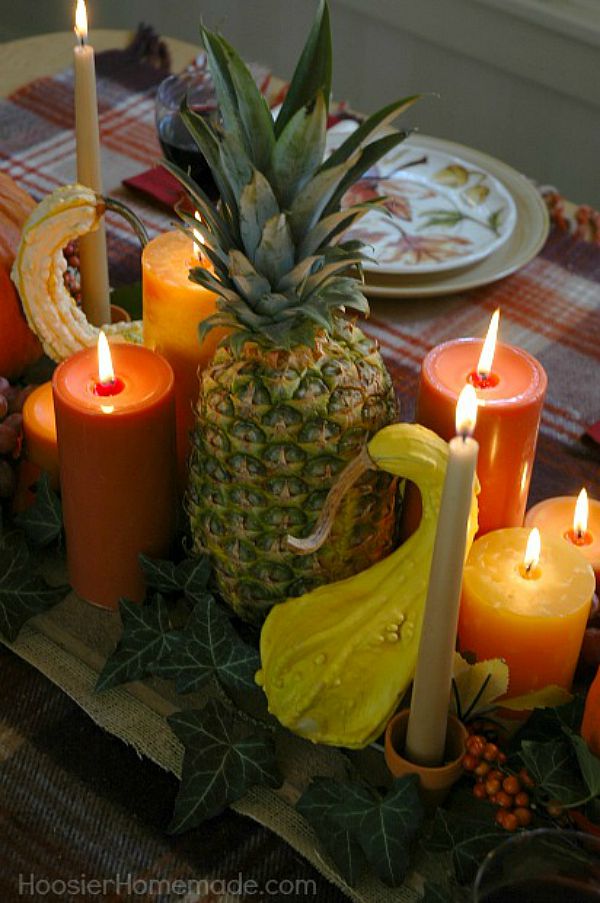
Next the fresh pineapple was added to the center, and surrounded by candles.
Here’s a little tip to save money on candles, buy a shorter size and then place it on top of an inverted bowl or dish. It will give the candles different heights, without paying extra for the taller candle.
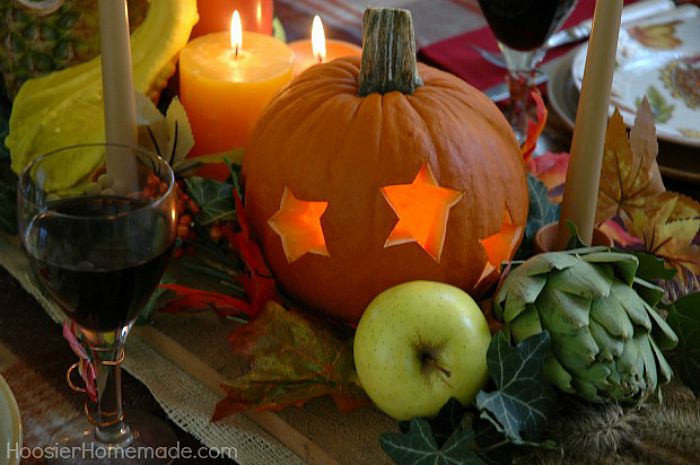
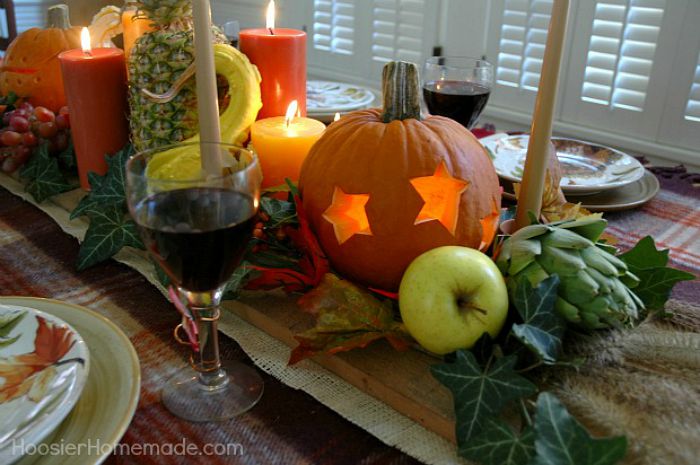
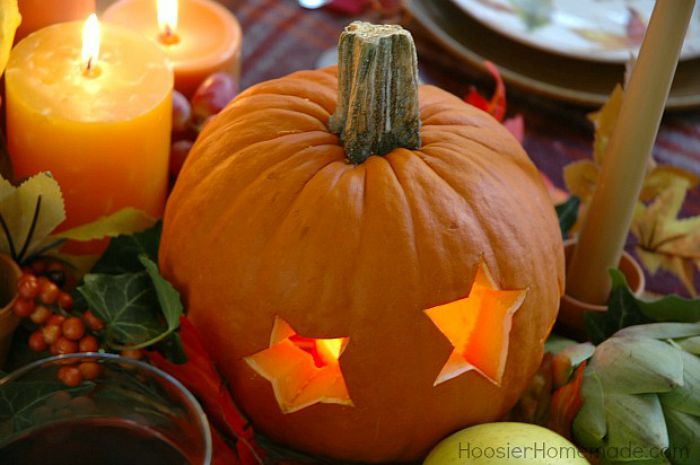
Now let’s chat about the Carved Pumpkins, we used Pie Pumpkins for our Fall Tablescape. Pie Pumpkins are the perfect size for the table. The skin is a little tougher than a regular pumpkin, so it took a little more time to carve. But I left that up to Doug and his strong arm.
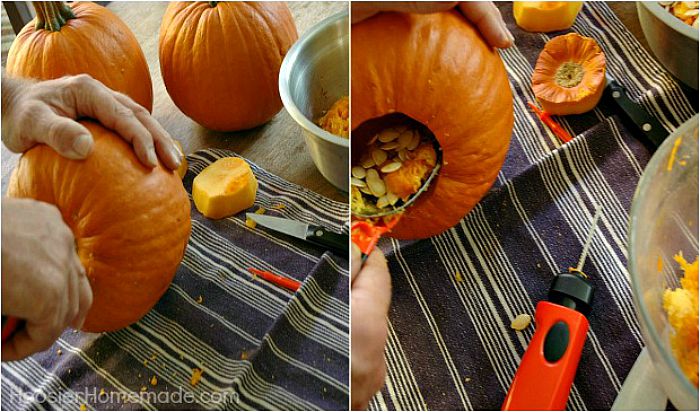
Doug used 2 different Pumpkin Carving tools. The Power Saw worked well, the only problem he had was keeping the bottom on, but he just taped it closed. The Deluxe Scraper Scoop has teeth on the end making it easier to clean out the pumpkin.
Here is our #1 Tip for Carving Pumpkins…cut a circle out of the bottom to clean it out, then the stem is still intact and looks better and it’s also easier to light the candle or turn on the light.
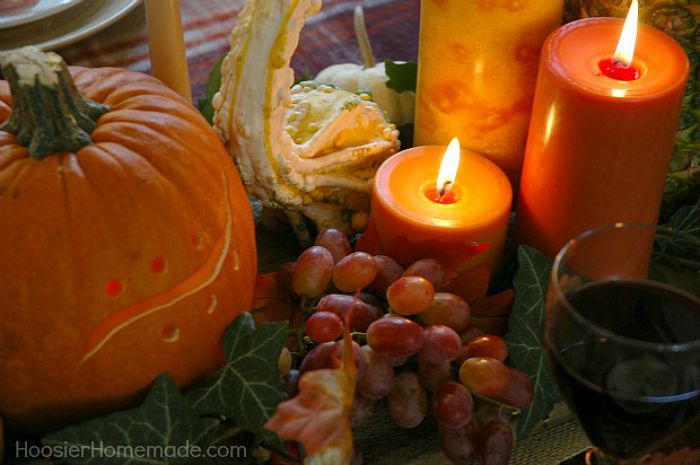
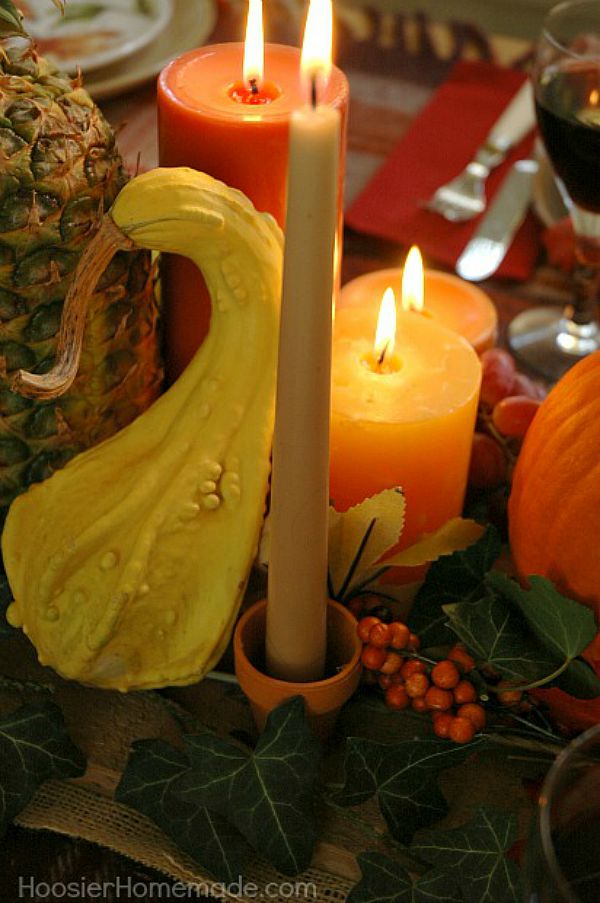
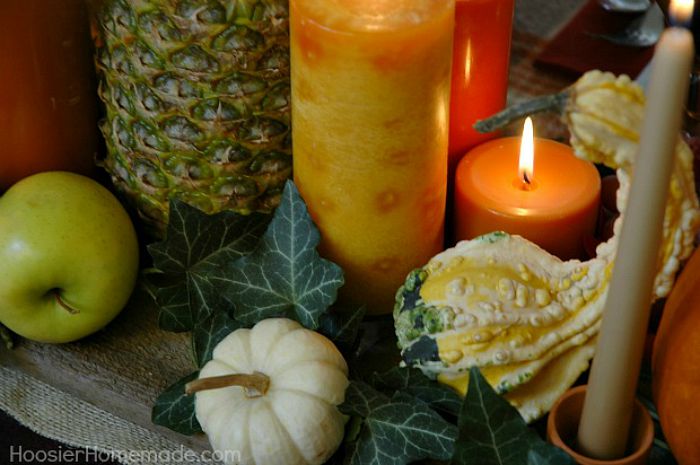
Now it was time to start filling in with smaller items. Just keep in mind, when you are creating a centerpiece, you want your guests to be able to see each other. I used…
- Gourds
- Apples
- Artichokes
- Grapes
- Silk leaves
- Ivy from the Yard
- Mini Pumpkins
- Tall taper candles
After you have your foundation built, it’s just like putting together a puzzle. Just fill in the empty holes.
For the Taper Candles, I used a mini terra cotta pot and simply glued them in with hot glue.
Fall Tablescape Resources:
- Tablecloths, Blanket and Burlap – had on hand
- Solid color plates, glasses and silverware – had on hand
- Printed smaller plates – from Walmart
- Napkins – from Walmart
- Pumpkins, Gourds, Vegetables and Fruit – from Walmart
- Pumpkin Carving Tools – from Walmart
- Dried materials and Ivy – cut from the yard
- Candles – from Walmart
- Wood – free from our friendly neighborhood gentlemen
The table is set…would you like to come over for dinner? I’d LOVE to have you!
Thanks for sharing your fun ideas. I just love this!
Wow! Gorgeous stuff! I am your newest follower and was hoping that you would hop on over to my blog and return the favor!!
http://www.enjoyingtheepiphany.com
Thank you!
Sarah
Hello Liz….this is my first time on your site. I love your tablescape and plan on trying to make one of my own.
Thank you for sharing,
Michelle
This is gorgeous!
Thanks so much! I’m thrilled you like the Fall Tablescape! Thanks for stopping by!