Back to School Craft: Lunchbox Chalkboard

It’s Back to School time! And you know what that means – crafts, school supplies, schedules, lunches and homework. Today we have a super simple Back to School Craft for you that is sure to put a smile on your kiddos face!
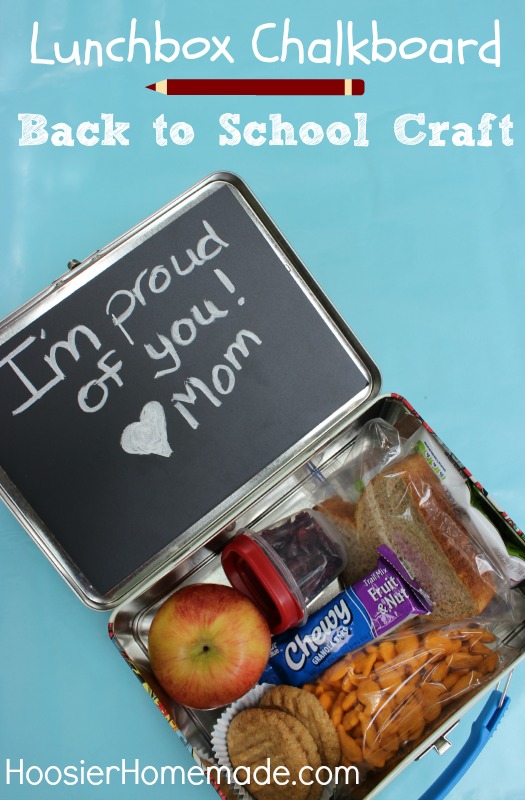
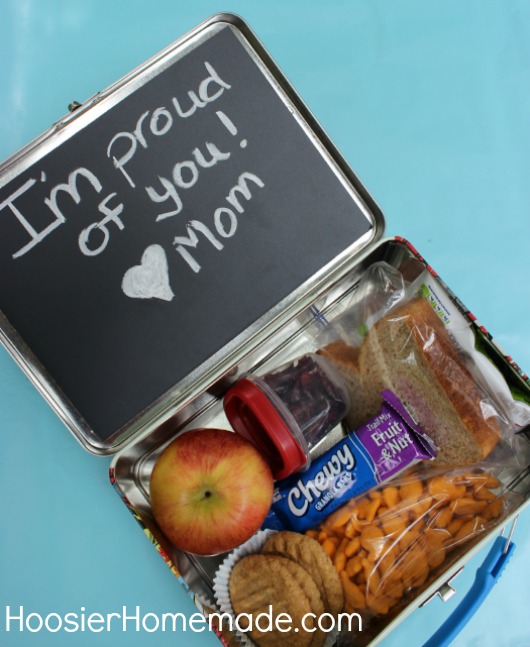
Packing lunches is something we all do for the kids or maybe even the hubby. So why not brighten their day even more by adding a piece of chalkboard to the lunchbox to share a special note or remind them of an after school activity or appointment.

I bet the kiddos will be so excited to open their lunchbox each day and see what you have shared with them. Although I love the Printable Lunchbox Notes, it’s also a great idea to go paperless.

Making the chalkboard is easy enough with a few coats of Chalkboard Paint, but this time we found something even easier. While shopping at The Home Depot for the wood to make the chalkboard, we found one already made.
All you need to do is cut the chalkboard to fit the inside of the lunchbox and secure it. We found this metal lunchbox at Walmart. Let’s get started…
Lunchbox Chalkboard Instructions
- Measure where you want the chalkboard to fit
- Apply Frog Tape to the end before cutting the board so the chalkboard paint does not chip
- Then cut on your table saw or use a circular saw
- Apply a few lines of DAP Strong Stik Adhesive (found at The Home Depot or online) to the back of the chalkboard and press into the lunchbox. Note: you can use other adhesives if you want, we just really like this brand
When writing on the chalkboard, use regular white school chalk or even sidewalk chalk. If you wrap the chalk in a damp papertowel or cloth for a couple minutes, it will write more smoothly. Also, if you wet the chalkboard first, the words show up cleaner.

