Soil Testing Your Lawn
After returning from my trip to Pennington Seeds and their research farm in Portland, Oregon and learning the benefits and advantages of a lush lawn. I grabbed my calendar and started planning the steps I would need to follow to prepare my lawn to get it ready for a spring seeding. See we have a big day coming up in June, our middle son will be graduating high school so I need to make sure everything is in tip-top condition around here. First on the agenda is the lawn, the first impression and largest area of most homes.
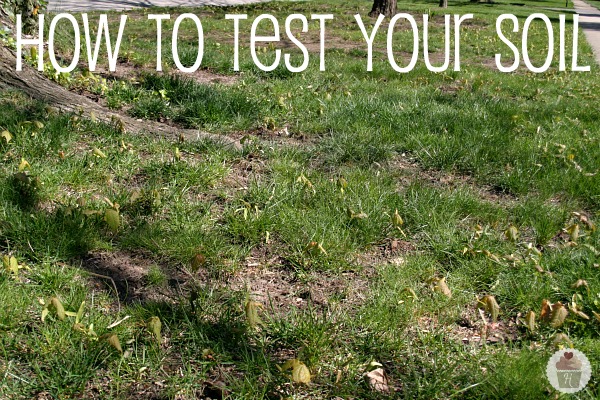
We’ve been battling with the lawn since we moved here a couple years ago, there was some construction done so there’s been a problem with compaction. And our town is known as the Maple City because of all the large Maple trees that line the streets, our street is no different. One thing that we haven’t done is test our soil to know if there is enough fertility to grow a healthy lawn so today I thought I’d take you through the process using a home Soil Testing Kit you can pick up at almost any larger retailer.

Tools and Materials
Tools and materials needed include a soil test kit (available at many garden centers), timer, plastic spoon, straw, trowel, small bucket, quart mason jar and water.

Before you get started always Read & Follow the Directions that come with the Soil Testing Kit.

Sampling the soil
- Sample areas according to use (i.e. lawn, garden, flowerbeds), if you have problem areas these should be tested separate. We have a severe problem area where the grass is very sparse so we’ll be concentrating on it this year.
- Take the samples to a depth of four inches, and combine at least seven cores together to make a sample of the soil in the area. Use a zigzag pattern so you get a good sample that will be representative of the area.
- After you have collected your samples, mix them together and remove any stones or roots and any other materials that are not specifically soil.

Testing the pH (Soil Acidity)
- Add the amount of soil specified in the directions from your composite soil sample.
- Add water (filtered or distilled water works best) to the sample.
- Add the powder (reagent) supplied with the test and shake to mix thoroughly.
- Read the results after settling. Looks like I’ll be applying limestone.

Testing N-P-K (Fertility)
- This test requires that you make a slurry by combining soil and water together (1 part soil, 5 parts water), this is where the mason jar comes in handy. I added 100 ml of soil.
- Then topped it with 500 ml water.
- Cap it and shake for one minute, let the mixture sit for an hour to settle.

- Add the mixture and reagents according to the directions.
- After waiting the specified time to allow the reaction to occur use the color chart to read the fertility of the soil. Looks like I’ve been seriously underfeeding the nitrogen and phosphorous.
Be sure to enter our giveaway for a $100 gift card from Pennington Seed.
I didn’t know you could test your soil on your own! That is great! Thank you for sharing!