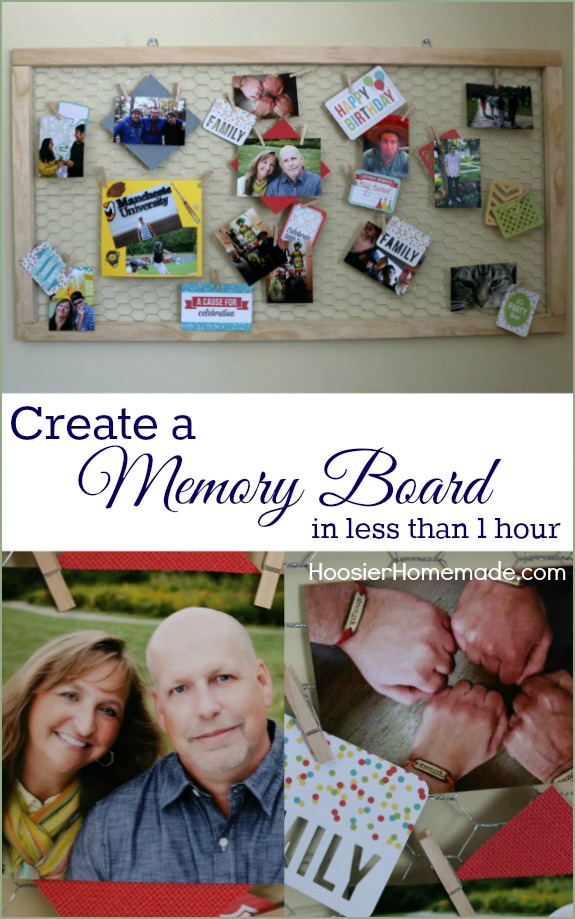
Memory Board
Create a special place on your wall doesn’t have to take a lot time or supplies. This Memory Board goes together in less than an hour and is the perfect place for a look into the past or the future.
Many of us have Memory Albums full of pictures. Some of us, like me, have piles and piles of pictures that need to be put into the albums. Years ago I enjoyed scrapbooking, but as time went on the busier I got the less time I spent on the boys’ photo albums.
During our 100 Days of Homemade Holiday Inspiration, we featured a holiday card display from Lolly Jane. I had the perfect spot on a wall in our new Family Room that was waiting to be filled with memories.
It’s the perfect spot to hold lots of memories from the year. I also thought it would be great to make it a vision board and add photos of vacations we are dreaming about, goals that have been made, accomplishments that have been tackled, and so on.
To begin with, I decided to add memories from last year, a few places we visited, the fun we had, and memories our family built.
After the board was built, we needed to get some photos printed and find some scrapbooking supplies to add color and fun to the Memory Board. Walmart has a large variety of scrapbooking supplies. We have used the scrapbook paper in many different projects, like Paper Fireworks, Pinwheels, Snowman Garland and more.
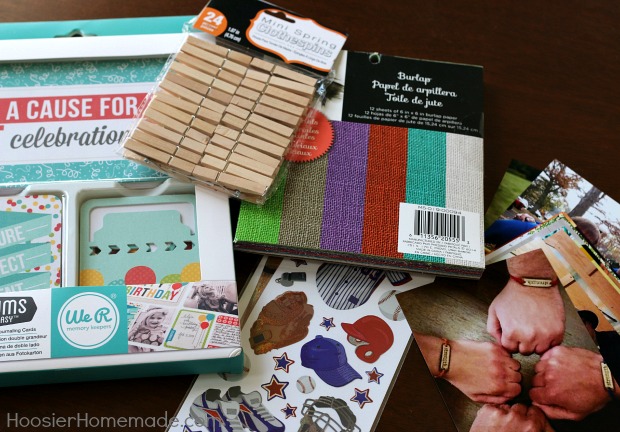
Here’s what we found for the Memory Board –
- Albums Made Easy – comes with 100 journaling cards in each box and they have a variety for different occasions
- Burlap Paper
- Stickers
- Mini Clothespins
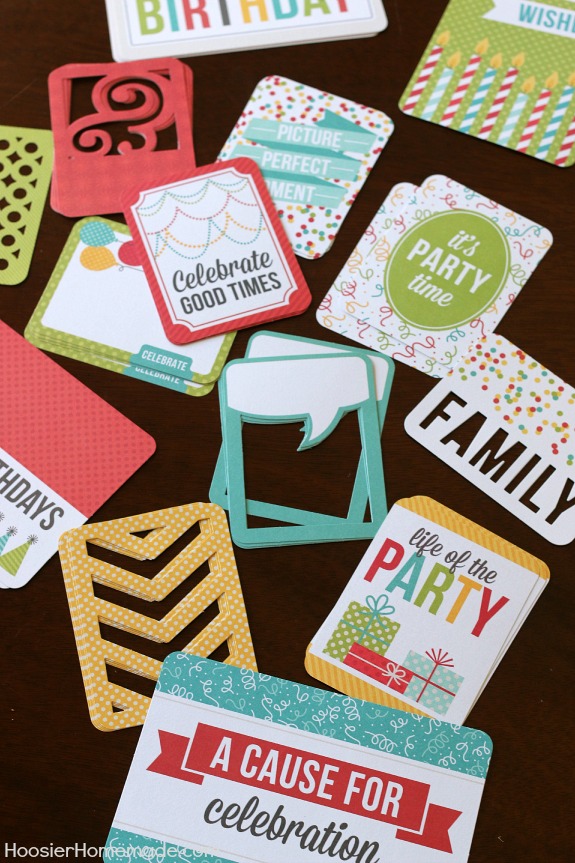
The Albums Made Easy kit was my favorite. It has a variety of cards that were perfect for the Memory Board. I think they would even work great to send in the mail with a note to someone.
Then it was time to order the photos. Most of the photos we used were on my phone, so I needed to have them printed. Here is how I ordered the photos –
- Email photos from phone to yourself
- Open the email and save photos
- Head to Walmart.com Photo Center
- On the left side, you will see options – hover your mouse over Prints – it will have options, I chose the 1 hour
- Then simply upload your photos and order the ones you want
- You can also choose to be alerted when your photos are ready
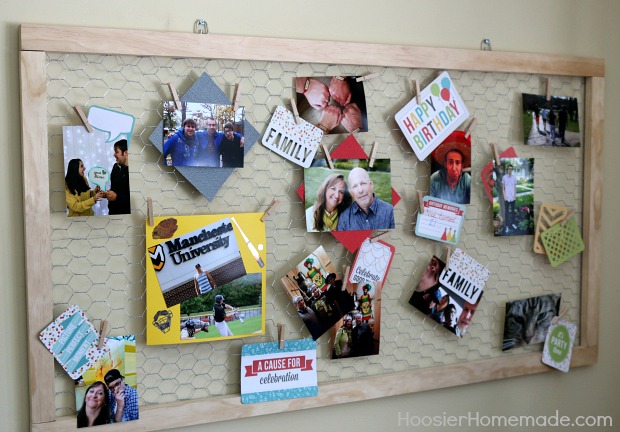
Now we were ready to add memories to our new Memory Board!

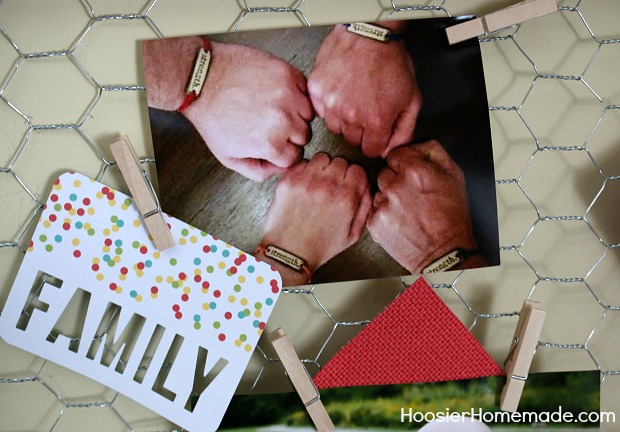
While Christmas shopping with our middle son, Nick, last year, we came across these MudLove bracelets. He bought one for himself and 3 more for his Dad and brothers. Since he is away at college, it connects them even though they are miles apart. The bracelets say strength.
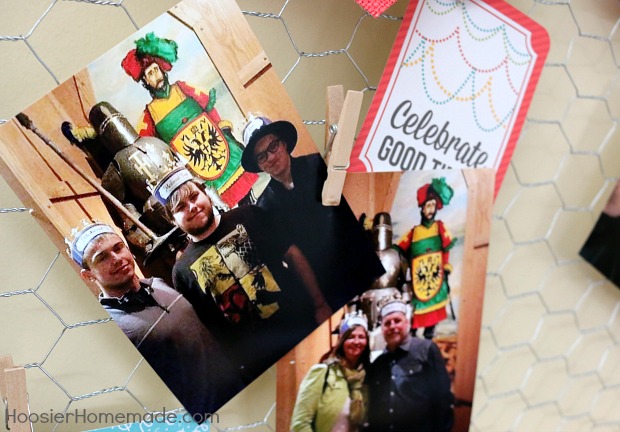
During Christmas vacation we went to Medieval Times. The boys all loved it and we had a great time. We decided to make it a Christmas family tradition.
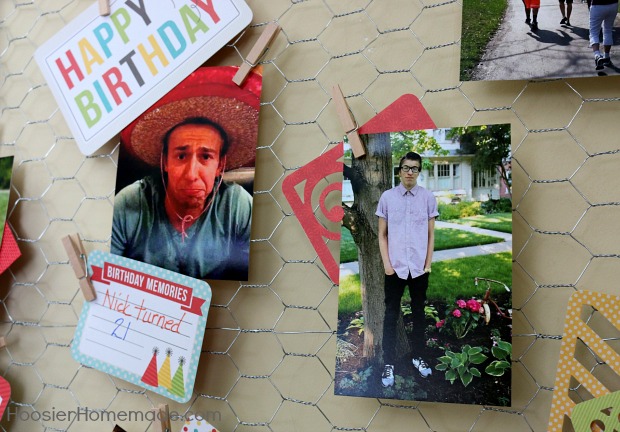
Time sure does fly! Nick turned 21 last year! See the cute little cards? They would be perfect in a scrapbook also! And Casey started his Junior year in High School.
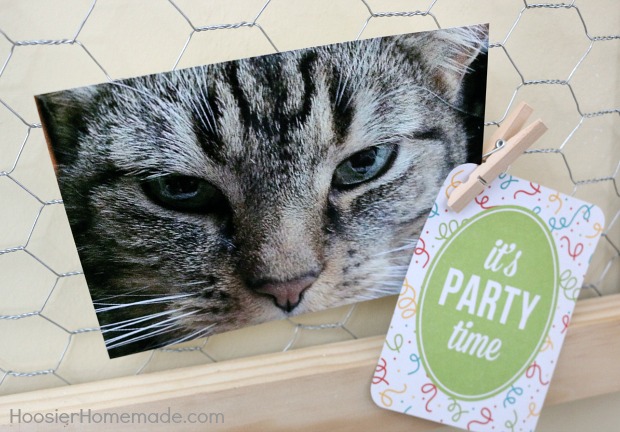
Our cat, Kali has become an even bigger part of our family since we lost our beloved Rocky last year.
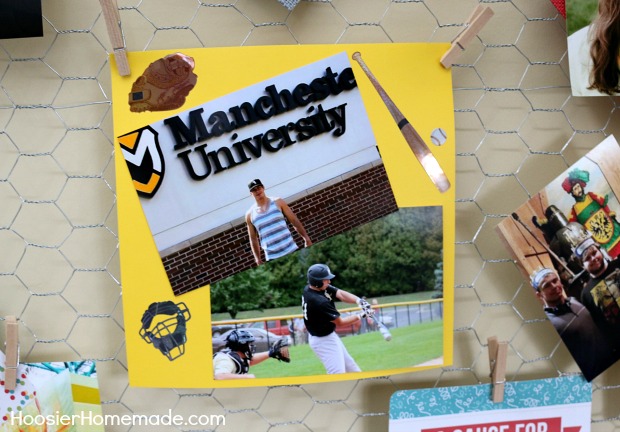
Nick had a great year playing baseball at Manchester University. I used some of the stickers I bought to create a special spot for these photos.
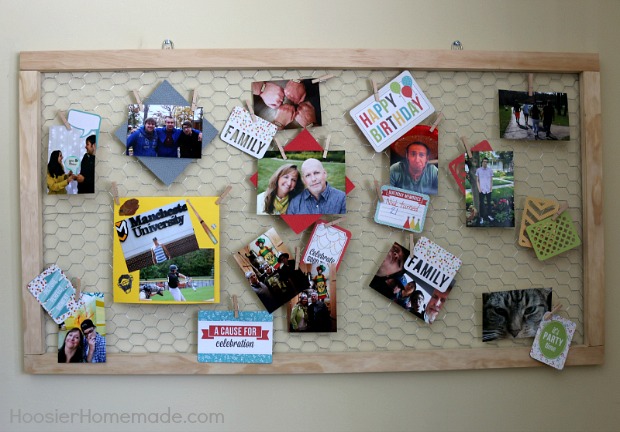
I love how it turned out and can’t wait to add more memories to our new Memory Board!

