DIY Menu Board
Hey mom, what’s for dinner? Oh how many times I’ve heard this from my family over the years. I’ve forgotten the number of times that we’ve changed our dinner plans because one boy or another didn’t like what we had planned for dinner.
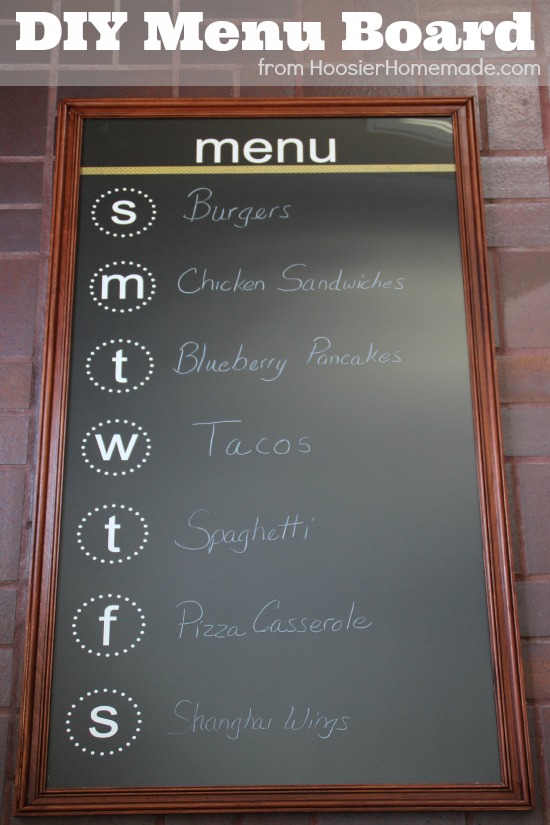
I’ve been on the lookout for the perfect solution, one that would serve our purpose and last a long time. After putting our heads together we came up with the perfect DIY Menu Board.
We wanted the board to be awesome so we’ve combined functionality and good looks. While we love the look of chalkboard we didn’t necessarily want the mess of all the chalk dust, plus it plays havoc with allergies as well. So the question was how to get the look of a chalkboard without using chalk… cover it with clear acrylic plexiglass and use a White China Marker or Neon Dry-Erase Markers![]() .
.
This also makes it easy to clean. Then to add even more awesomeness we’ve teamed up with WiseDecor Decorative Lettering to add the wall quotes and lettering that are ONLY $9. They worked with us to get the exact lettering and size we wanted for the project, and we couldn’t be happier!

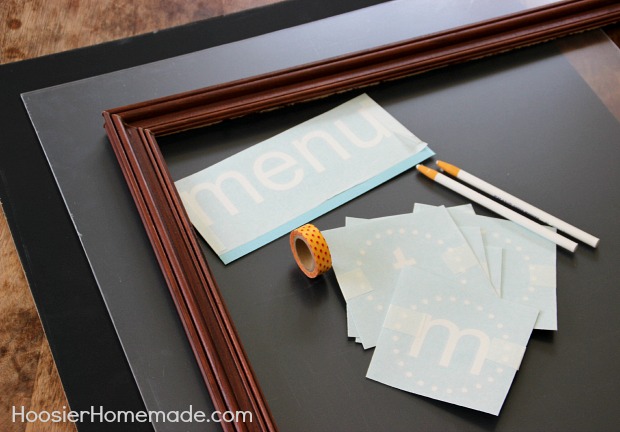
Let’s get to work putting together this awesome project… Gather up the supplies
Supplies
- Clear Acrylic Sheet 0.100″ x 24″ x 48″ (this can be found at any hardware store)
- Black Chalkboard 24″ x 48″ (this can also be found at most hardware stores like The Home Depot and Menards)
- 24″ x 48″ Picture Frame (we made our own)
- Washi Masking Tape

- White China Markers
- Custom Wall Decals from WiseDecor (10% discount) for ONLY $9

Tools
- 1″ FrogTape
- Tape Measure
- String
- Clear Packing Tape
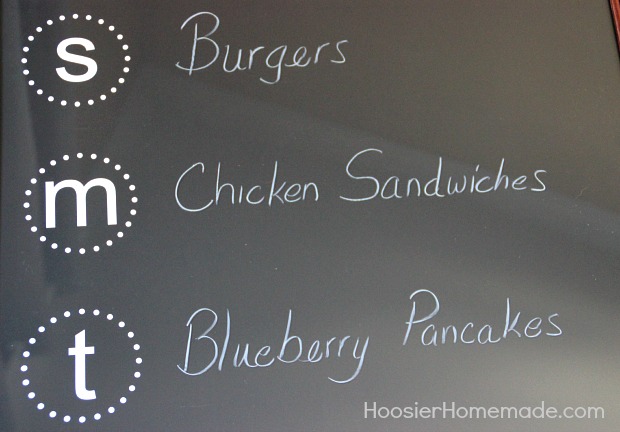
Once you have everything it’s time to mark out the chalkboard. This takes the most time but it is worth it (use the picture for reference)
- Start with the 1″ FrogTape, run a strip around the perimeter of the chalkboard, then add an additional strip at the top.
- Working from the top left hand corner mark 3 1/4″ in from the left. Repeat at the bottom.
- Then again start at the top left hand corner and mark the left edge at 8″, 14″, 20″, 26″, 32″, 38″ and 44″. Repeat along the right hand edge.
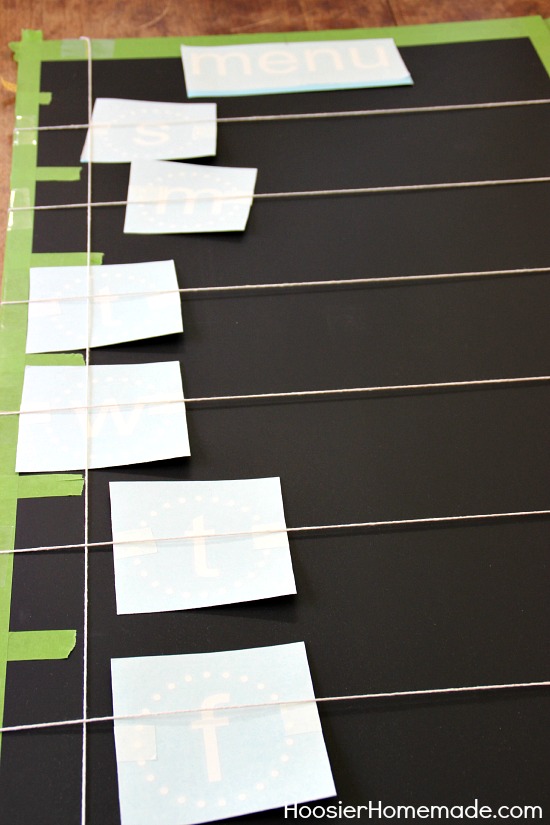
- Then take the clear tape and string and connect the marks. This gives you a grid to align the WiseDecor Wall Decals.
- Finish by marking the top center.
Now we get to make the menu board look awesome…
Let’s work from the top down starting with the menu decal. WiseDecor shipped everything we needed, the decal, and a squeegee along with easy to follow directions. They even ship an extra decal with every order so you can get a little practice before you commit to the project. Read their directions and important preparation tips for a foolproof application.
So getting back to the directions find the center of the menu decal, align the mark with the top center mark on the board…
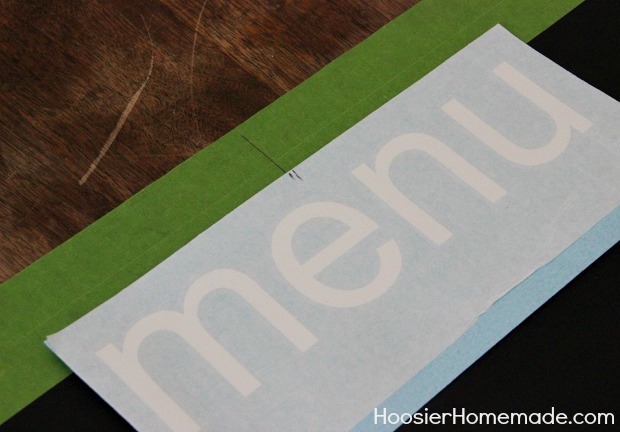
Remove the backing paper…
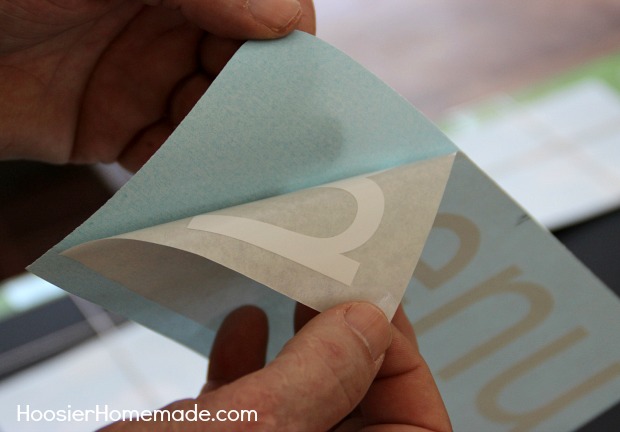
Align the marks and smooth out the decal using the squeegee provided with your shipment…

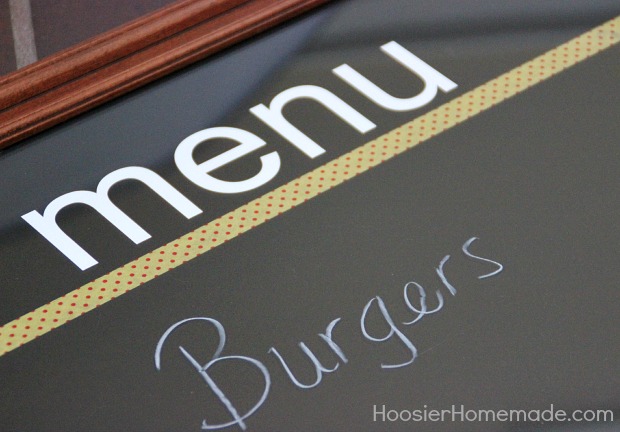
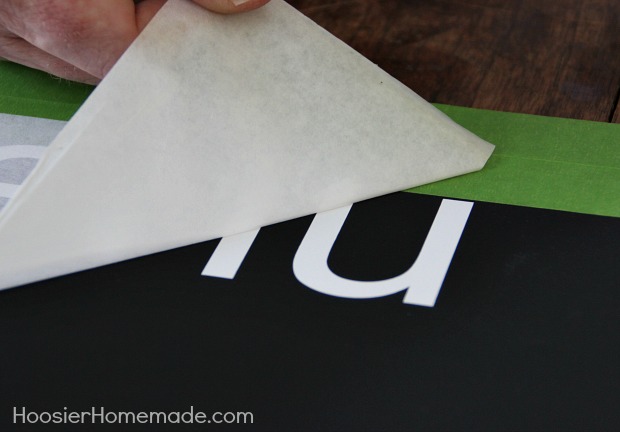
Next carefully and slowly peel off the transfer paper. Then run a piece of Washi Tape across the top.
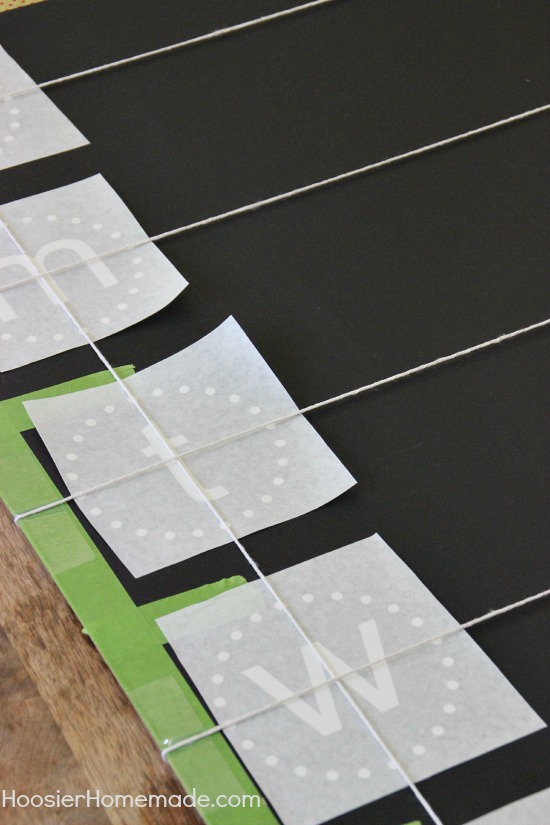
Now let’s move on to the other decals, this is where you’ll be glad you spent the time marking and making the string grid. Follow the same basic steps you did to apply the menu decal but use the strings to align them to keep them straight and true. Align the top and bottom dots with the vertical string and the left and right dots with the horizontal string.
Once all the wall decals are on you can remove the tape and string…
Now we assemble the Menu Board, a quick 1-2-3. Place the acrylic glass in the frame, then the finished chalkboard and then use window glazing points to keep them in the frame. Now it’s time to put it to work!
Maybe the boys will stop asking what’s for dinner every night. Although I doubt it.
Get more ideas on WiseDecor Decorative Lettering’s facebook page, follow them on twitter and Google+ and check out their Pinterest page.
We’ve also teamed up with WiseDecor to pass along a 10% discount on the Chalkboard Menu Letters.
