Basics of Fertilizing your Lawn

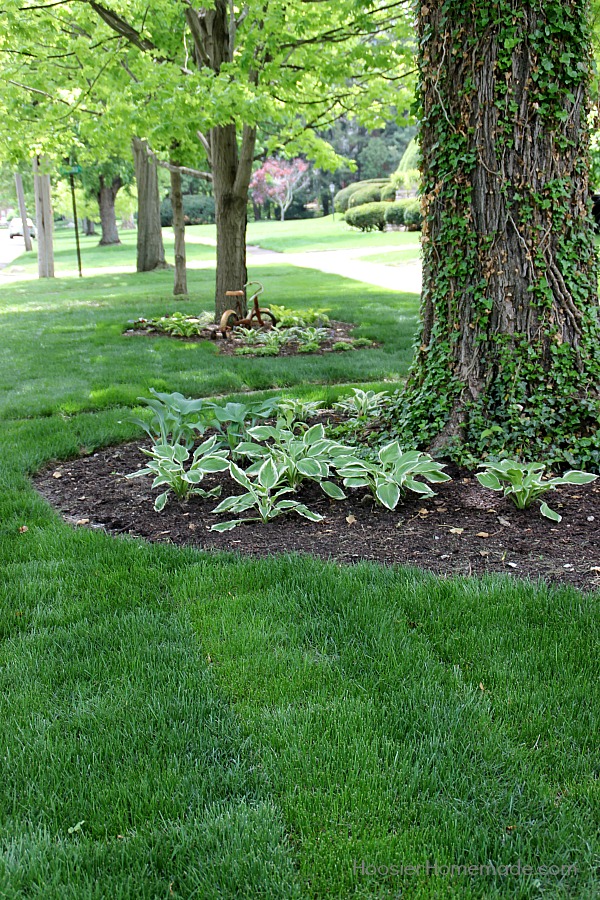
Green grass, bare feet, running across your backyard in the summer sun. We all love the thought of these and want our lawns to be healthy and green, if for no other reason than it’s a reward for all the hard work we put into out landscape. Through 20 years of making other people’s lawns look their best I’ve learned that where most people sabotage their plans are by not having any plans in the first place. So I’ve put together these basics of fertilizing your lawn, follow these basics and you’ll be the neighborhood lawn fertilizer pro.
Click here for your FREE garden and landscape journal- the first step to gardening success!
The Basics of Lawn Fertilizer
Get to know what those three numbers on the label of the bag mean. These numbers are the percentage of nitrogen, phosphate, and potassium in that order. they are the primary nutrients that feed your lawn and different brands provide varying amounts. So a bag of 12-12-12 will have 12 percent nitrogen, 12 percent phosphate, and 12 percent potassium, these are the major nutrients that your lawn needs. But just as important are the micro-nutrients that lawn fertilizer manufacturers add to the mixture.
Most commercially available lawn fertilizer is a blend of both primary, or major nutrients and micro-nutrients customized for common lawn grasses like bluegrass, fescue and ryegrass. Depending on your location you might even have a lawn using zoysia or bentgrass, and there are blends designed just for those grasses.
Everyone wants to protect the environment, or at least they should. And the fertilizer manufacturers are doing what they can to do just that, but we property owners must be responsible with how we use the products they offer us. That’s were being educated on how and when to apply only the amount of fertilizer your lawn needs for optimum growth is important. The information I’m sharing in this article is going to focus on commercially available products. You can choose to use any type that is available to you, whether you choose organic type fertilizers is completely up to you and some would say that to be environmentally responsible that is the first place to start. I’ll leave that decision up to you, all the information here work’s with any type of fertilizer you choose So let’s move on to learning how to responsibly apply your lawn fertilizer.
Applying Fertilizer to Your Lawn
Choosing Your Spreader
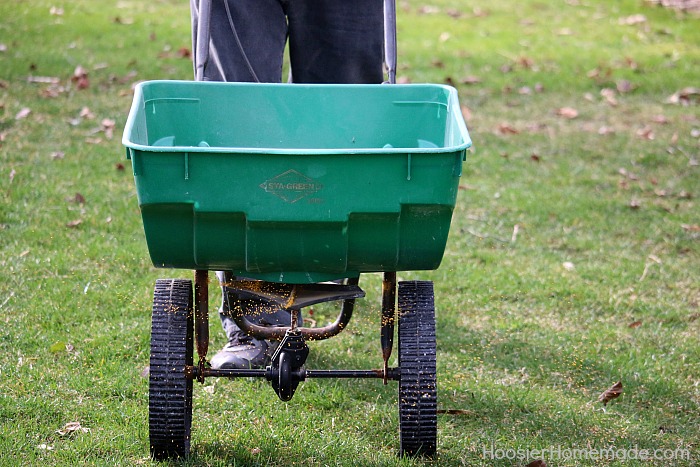
There are two types of spreaders to choose from to apply your fertilizer, broadcast spreaders and drop spreaders. Broadcast spreaders are what I call “no-brainers”, they are easier to use, cover a wider area with each pass helping to complete the work faster and there’s less of a chance of having skips in your yards caused by not overlapping your passes properly. They also cost less than drop spreaders.
A drop spreader can enable you to apply your fertilizer in windy conditions and apply products close to sensitive plants and areas without spreading the fertilizer where you don’t want it to end up. You will need to be more precise when you make your applications and it will take you more time because you will need to make more passes and you should always apply in a criss cross pattern to reduce the chance of missing any spots.
If you prefer a certain brand of lawn fertilizer I highly recommend purchasing a spreader from that same brand. That way the settings the brand recommend on the bag will match the settings on the spreader. Just one way to take some of the guess work out of getting the right amount of fertilizer on your lawn.
Click here for your FREE garden and landscape journal- the first step to gardening success!
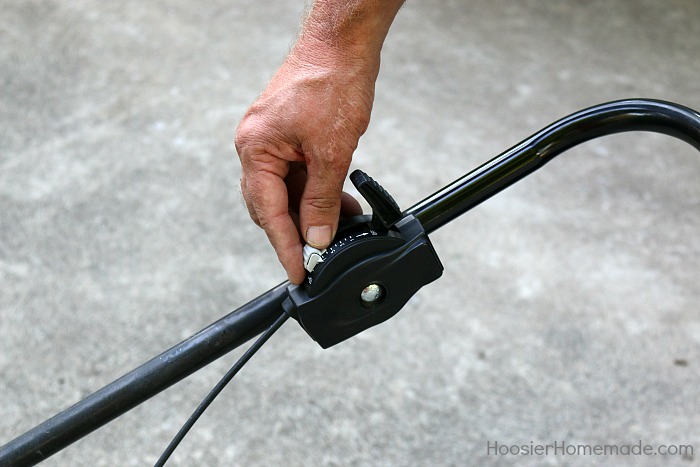
Setting the Spreader
On the fertilizer label you will find the application rate. This is the manufacturer’s recommended setting. Now the first thing I want you to do is cut that in half. So if the recommended setting is 6, set your spreader to 3. Then you will be spreading the fertilizer at half the recommended rate, or slightly less, in one direction on the lawn, then spreading it again at half the rate in a perpendicular direction. This criss cross pattern gives better coverage and helps prevent skips in the application, no ugly yellow spots.
Cover the perimeter of the yard first, then fill in the middle.
Timing Your Fertilizer Application
There are a number of considerations to take into account when deciding on the number of applications you will need to make yearly. First, your budget, if you have limited money to go towards the purchase of your fertilizer and you do not water your lawn I would recommend a minimum of one application in the Spring and one application in the Fall. This will keep your lawn alive and provide it with the bare minimum of it’s required fertility.
If you are wanting the best lawn on the block and dream of running through a lush deep green lawn then you will need to make 5 to 6 applications from early Spring to late Fall. You will want to make each application 4-8 weeks apart, 6 weeks between applications if you are watering your lawn, 8 weeks if your not. I’ll outline each application below.
Early Spring Application – Fertilizer with Crabgrass Preventer
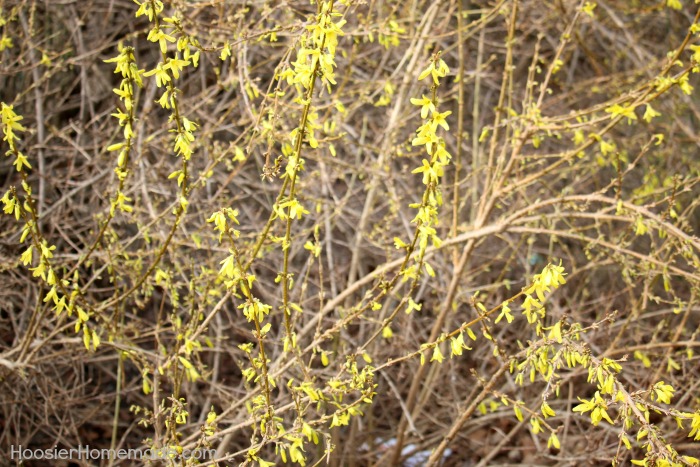
Depending on where you live this first application can be anywhere from Early/Mid March to Late April. Your grass will start to grow when the soil temperature reaches 55 degrees, and this is when you want to make the first application. Now I have a soil thermometer but I don’t know of too many people that do so when your grass starts to green up and the lilacs and forsythia shrubs begin to bloom you should make your first application of the year.
This is also when you will be putting down any product to control crabgrass and other Spring weeds so you’ll want to choose a product that supplies the grass with it’s nutrients and crabgrass control.
Late Spring Application – Weed ‘n Feed
Make this application 4 to 6 weeks after the Early Spring Application, preferably at the 4 week time frame since Spring growth usually is characterized by fast growth and your grass is going to be using the nutrients quicker than any other time of year.
Granular Weed ‘n Feed Fertilizers need to be applied when the lawn is wet so you have a choice to spread it early in the morning when there is dew on the grass, after a rain shower or you can water your lawn and apply immediately after.
If you have a new flush of weeds after this application you can control them with an application of a broadleaf weed control product.
Click here for your FREE garden and landscape journal- the first step to gardening success!
Early Summer Application – Fertilizer with Insect/Grub Control
Next we want to prepare the lawn for a period that can be quite brutal, Summer. This is a period when most damage is done to your lawn and can have the greatest impact on the survivability of your grass and the longevity of your lawn.
So 6 to 8 weeks after the application of your Weed ‘n Feed put down an application of a fertilizer blend with Insect and Grub Control. Some people will be tempted to skip the Insect and Grub Control, let me caution you on doing this and here’s why. The average home-owner cannot identify insect damage to their lawn before the damage is done and beyond control. More times than not they mistake damage from insects for drought damage when it is the other way around.
Summer Application
For those in Zone 6 and farther north this is an application that you may not need to make. For the rest of you, choose a granular blend with 18% Nitrogen or greater and always choose a brand that uses extended release formulations.
Early Fall Application
Your choices of fertilizer are greatest for the Early Fall Application so use it to your advantage and set your lawn up to be able to survive the coming Winter. Choose a product that has Nitrogen and higher amounts of Potassium and if you are battling broadleaf weeds you can tackle them with this application.
Late Fall Application
This will be your last application of the year and will ensure that your lawn is ready for Winter and greens up faster the following Spring. Choose a product with 3 to 1 ratio of Nitrogen to Potassium. Make this application a week or two before your last planned mowing.
Summary
If you follow the suggest fertilizing schedule it will give you the best chance of having the lawn of your dreams. Of course you can skip an application especially if you live in northern areas where your growing season is shorter.
And as always, READ and FOLLOW ALL MANUFACTURER LABELS AND DIRECTIONS.
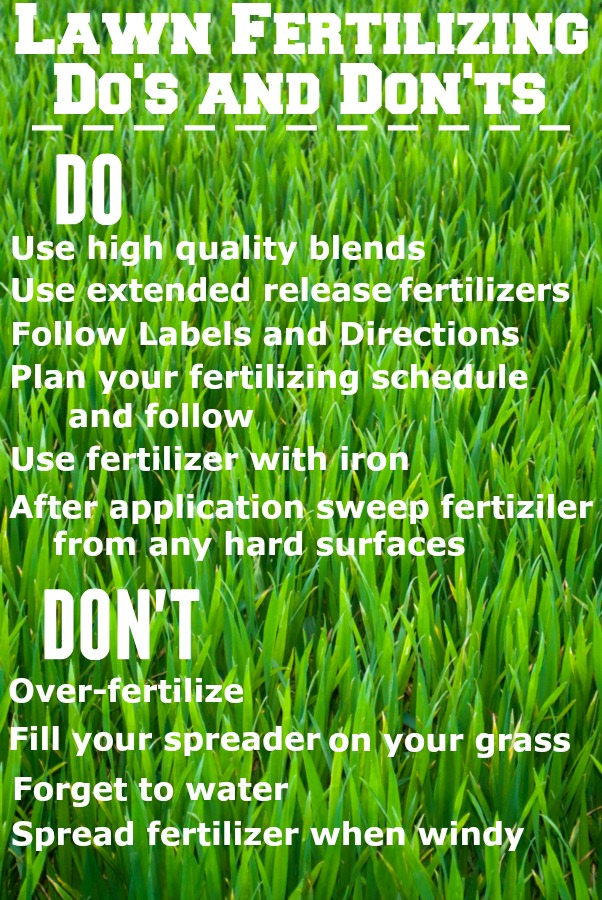
Lawn Fertilizing Do’s and Don’ts
Do
- Use high quality blends
- Use extended release fertilizers
- Follow Labels and Directions
- Plan your fertilizing schedule and follow
- Use fertilizer with iron
- After application sweep fertilizer from any hard surfaces
Don’t
- Over-fertilize
- Fill your spreader on your grass
- Forget to water
- Spread fertilizer when windy
MORE Gardening and Landscaping Tips
- 10 Rules Every Homeowner Should Follow When Landscaping
- How to Choose and Apply Mulch
- Shade Plants for Problem Landscape
- How to Install a Stone Walkway
Get your FREE Garden & Landscaping Journal today!
